

How to Create AI Skeleton Videos
AI Video Trend
Learn how to create AI skeleton videos in AICUT by first building a reusable skeleton character and then turning that character into a polished AI image story video.
AI Image Story · New
Make a skeleton story in one go
Generates the character, scenes, and animations end-to-end - quicker and more reliable than building each step by hand.
In this guide
Character Setup · Step 1
Create an AI Skeleton Character
Build a reusable skeleton character with AI Image, generate a clean reference sheet, and save it to your character assets for future story creation.
Generate your skeleton character
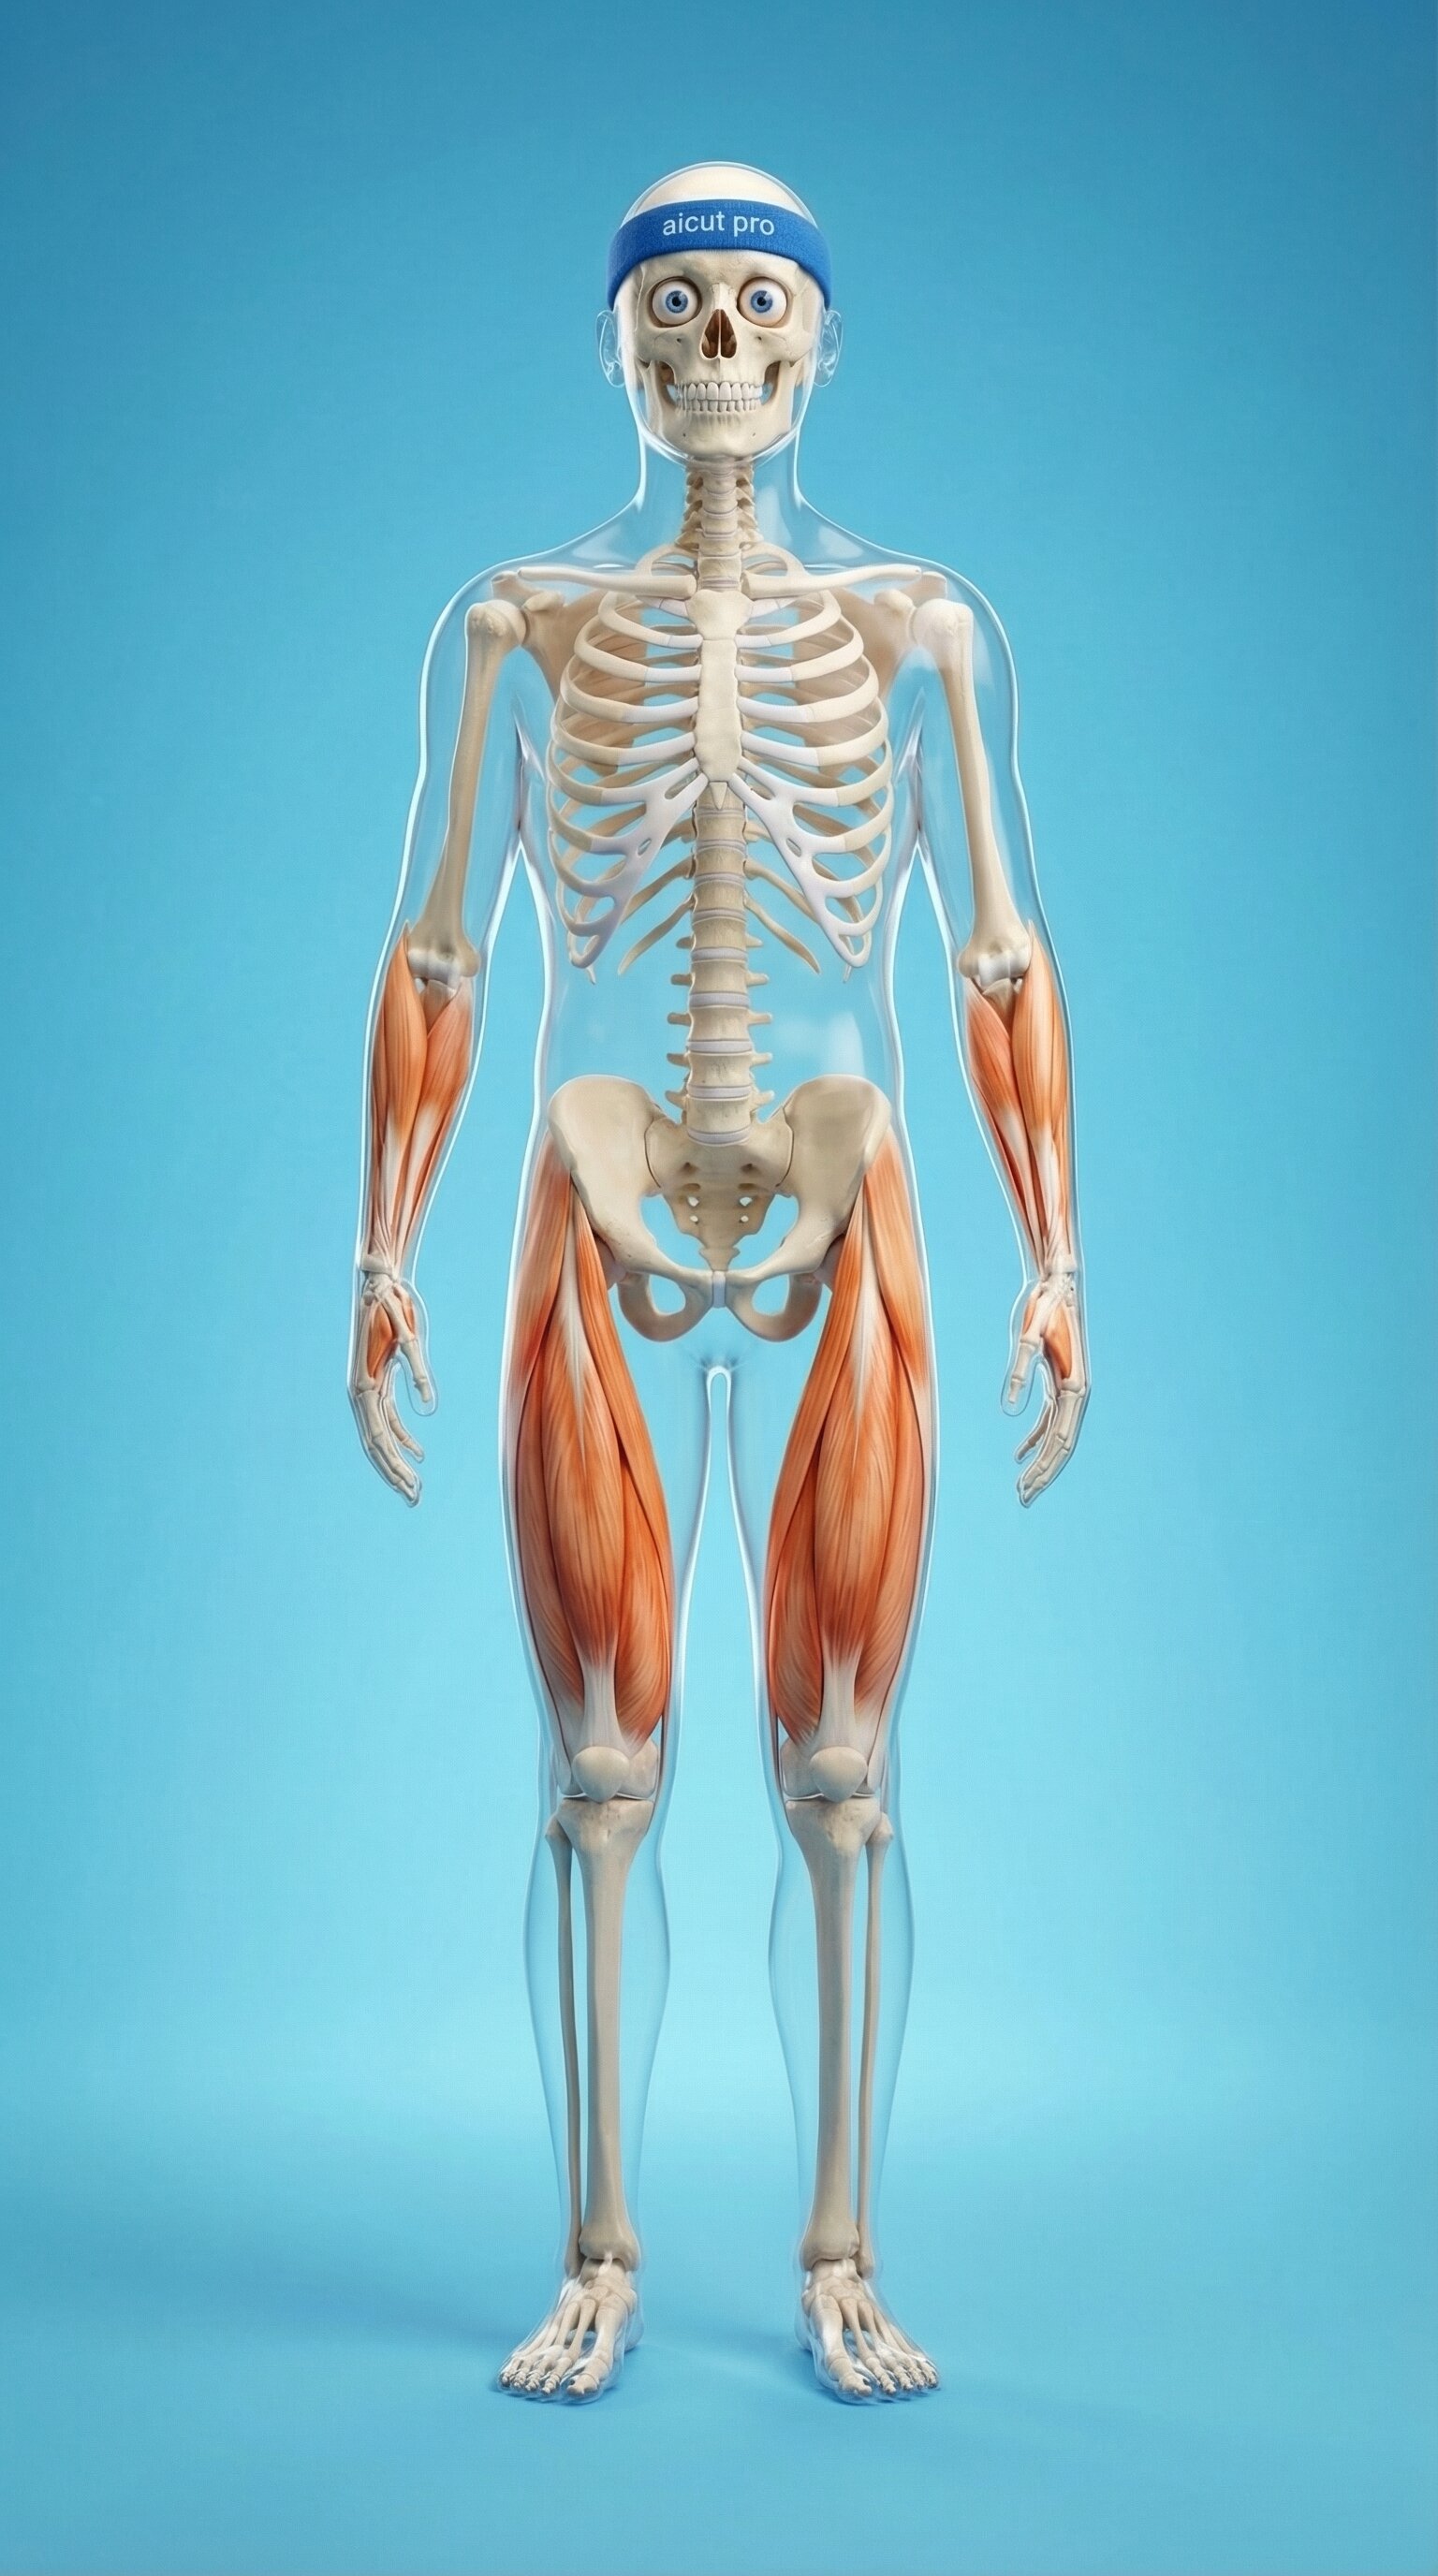
Start in Create AI Image and describe the skeleton character you want to use across the full video.
Create AI ImageGenerate multi-angle reference sheets
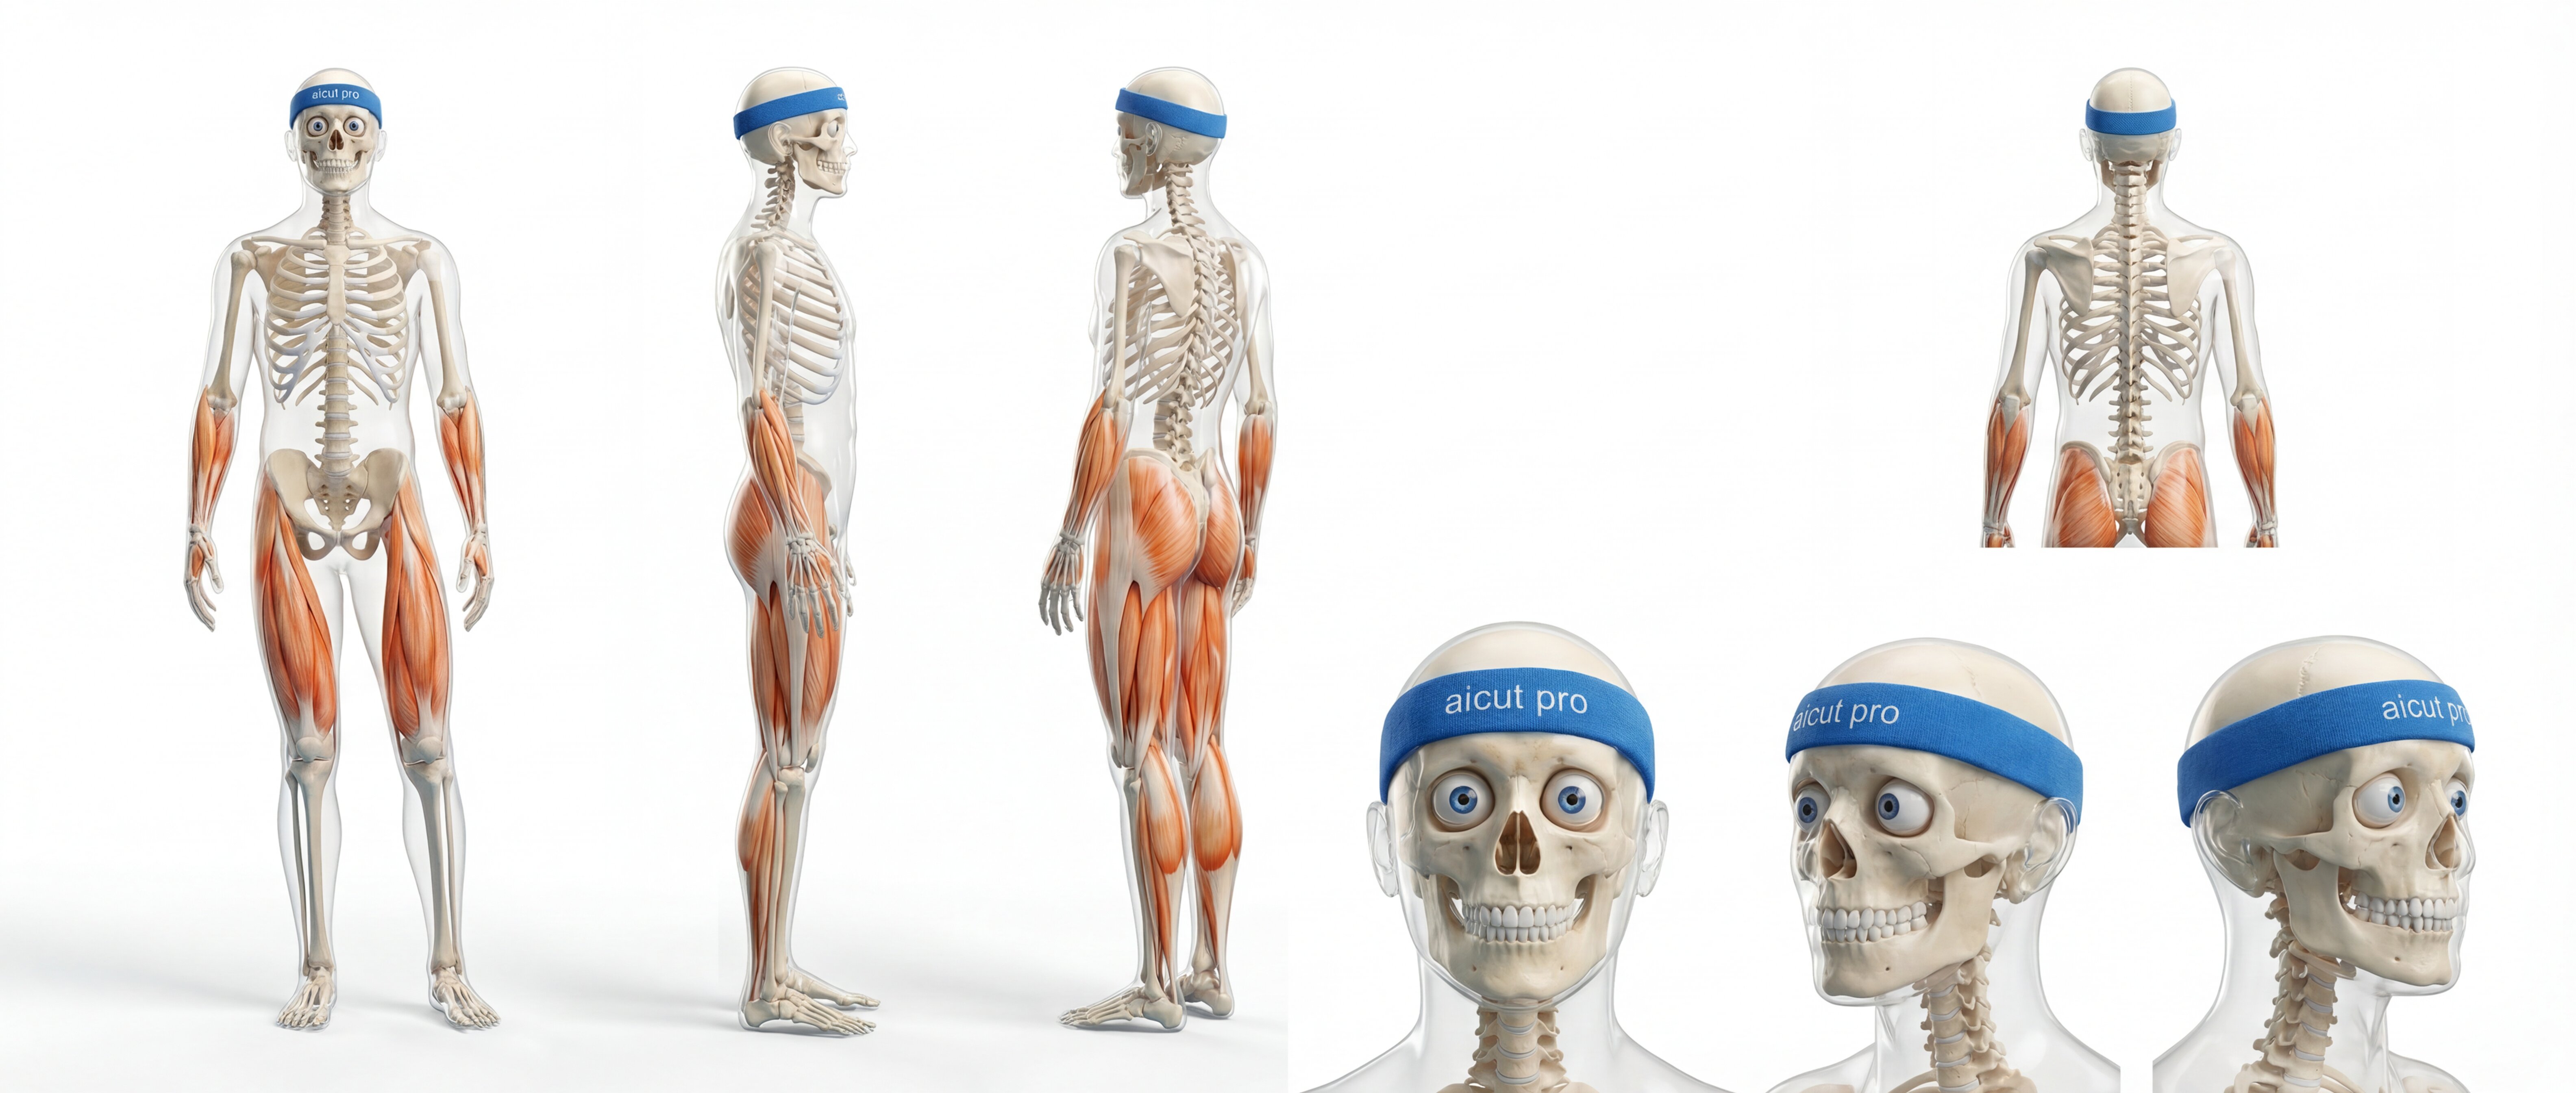
Use the character reference sheet template to generate multiple consistent views, angles and poses of the same skeleton character.
Character Reference SheetSave the skeleton to your character assets
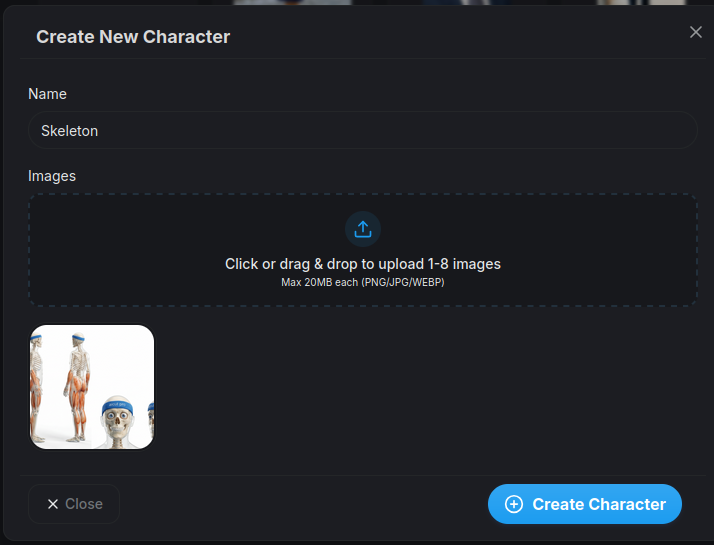
Review the outputs, keep the clearest skeleton images, and upload them as a new character in the Characters assets library.
Save to AssetsTip: Use a simple prompt with consistent details like bone shape, glowing eyes, clothing, background, and camera angle so your skeleton stays recognizable in every scene.
Story Creation · Step 2
Create an AI Image Story with the Skeleton Character
Use AI Image Story to generate a skeleton-themed storyline, pick the best frames in the editor, and turn selected images into animated video scenes.
Set up your skeleton character and style
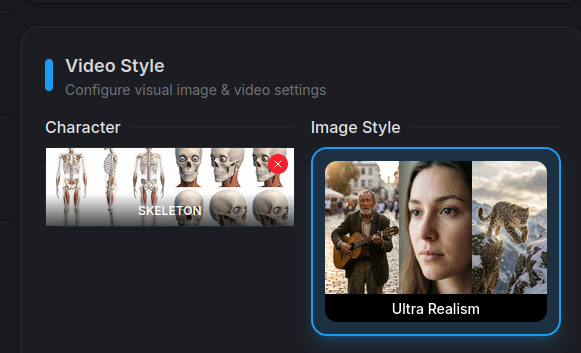
Choose your saved skeleton character so every scene uses the same character. Also select Style Ultra Realism for the best visual result.
Start Image StoryUse Dr Skeleton style
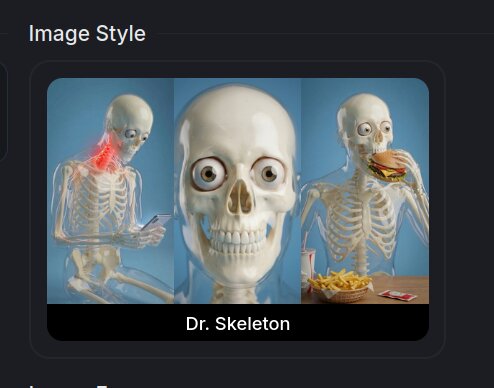
Alternatively : Select the Dr Skeleton style to apply a consistent look and feel across all generated scenes that has the ai skeleton look built into it without needing a character selected.
Use Dr Skeleton StyleGenerate your skeleton story
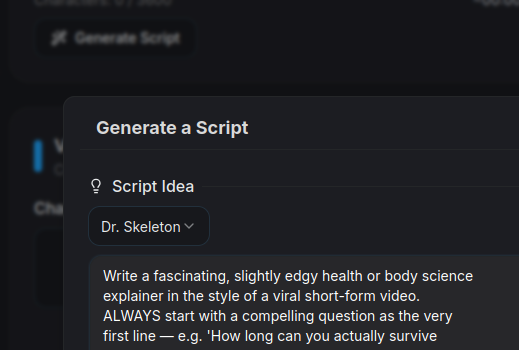
Use the Dr Skeleton Prompt template, and adjust it according to your idea to generate a good video script. The more specific your prompt is, the better the generated skeleton story will be.
Generate Skeleton StoryReview and pick the best scene frames
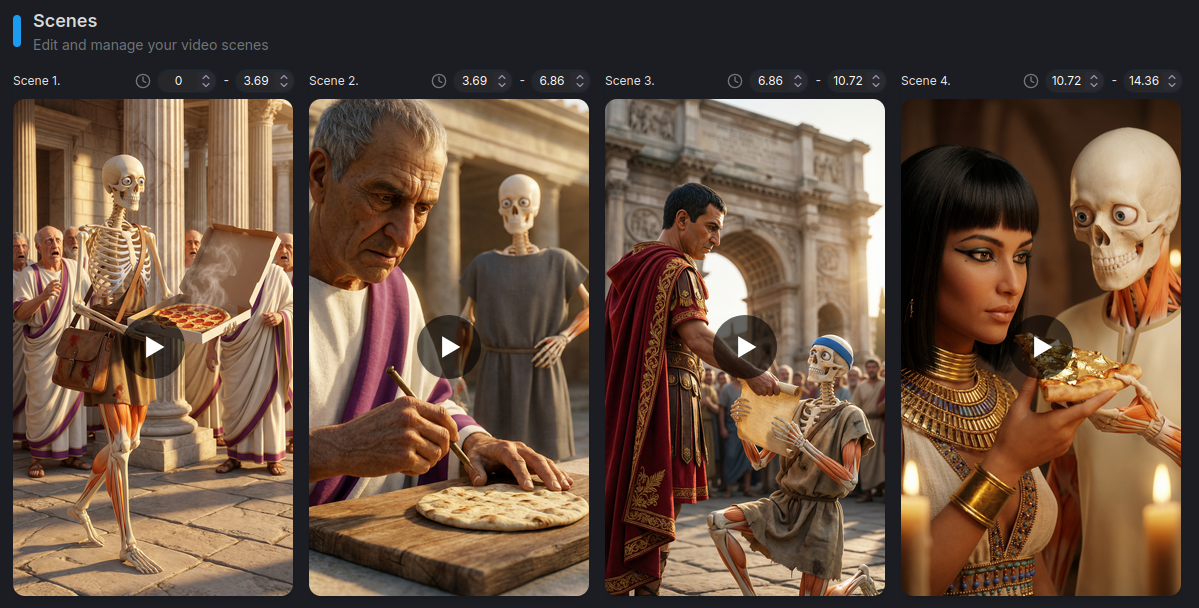
Generate a captivating story and proceed to the edit step. Then review each generated scene in the editing step and keep the best skeleton images.
Select Best FramesConvert selected frames into animated video clips
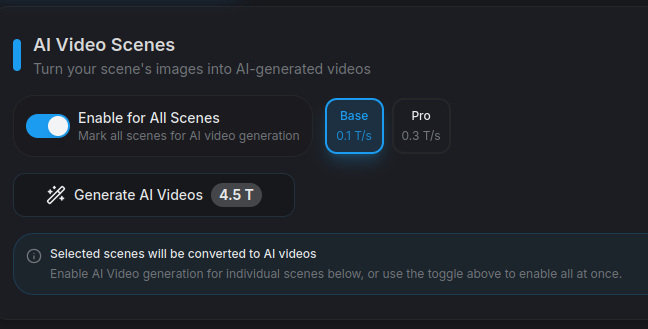
Convert the selected images into AI videos to create a more engaging animated AI skeleton video.
- •Confirm your skeleton character stays consistent across scenes.
- •Make sure the selected story images flow well before turning them into video clips.
Tip: Aim for a clear story arc like intro, conflict, reveal, and ending so the final skeleton video feels intentional and more engaging.
Multi-Character · Step 3
Create a Multi-Character AI Skeleton Video
Take your skeleton stories further by adding multiple characters to a single scene. Select all the skeleton characters that should appear from the character selection modal - the AI uses every selected character as a visual reference to render them together consistently.
Select multiple skeleton characters from the character modal
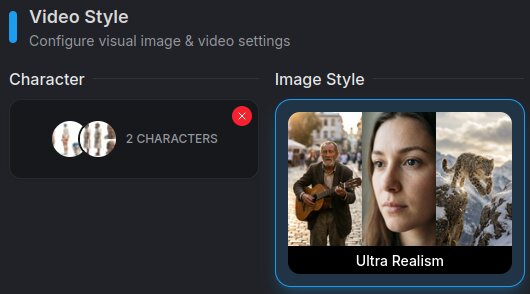
Open AI Image Story and click the character selection modal. Select every skeleton character that should appear in the scene - for example, a skeleton king and a skeleton knight. The AI will use all selected characters as visual references to render them together in the same frame.
Select CharactersMulti-Character Result
Tip: Create each character separately in Step 1 first, then select them all together in the character modal when generating multi-character scenes. The more distinct each skeleton's outfit and features are, the easier the AI can keep them apart.
Result