



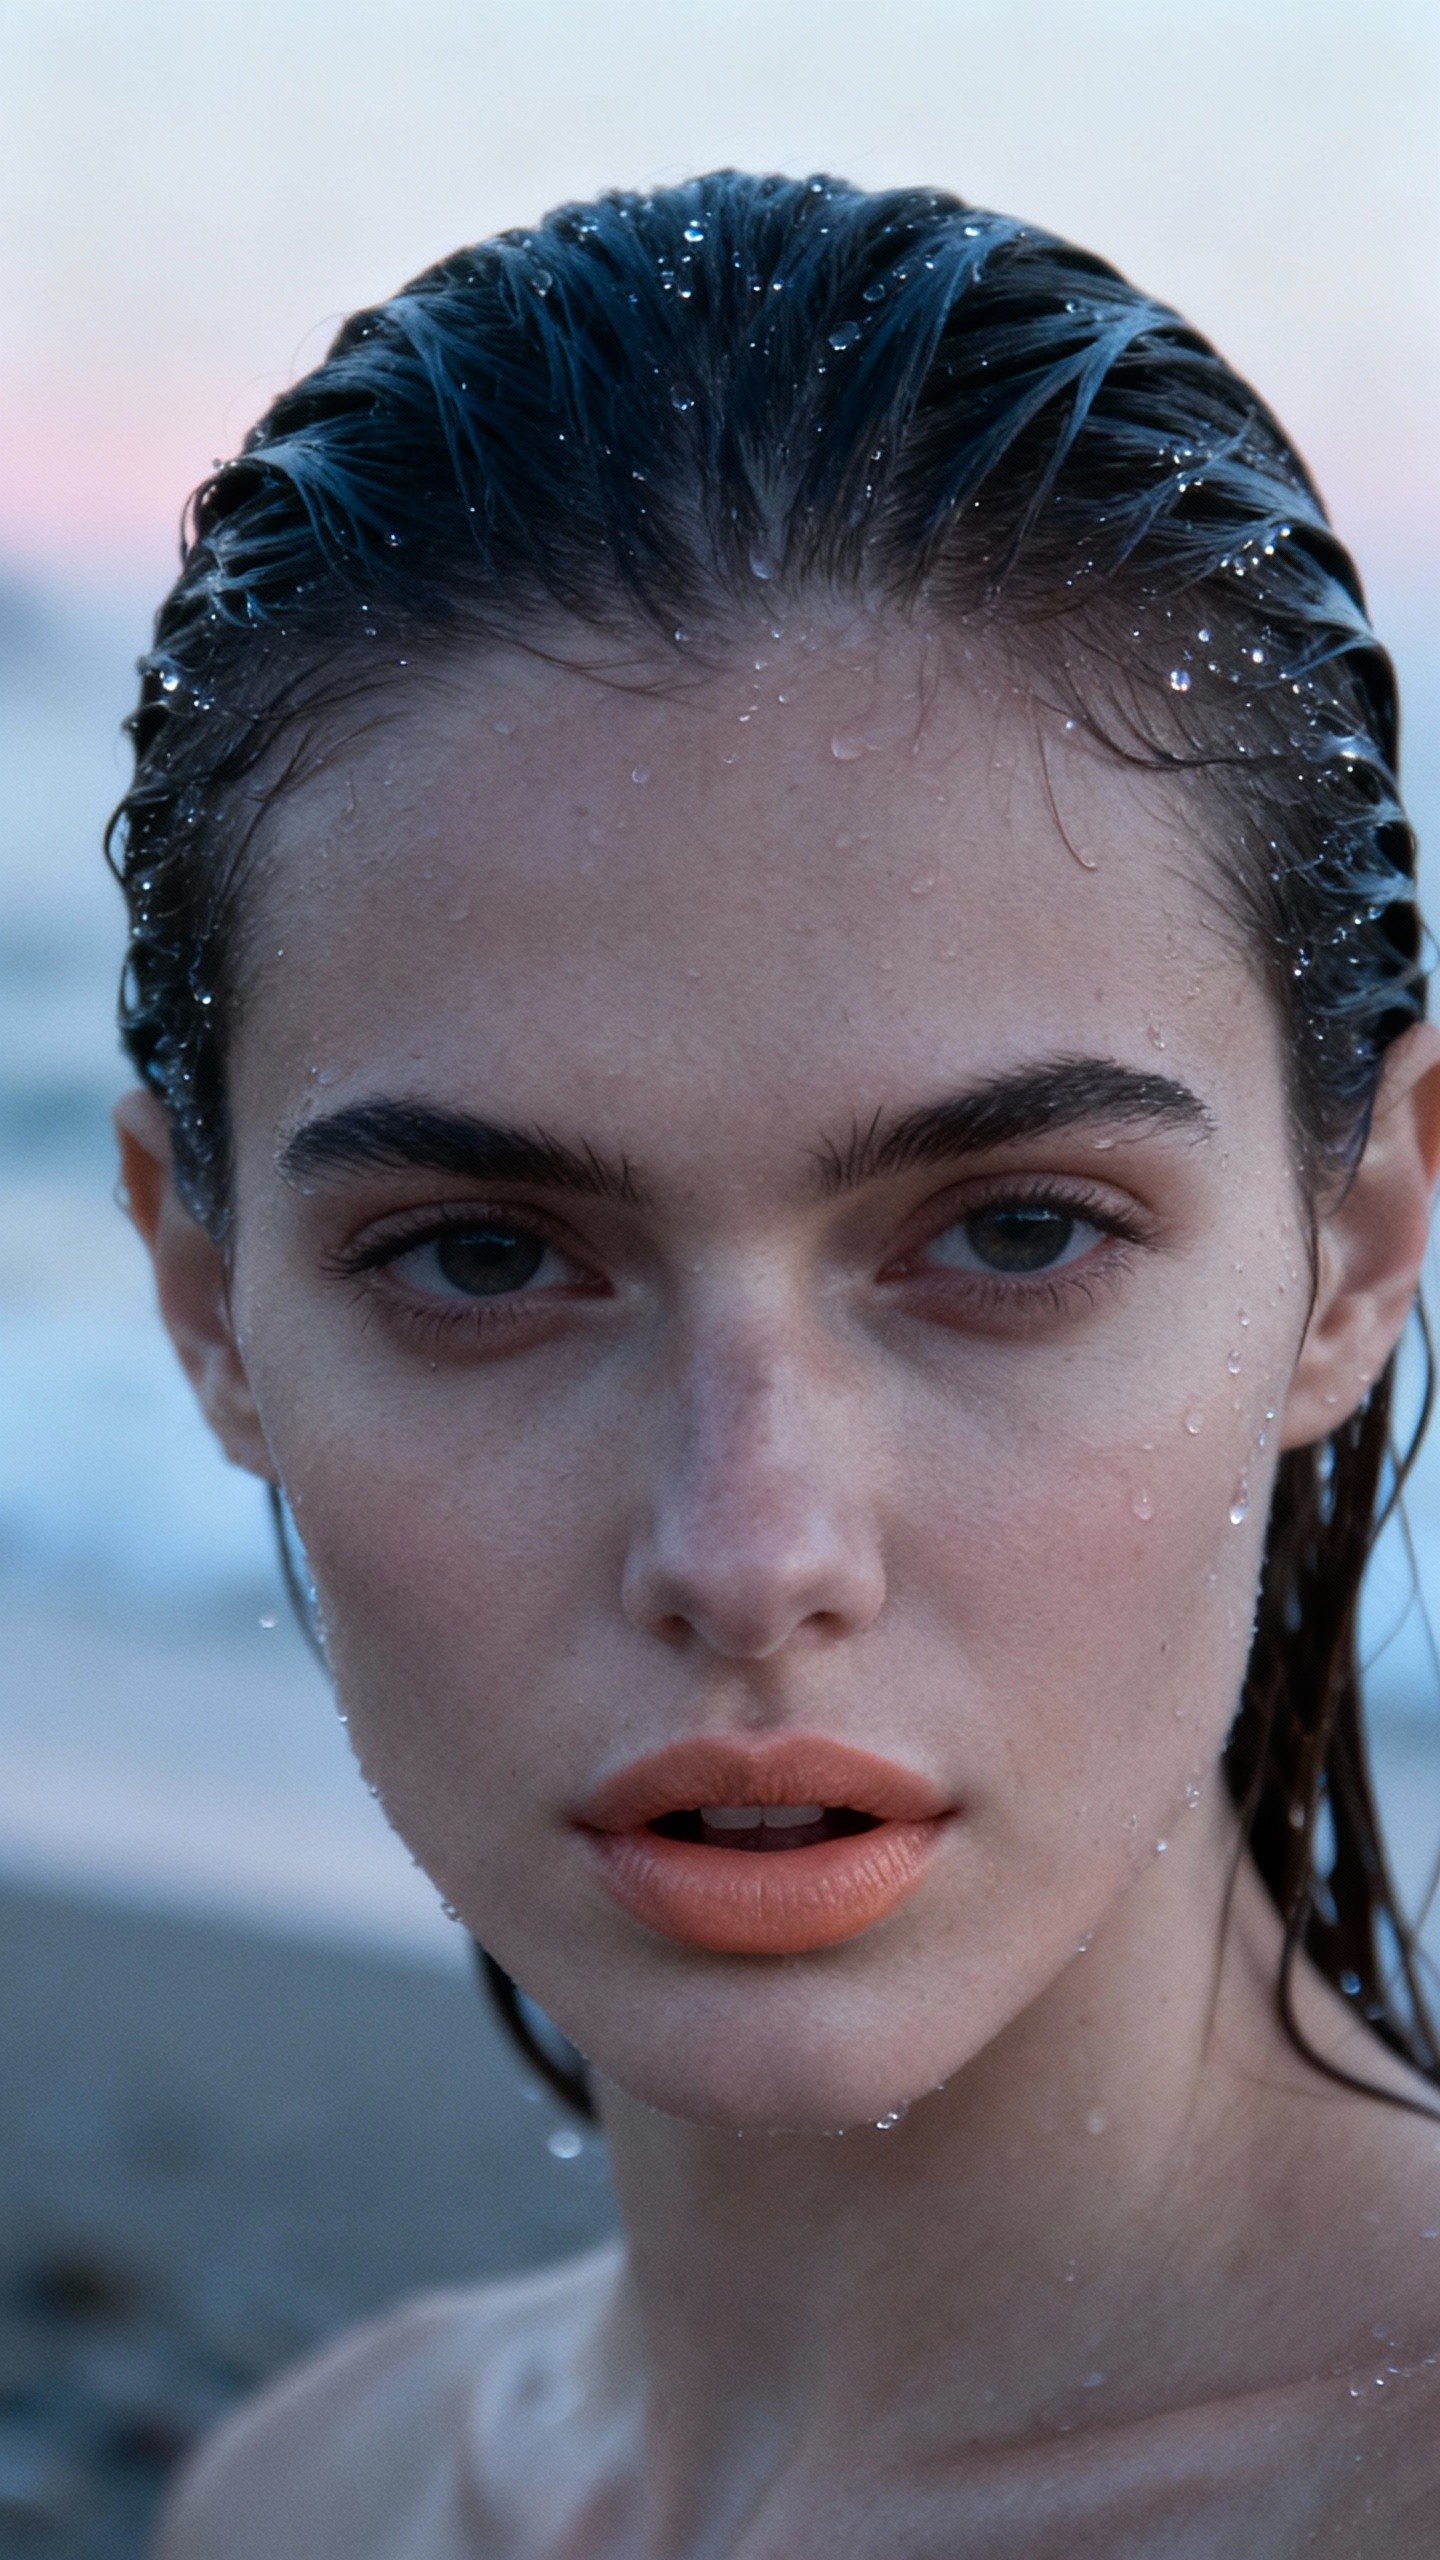
Understanding Prompt Elements
- Subject: Who or what is in the image? Be specific. (e.g., a woman with porcelain skin, dark wet hair slicked back, fine droplets of seawater visible; A single unopened flower bud with soft pink inner petals emerging from a creamy trumpet-shaped calyx).
- Action: What is happening? (e.g., riding on a horse's back, mid-stride running through a field).
- Composition: How is the shot framed? (e.g., extreme close-up, wide shot, low angle shot, portrait).
- Location: Where does the scene take place? (e.g., misty shoreline of La Concha beach at dawn, a sun-drenched meadow).
- Style: What is the overall aesthetic? (e.g., 3D animation, film noir, watercolor painting, photorealistic, 1990s product photography).
Examples
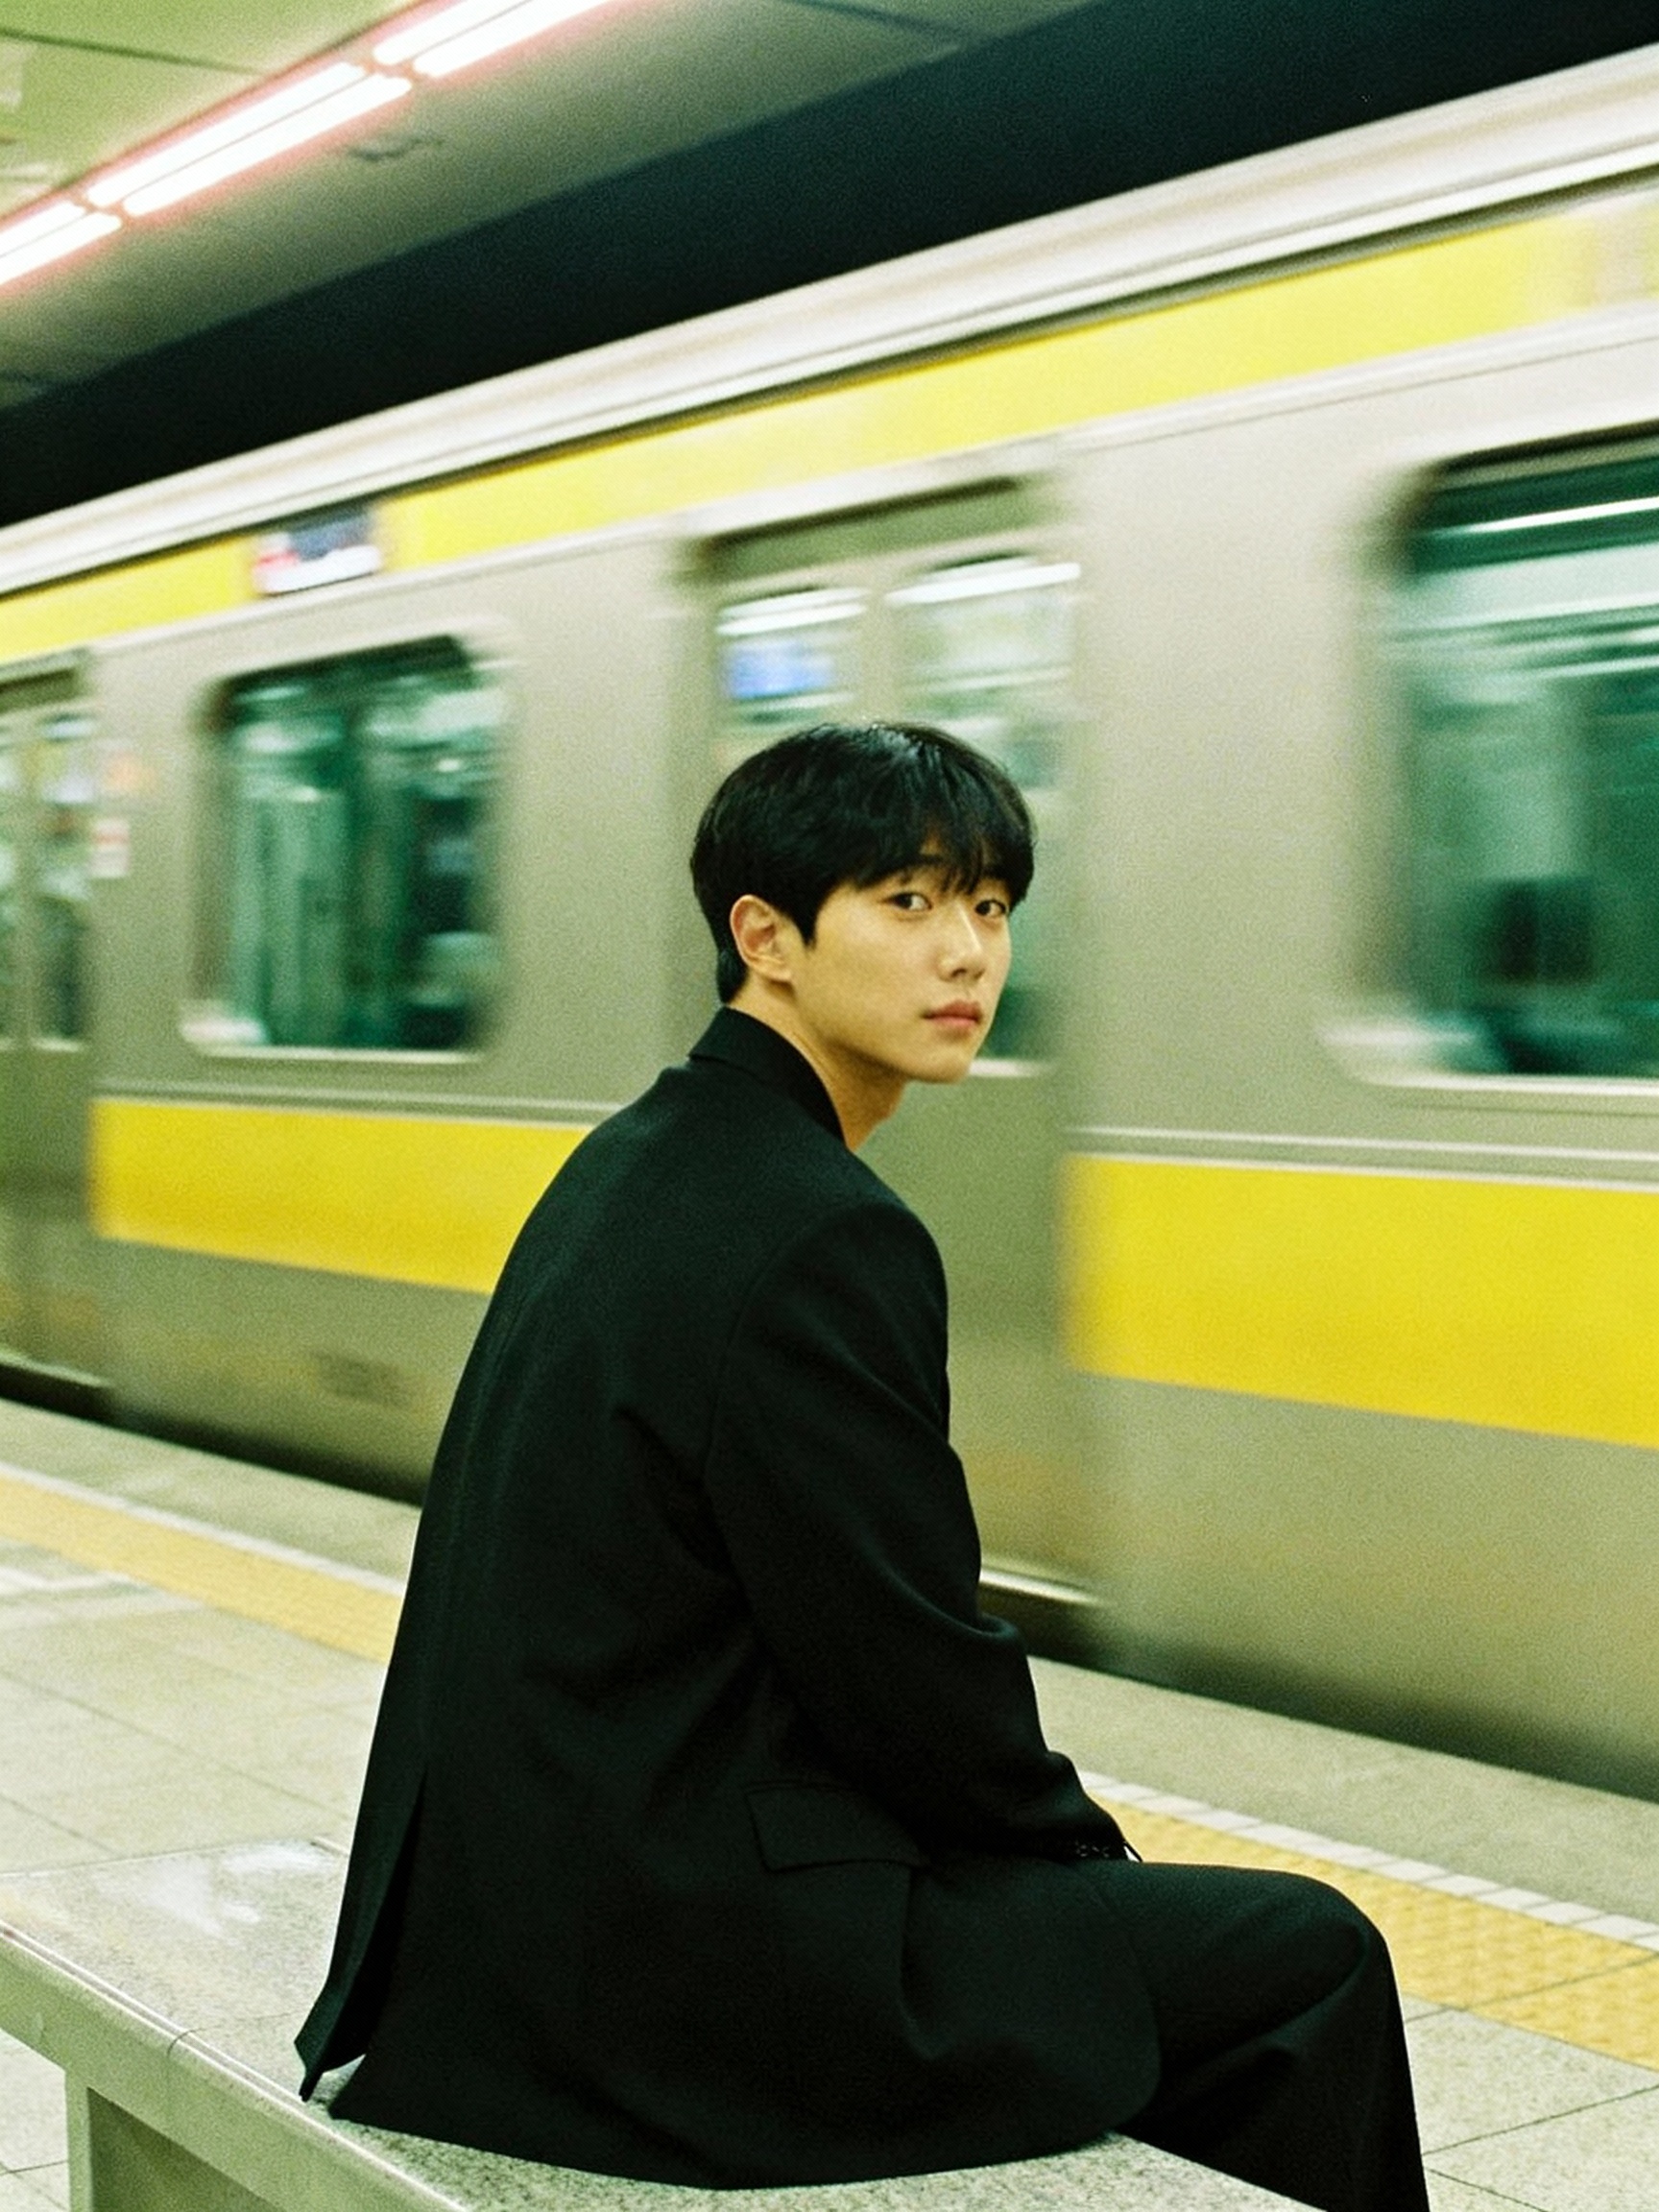
A young Korean man in a black wide suit, sitting at a subway platform. The man is off-center, turned to camera with his back, shot over the shoulder. A blurred train rushing past, muted green and yellow tones, soft grain, harsh fluorescent lighting, motion contrast between still figure and moving train, nostalgic urban atmosphere, quiet and introspective mood.
Essential Prompting Tips
- Write naturally: Avoid doing keyword dumps, instead write natural sentences that describe the scene.
- Priority order: Main subject → Key action → Critical style → Essential context → Secondary details
- Prompt length: 10-30 words for quick concepts, 30-80 words for most, 80+ words for complex scenes
- Positive phrasing: Instead of "no crowds," write "peaceful solitude." Instead of "without glasses," write "clear, unobstructed eyes." Ask: "If this wasn't there, what would I see instead?"
Lighting Principles
Lighting dramatically affects mood and atmosphere. Master these classic setups to control how your subject is perceived.
- Rembrandt: 45° key light creates small cheek triangle → moody depth.
- Split: Side light; one half lit, one half shadow → dramatic contrast.
- Window / Soft: Large diffuse source → even, gentle skin tones.
- Golden hour: Warm, soft directional glow; flattering & atmospheric.
- Overhead single: Hard shadows, stark & dramatic.
- Chiaroscuro: Strong light/dark separation for high drama.
Examples
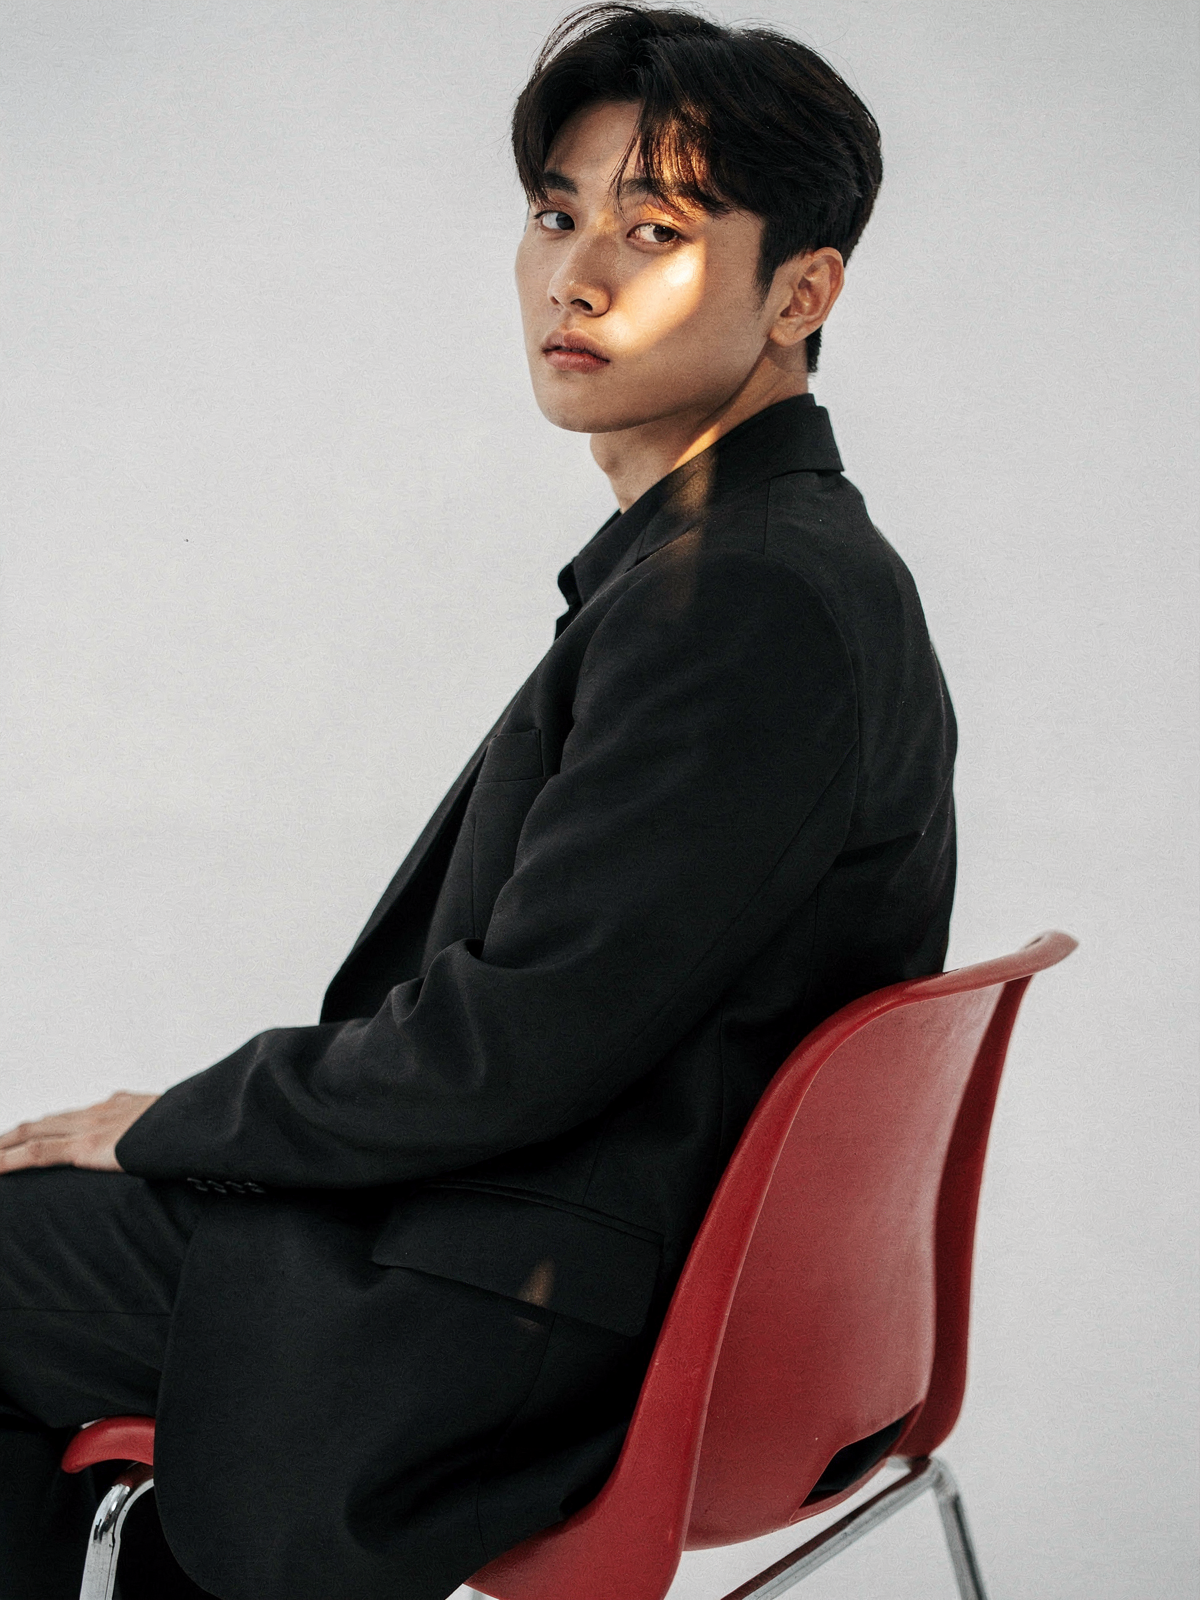
A young Korean man with clean features and short dark hair, wearing a black wide-cut suit, seated on a red plastic chair in a minimalist white studio. Medium portrait composition, body angled slightly away but glancing back at the camera. Rembrandt lighting: a single key light at 45°, shaping his face with a distinct illuminated triangle on the far cheek, adding depth, soft contrast, and sculptural definition. Photorealistic, cinematic mood, subtle grain.
Camera Angles & Framing
Camera angle changes the viewer's relationship to the subject. Use angles intentionally to evoke specific emotions.
- Low angle: Makes subject feel powerful / monumental.
- High / bird's eye: Reveals patterns & relationships.
- Eye level: Neutral, natural connection.
- Dutch angle: Tilt for unease / tension.
- Close vs wide: Close = intimacy/detail; Wide = context/setting.
Examples
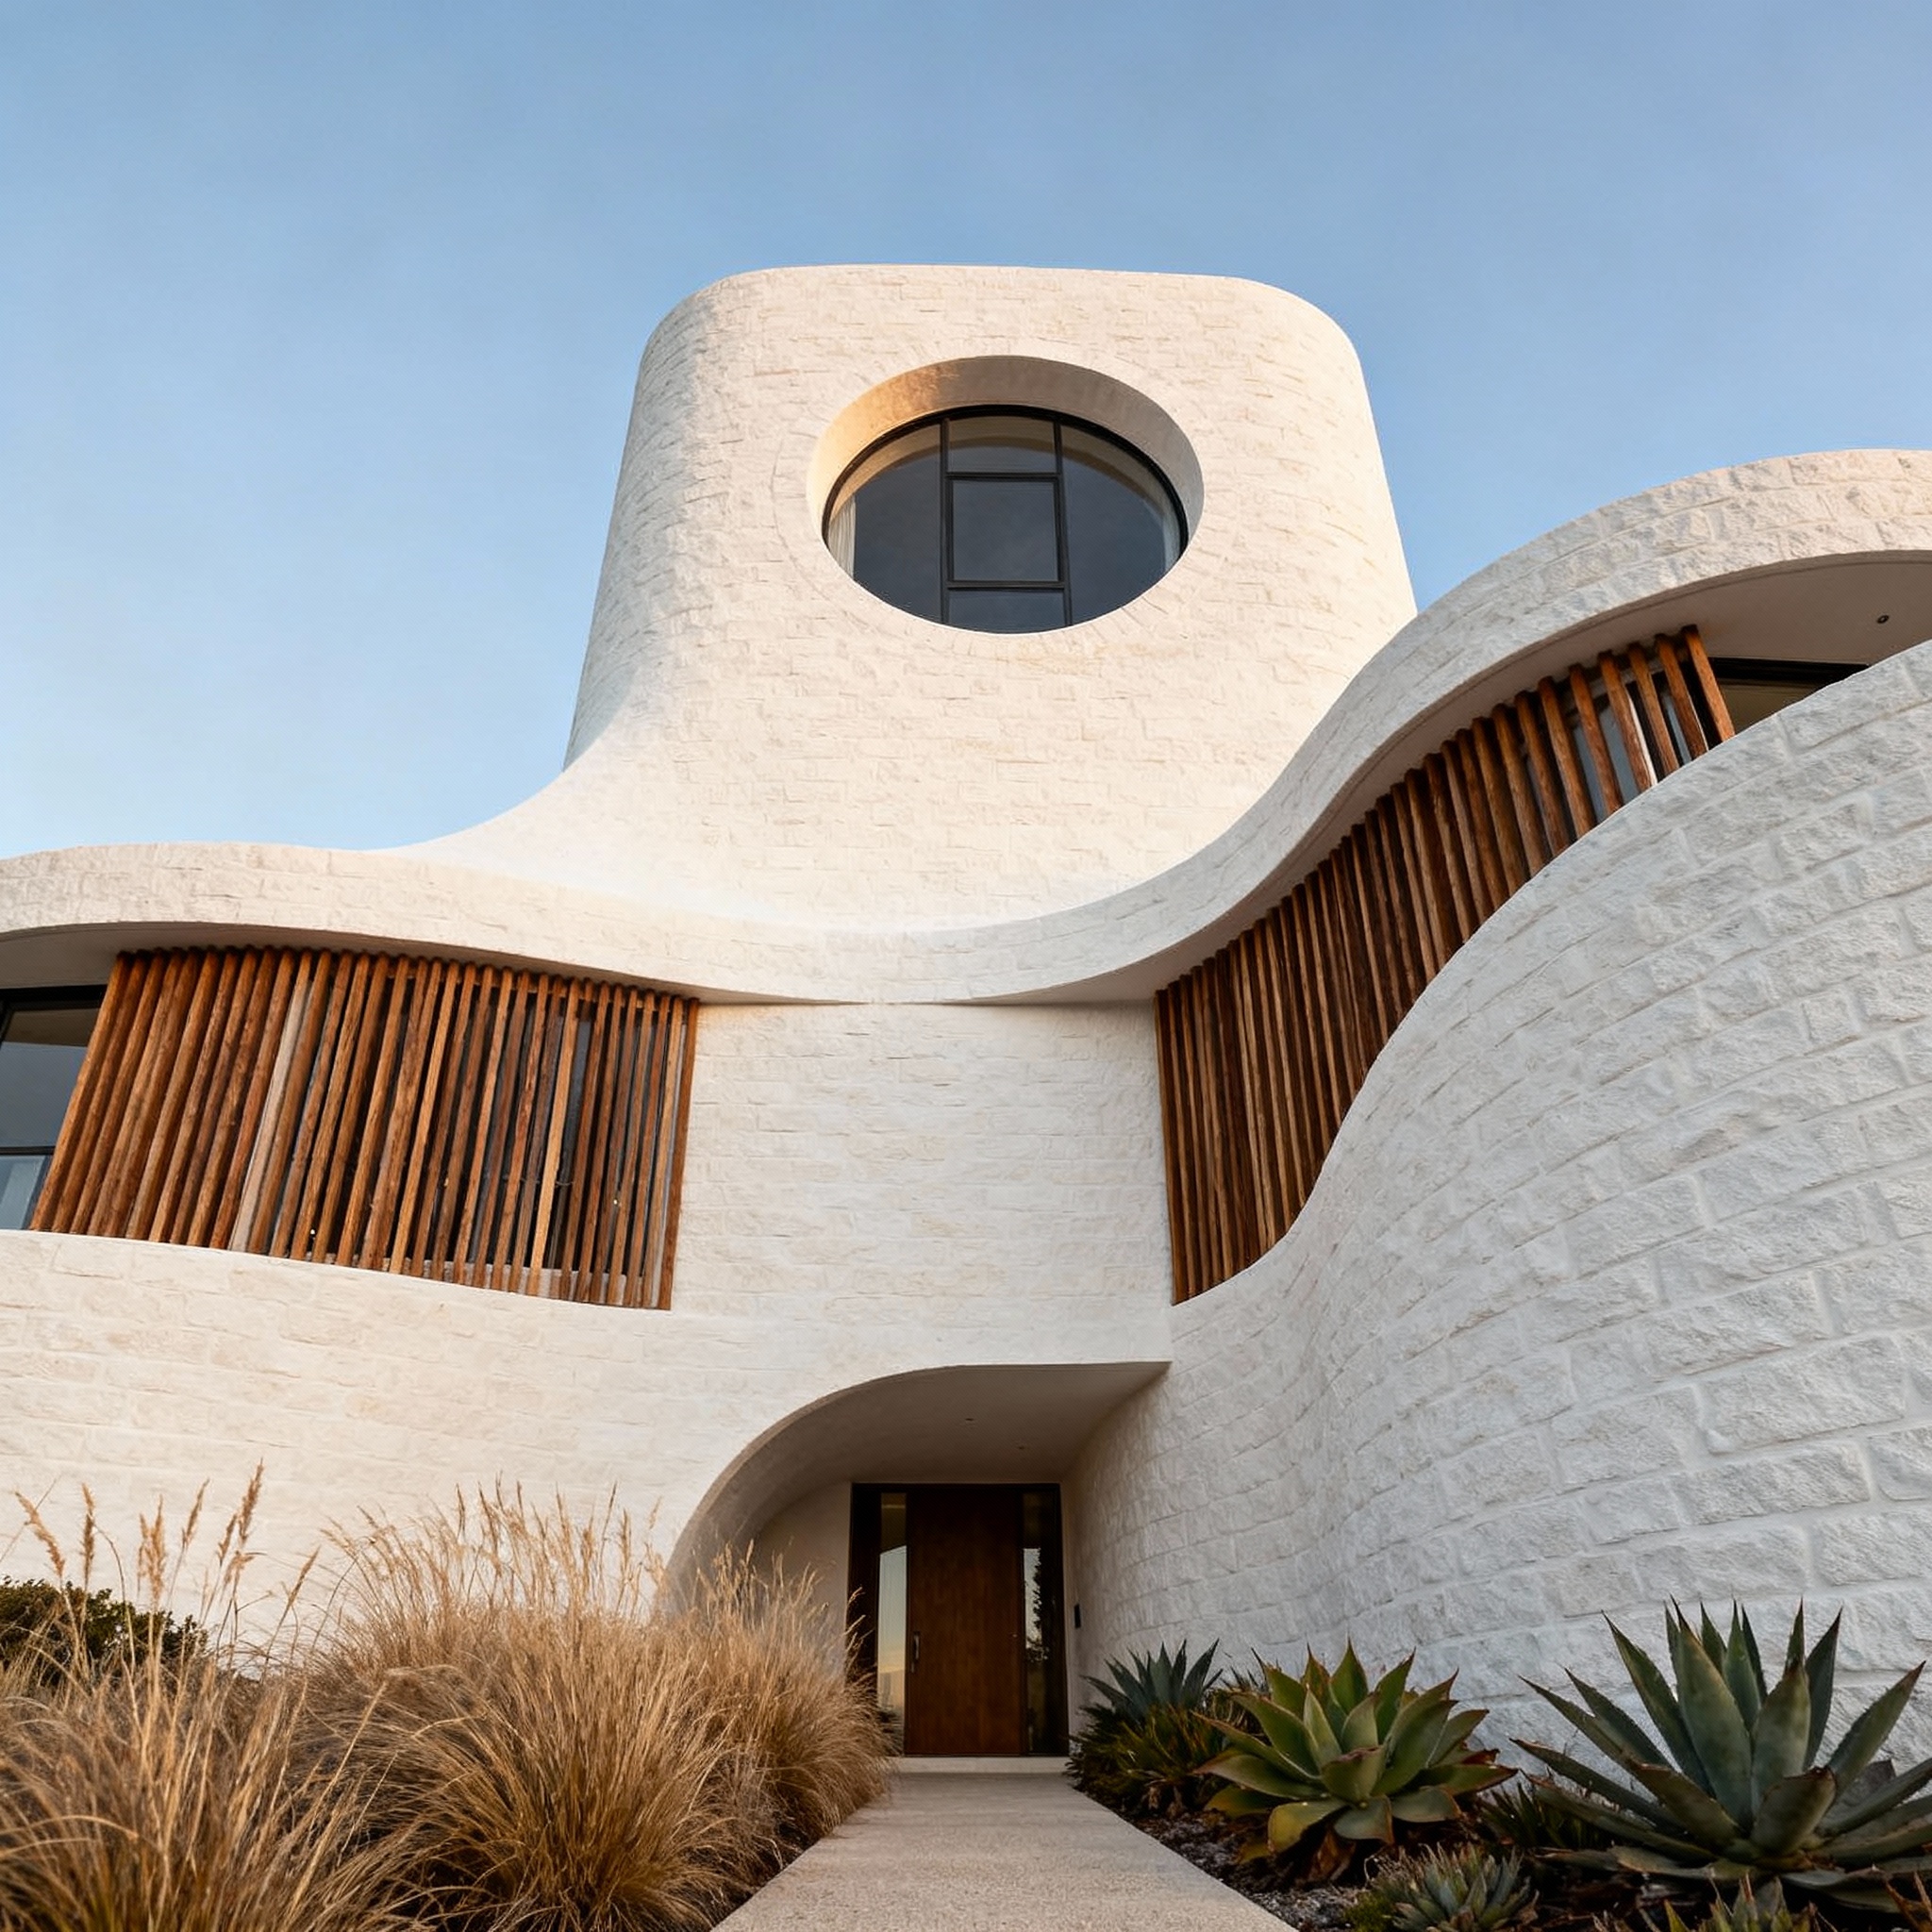
Extreme low-angle shot of the contemporary coastal home, camera positioned near ground level pointing sharply upward to exaggerate height and curved forms. Strong upward distortion, façade towering overhead, circular window dominating the sky.
Camera Controls
Technical camera settings give you precise control over focus, perspective, and image quality.
- Lens (mm): 24mm wide context; 50mm natural look; 85mm tight/compressed portrait.
- Aperture (f/): f/1.4–f/2.8 = shallow blur; f/5.6–f/11 = sharp. Mention only if depth matters.
- ISO: Keep low (100–400) for clean images; raise only if low‑light (noise trade‑off).
Text Integration & Typography
Add text to your images for posters, product labels, or branded content. Specify exact wording and style for best results.
- Use quotes: Exact wording in "CAPS" or case you want rendered.
- Placement: Describe where: "above doorway", "centered banner", "engraved on stone".
- Font style: "elegant serif", "bold industrial sans‑serif", "vintage script", "chrome 3D".
- Integration: Environmental (carved), Object-based (printed label), Atmospheric (floating neon).
Simple vs Advanced Examples
Compare a basic prompt with an advanced one to see how additional details create more control and polish.
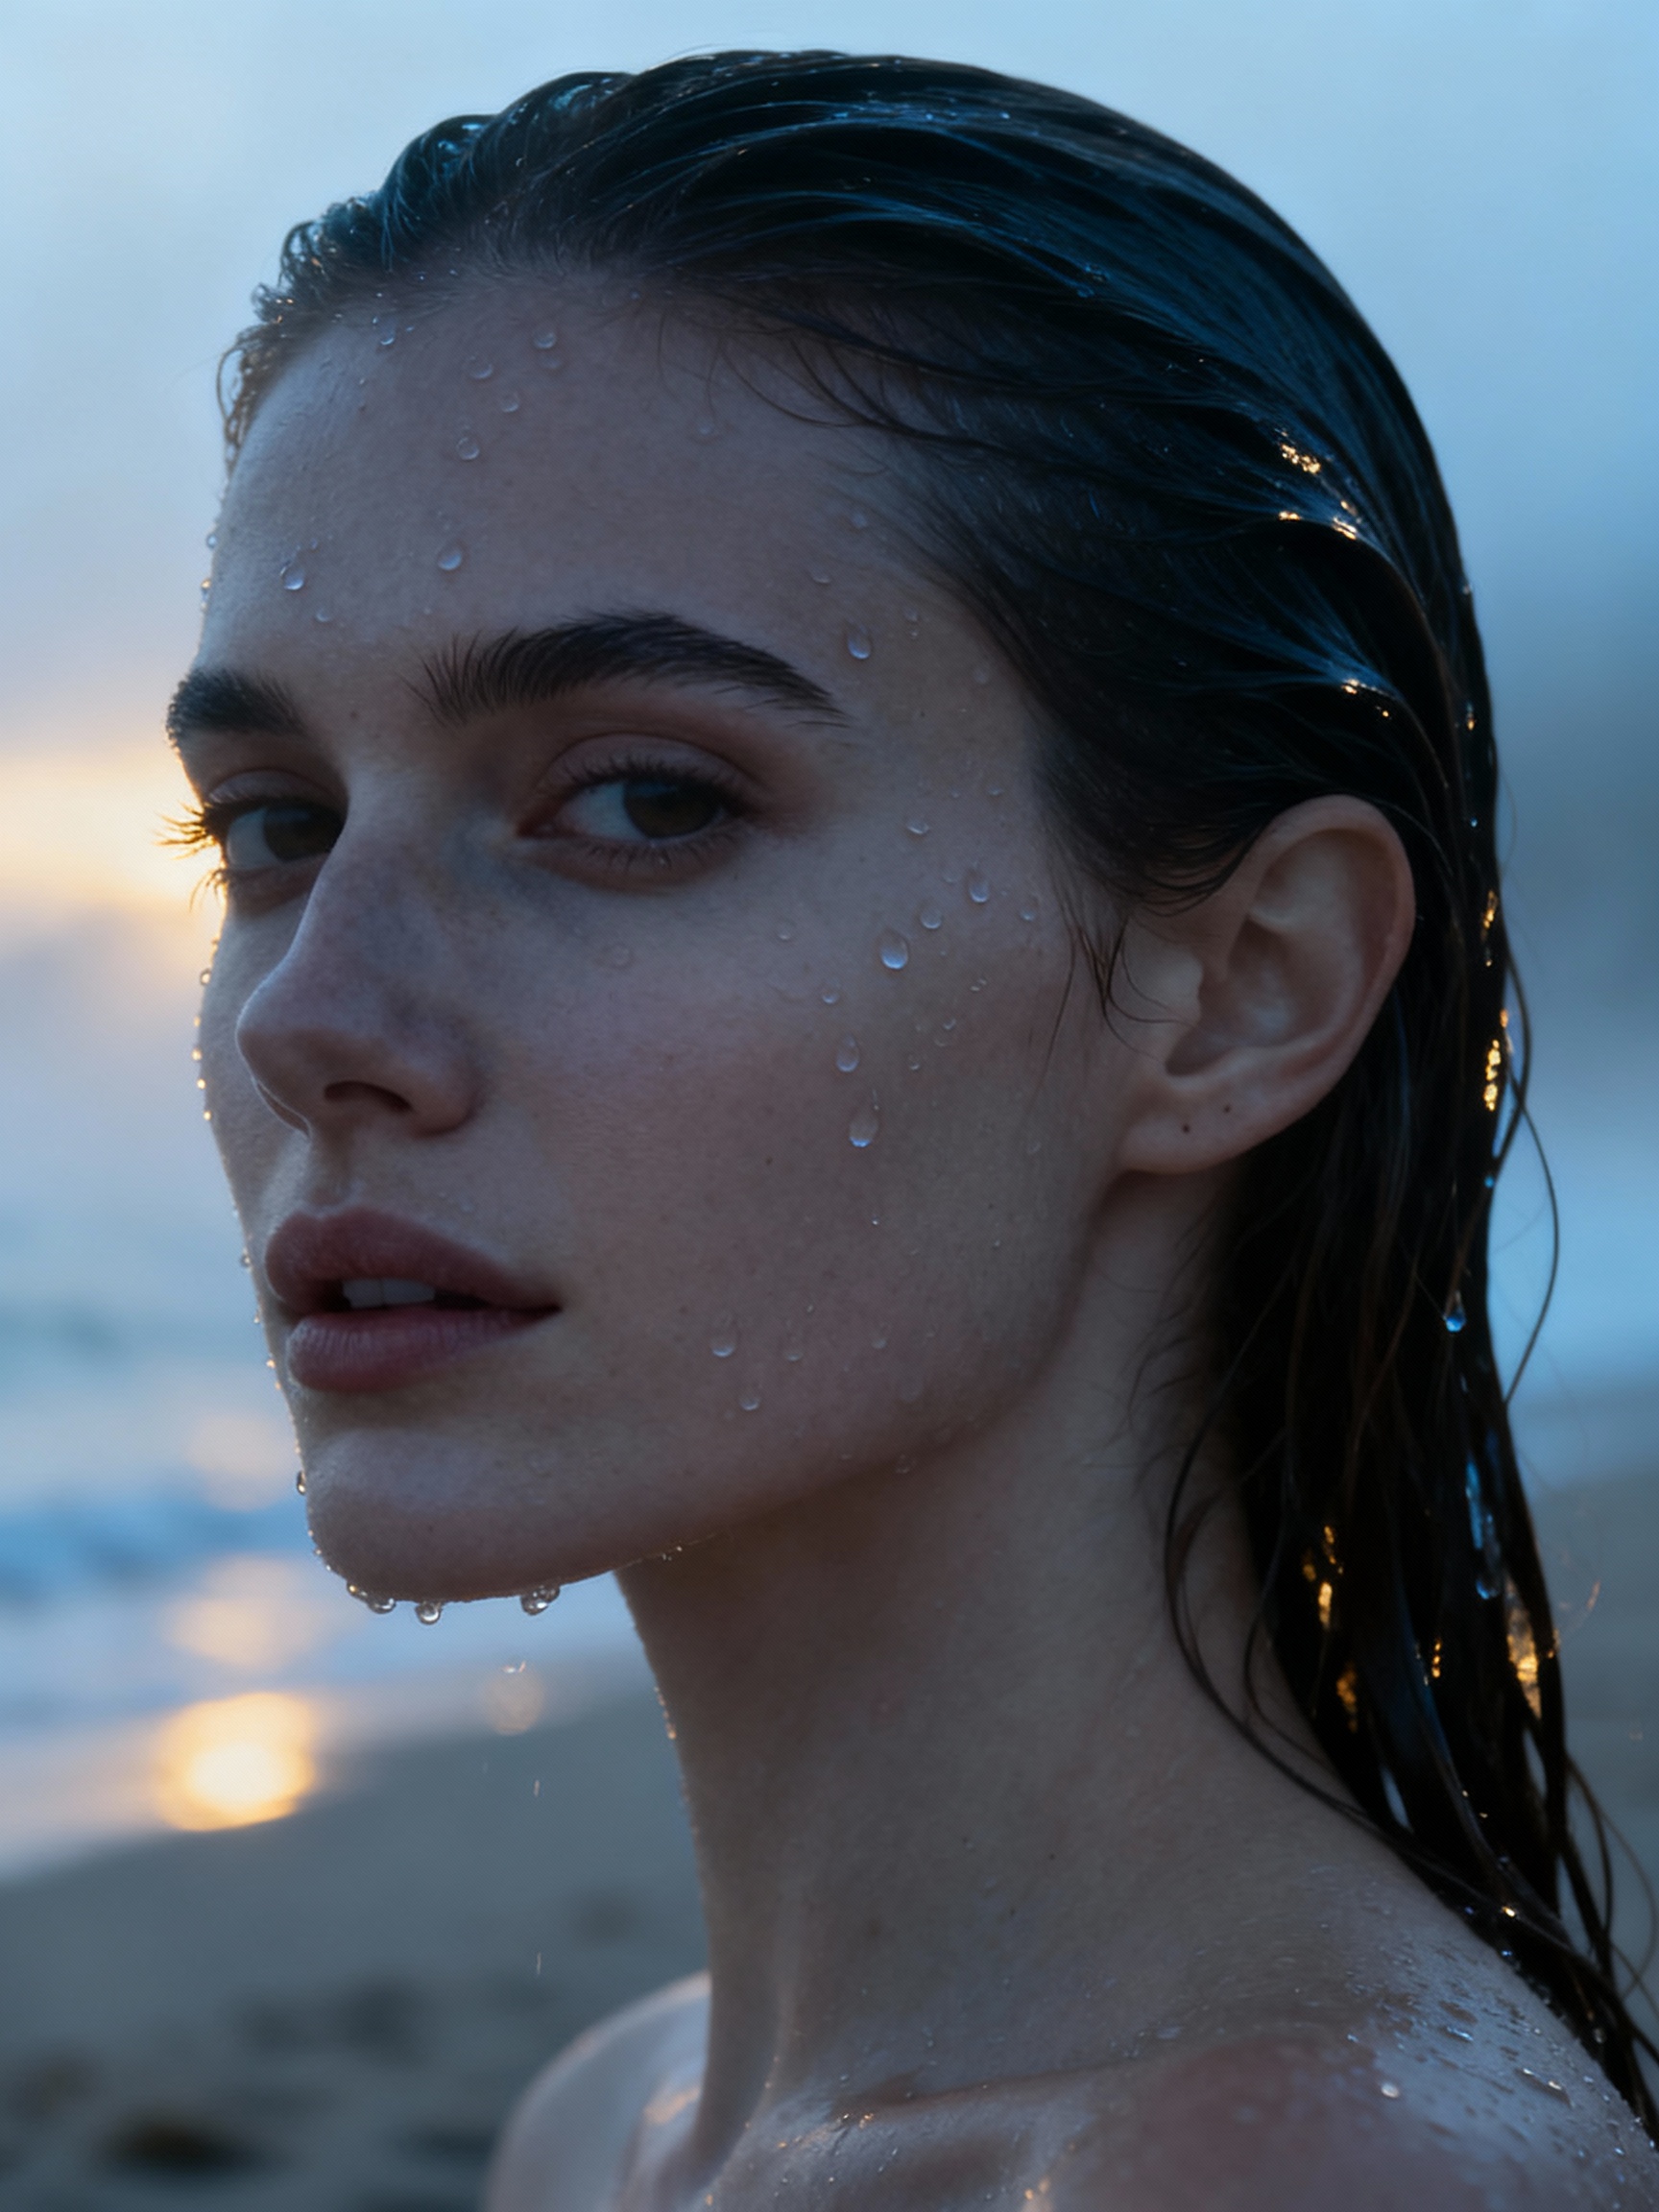
Close-up of a woman with porcelain skin and wet slicked-back hair, seawater droplets on her face. She stands on the misty La Concha beach at dawn, photorealistic.
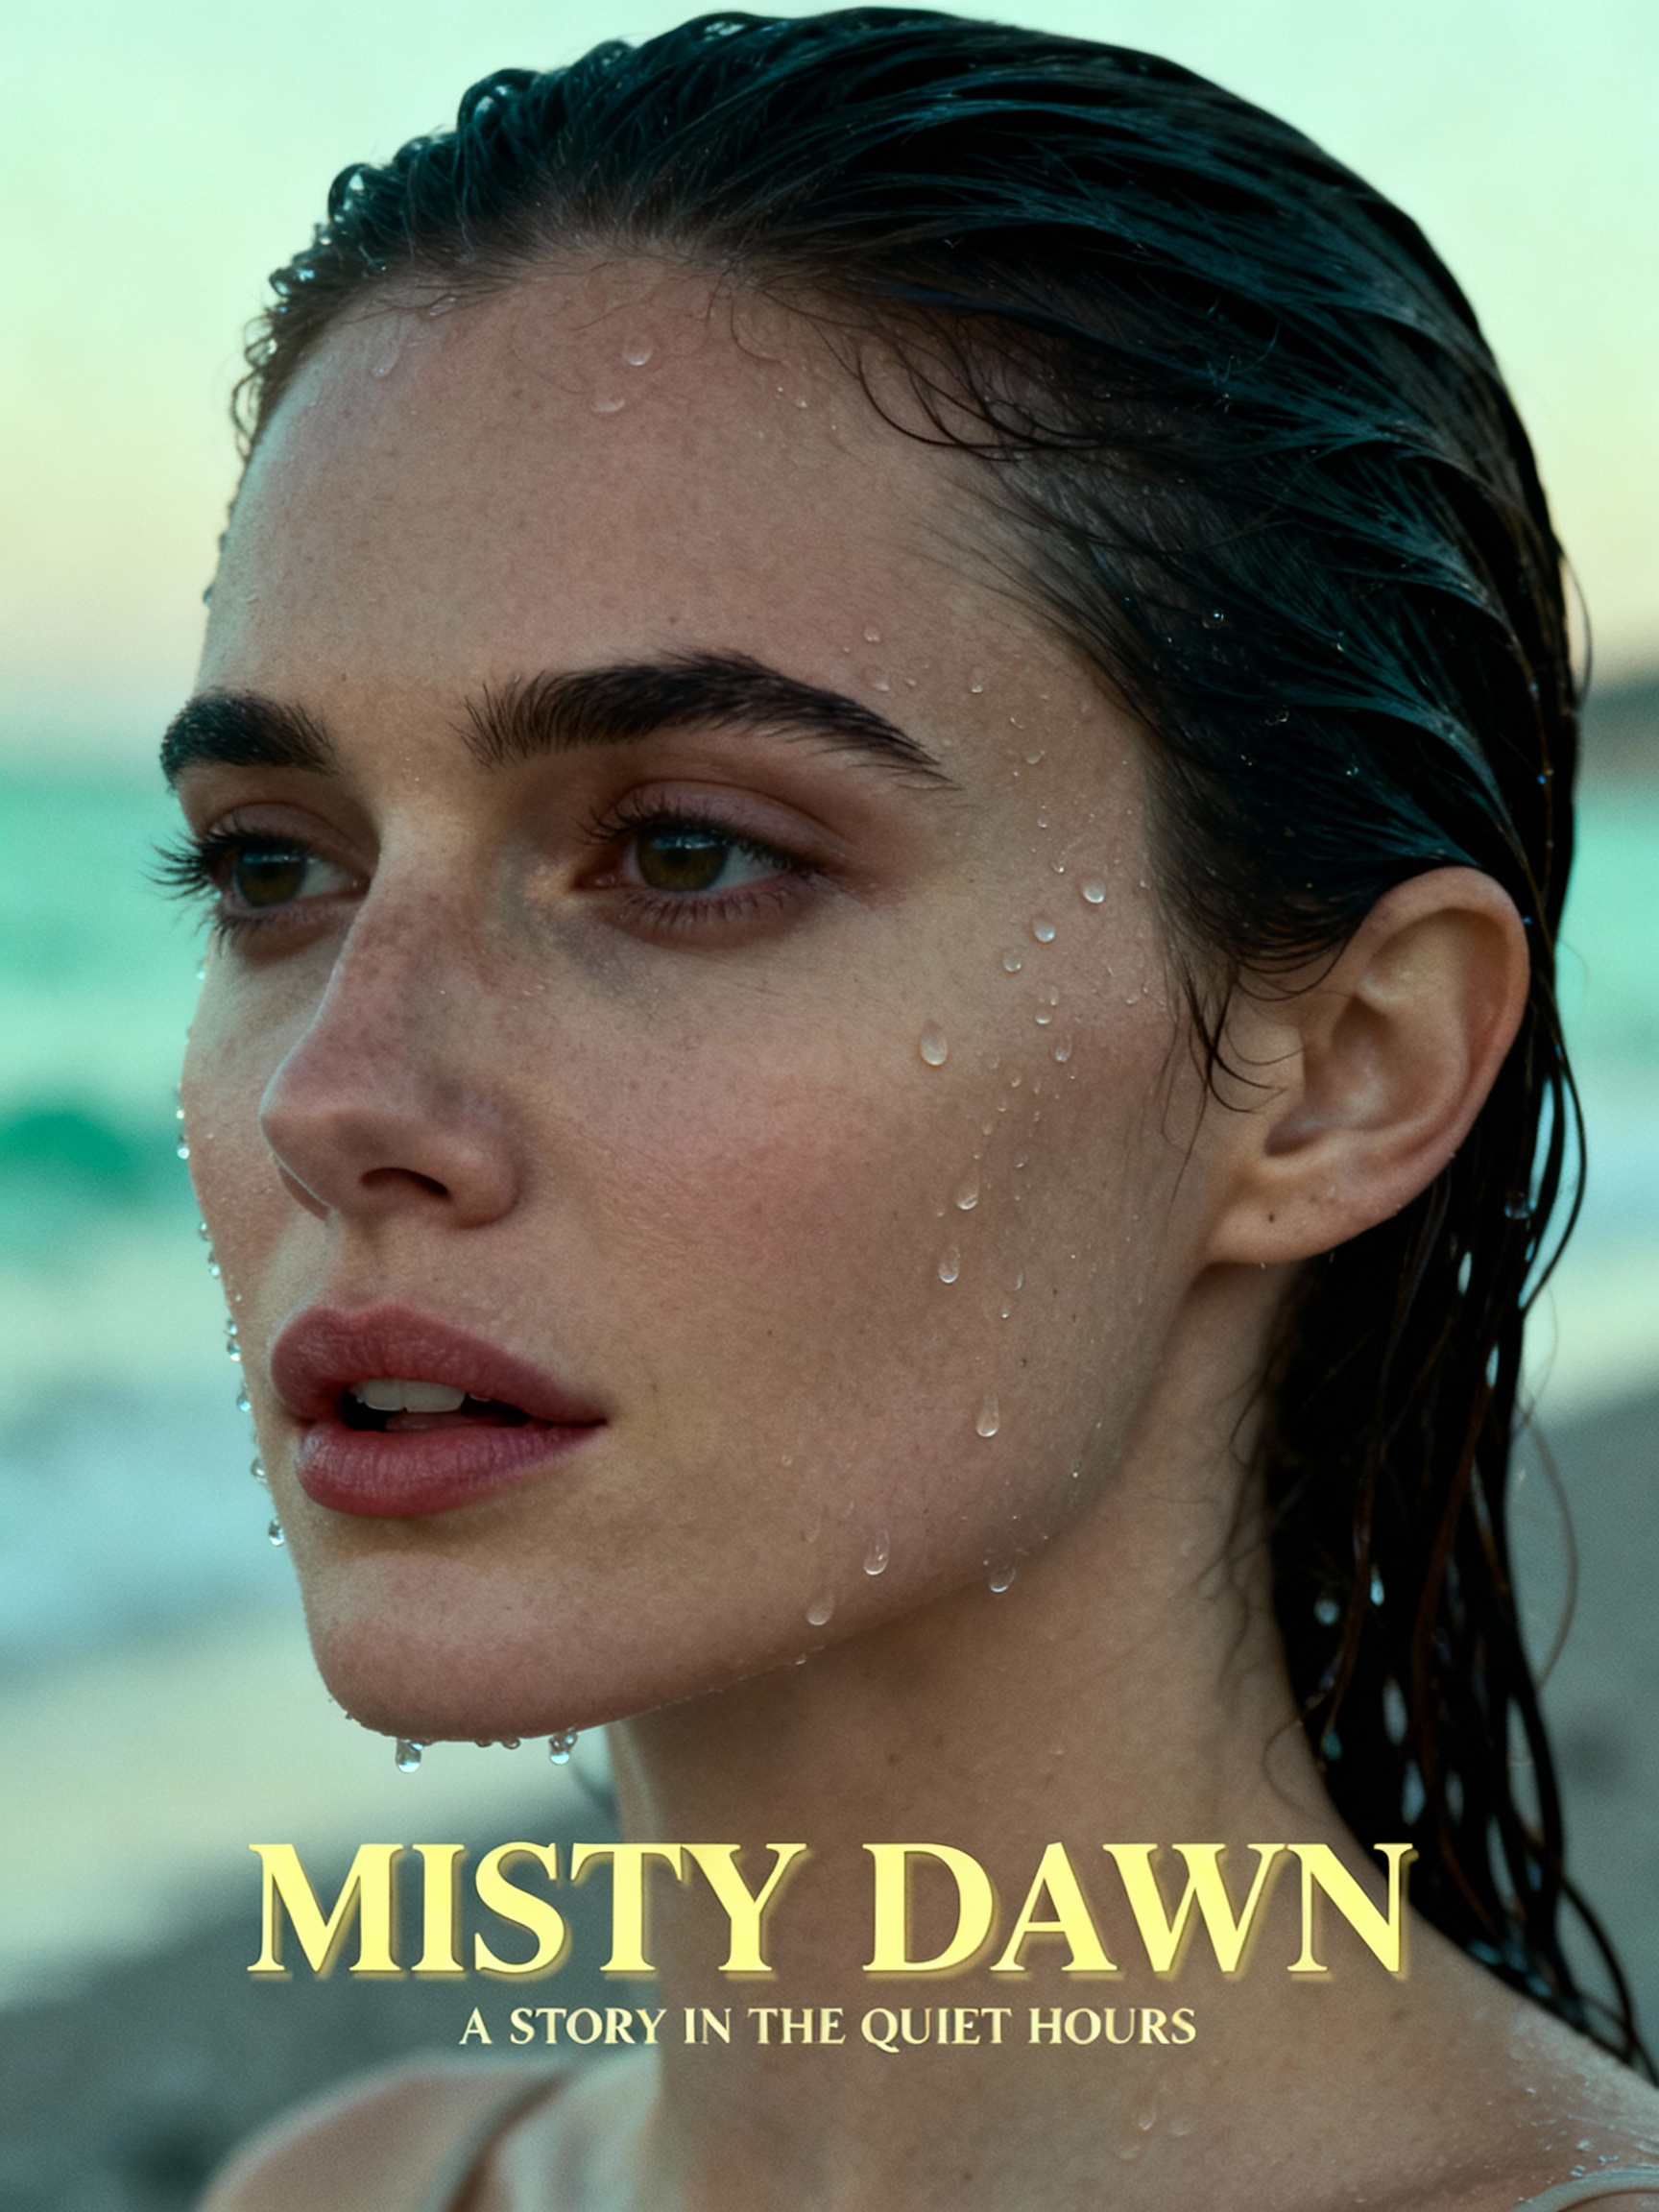
Soft-focus close-up portrait, shot on an 85mm lens at f/2.8, of a woman with porcelain skin and dark wet hair slicked back, seawater droplets visible on her face. Misty dawn light creates cool edge highlights and a gentle fade into as she gazes slightly off-camera, lips softly parted. Behind her, La Concha's shoreline blurs into pale aqua and gray tones with shallow depth of field, finished with cinematic color grading: muted teals, creamy skin tones, and subtle film-like halation around highlights. Add on-screen text: place the title "MISTY DAWN" in a centered, vintage serif, rendered in butter-yellow (#F7E7A1) with slight embossing, warm soft shadow, and gentle film-grain texture, sitting cleanly in the lower-third of the frame without covering her face. Use a symmetrical, pastel-toned layout with refined spacing for an authentic theatrical poster feel. Below the title in tiny uppercase retro serif: "A STORY IN THE QUIET HOURS"
Ready to start creating?
Try these prompting techniques in our AI image creator and turn your ideas into polished visuals.