

In this guide
Permission · Step 1
Pick a streamer who allows clipping
GTA 6 streams are long, loud and full of reactions, which is exactly what short-form feeds reward. Before you post anyone's stream, get their permission. Many streamers run open clipping programs or say in their channel rules that fan clips are welcome.
- Check the streamer's channel rules, Discord or clipping program before you start.
- Credit the streamer and the source stream in every caption.
- Without permission, a clip channel collects copyright claims instead of views and cannot be monetised.
Tip: Choose a streamer who talks through their gameplay. Reactions, rants and hot takes make clips that work without context.
Source · Step 2
Download the VOD and cut it into 20-minute parts
AI Clip takes an uploaded file of up to 20 minutes, so a multi-hour stream goes in as parts. Download the past broadcast with a video downloader the streamer's platform allows, then split it. Skip menus, loading screens and long silent drives; keep the stretches where the streamer is reacting.
- Formats: MP4, MOV, WebM or MKV, up to 2 GB per file.
- Each part must run between 10 seconds and 20 minutes.
- To split a file into 20-minute parts with ffmpeg: ffmpeg -i stream.mp4 -c copy -f segment -segment_time 1200 -reset_timestamps 1 part_%02d.mp4
Tip: Start with the first hour of the GTA 6 gameplay rather than the pre-stream chat. First reactions to a new game clip best.
Upload · Step 3
Upload a part to AI Clip
Open AI Clip, upload one part and keep the tab open while it uploads. AI Clip transcribes everything the streamer says and reads it for moments that would work on their own as a short. You can run up to three videos at the same time.
- Analysis costs 0.06 tokens per minute of video, so a 20-minute part costs 1.2 tokens.
- If a run fails, the tokens come back.
- Your upload and its transcript are deleted 24 hours after the run.
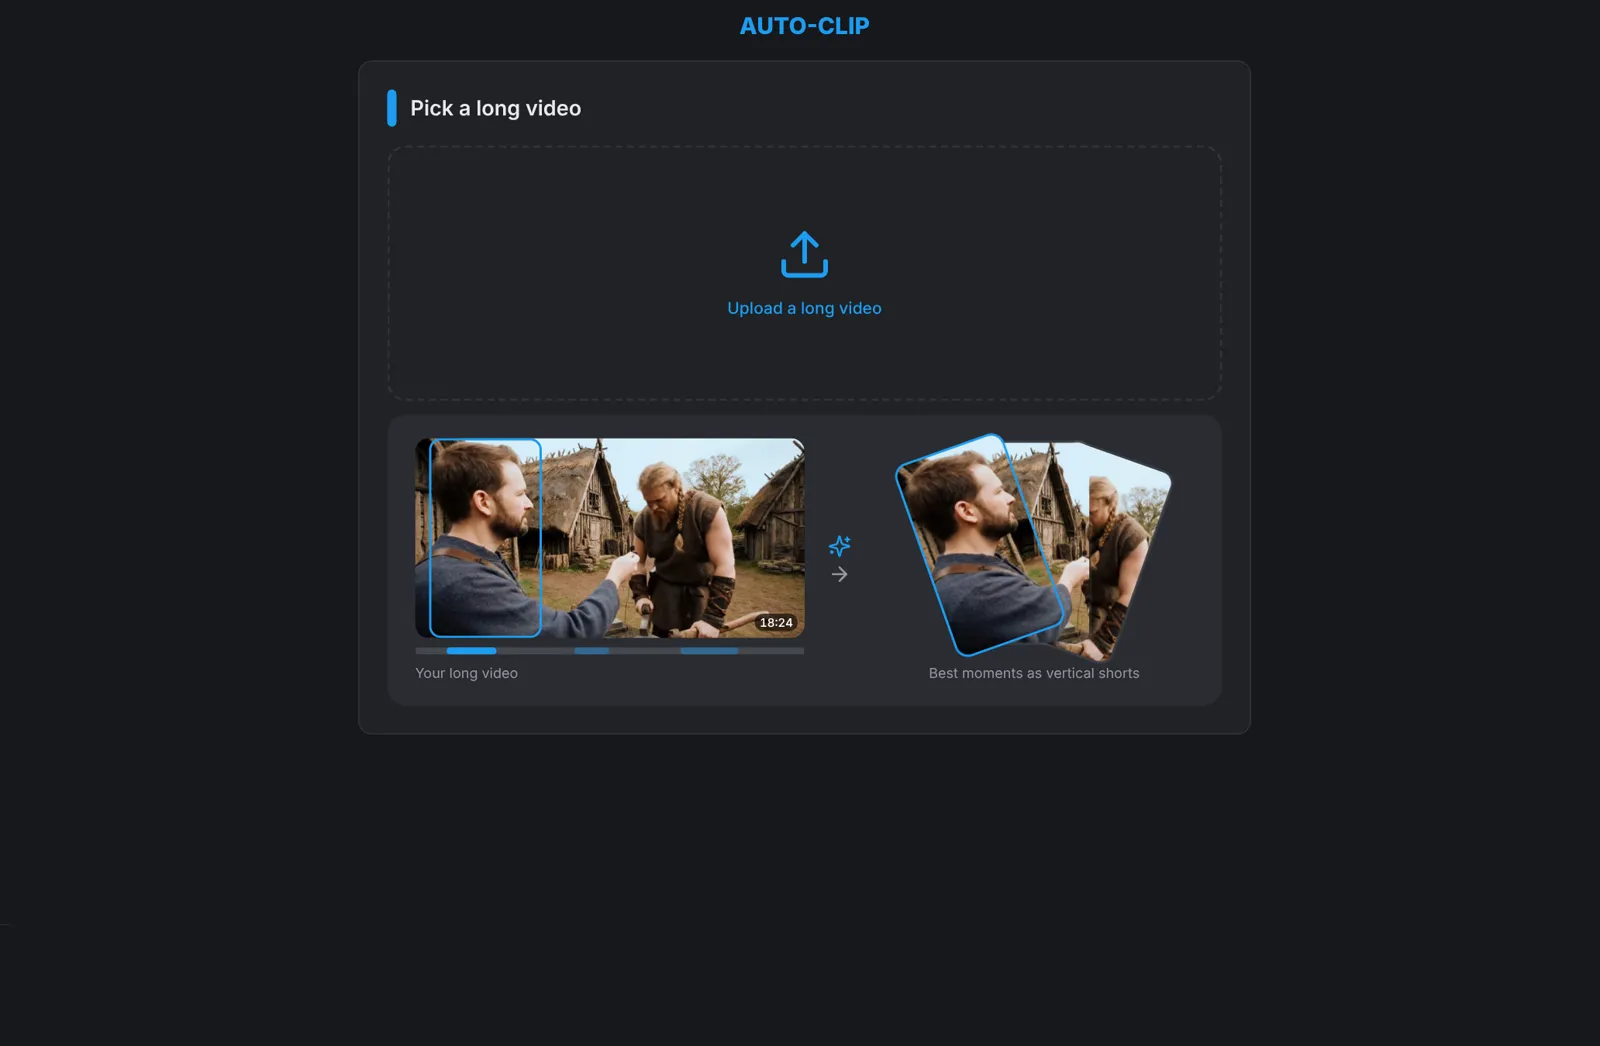
Tip: Name your parts by time (part_01, part_02) so you can track which hour of the stream each clip came from.
Moments · Step 4
Pick the moments worth posting
AI Clip returns up to 10 moments of 15 to 90 seconds, each with a title, a score and one line on why it works. Cuts land on sentence boundaries, so a clip never starts mid-word. Make the ones you like, or make all of them in one go.
- 90 and up: post it today. 70 and up: strong. 50 and up: watchable.
- Read the one-line reason: it tells you what the hook is.
- Cutting a clip is free; you only pay to render the ones you keep.
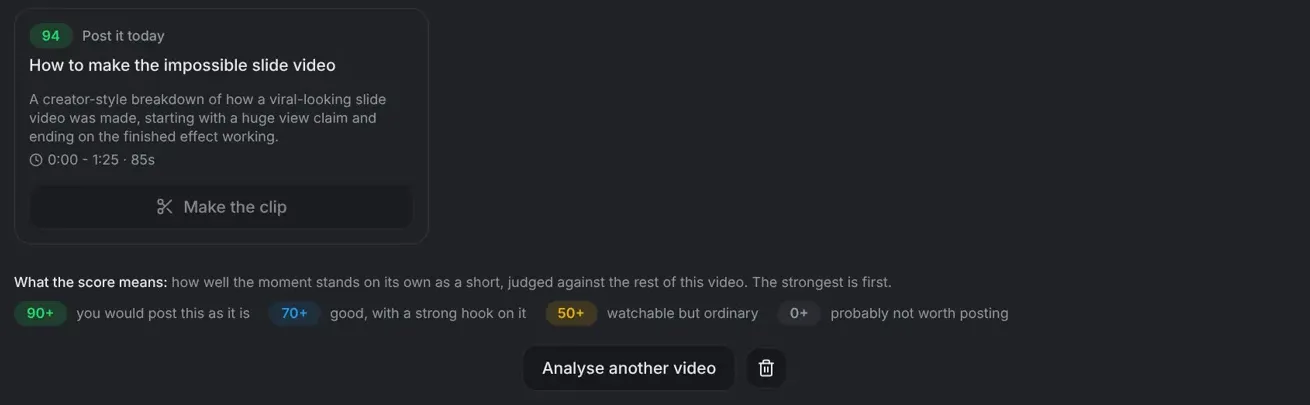
Tip: AI Clip ranks moments from what the streamer says, not from what happens on screen. A silent car chase scores low even when it looks great, so add those by hand.
Polish · Step 5
Add captions, a hook and your watermark
Each clip opens in the editor with captions already placed from the transcript. Auto-polish cuts dead air, levels the audio and adds a hook slot at the top. Use Write me a hook for three opening lines based on what the clip actually says.
- 13 caption styles, from Simple to Karaoke.
- Add your channel watermark so reposts still point back to you.
- Keep the hook short and do not give away the ending.
Tip: Clips use a centred 9:16 crop. Pick moments where the streamer's voice carries the story, so the crop never hides the point.
Post · Step 6
Post and schedule across platforms
Render the clips you keep and post them to YouTube Shorts, TikTok or Instagram Reels straight from aicut, now or on a schedule up to 30 days ahead. Spread a batch out over hours instead of posting everything at once.
- Write titles that tease the moment, such as "Wait for it", instead of spoiling the payoff.
- Use the game and streamer tags people search for, such as #GTA6 and the streamer's name.
- Each platform caps posts per day per account, so pace a large batch over several days.
Tip: Post the highest-scoring clip first, watch its views for a few hours, then schedule the rest.