An AI picture animator is a tool that breathes life into still photos using artificial intelligence. It looks at your image and figures out how to add movement, whether that's a subtle change in someone's expression or a grand, sweeping camera pan across a landscape. The best part? It turns a static moment into a compelling video clip in just a few seconds, making high-quality animation something anyone can do.
Why AI Picture Animators Are a Game Changer
Think back to the old way of creating animations. It meant wrangling complex software, having very specific skills, and spending days (or weeks!) on a single short clip. Those days are over. This new generation of AI animators has completely flipped the script for creators, marketers, and really anyone looking to tell a visual story.
Instead of meticulously editing frame by frame, you can now animate a photo with just a few clicks or a simple text prompt. You could make a portrait photo come alive with a soft smile or take a landscape shot and have the clouds drift lazily across the sky. This isn't just a cool gimmick; it's a powerful way to unlock creative ideas that used to be far too difficult or expensive to produce.
Democratizing Creative Content
The real magic of an AI picture animator is that it's for everyone. You don't need a degree in animation or a high-end workstation to create something visually stunning. This accessibility is sparking a huge wave of creativity.
Here’s a breakdown of what this means for you:
- Move at the Speed of Social: Projects that used to take days now take minutes. This is a massive advantage when you need to pump out content to stay relevant on fast-moving platforms like TikTok and Instagram.
- Keep Your Budget in Check: Forget expensive software subscriptions or hiring freelance animators. These tools make professional-looking video content affordable, even for solo creators and small businesses.
- No Experience Necessary: With intuitive controls and simple text prompts, anyone can jump in and start creating right away, no technical background required.
This isn't just a small trend; it's a market that's absolutely exploding. The Generative AI in Animation market was valued at USD 652.1 million in 2024 and is on track to hit an incredible USD 13.39 billion by 2033. This growth is happening because AI makes the whole process so much simpler. If you want to dive deeper into how this fits into the bigger picture, check out our post on the future of AI video generation.
Choosing the Right AI Picture Animator
Stepping into AI animation for the first time is a blast, but the number of tools out there can be overwhelming. You've got heavy hitters like OpenAI, Google, and Kuaishou all dropping seriously powerful models. So, where do you even start?
The secret isn't finding the single "best" tool—it's about finding the best one for your project.
What you're trying to create should dictate your choice. Are you making a quick, funny clip for a TikTok trend? Or are you aiming for something more cinematic for a YouTube video? The tool that’s perfect for one isn't always right for the other. This flowchart gives you a quick visual on how to think about your project's goals.
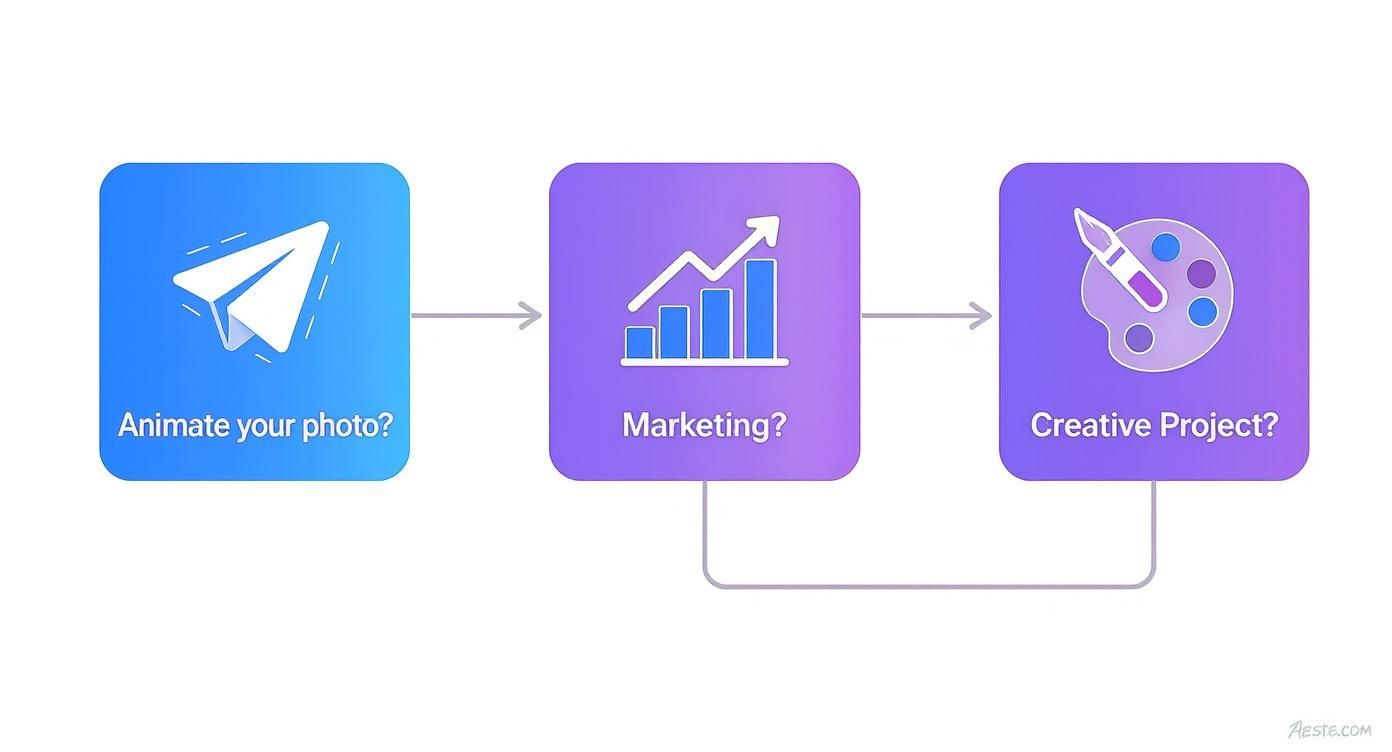
As you can see, knowing whether your video is for social media, marketing, or a personal art project will point you in the right direction from the get-go.
A Look at the Top Models
Right now, a few key players are leading the pack, and they each bring something different to the table. Knowing their strengths will save you a ton of time. Some are built for jaw-dropping realism, while others are all about speed and simplicity for social content.
Here’s a quick rundown of the big three you'll probably come across:
- OpenAI's Sora: This one is famous for its incredible realism and its knack for creating longer, coherent scenes. If you're going for that high-end, cinematic look, Sora is your best bet.
- Google's Veo: A serious competitor that shines with its super clean visuals and ability to nail the details in your prompts. It’s a fantastic choice for polished marketing content where consistency is key.
- Kuaishou's Kling: The standout feature here is its amazing grasp of physics and realistic motion. This makes it a go-to for animating anything with complex movements, like action shots or sports clips.
Don't just chase the most powerful model on the market. The best AI picture animator is the one that fits your creative vision, skill level, and budget. Sometimes a simpler tool is the smarter choice.
Comparing Top AI Picture Animator Models
To really get practical, let's put these models head-to-head. This isn’t just about listing features; it’s about understanding how they perform in real-world situations, so you can pick the one that will actually help you get the job done.
| AI Model | Key Strengths | Best For | Potential Limitations |
|---|---|---|---|
| Sora | Cinematic quality, long clips, prompt accuracy | YouTube intros, short films, high-end marketing | Can be slower to generate, higher learning curve |
| Veo | High-fidelity visuals, brand consistency | Product showcases, advertisements, consistent character animations | May have stricter content filters |
| Kling | Realistic motion physics, dynamic action scenes | Sports clips, action sequences, complex movement | User interface may be less intuitive for beginners |
Choosing the right tool is a big decision, and this table just scratches the surface. For a deeper dive, check out The Ultimate Guide to Image-to-Video AI Generators for even more options.
And remember, sometimes the creative process starts before you even have a photo. If you need to generate a character from scratch to animate, tools like free anime avatar makers can be a great place to start. The best way to learn is to experiment, so try a few out and see which one feels right for you.
Prepping Your Images for Flawless Animation
Before you can bring a photo to life with an AI picture animator, you’ve got to give the algorithm a solid canvas to work with. I always think of it like a chef prepping ingredients—the final dish is only as good as what you start with. A stunning animation truly begins with a fantastic source image.
This prep phase is your pre-flight check for a smooth creative process. Honestly, spending just a few minutes here can be the difference between a mesmerizing clip and something that looks glitchy and awkward. It’s all about setting your project up for success before you even think about a prompt.
Start with High-Resolution Images
Rule number one: avoid blurry or low-res photos at all costs. An AI animator needs crisp details to understand all the different parts of your picture. When the input is fuzzy, the AI has to guess, which almost always leads to distorted or "melty" animations that just don't look professional.
Always aim for the highest resolution you have. A sharp, clear image provides more data for the AI to process, which translates into cleaner motion, better facial expressions, and more believable background effects. Bottom line: a great animation can't save a bad photo.
I see this all the time—people grab a compressed image from social media. For the best results, always dig up the original, full-sized file from your camera or phone. It makes a huge difference.
Crop for Your Target Platform
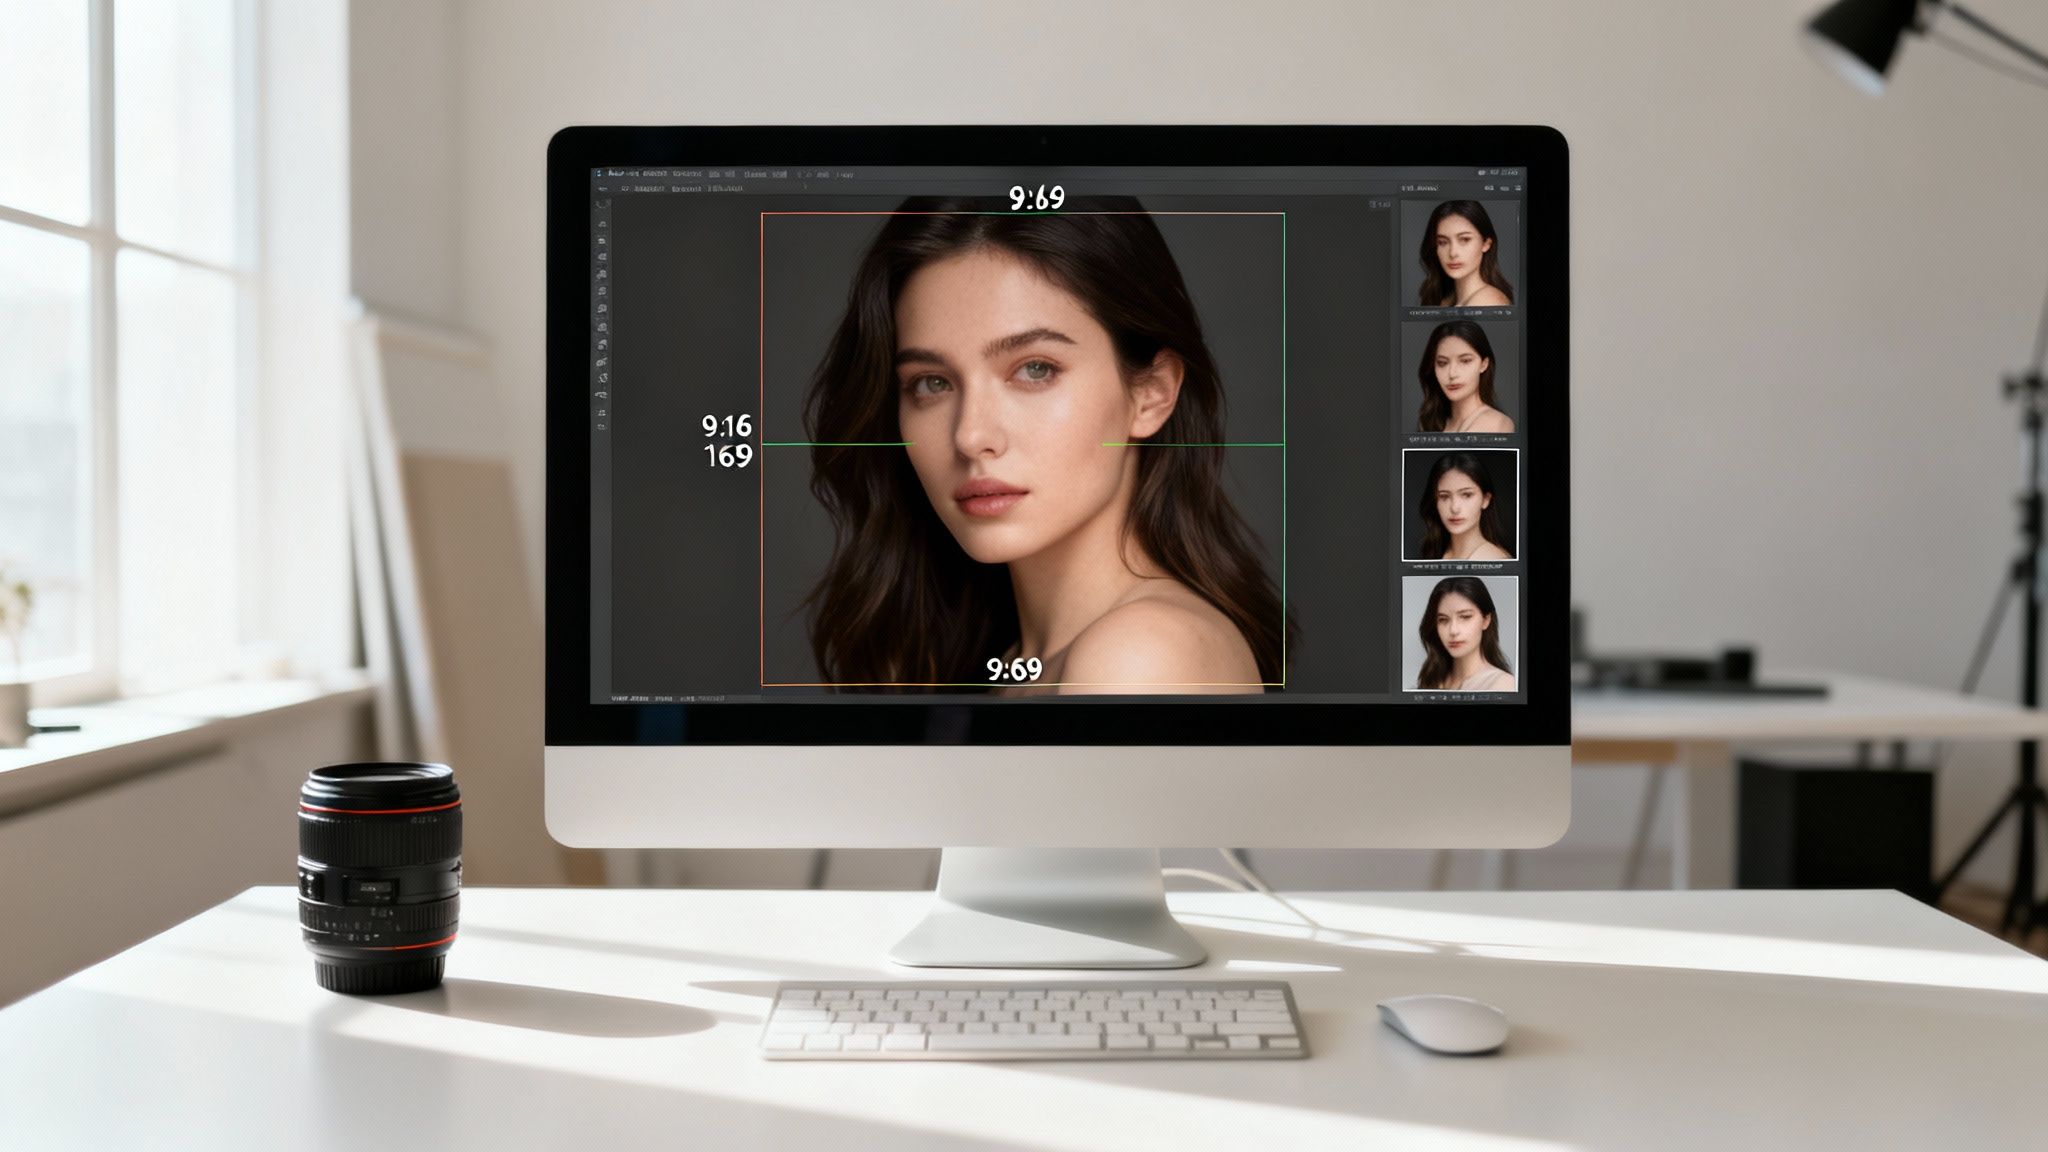
Where is this animation going to live? The answer to that question should dictate how you frame your shot. A video for TikTok or Instagram Reels needs that vertical 9:16 aspect ratio, while a YouTube video works best in a horizontal 16:9 format. Cropping your image to the correct dimensions before you animate is non-negotiable.
Doing this ensures your main subject is perfectly centered and nothing important gets chopped off when you post. Most photo editing tools, including the one built into Aicut, have presets for these common social media dimensions, so this step only takes a second.
Clean and Enhance Your Subject
For the AI to really work its magic, your subject needs to stand out. A cluttered or busy background can easily confuse the animator, causing it to apply motion to the wrong areas. Before you jump into animation, take a moment to simplify the scene.
Here are a few practical tips I use to make my subjects pop:
- Remove distractions: Use a healing or clone tool to erase any unwanted objects or people from the background. Get rid of the noise.
- Boost the lighting: I often slightly increase the brightness and contrast on my main subject to really draw the eye.
- Sharpen key features: If you're animating a person, subtly sharpening their eyes and other facial features helps the AI lock on and create much more realistic expressions.
Think of these small adjustments as signposts telling the AI exactly where to focus. By cleaning up your image and directing the focus, you're guiding the AI picture animator to produce a flawless and captivating video clip every single time. This groundwork is what ensures the technology enhances your vision instead of fighting against a messy input.
Crafting Prompts That Bring Your Vision to Life
Think of the prompt as your direct line to the AI—it’s how you go from just an idea to the director of your own short film. Getting past basic commands like "make this photo move" is where the real fun begins. It’s all about mastering the art of the prompt to control every little motion, the camera angles, and the overall mood of your animation.
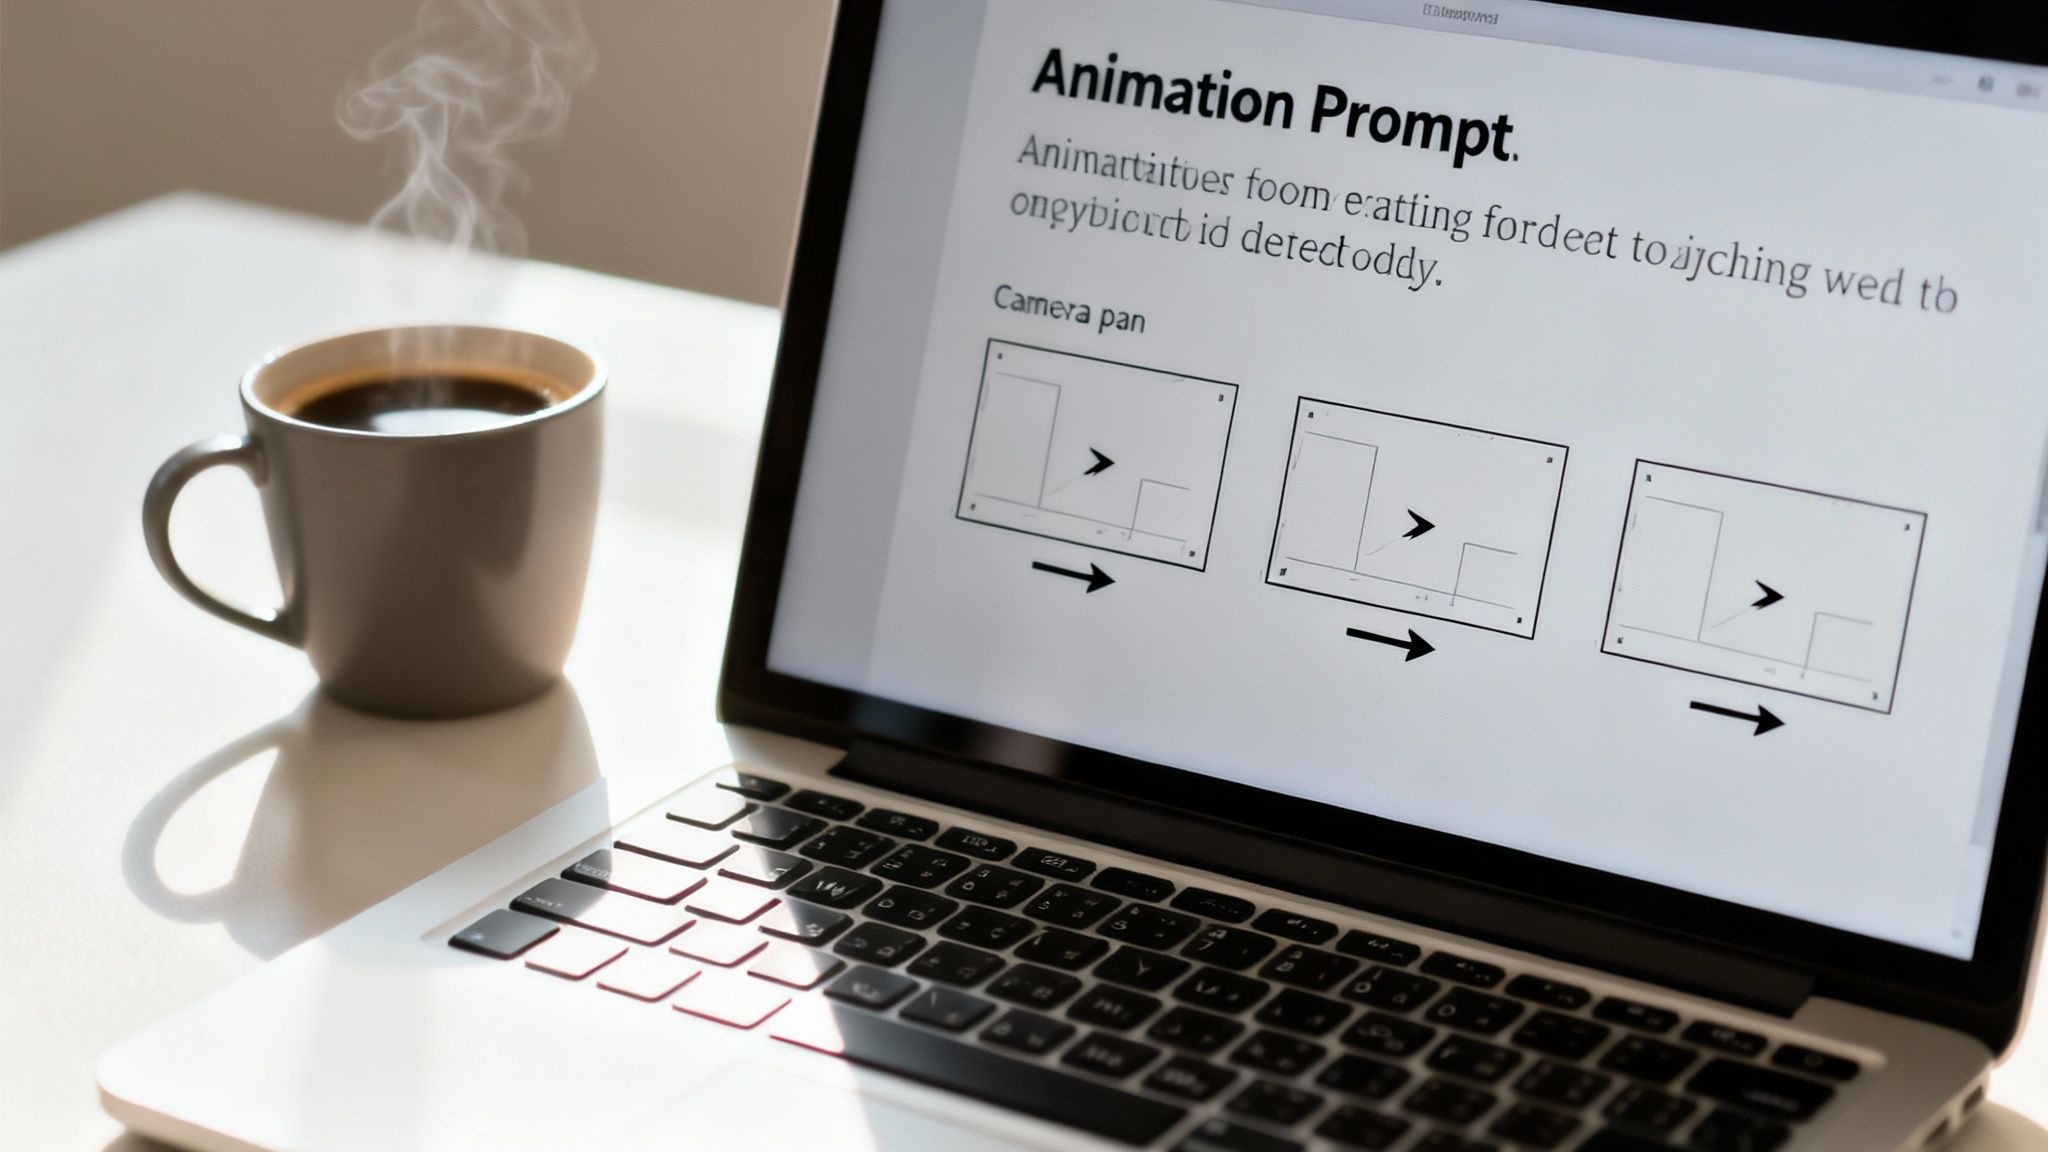
A simple prompt is a suggestion. An advanced prompt is a detailed script. Instead of just telling the AI to "animate the coffee," you can get so much more specific. Try something like, "subtle steam slowly rising from the coffee cup, gentle morning light drifting in from the right." That level of detail gives the AI a clear roadmap, and the result is a far more polished and believable animation.
Mastering Motion and Camera Control
The best prompts I've seen usually juggle two key things: the action of your subject and the movement of the virtual camera. When these two elements work in concert, you get a scene that really pulls the viewer in.
Here are a few proven formulas you can play with:
- Subject-First Prompt: Start with your main subject and describe exactly what they're doing.
- Example: "A woman with brown hair, her eyes slowly blink and a gentle smile forms on her face."
- Camera-First Prompt: Lead with the camera’s movement to set the scene's perspective from the get-go.
- Example: "Cinematic camera pan from left to right, revealing a serene mountain landscape at sunrise."
- Environmental Prompt: Focus on the background and atmospheric details to build a specific mood.
- Example: "Golden hour sunlight filtering through the trees, leaves gently rustling in a light breeze."
This kind of granular control is a huge reason why the creative industries are seeing such massive growth. The global animation industry is on track to hit nearly $895 billion by 2034, and the AI animation software market is projected to reach around $2.2 billion by 2031. This boom is happening because tools are finally giving creators precise, prompt-based control over their work. You can read more about this industry shift at superagi.com.
Fine-Tuning with Negative Prompts and Intensity
Sometimes, what you don't want in your animation is just as important as what you do. That’s where negative prompts become your best friend. They’re the perfect tool for getting rid of weird artifacts or unwanted effects. If you're seeing strange distortions, just add (--no blurry, distortion, warped) to your prompt to tell the AI what to avoid.
A great prompt tells the AI what to do. An expert prompt also tells it what not to do. Using negative prompts is one of the fastest ways to level up the quality of your animations.
You can also dial in the motion intensity. Most AI animators let you define how strong the movement should be. You could ask for a "subtle facial twitch" for a hyper-realistic portrait or a "dramatic, sweeping action" for a high-energy clip. Playing around with different intensity levels is key to finding that sweet spot for your project.
For a deeper dive, check out our comprehensive guide to writing effective text prompts for more advanced techniques.
Exporting and Sharing for Maximum Impact
https://www.youtube.com/embed/n8bgxaFztW0
You've done the creative work and brought your image to life. Now comes the final, crucial step: getting it out into the world. How you export your video can make the difference between a crisp, professional animation that stops scrollers in their tracks and a blurry mess that gets ignored.
Many AI animators create the initial video at a lower resolution to keep things moving quickly. That’s where upscaling comes in. Think of it as a final polish, using AI to intelligently boost the video's resolution. This sharpens all those little details and gets rid of any pixelation, giving you that clean, high-definition look. Tools like Aicut often have this built right in, which is a lifesaver for making sure your work looks great, even on a big screen.
Tailoring Your Video for Each Platform
Every social media platform has its own secret recipe for video. If you upload a file with the wrong specs, the platform's algorithm will aggressively compress it, and all your hard work will be lost to pixelation. Trust me, you've come too far to let that happen.
The good news is that getting this right is pretty straightforward. You just need to match your export settings to the platform you’re targeting.
Don’t guess your export settings. Using the correct format, resolution, and frame rate for your target platform is the single best way to avoid ugly compression artifacts and present your animation in the best possible light.
A Quick Cheat Sheet for Perfect Exports
I recommend bookmarking this little guide. It’s my go-to for making sure every animation is perfectly optimized for the platform I'm posting on.
| Platform | Resolution | Frame Rate (FPS) | Recommended Format |
|---|---|---|---|
| TikTok | 1080x1920 (9:16) | 30 or 60 FPS | MP4 |
| Instagram Reels | 1080x1920 (9:16) | 30 or 60 FPS | MP4 |
| YouTube Shorts | 1080x1920 (9:16) | 24, 30, or 60 FPS | MP4 |
| YouTube (Standard) | 1920x1080 (16:9) or 4K | 24, 30, or 60 FPS | MP4 |
With your masterpiece exported and ready, think about other ways to tell stories with your images. For instance, you could create engaging photo slideshows, which is another fantastic way to turn still photos into something more dynamic. When you have both AI animation and classic techniques in your toolkit, you're ready for any creative challenge.
Got Questions About AI Picture Animators? We’ve Got Answers.
Jumping into AI animation is a blast, but it’s normal to have a few questions pop up along the way. Whether you're stuck on a specific problem or just curious about how it all works, getting good answers is what turns confusion into confidence.
We've pulled together the most common questions we hear from creators. Let's clear up the confusion so you can get back to making something awesome.
What Kind of Pictures Work Best for This?
The old saying "garbage in, garbage out" has never been more true. The magic of your final animation starts with the quality of your source image. For the best results, you'll want to use high-resolution, well-lit photos with a clear subject.
Images where your main subject really pops from the background are ideal—they give the AI a clean slate to work with. If you're animating a person, a portrait where they're looking at the camera with a fairly neutral expression provides the most flexibility. Try to avoid photos that are blurry, poorly lit, or filled with chaotic patterns, as these can easily trip up the AI and produce some... weird results.
A simple, clean composition is your secret weapon. The less visual noise the AI has to sort through, the more impressive and believable your final animation will be.
At the end of the day, a high-quality, straightforward photo is almost always the key to a professional-looking animation.
Can I Control Exactly How the Picture Moves?
Your level of control really hinges on the specific AI tool you're using. Most modern animators put you in the director's chair through text prompts, letting you describe the scene you want to create.
You can get pretty specific with descriptions like, "wind gently blowing through her hair" or "a slow, cinematic camera zoom-in on the mountain peak." Some of the more advanced platforms even offer motion brushes, which let you literally paint the direction and speed of movement right onto parts of your image. You won't get the microscopic, frame-by-frame control of traditional animation software, but a well-written prompt gives you a surprising amount of power over the final look and feel.
How Do I Keep Animated Faces from Looking Creepy?
Ah, the "uncanny valley"—that unsettling feeling when an animation is almost human but just a little off. It's a classic hurdle in AI animation, especially with faces, but you can definitely steer clear of it.
The secret is to start small. Instead of going for a big, toothy grin right off the bat, begin with something subtle, like a gentle eye blink or a slight head nod. Use prompts that describe natural, low-key emotions.
- Try prompts like: "a thoughtful expression" or "a subtle, gentle smile."
- Keep it short: A 3-4 second clip with delicate motion is often far more believable than a longer one with over-the-top movements.
- Focus on one thing: Animating a single, simple action like a nod works much better than trying to cram in multiple complex expressions at once.
By aiming for nuance, you can create animations that feel authentic and really connect with your viewers.
What About Copyright? Am I Going to Get in Trouble?
Copyright for AI-generated media is a hot topic, and the rules are still being written. The answer really boils down to two things: the image you started with and the AI tool's specific rules.
If you're using a photo you own the rights to (like one you took yourself), you're on much safer ground. However, the final animation is almost always governed by the terms of service of the platform you used. Some tools give you full commercial rights to whatever you create, while others might have restrictions or require a paid plan for commercial use.
It is absolutely crucial to read the terms and conditions of your chosen AI animator before you use your creations for business. Taking a few minutes to do this upfront can save you from a massive headache later on.
Ready to stop wondering and start creating? With Aicut, you can transform your static photos into captivating videos in minutes. Join over 500,000 creators using our platform to produce viral content for YouTube, TikTok, and Instagram with ease. Try Aicut for free and bring your images to life today!