
So, what exactly is an AI video quality enhancer? Think of it as an intelligent tool that automatically sharpens, de-noises, and upscales your video clips. It’s designed to take low-resolution or grainy footage and transform it into something crisp and high-definition.
This tech can literally rescue video that you might have previously written off as unusable. For anyone creating content today, it’s a massive leap forward, giving you professional-looking results without needing a Hollywood budget for gear.
Why AI Video Enhancement Is No Longer Optional
Not too long ago, fixing bad video was a brutal, time-intensive process. It was a job for seasoned post-production pros who had access to incredibly expensive software. Now, AI has completely changed the game, making high-end video restoration available to pretty much everyone. We’re talking indie filmmakers, marketers, and even people just trying to preserve old family videos.
This isn't just about a minor touch-up. It's about fundamentally rethinking what you can do with your existing footage.
The magic happens when the AI intelligently analyzes and rebuilds the video, pixel by pixel. Instead of just crudely stretching a small image to make it bigger, these AI models have been trained on countless hours of video. They've learned what a high-quality version should look like. This allows them to add in realistic detail, clean up digital noise from shots filmed in bad lighting, and fix those blocky compression artifacts you see in downloaded clips.
From Niche Tool to Mainstream Solution
The demand for high-quality video is exploding, and you can see it in the market's growth. The AI Video Upscaling Software Market is on track to jump from $670 million in 2025 to over $5 billion by 2035. That’s not a small shift; it tells you just how critical this technology is becoming in professional workflows.
What’s pushing this growth? A few key things:
- Audience Expectations: People scrolling through YouTube or TikTok have high standards. If your video is blurry or grainy, they’ll just keep scrolling.
- It’s Just Easier Now: Tools like Aicut have taken powerful enhancement features and wrapped them in a simple, automated package. The barrier to entry is gone.
- Breathing New Life into Old Content: Marketers can now dig up old ad campaigns or low-res user videos and upscale them for modern 4K displays, saving a ton of money on reshoots.
The real power of an AI video quality enhancer is that it rescues your creative vision. It bridges that frustrating gap between the footage you managed to capture and the professional quality you need to make an impact.
You can see how straightforward the process is in the Aicut interface. It lays out clear options for upscaling and restoration without a bunch of confusing technical jargon.
This kind of user-friendly design means you can focus on the creative side of things instead of getting lost in complex settings. If you're serious about your video work, using a tool for AI video upscaling isn't a "nice to have" anymore—it's a core part of producing polished content that actually grabs and holds people’s attention.
A Practical Workflow for Enhancing Your Videos
Getting professional-looking results from an AI video enhancer isn't a one-and-done deal. You can't just hit a button and expect magic every time. The secret is to follow a smart workflow that gives the AI the best possible starting point and guides it toward the results you actually want. When you break it down into a few key stages, you can consistently turn unusable clips into polished, valuable assets.
This workflow is all about transformation—taking a low-resolution source, feeding it through the AI, and getting a crisp, high-definition result on the other side.
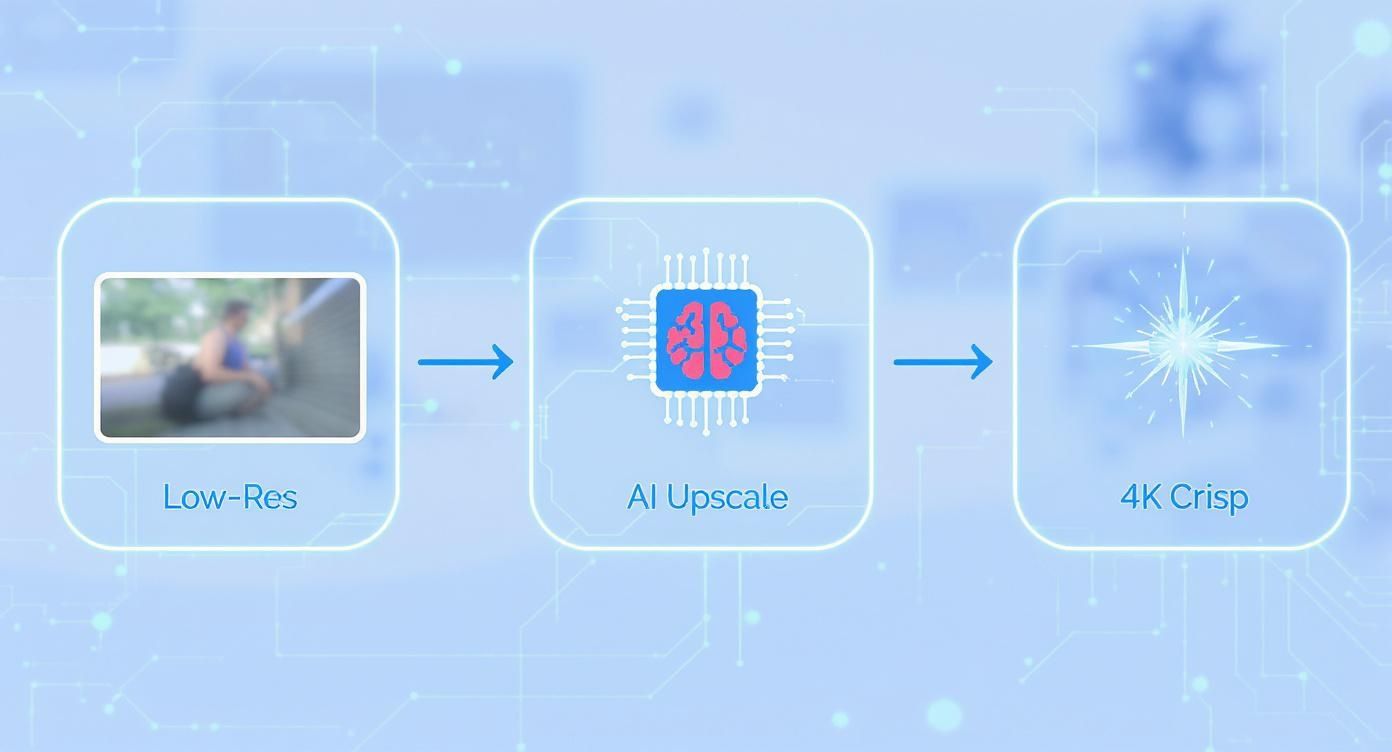
The AI is the engine here. It’s intelligently rebuilding pixels to pull out detail that simply wasn't visible before.
Preparing Your Footage for AI
First things first: you have to choose the right footage. The old "garbage in, garbage out" saying is true, but with a twist. An AI can clean up a surprising amount of "garbage," but it really shines when you give it the right kind of material to work with.
So, what should you look for? Think about which clips in your library have the most potential. Good candidates often include:
- Old family videos: Those digitized VHS or MiniDV tapes are a goldmine. They’re naturally low-res and full of noise, which AI is great at fixing.
- Compressed social media downloads: Ever saved a video from Instagram or Facebook? The aggressive compression creates blocky artifacts that AI can smooth out beautifully.
- Archival or stock footage: Older clips can look seriously dated on a modern 4K screen. AI enhancement can make them feel fresh again.
- Drone footage: Even high-end drones can produce video that’s a bit soft. AI can add that extra bit of sharpness that makes the footage pop.
Before you upload anything, do a quick trim. If you only need a 15-second clip from a 10-minute video, just process that small segment. It's a massive waste of time and processing power to enhance footage you’re not even going to use. This one simple step will speed everything up.
Choosing Your AI Model and Settings
With your clip prepped and ready, it's time to pick your tools. Not all AI enhancements are created equal. A good tool like Aicut offers specific models for different problems, giving you way more control over the final look and feel.
You'll usually see a few core options to choose from:
- Upscaling: This is the main event. Choosing 2x or 4x upscaling is the most common decision. If you have a 720p clip that needs to fit into a 4K project, 4x is the obvious choice.
- Denoising: This is your best friend for footage shot in low light. Just be careful not to crank it up too high, or you can end up with a "plastic" look, especially on skin tones.
- Deinterlacing: Absolutely essential for old broadcast footage or clips from older camcorders. Interlaced video creates those weird horizontal lines during motion, and this setting rebuilds the frames to look clean and modern.
If you're just starting out, don't sweat the details too much. Many tools have automated settings that analyze your clip and pick the best approach for you. Our platform simplifies this with a straightforward, one-click AI video upscale process that handles all the complex decisions behind the scenes.
A pro tip: always run a short, 5-second test clip first. Try a couple of different settings and compare the results side-by-side. This saves a ton of time by letting you see what works before you commit to rendering the entire video.
Review and Refine the Output
After the AI has done its thing, your job isn't over. This final review stage is crucial. AI is incredibly powerful, but it’s not infallible. You need to watch the enhanced video carefully and look for common artifacts that might require another pass with slightly different settings.
Here’s what to keep an eye out for:
- Motion Shimmer: Notice how fine patterns on a brick wall or a fabric shirt seem to "crawl" or shimmer when the camera moves? This is a common artifact. Reducing the sharpening level can usually fix it.
- Waxy Faces: Aggressive denoising can sometimes make faces in wider shots look unnatural or waxy. If you see this, try dialing back the denoise setting or using a model that's specifically designed for people.
- Over-sharpening Halos: Look closely at hard edges. See any faint, bright outlines? That’s a classic sign of over-sharpening. A quick re-process with a lower sharpening value will clear it right up.
Taking the time to do this final review is what separates amateur results from professional ones. Making these small refinements ensures your final video looks naturally crisp, not like it was obviously processed by a machine.
Getting Your Export Settings Right for Social Media
https://www.youtube.com/embed/DHSw4yghUZs
You’ve put in the work, using an AI video enhancer to make your footage look incredible. But all that effort can go down the drain the second you upload it. Social media platforms use aggressive compression that can re-introduce noise, blockiness, and all the other artifacts you just removed.
The trick is to export a file that plays nice with their algorithms. You're essentially handing them a video that's so well-optimized, they don't have to squash it into oblivion. This all comes down to picking the right codec, bitrate, and resolution for each specific platform.
Optimal Export Settings for Popular Platforms
To save you some time, here's a quick-reference table I've put together based on countless hours of testing. These are the settings that consistently deliver the best results, minimizing compression artifacts and keeping your AI-enhanced details sharp.
| Platform | Recommended Resolution | Codec | Target Bitrate (Mbps) | Frame Rate (FPS) |
|---|---|---|---|---|
| YouTube | 1080p or 4K | H.264 | 10-15 (1080p), 35-45 (4K) | Up to 60 |
| TikTok | 1080x1920 | H.264 | 8-12 | 30 |
| 1080x1920 (Reels) | H.264 | 8-12 | 30 |
Think of this table as your starting point. Following these guidelines gives your video the best possible chance of looking great after it's been processed by YouTube, TikTok, or Instagram.
Mastering YouTube Exports
When it comes to YouTube, quality is king. Viewers are often watching on large monitors or TVs, so you need to give the platform a pristine master file to work with.
Diving into a few YouTube video optimization strategies reveals a key secret: YouTube re-encodes everything. By uploading a high-quality file, you ensure the different versions it creates for viewers are based on the best possible source.
Here’s what I recommend for YouTube:
- Codec: Stick with H.264. It's the gold standard for a reason, offering fantastic quality and universal compatibility.
- Resolution: Always export at the highest resolution you enhanced to, be it 1080p or 4K. A neat trick is to upload in 4K even if your source was 1080p; this can trigger YouTube's more efficient VP9 codec, giving you a noticeably crisper result.
- Bitrate: Don't skimp here. For a 1080p video at 30 FPS, I aim for a bitrate of 10-15 Mbps. If you're working with 4K, bump that up to 35-45 Mbps. Giving YouTube a little extra data to work with helps preserve those fine details during its compression process.
Nailing Vertical Video for TikTok and Instagram
The game completely changes for TikTok and Instagram Reels. These platforms are all about vertical, 9:16 mobile viewing, and their compression algorithms are ruthless to ensure fast-loading feeds. Your goal is clarity on a small screen, not cinematic perfection.
My Go-To Tip: If you can, upload your final video to these platforms from a computer, not your phone. The desktop upload process often involves less compression, which can make a surprising difference in the final quality.
Here's your checklist for sharp vertical video:
- Resolution: Export at 1080x1920. Going any higher is a waste, as the platforms will just aggressively downsample it, often making it look worse.
- Codec: H.264 is still the safest and most reliable choice.
- Frame Rate: Keep it at 30 FPS. While 60 FPS can look silky smooth, it demands a higher bitrate that mobile platforms struggle to maintain, which often results in ugly, blocky motion artifacts.
- Bitrate: The sweet spot is 8-12 Mbps. This is just enough to keep your details sharp without being so high that the platform's compression freaks out and ruins your video.
For any vertical format, especially YouTube Shorts, getting the dimensions right is absolutely essential. To make sure you've got every detail covered, check out the ultimate guide to YouTube Shorts video size.
Pre-Processing Techniques for Better AI Results
If you want to get truly exceptional results from an AI video enhancer, you need to think like a seasoned editor. The real secret isn't just about picking the right AI model; it's about the quality of the video you feed into it. A few simple pre-processing steps can make all the difference, guiding the AI to produce a final video that’s cleaner, sharper, and far more natural.
It all boils down to a classic principle: garbage in, garbage out. Even small tweaks beforehand can prevent weird artifacts and give you a final product that looks polished, not artificially processed.
Start with a Lossless Format
Before you touch any enhancement settings, look at your source file. Most cameras and virtually all online video services use heavy compression (think MP4s with an H.264 codec) to keep file sizes down. The problem is, this compression permanently throws away visual data.
When you hand a heavily compressed file to an AI, it’s forced to guess what those missing details looked like. This often leads to blotchy textures and other strange visual artifacts.
Pro Tip: If you can, convert your source video to a lossless or near-lossless format like ProRes or DNxHD before running it through the AI. This gives the software the maximum amount of original data to work with, which almost always results in a cleaner and more detailed upscale.
This one step can be a total game-changer, especially if you're working with old or highly compressed footage. You're essentially giving the AI a clean slate to work from instead of making it fight compression artifacts from the get-go.
Apply a Subtle Color Correction First
This might feel a bit backward, but trust me on this: a gentle color correction before you enhance can make a world of difference. AI models analyze everything—brightness, color, contrast—to figure out where the edges, textures, and noise are.
If your footage has completely crushed blacks or blown-out highlights, the AI can get confused. For example, it might see deep, detail-less shadows as just solid blocks of color and fail to enhance them properly.
A quick pre-grade helps in a few key ways:
- Lift the Shadows: By slightly raising the black levels, you can reveal details hiding in the dark parts of your shot. This gives the AI more information to analyze and sharpen.
- Recover Highlights: Gently toning down the brightest spots can bring back lost texture in things like clouds or bright lights.
- Balance Colors: Fixing any weird color casts ensures the AI sees the scene as it should be, without being thrown off by an unnatural green or magenta tint.
Use Targeted Enhancement and Masking
Finally, remember that not every part of your frame needs the same amount of enhancement. Slapping a powerful sharpening filter across the entire image is a surefire way to get that "over-processed" look, especially on people's faces.
This is where masking comes in handy. Most professional video editing software like DaVinci Resolve or Adobe Premiere Pro lets you create masks to isolate specific areas. This means you can apply one level of enhancement to the background while using a much softer touch on someone's skin.
For instance, you might want to bring out all the gritty detail in a brick wall behind your subject but keep their skin looking smooth and natural. By masking the person, you can apply heavy sharpening only to the background. It’s a more advanced technique, but it gives you incredible control over the final look and feel of your video.
How to Fix Common AI Enhancement Issues
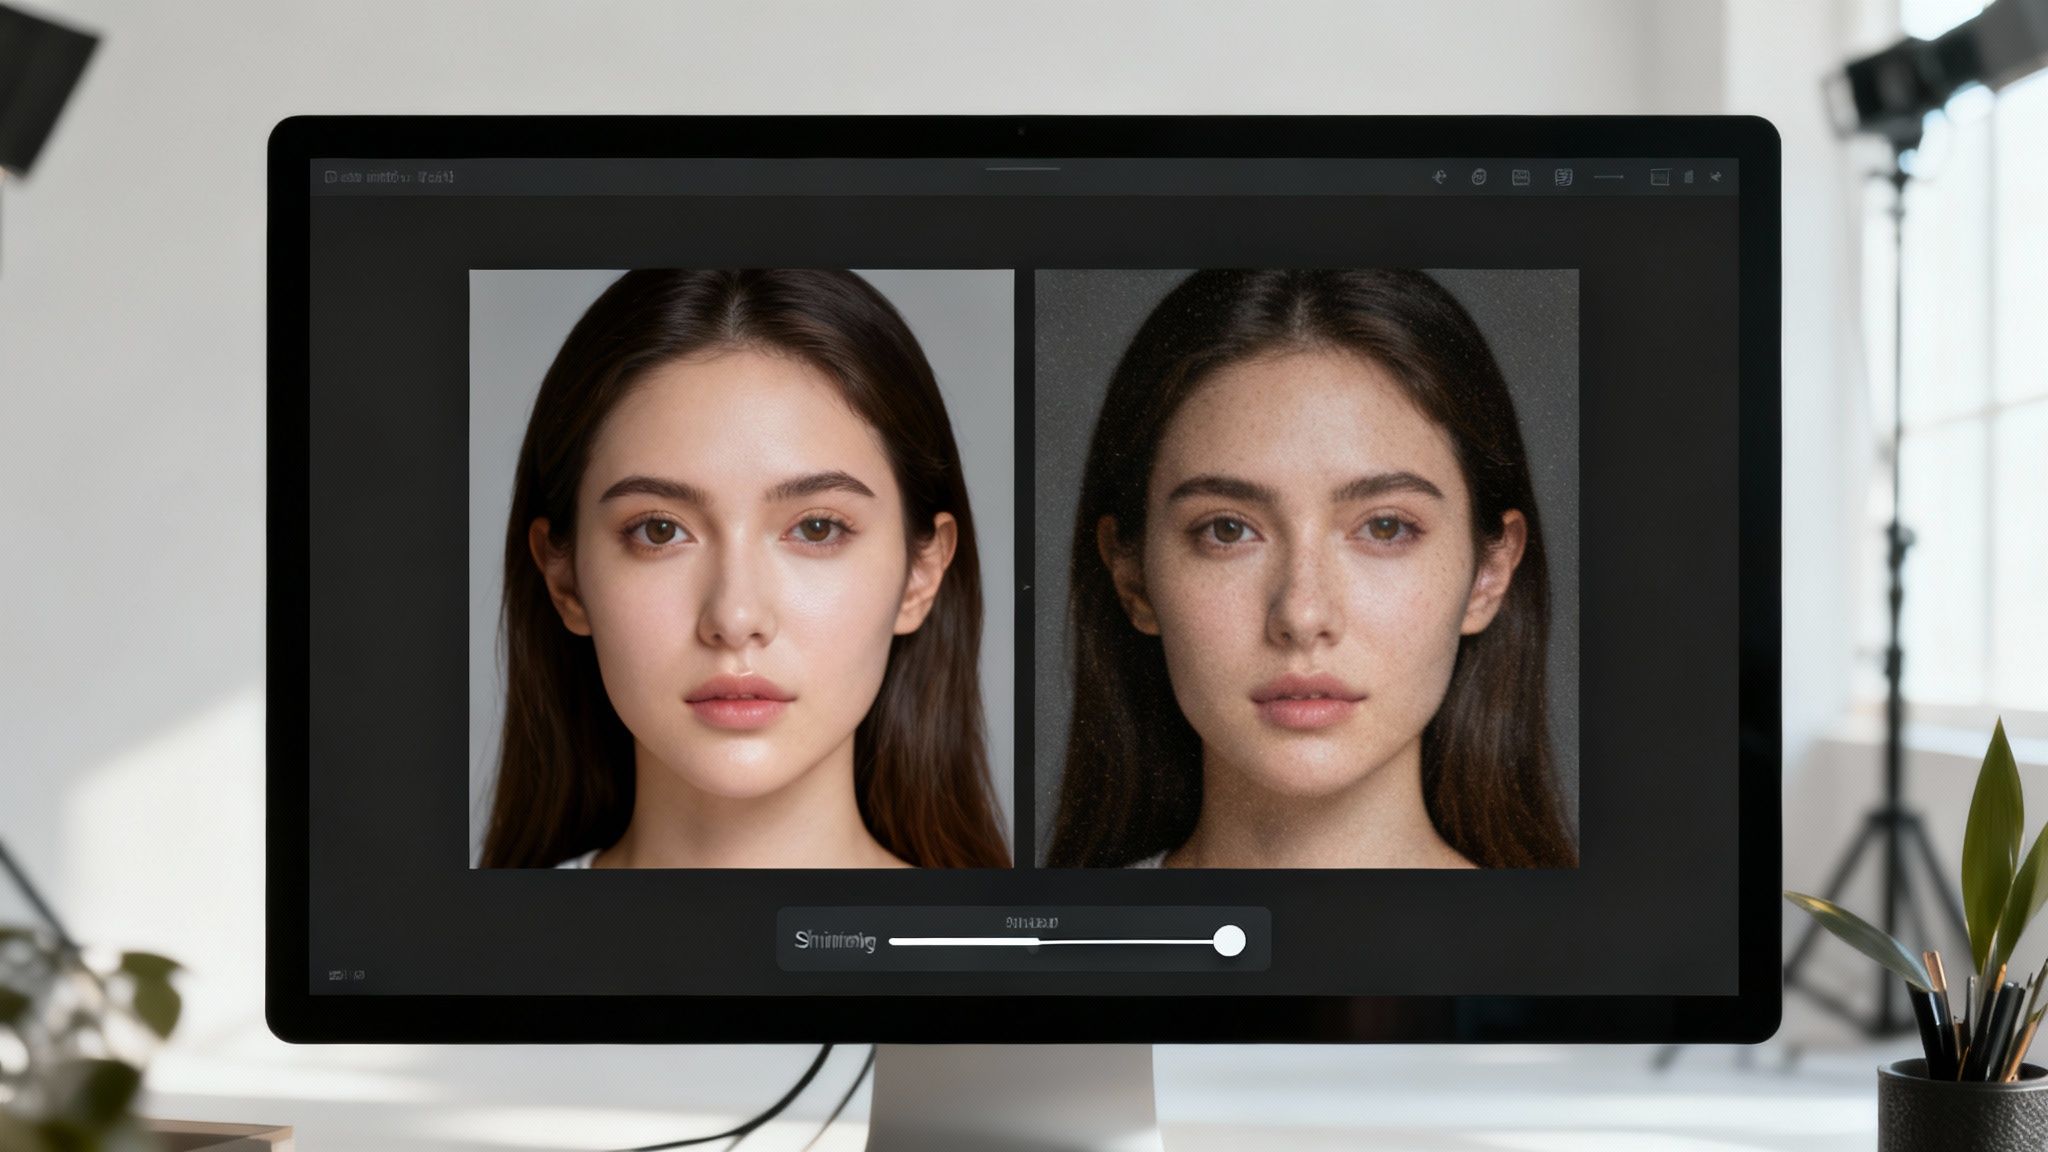
AI tools are fantastic, but they're not magic. Sometimes, the enhanced video needs a little extra love to get it just right. Learning to spot and fix these common artifacts is what really separates a decent result from a truly impressive one.
The good news is that most of these glitches are easy to correct, usually with just a few tweaks to your settings. They typically happen when the AI either gets a bit overzealous or misreads certain textures and movements. Let's break down what to look for and how to fix it.
Dealing with Unnatural Skin Textures
We've all seen it: the dreaded "plastic" or "waxy" skin effect. This is probably the most frequent issue people run into. It happens when the denoising model works a little too well, smoothing away not just the digital noise but also the natural pores and fine lines that make a face look real.
Thankfully, it's a straightforward fix.
- Dial back the denoising: Your first move should be to re-run the clip with a lower denoise setting. Even a small reduction of 10-15% can make a world of difference, bringing back that natural texture without letting the original noise creep back in.
- Add a touch of film grain: If the footage is still too clean, try adding a very subtle layer of film grain in your editing software. This is a classic trick that instantly breaks up those unnaturally smooth surfaces and gives the shot a more organic, cinematic feel.
A quick pro-tip: Always try to match your AI model to your subject. A model trained on landscapes is going to have a hard time with a close-up portrait, often causing that waxy look. Choosing a model built for faces can prevent the problem from happening in the first place.
Correcting Motion Shimmer and Artifacts
Ever seen a weird shimmering or "crawling" effect on fine patterns like a brick wall, a tweed jacket, or leaves on a tree when the camera moves? That’s a motion artifact, and it happens when the AI struggles to keep track of high-frequency details from one frame to the next.
The usual suspect here is an overly aggressive sharpening filter. You want a crisp image, of course, but cranking the sharpness too high can make these patterns flicker and buzz with movement.
The fix is simple: process the clip again, but this time, turn the sharpening way down. I usually start by cutting it by about half to see if the shimmer disappears, then I'll gradually raise it until I find that sweet spot between sharpness and clean motion.
Managing AI Facial Recognition and Editing
AI is getting incredibly good at identifying faces, which is a huge help. By 2028, it’s predicted that facial recognition in video software will hit 97% accuracy, automating a lot of the quality control we're talking about now. In fact, some companies are already leaning in hard, with 36% using AI avatars to create content. If you're curious, you can dig into more video editing statistics to see where things are headed.
But for today, if your AI tool is struggling to enhance faces in a wide shot, the easiest solution is often just to switch to a different enhancement model. Some models are trained specifically on human subjects and do a much better job of preserving facial details than a general-purpose upscaler. That one simple change can often be the only fix you need.
Got Questions About AI Video Enhancers? We've Got Answers.
Jumping into new tech always comes with a few questions. When it comes to AI video enhancers, we hear the same ones from creators all the time. Let's clear the air so you know exactly what to expect.
How Much Better Can an AI Really Make My Video?
Think of an AI video enhancer as a master restorer, not a miracle worker. It’s fantastic at taking footage that's a bit soft, compressed, or low-resolution—like turning a decent 720p clip into a crisp, believable 4K—and making it look incredible.
But here's the reality check: it can't invent details that were never there to begin with. The better your starting file, the more impressive the final result will be. Garbage in, slightly prettier garbage out. Good footage in, stunning footage out.
Is This Going to Take Forever?
Processing time really boils down to three things: the length of your video, the resolution you're aiming for, and the power of your computer (especially your GPU).
A quick 30-second clip might be done in just a few minutes. Trying to upscale a full-length movie? That could easily take several hours. Thankfully, good software gives you a pretty solid time estimate, so you won’t be left guessing.
Can I Use This on Videos from My Phone?
Yes, and you absolutely should! Phone footage is a prime candidate for AI enhancement. To save space, phones compress video heavily, which often leaves it looking a bit muddy. An AI can bring back a surprising amount of clarity and detail.
Pro Tip: For the best results, always transfer the original video file from your phone to your computer before you start. Your desktop's processing power will deliver a much higher-quality result than any mobile app ever could.
For more specific questions about tools and troubleshooting, it's always a good idea to check out the help resources provided by the software developers themselves, like Soreel's FAQ section. You can often find quick fixes for unique issues you run into with your footage.
Ready to see what your footage is truly capable of? Aicut gives you the power to upscale, sharpen, and restore your videos in a single click, saving you hours of tedious editing. Give it a try at https://www.aicut.pro.