Jumping into filming without a plan is the fastest way to create a video that just doesn't work. To make product videos that actually convert, you have to start with a solid foundation. That means defining a clear goal, writing a killer script, and visualizing your shots before you even think about hitting record. This prep work is the secret sauce behind a smooth shoot and a video that gets results.
Build Your Video Foundation Before Hitting Record
The urge to just grab your phone and start shooting is real, but the magic behind a great product video happens long before the camera comes out. Think of it like drawing up a blueprint for a house. Without one, you're just guessing where the walls go. You'll waste time, your message will get muddled, and the final video won't hit its mark.
A well-planned video feels intentional. It guides the viewer smoothly from being curious to clicking "buy." That's why the best creators spend a good chunk of time on strategy before ever touching their gear.
Define a Single, Clear Goal
Before you write a single word, you have to answer one question: What do I want this video to accomplish?
Trying to do everything at once—drive sales, build brand awareness, and explain every feature—is a recipe for a weak, confusing video. Pick one primary objective, and stick with it.
Your goal will shape every creative decision you make:
- To Drive Immediate Sales: Your video needs to be punchy, benefit-focused, and end with a strong, unmissable call to action (CTA) like "Shop Now" or "Get 50% Off Today."
- To Explain a Complex Feature: Here, you need to slow down. Use clear demonstrations and simple visuals to break things down. The goal is "Aha!", not an instant purchase.
- To Build Brand Awareness: These videos are all about telling a story and making an emotional connection. The product might not even be the star of the show.
Script a Problem-Solving Narrative
Once you have a goal, scripting becomes way easier. The best product videos don't just list features; they tell a story that puts the customer's problem front and center.
A simple but powerful framework for this is Problem-Agitate-Solution (PAS).
First, introduce a relatable problem your audience actually has. Next, agitate it by poking at the frustrations it causes. Finally, present your product as the obvious, elegant solution. This simple story arc makes your product feel instantly relevant.
And remember to keep your language conversational. For social media, the first three seconds are everything. If you're struggling with that initial grab, you might find some great ideas in our guide to the best hooks for TikTok and Instagram videos.
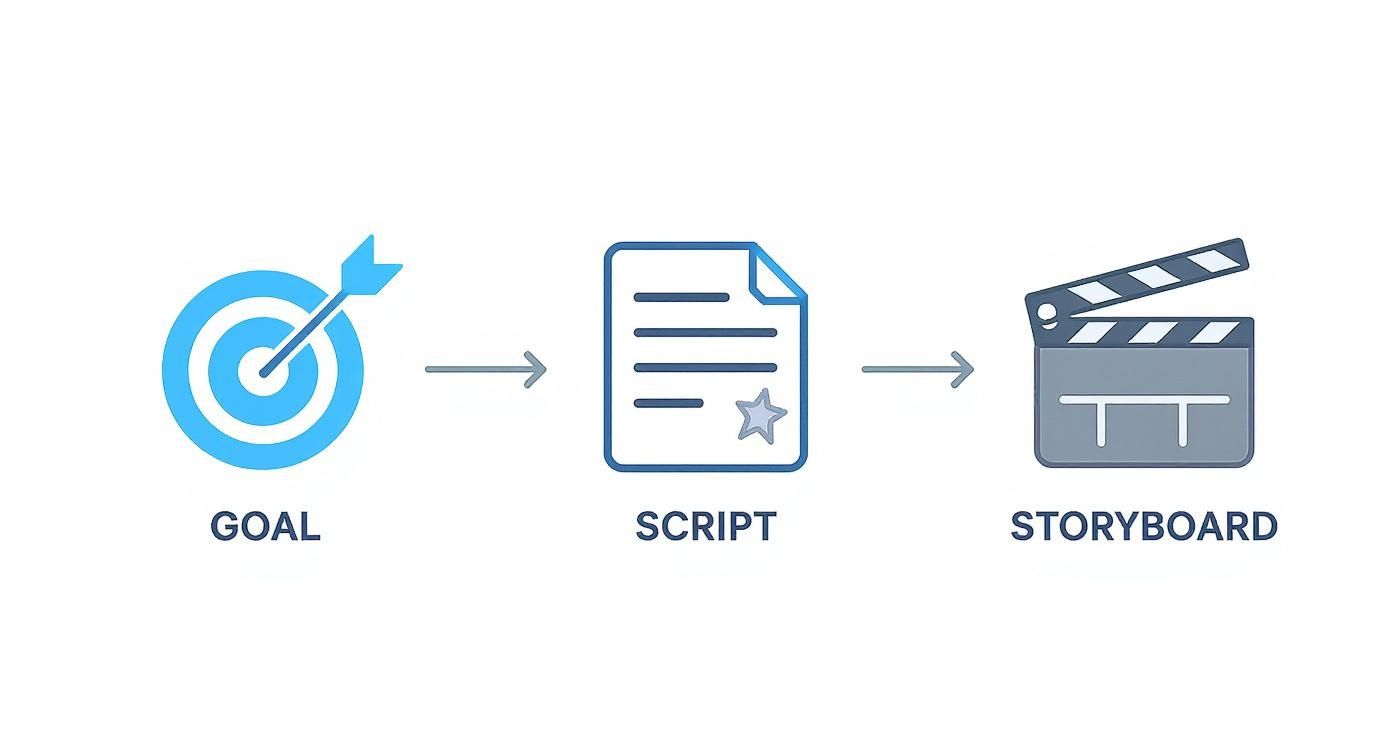
Following this workflow ensures every shot, every line, and every second of your video serves a purpose. That's what leads to a final cut that actually works.
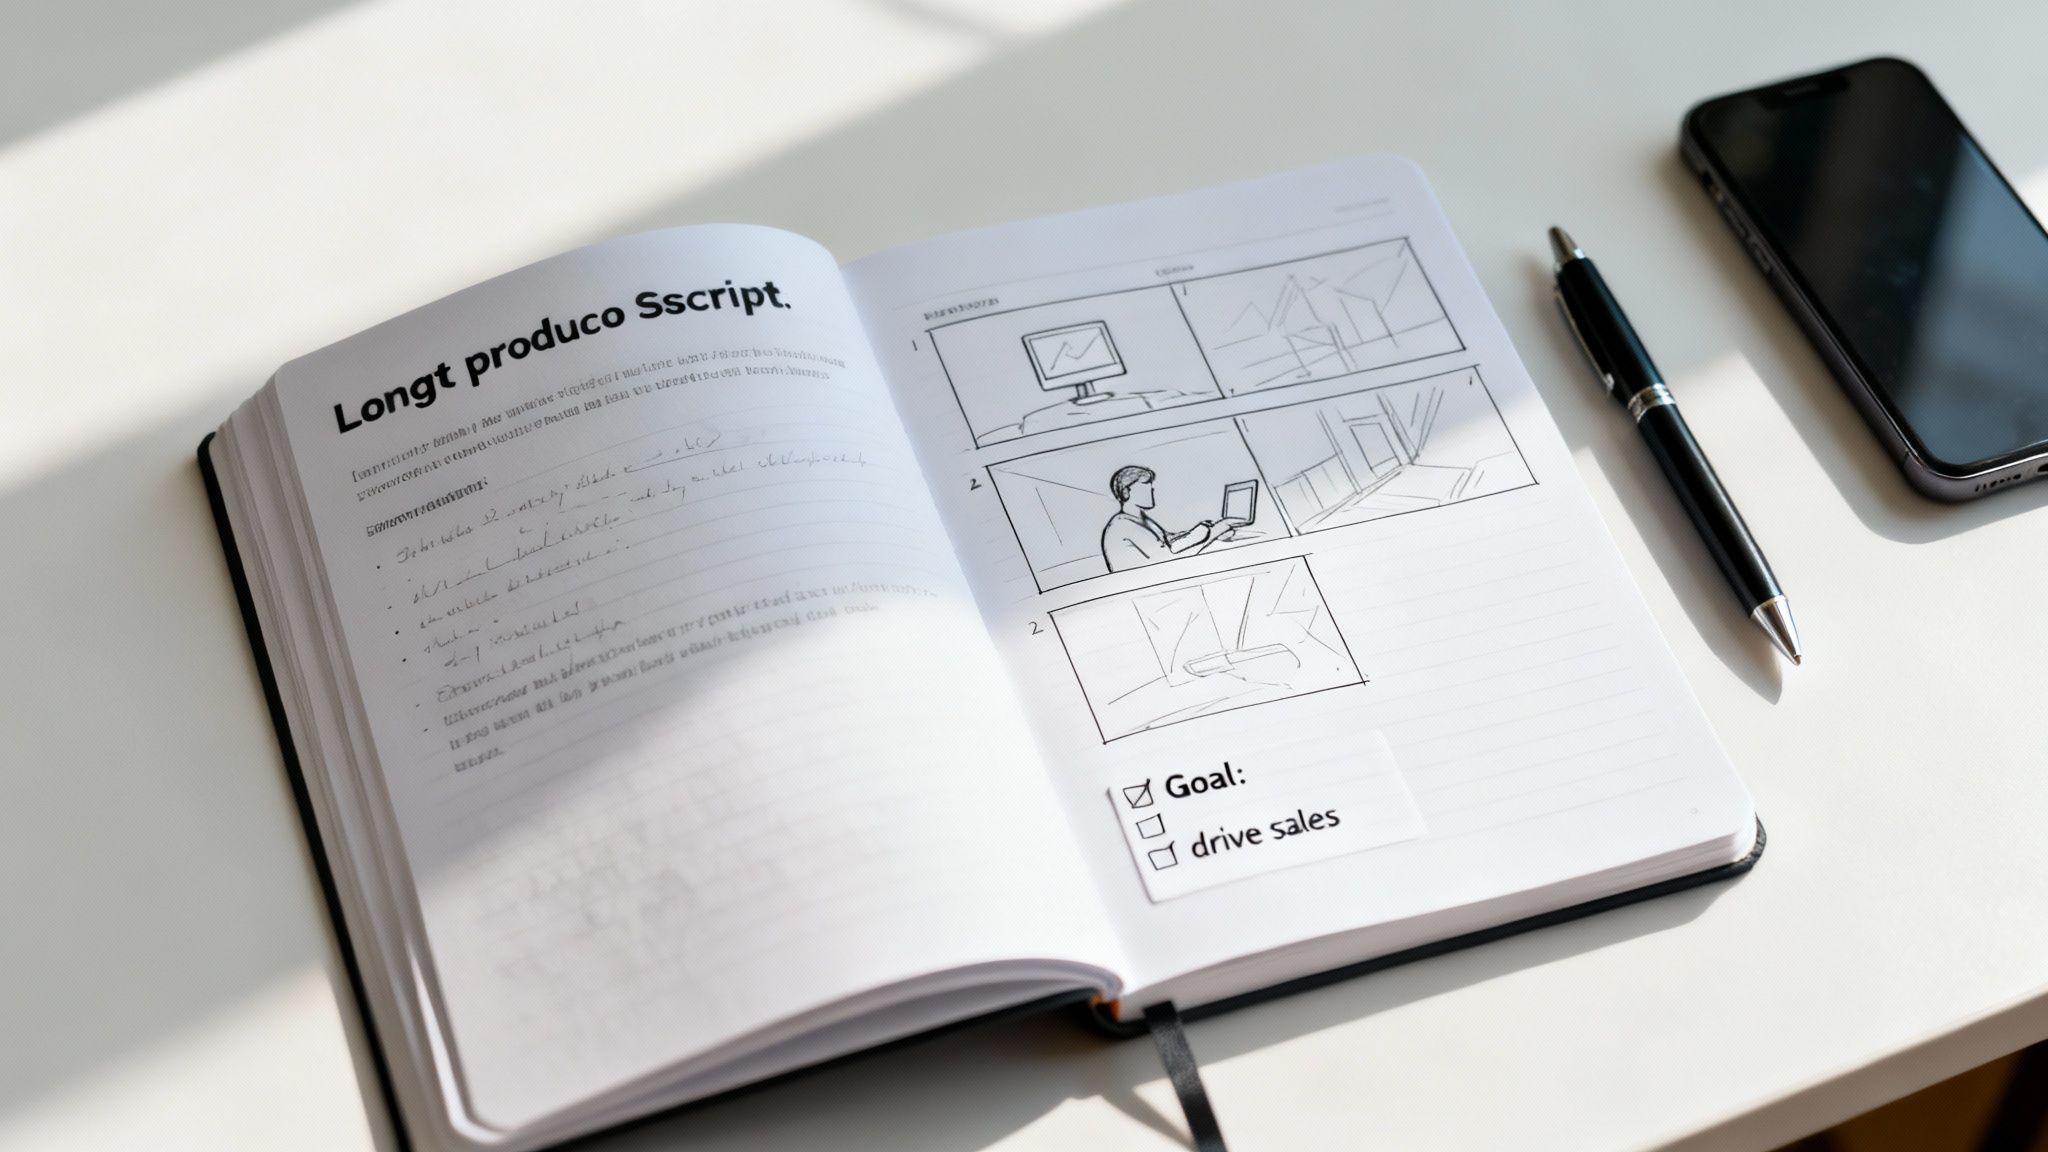
Visualize with a Shot List and Storyboard
A storyboard is just a sequence of rough sketches that map out your video. Seriously, it doesn't need to be a masterpiece—stick figures are totally fine. Its job is to help you see the flow of the video, plan your camera angles, and make sure you get all the footage you need.
A shot list goes hand-in-hand with your storyboard. It’s basically a checklist for filming day, detailing things like:
- Shot number and scene
- Camera angle (e.g., close-up on hands, wide shot of the room)
- Action or dialogue needed
- Props and location
Here’s a quick checklist to make sure you’ve covered all your pre-production bases before you start filming.
Product Video Pre-Production Checklist
| Planning Stage | Key Action | Why It Matters |
|---|---|---|
| Goal Setting | Define a single, measurable objective for your video. | A clear goal dictates your script, tone, and call to action. |
| Scripting | Write a script using a framework like PAS. | A story-based script connects with viewers emotionally and makes your product memorable. |
| Storyboarding | Create simple sketches for each key scene. | It helps you visualize the final product and identify any gaps in your narrative. |
| Shot List | Make a detailed list of every single shot you need. | This keeps you organized and efficient on shoot day, preventing missed shots. |
Nailing these steps ensures that by the time you're ready to film, all the hard thinking is already done. You just have to execute.
This planning phase might feel like a drag, but it's what separates amateur-hour videos from professional content that drives real sales. After all, a whopping 87% of consumers say they’ve been convinced to buy a product after watching a video. That shows you just how powerful this medium is when you get it right.
Mastering Your Filming and Audio Setup
Let's get one thing straight: you don't need a Hollywood budget to create a product video that looks and sounds incredible. The truth is, the gear you probably already own—yes, even your smartphone—is more than capable of producing professional-level content.
The real secret isn't expensive equipment. It's about nailing the fundamentals: lighting, audio, and framing. Getting these three elements right is what separates a polished, trustworthy video from one that feels amateurish. A few smart choices here will elevate your footage, build customer confidence, and make your product look its absolute best.
Harnessing Light to Showcase Your Product
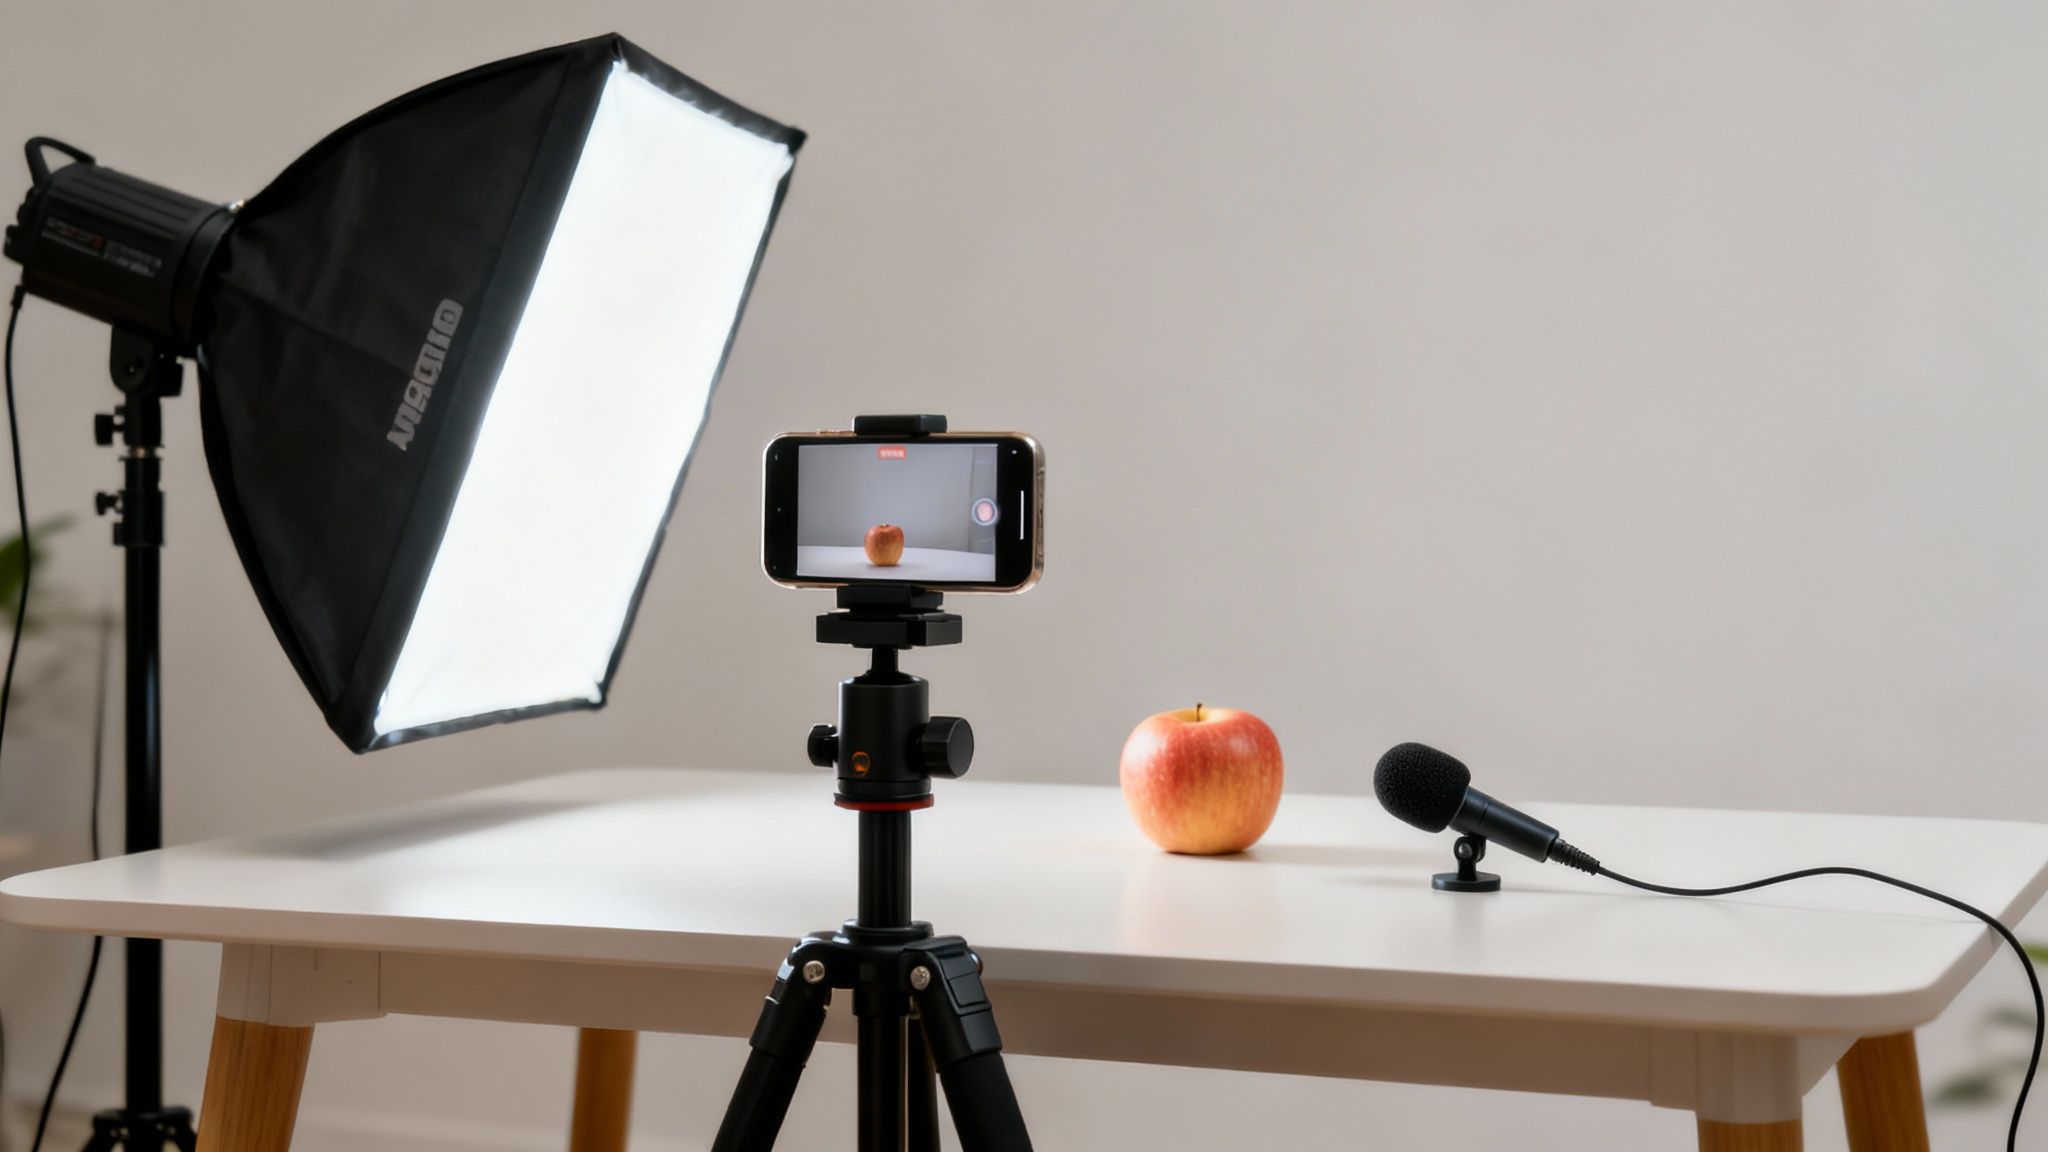
Of everything you can control, lighting will make the single biggest impact on your video's quality. It sets the mood, ensures clarity, and screams "professional." Bad lighting can make even the most premium product look cheap and unappealing.
But don't worry, great lighting doesn't have to be complicated or expensive. In fact, one of the best light sources is completely free.
Natural Light is Your Best Friend: Try positioning your product near a large window on an overcast day. This gives you soft, diffused light that minimizes harsh shadows and keeps your colors looking true-to-life. Direct, blaring sunlight is your enemy—it creates ugly glares and deep, distracting shadows.
Go for a Simple Three-Point Setup: If you need more control, the industry-standard three-point lighting setup is your go-to. It uses a key light (your main light), a fill light (to soften shadows), and a back light (to pop the product off the background). You can easily pull this off with some affordable LED panels or even just a few household lamps with daylight bulbs.
A well-lit product immediately communicates quality. It lets customers see the details that matter and builds the subconscious trust they need before they'll even think about buying.
Your goal is simple: make sure the product is evenly lit and is the obvious star of the show. Don't be afraid to move your lights around and experiment to find what highlights your product's best features.
Capturing Crystal-Clear Audio
Here’s a hard truth: viewers will forgive slightly grainy footage, but they will click away in a heartbeat if the audio is bad. Muffled, echoey, or distorted sound makes your video unwatchable and instantly kills your brand's credibility.
While your phone's built-in mic is decent for a quick call, it's designed to pick up sound from every direction—including that annoying air conditioner hum and the dog barking next door.
To get clean, crisp audio, try these simple fixes:
- Get an External Microphone: This is a non-negotiable. A small lavalier (lapel) mic that clips onto a shirt or a shotgun mic mounted on your camera will make a world of difference. They're built to capture your voice clearly while ignoring ambient noise.
- Find a Quiet Spot: Record in a room with soft surfaces like carpets, curtains, or even a closet full of clothes to absorb echo. Remember to turn off fans, refrigerators, and any other sources of background noise.
- Always Do a Sound Check: Before you hit record on the real thing, film a short test clip and listen back with headphones. This quick five-second check can save you from discovering an audio disaster after you've already filmed everything.
Investing in a decent microphone is one of the smartest moves you can make. Professional options like Monacor ECM microphones can pay for themselves many times over in the quality of your final video.
Framing Your Shots with a Phone or DSLR
Whether you're shooting on the latest iPhone or a fancy DSLR, the rules of good framing don't change. Your camera angles and composition need to make your product the undeniable hero.
Modern smartphones are absolute powerhouses for video. With features like 4K resolution and cinematic modes, they are often more than enough to create fantastic product videos, especially for platforms like TikTok and Instagram.
A DSLR or mirrorless camera gives you more manual control over settings like focus and aperture, which opens up more creative possibilities. Just be aware that it comes with a steeper learning curve.
No matter what you're using, apply these essential framing techniques:
- Get Close: Close-up shots are crucial for showing off features, textures, and tiny details. A tight shot of a button, a fabric's weave, or a key component helps people see and appreciate the quality you’re selling.
- Show Context: Use medium shots to show the product in a real-world setting, like someone holding it or using it. This helps establish scale and demonstrates how it fits into your customer's life.
- Use the Rule of Thirds: This is a classic for a reason. Imagine a tic-tac-toe grid over your screen. Instead of dead-centering your product, place it where the lines intersect. It creates a more dynamic and visually interesting shot.
Master these simple setup choices, and you'll be creating polished, professional product videos that convert—no matter your budget.
Editing with AI to Work Smarter, Not Harder
You've got all your raw footage—the filming is done. Now comes the part where you turn those clips into a story that actually sells: the edit. This has always been the biggest bottleneck in video production, a time-suck that often required complex software and hours of tedious work.
But things have changed. A lot. Modern AI-powered editing tools are making post-production faster and more intuitive than ever. Forget spending an entire afternoon manually timing subtitles or trimming out awkward pauses. AI can now do the heavy lifting, letting you focus on the creative vision for your video.
From Raw Clips to Polished Video in Minutes
So, how does this actually work? Think of AI video editors less like traditional software and more like a highly efficient assistant. You give it instructions, and it handles the execution.
Instead of dragging clips onto a timeline, you can now use simple text prompts to guide the entire editing process. It’s a huge shift that makes video creation far more accessible.
Here’s what that looks like in practice:
- Automatic Rough Cuts: Just upload your footage. The AI can find your best takes, snip out the dead air and flubbed lines, and assemble a solid first draft in moments.
- Instant Subtitles: We all know subtitles are a must-have, with 85% of social media videos being watched on mute. AI transcribes your audio and generates perfectly timed, animated captions for you. No more manual typing.
- Smart Resizing: Need to turn that horizontal YouTube video into a vertical clip for TikTok? The AI reframes it for you, intelligently keeping your product centered in the shot.
AI isn’t just about making your old workflow faster. It opens up entirely new strategies, letting you test a dozen ad variations, experiment with different styles, and produce content at a scale that used to be impossible for small teams.
This technology isn't just a gimmick; it’s a direct response to what customers want. We've seen that personalized product videos are 3.5x more likely to turn a viewer into a buyer. As AI makes this level of personalization easier, the brands that jump on it will have a serious advantage.
Using Prompts to Generate Different Video Styles
The real magic of AI editing is its ability to take creative direction from a simple text prompt. You can use the exact same footage and generate completely different video styles just by changing what you ask for.
This is a game-changer for A/B testing ad creative or tweaking your message for different audiences. You can go from a polished, professional demo to a casual, user-generated content (UGC) style with just a few words. It completely removes the "blank canvas" problem and makes creating diverse video content incredibly efficient.
To give you a better idea, here’s how you can use prompts to generate a few common video styles.
AI Video Editing Prompt Examples
The table below shows a few example prompts you could use in an AI editor to get drastically different results from the same batch of raw footage.
| Video Style | Example AI Prompt | Key Elements to Include |
|---|---|---|
| UGC Ad | "Create a 30-second TikTok ad. Use handheld shots, add trending background music, and use bold, yellow Gen-Z style subtitles. Start with a hook about the product solving a common problem." | Authentic-looking footage, quick cuts, popular audio track, and engaging text overlays. |
| Corporate Demo | "Assemble a 60-second product demonstration for YouTube. Use smooth transitions, clear voiceover narration, and on-screen text callouts to highlight key features. End with our brand logo and a call to action." | Polished shots, professional voiceover, informative graphics, and clear branding. |
| Unboxing Video | "Make a short, exciting unboxing video. Focus on the close-up shots of opening the package. Add upbeat, suspenseful music and text that builds anticipation." | Tight shots on hands and product, energetic music, and text revealing the product. |
As you can see, your prompt is your creative brief. The more detail you provide, the closer the AI’s output will get to what you have in your head. For a deeper dive, check out our complete guide to using an AI product video generator to explore more advanced techniques.
By bringing AI into your editing process, you’re not just saving time—you're getting a strategic advantage. You can produce more high-quality content, test creative ideas faster, and ultimately, make product videos that deliver much better results.
Optimizing Your Video for Every Platform
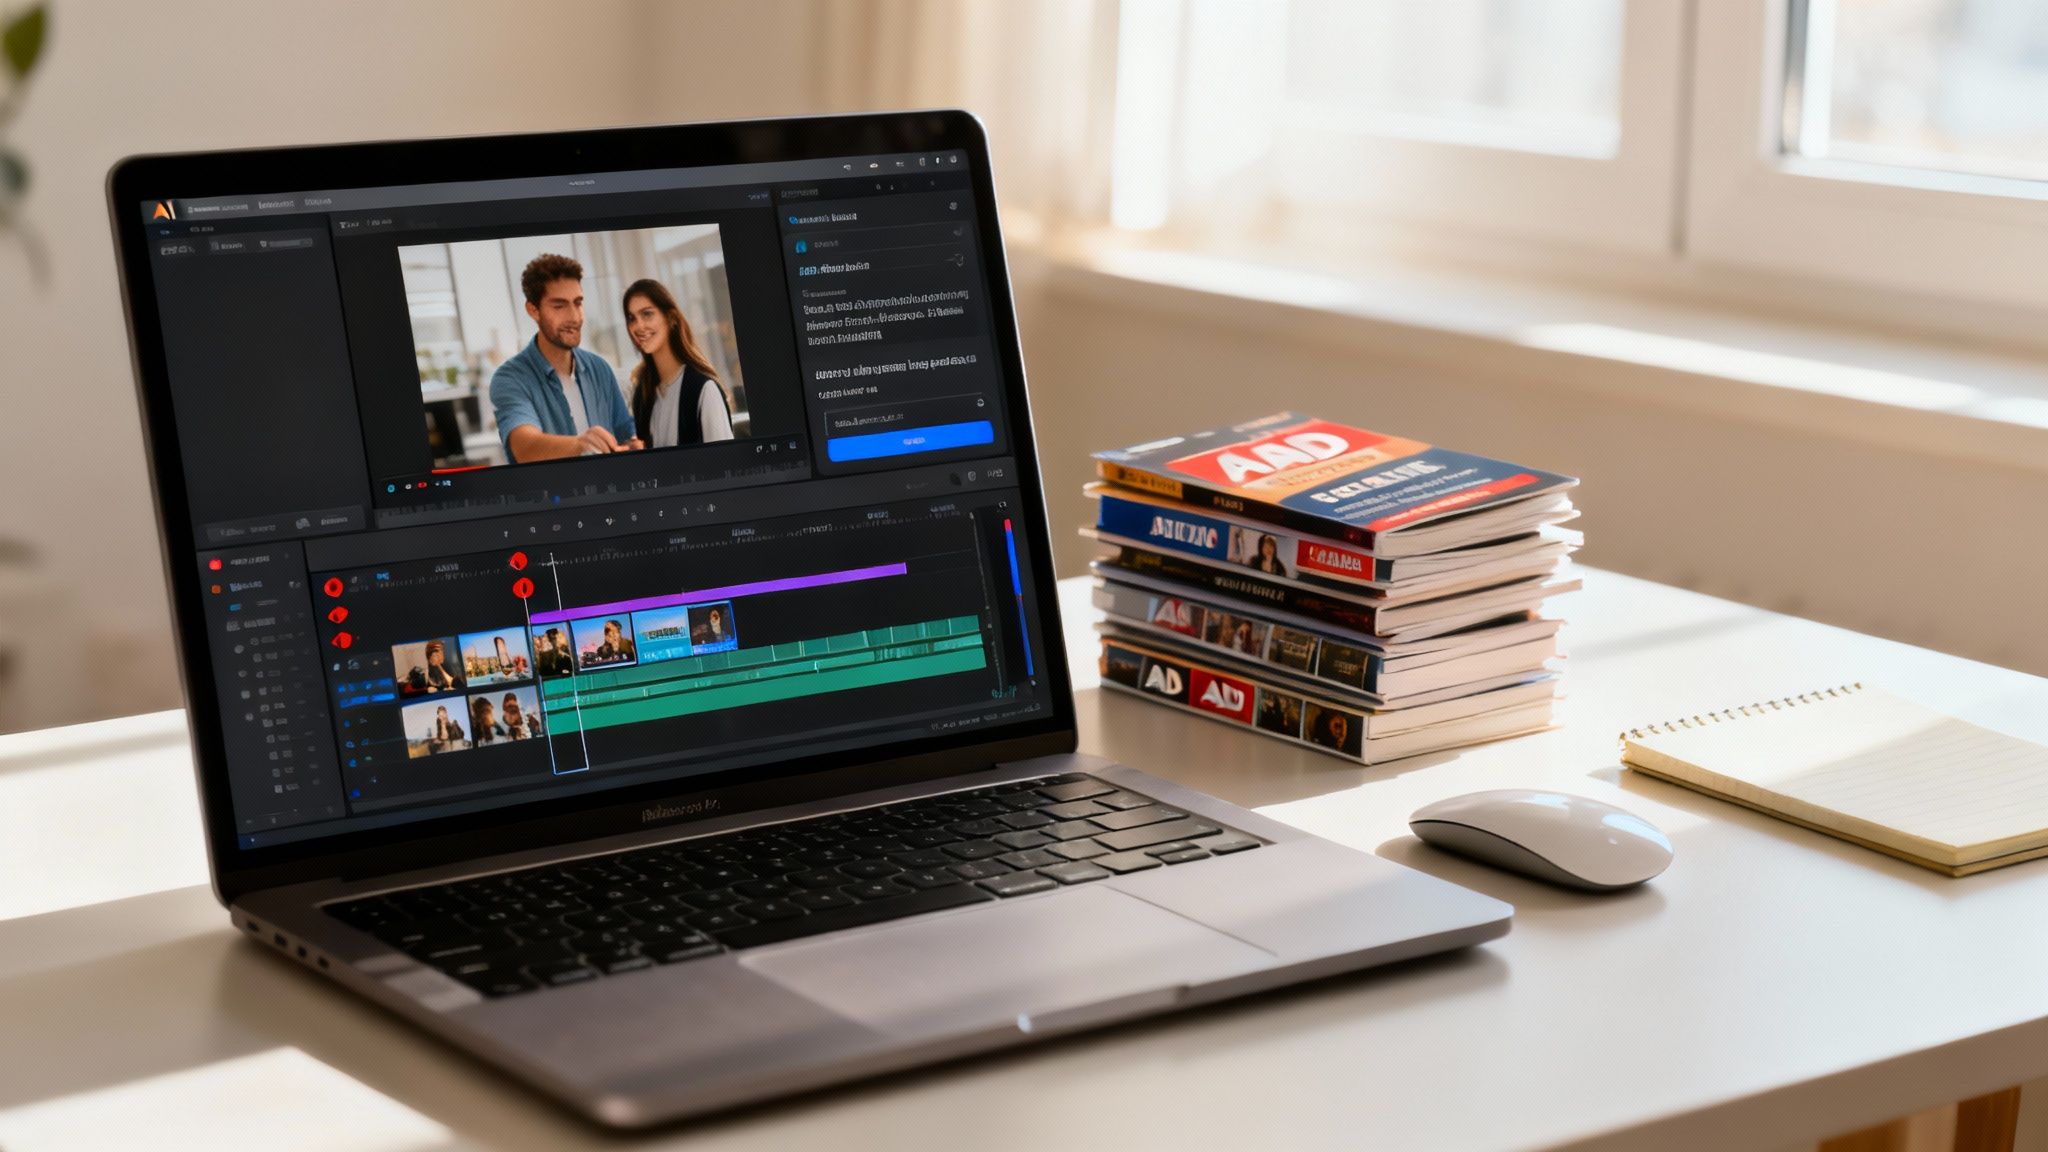
You've just created a fantastic product video. That's a huge win, but it's only half the battle. If your video doesn’t reach the right people on the right platforms, all that hard work might go unnoticed. Your distribution strategy is just as critical as your production.
It's tempting to just hit "upload" everywhere, but that’s a rookie mistake. What grabs attention on YouTube is completely different from what stops the scroll on TikTok. To really make your video count, you need to think like a native user of each platform and give them exactly what they expect to see.
Tailoring Your Video for Each Platform
Every social channel has its own culture and technical specs—from aspect ratios and video lengths to audience behavior. A one-size-fits-all approach just falls flat. Before you post, you need a plan to adapt your masterpiece.
YouTube: This is the home of deep-dive content. Stick to the standard 16:9 horizontal aspect ratio. Viewers here are often looking for detailed tutorials, thorough reviews, or genuinely helpful how-to guides. Don't be afraid to go a bit longer (2-10 minutes) as long as you’re delivering real value.
Instagram (Reels & Feed): Think vertical, always. A 9:16 aspect ratio is a must for Reels to fill the screen and make an impact. Keep it short and punchy—under 60 seconds is the sweet spot. For your main feed, you have a bit more flexibility with 1:1 (square) or 4:5 (vertical) formats.
TikTok: This platform practically invented the 9:16 vertical format and lives on pure, unadulterated brevity. You have about three seconds to hook someone. Videos between 15-30 seconds that feel authentic, entertaining, and tap into trending audio are what win here.
Don't just repurpose; reformat. Cropping a horizontal video to fit a vertical screen is a start, but true optimization means rethinking the pacing, captions, and on-screen text to feel native to the platform.
This tailored approach is non-negotiable now that multi-platform distribution is the norm. While a whopping 69% of marketers post product videos on YouTube, over half also share them on LinkedIn and Instagram. This just goes to show how critical it is to adapt your core video to perform well everywhere you post.
Mastering YouTube SEO for Discoverability
Unlike the fast-moving feeds of social media, YouTube is a powerful search engine. This is great news for you. A well-optimized video can keep attracting viewers and driving sales for months, or even years, to come. Think of it less like a post and more like a long-term business asset.
To help your video rank, you absolutely have to nail these three things:
- A Keyword-Driven Title: This is your most important ranking signal. Use a keyword tool to find out what your audience is actually searching for, then craft a title that’s clear, compelling, and includes that exact phrase.
- A Detailed Description: This is where you tell YouTube’s algorithm what your video is all about. Write a few solid paragraphs using your main and secondary keywords naturally. And don't forget to drop a link to your product page right at the top.
- Relevant Tags: Use a smart mix of broad and specific tags related to your product, your industry, and the problem your video solves. This helps YouTube categorize your content and recommend it to the right people.
Driving Engagement on Social Platforms
On Instagram and TikTok, those first few seconds are everything. Your only job is to stop the scroll. Beyond the video itself, the text and thumbnail you use are just as important for getting people to actually watch and engage.
- Craft a Compelling Caption: Your caption should add context, ask a question, or tell a tiny story to spark a conversation. Don’t just describe the video; add to it.
- Use the Right Hashtags: On Instagram, a blend of popular, niche, and branded hashtags helps you reach new people. On TikTok, jumping on trending hashtags can get your video in front of a massive new audience almost instantly.
- Design a Click-Worthy Thumbnail: For YouTube and Instagram Feed posts, your thumbnail is your video's billboard. It needs to work hard. Use a high-quality, expressive image with bold, easy-to-read text to make people curious enough to click.
Finally, remember that your video's journey doesn't end on social media. Integrating videos is also a game-changer for optimizing Amazon product listings and other e-commerce sites. Platforms like Shopify, for instance, see huge benefits from video because it builds trust and boosts conversion rates. If you’re looking for more platform-specific ideas, check out our guide on https://www.aicut.pro/blog/how-to-boost-your-shopify-store-with-irresistible-product-videos. By putting in the effort to optimize for each channel, you ensure your hard work pays off with real visibility and impact.
Measuring Performance to Improve Your Next Video
https://www.youtube.com/embed/0fONene3OIA
Hitting "publish" on your new product video feels like the finish line, but honestly, it’s just the starting pistol. The real work—and the real value—begins when you start digging into what happens after people press play. This is what separates the one-hit wonders from the brands that consistently crush it with video: they live in the data.
Without looking at the numbers, you’re just flying blind. You might be convinced that clever opening line is a home run, but the data could be telling you that 90% of viewers are skipping it. This feedback loop is your secret weapon for making every single video better than the last.
Identifying the KPIs That Actually Matter
It’s incredibly easy to drown in analytics. But the truth is, only a few key performance indicators (KPIs) really tell you if your video is doing its job. Forget vanity metrics like raw view counts and focus on the numbers that reveal audience behavior and, more importantly, impact your bottom line.
Here are the big three you need to obsess over:
- Audience Retention: This is, without a doubt, the most critical metric. It’s a second-by-second breakdown of when people tune out. A steep drop-off is a flashing red light telling you exactly where your video got boring or confusing.
- Click-Through Rate (CTR): This one's simple: how many people who watched the video actually clicked your call-to-action (CTA)? A low CTR is a strong hint that your offer wasn't compelling, your instructions weren't clear, or your timing was off.
- Conversion Rate: This is the money metric. Of the people who clicked through, how many actually completed the desired action—like buying your product or signing up for your list? This ties your video directly to business results.
Focusing on just these three gives you a crystal-clear picture of how well you’re grabbing attention, encouraging action, and actually making a difference.
Turning Data into Actionable Insights
Collecting data is easy. Knowing what to do with it is the hard part. Your goal is to turn those charts and percentages into a concrete to-do list for your next shoot.
First, pull up that audience retention graph. Look for the dips. Is there a big drop in the first 5-10 seconds? Your hook isn’t landing. Do people bail the moment your product demo starts? You probably took too long to get to the good stuff.
Your audience retention chart is a direct, unfiltered report card on your video's script and pacing. It tells you exactly which parts resonated and which parts sent people packing. Use it ruthlessly to trim the fat from your next script.
Next, look at your click-through rate. If people are watching most of the video but not clicking, the problem is likely your CTA. Was the link obvious? Did you include a strong verbal cue telling them exactly what to do? Maybe you just waited too long, and most of your audience had already left.
Finally, connect the dots to your conversion rate. A high CTR but a low conversion rate often points to a mismatch between your video and your landing page. If the video promises one thing and the page delivers another, that disconnect will kill your sales. Make sure your messaging is perfectly aligned from ad to checkout.
A/B Testing: Your Path to Constant Improvement
Once you know your baseline numbers, it's time to start experimenting. A/B testing is a straightforward way to make small, smart changes that lead to big wins over time. The concept is simple: change one thing at a time and measure the difference.
Here are a couple of dead-simple A/B tests you can run right away:
- Test Your Thumbnails: Your thumbnail is your video’s billboard. Create two different versions—maybe one with a person's face and another focusing on the product in action. See which one gets a better click rate.
- Test Your Titles: Pit a benefit-driven title against a question-based one. For example, "The Last Blender You'll Ever Need" versus "Tired of Blenders That Don't Last?" A tiny tweak here can make a massive difference.
This cycle of creating, measuring, and optimizing isn't just busywork—it's the core of a winning video strategy. It turns video production from a creative guessing game into a repeatable, data-backed process for growth.
Clearing Up Some Common Product Video Questions
Even with a solid plan, a few questions always seem to surface right before hitting record. It happens to everyone. Let's get these out of the way so you can move forward with confidence and start creating.
So, How Long Should My Video Be?
This is the classic question, and the honest answer is… it depends on where people will be watching it. There’s no magic number, but there are definitely some proven guidelines for each platform.
- TikTok & Instagram Reels: Keep it snappy. You’re looking at the 15-45 second range. The goal is to hook viewers immediately and get to the point before they swipe.
- YouTube & Your Website: You've got a bit more breathing room here. A great product overview usually clocks in between 60-90 seconds. If you're doing a deep-dive tutorial, something in the 2-5 minute range is fine, as long as every second delivers real value.
The golden rule I always follow is to be as long as necessary, but as short as possible. If a shot doesn't serve the video's main purpose, it gets cut. No hesitation.
What’s a Realistic Budget to Get Started?
You really don't need a Hollywood budget. I'm serious. You can pull off a great-looking product video for under $100, assuming you're using the smartphone you already have.
If you're going to spend money, put it where it counts the most: sound and light.
- A Lavalier Microphone: A simple clip-on lav mic will set you back about $20-$40. This is, without a doubt, the best bang-for-your-buck upgrade you can make. Bad audio screams "amateur" faster than anything else.
- Basic Lighting: For $50-$70, you can get a ring light or a couple of small LED panels. Good lighting is what makes your product look crisp, clean, and professional.
Your biggest investment at the start is your time. Don't fall into the trap of thinking you need a fancy camera or expensive software from day one.
Think of your first video as a test run. Start lean, nail the fundamentals of good lighting and clear audio, and then reinvest in better gear once you see it's working.
Do I Actually Have to Be on Camera?
Not at all! It’s a common myth that you have to show your face to build trust. Plenty of top-performing product videos are successful precisely because the product is the one and only star.
Here are a few face-less formats that work incredibly well:
- The Product-in-Action Demo: This is all about tight, detailed shots of the product doing its thing, guided by a compelling voiceover.
- The POV Unboxing: Film from your own point of view as you open the package. It makes the viewer feel like they’re the one having that exciting "new product" moment.
- Animated Text and Graphics: Use clean, simple graphics to call out features and benefits. It’s a great way to keep things visually interesting.
The trick is to make sure the video still has energy. Use dynamic camera angles, quick cuts, and an upbeat voiceover to keep your audience locked in.
Ready to skip the tedious editing and generate stunning product videos in minutes? Aicut uses AI to turn your ideas into high-converting ads, demos, and social clips with simple text prompts. Start creating for free and see how easy it can be.