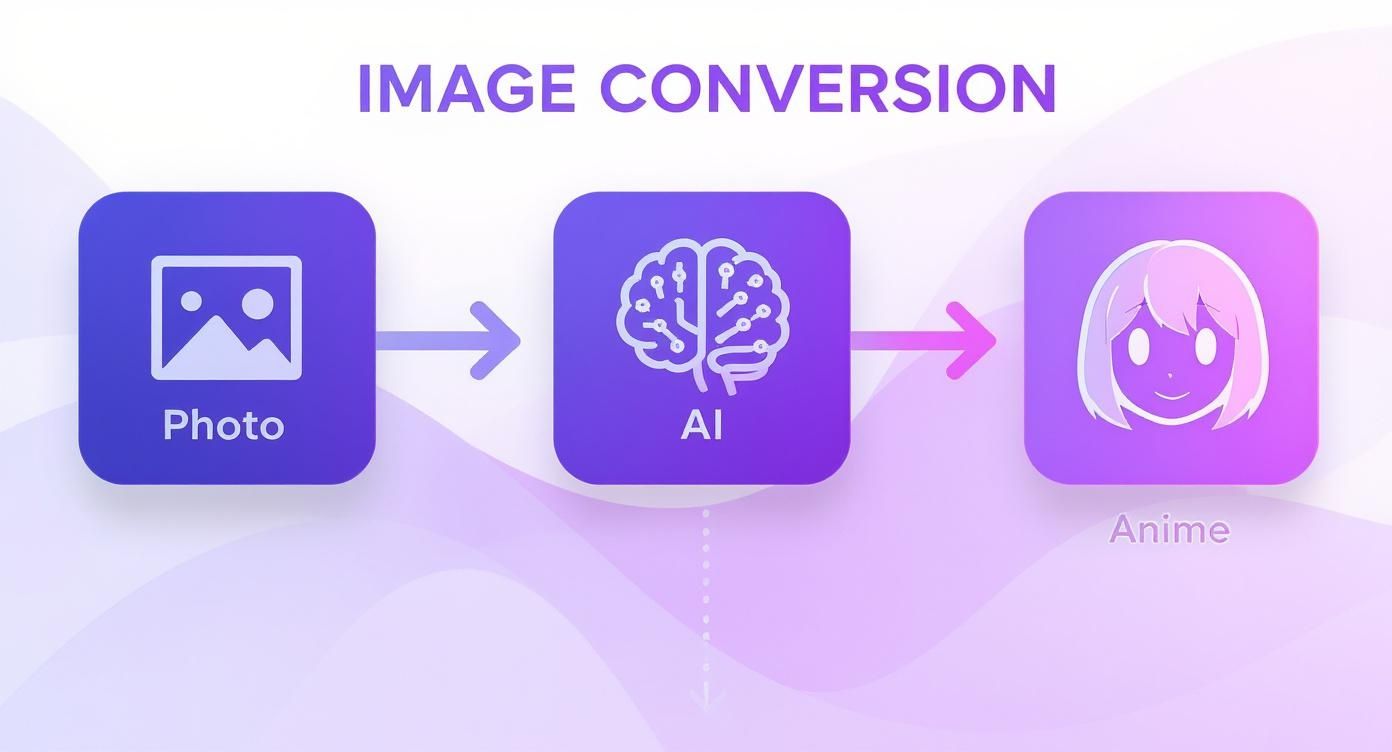
So, how does an AI take a regular photo and turn it into something that looks like it's straight out of an anime? It’s a fascinating process that blends technology with artistry.
At its core, an image-to-anime AI is trained on a colossal library of anime and manga images. Think of it like an artist who has spent decades studying every style imaginable, from the classic looks of the '90s to modern webtoons. The AI learns the visual language—the distinct line work, the vibrant color palettes, and those expressive, oversized eyes.
When you upload your photo, the AI gets to work recognizing the key features. It identifies faces, figures, and backgrounds, breaking down your image into basic components. Then, it creatively reinterprets these elements, swapping realistic textures for the bold, clean lines and cell-shading typical of anime.
It’s not just a simple filter; it’s a genuine transformation.
This whole process is why this trend has exploded on social media. It gives creators a powerful tool to blend their real-world photos with the fantastic, stylized look of animation.
The real magic here is that you don't need to be an artist to create something visually stunning. These tools put the power of a professional anime illustrator right at your fingertips, asking only for a photo and a spark of imagination.
The technology is getting better all the time, too. Newer AI models can produce incredibly high-quality images much more efficiently than their predecessors. And this kind of image manipulation isn't just for fun; it's also making waves in other areas, like e-commerce, with innovations such as AI clothing try-on technology that changes how we shop online.
Key AI Anime Generator Features at a Glance
When you start exploring different tools, you'll notice they all offer a unique mix of features. This table breaks down what to look for so you can find the perfect generator for your creative projects.
| Feature | What It Does | Why It's Important for You |
|---|---|---|
| Model Selection | Lets you choose from different AI models or anime styles. | Gives you control over the final look, from retro '90s to modern webtoon aesthetics. |
| Prompt Control | Allows you to guide the AI with text descriptions. | Essential for fine-tuning details like hair color, background, and overall mood. |
| Image-to-Image Strength | Adjusts how much the AI is influenced by your original photo. | A lower setting gives the AI more creative freedom; a higher one keeps it true to the source. |
| Upscaling Options | Increases the resolution of the final image. | Crucial for creating high-quality images that look great on any screen or for printing. |
| Batch Processing | Lets you convert multiple images at once. | A massive time-saver if you're creating a series of images for a social media carousel. |
Having a handle on these features will help you move from just experimenting to creating consistently amazing anime-style content that grabs attention.
Choosing the Right AI Anime Generator for Your Goals
With so many AI anime generators popping up, it's easy to get analysis paralysis. The secret is to forget about finding the single "best" tool and instead focus on finding the right tool for your specific project. What you want to create—whether it's a quick TikTok video or a detailed piece of art—will dictate which platform makes the most sense.
Not all generators are built the same. Some are basically one-click apps that give you a cool result in seconds. Others are complex, powerful systems that give you a ton of creative control. Figuring out which camp you're in is the first step to getting results you'll actually love.
For Quick and Stylish Social Media Content
If you're aiming to create trendy anime avatars or faceless content for Instagram and TikTok, you need something fast and simple. Speed is the name of the game. Tools like DomoAI or even the "Remix" feature in Google Photos are fantastic for this. They're designed for convenience, not for fiddling with a million settings.
The process is usually dead simple: upload a photo, pick a style you like, and you're done. This kind of workflow is perfect for:
- Turning a bunch of headshots into anime-style profile pictures.
- Keeping a consistent look across all your social media accounts.
- Whipping up quick visuals for a Reel or TikTok video.
These tools are made for people who need good-looking results now. You might not be able to tweak every little detail, but the output is usually more than enough to grab attention online without a big time investment.
For Artists and Creators Seeking Total Control
On the other hand, if your project requires a specific artistic touch and you need to get every detail just right, you'll want to graduate to a more powerful platform. This is where tools built on Stable Diffusion (accessed through interfaces like Automatic1111 or ComfyUI) really come into their own. They offer incredible control, but be warned—they have a steeper learning curve.
With these advanced setups, you can do things like:
- Train custom models based on your own art or specific characters.
- Write detailed text prompts to control everything from the lighting to the mood.
- Fine-tune settings like "denoising strength" to perfectly merge your original photo with the AI-generated style.
This is the path for creators who want to use AI as a true collaborator, not just a simple filter. It lets you develop a unique, signature style that nobody else can replicate. For a closer look at the nuts and bolts, our guide to the AI image creation process covers some of these more advanced techniques.
Key Takeaway: The "best" tool really depends on the job. A social media manager and a digital artist have completely different needs. Figure out what you want to accomplish first, then find the generator that fits your workflow.
The market for these tools is growing like crazy. In fact, the whole photo-to-cartoon segment has seen an annual growth of 28.9%, which shows just how popular this creative trend has become. To get you started, many of these tools offer free credits to let you test the waters. You can find more info about this growing market and its tools if you're curious.
This screenshot shows how a tool might offer free credits, which is a common way they get people to try them out.
Thanks to these free trials, you can easily experiment with a few different platforms before committing. It’s the best way to find the one that feels right for you and your creative style.
Prepping Your Photos for Amazing AI Results
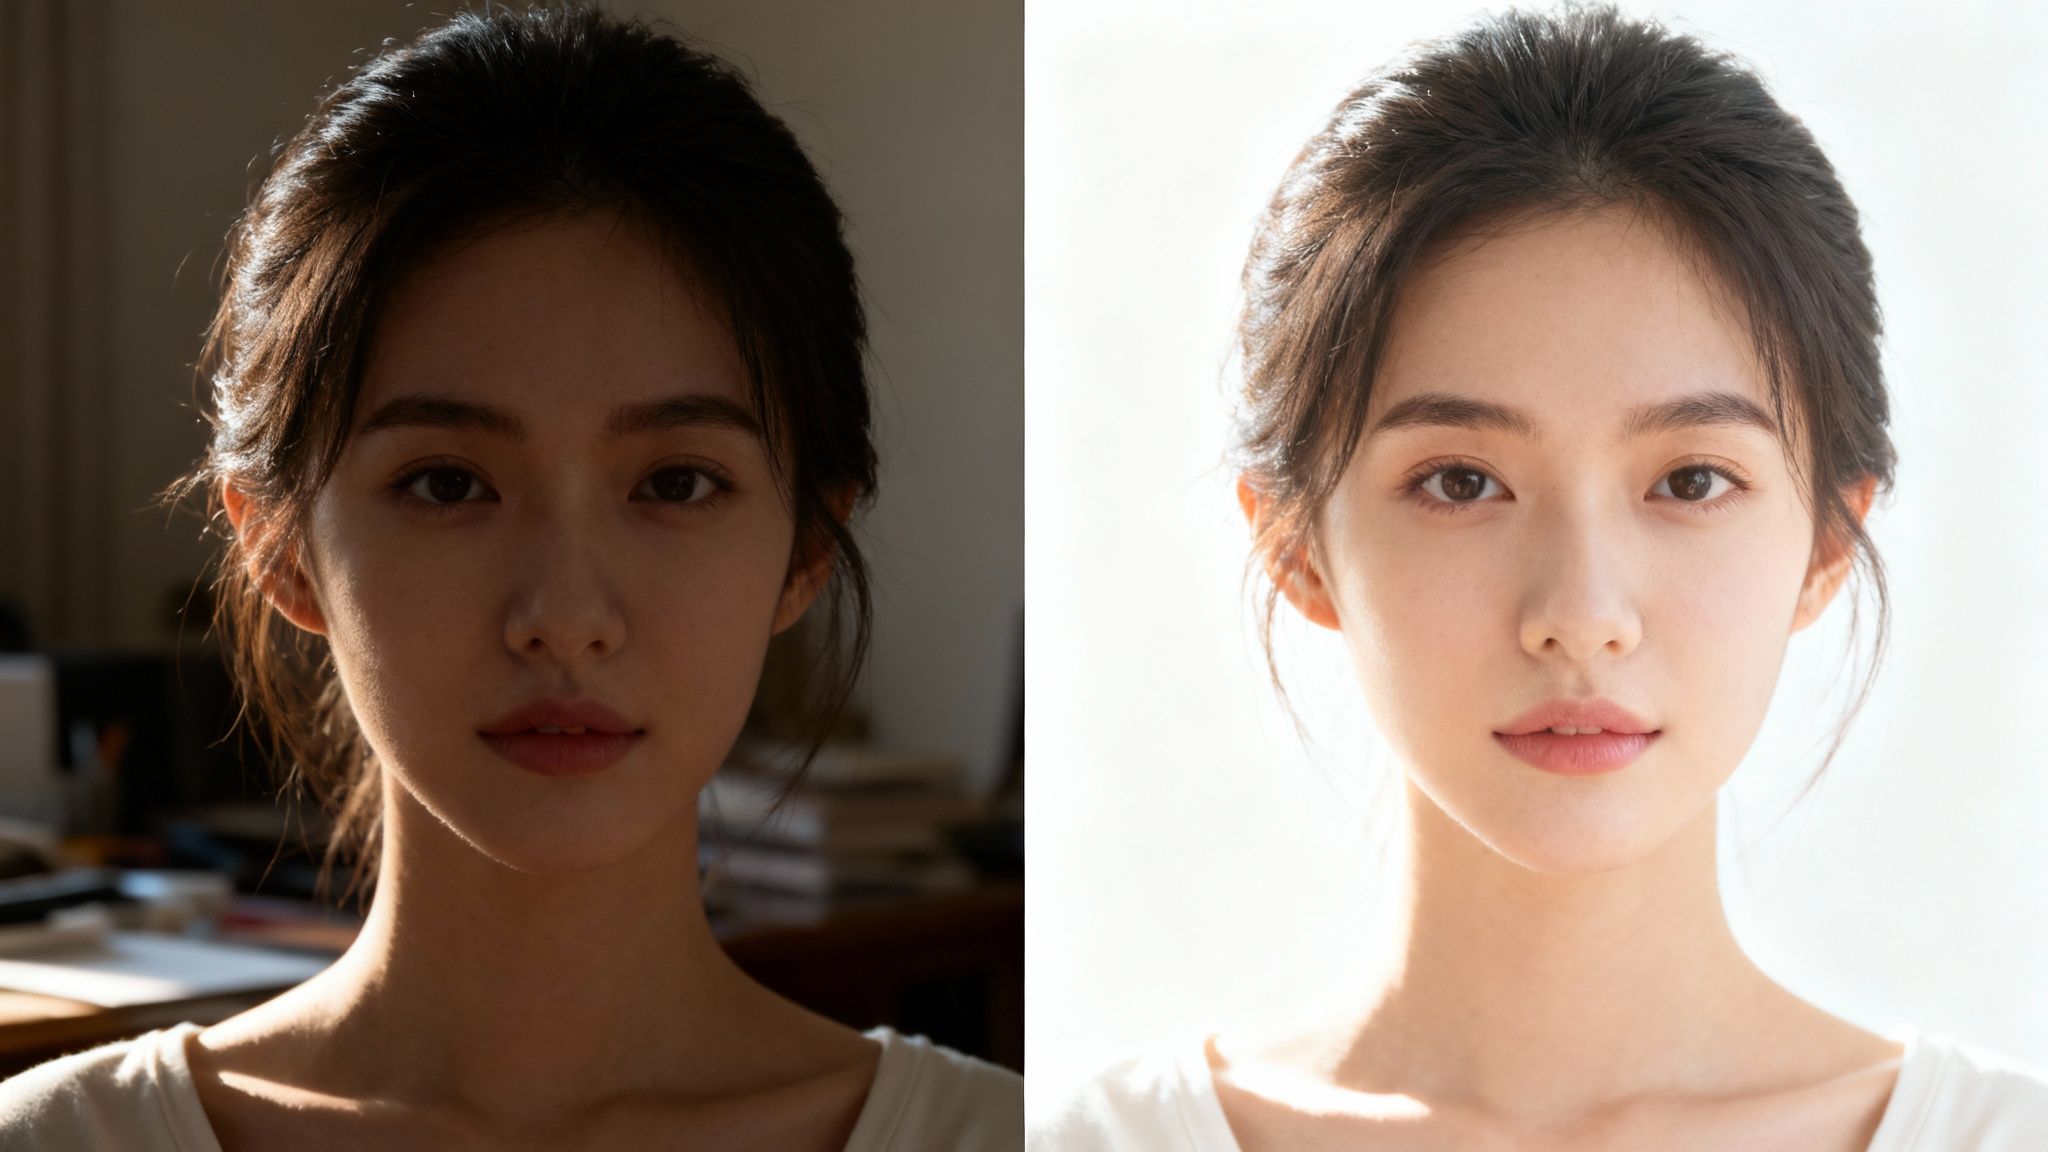
The quality of your final anime art really starts with the photo you feed the AI. I always tell people to think of the image to anime AI as a super talented artist who takes everything you show them literally. If you hand over a blurry, dark, or cluttered photo, you're almost guaranteed to get a muddy or confusing anime image back. It's that classic principle: garbage in, garbage out.
So, before you even start dreaming up the perfect prompt, take a minute to get your source image ready. I promise, this one small step will dramatically improve your results and save you the headache of generating dozens of duds. The goal is just to give the AI a clean, easy-to-understand foundation to work from.
We're not talking about a full-on professional photoshoot or complex editing here. Just a few simple tweaks are all you need to make your photo AI-ready.
Focus on Clarity and Lighting
Good lighting is everything. It's non-negotiable. Photos shot in low light tend to have that grainy digital "noise" and, worse, they hide key details in the shadows. From my experience, the AI often gets confused and misinterprets those shadows as part of the actual person, leading to some really weird splotches and artifacts in your final anime art.
A blurry photo is just as bad. It leaves the AI guessing where the important lines and features are. If you can't clearly make out the person's eyes or the shape of their jawline, the AI won't be able to, either.
Run your photo through this quick mental checklist:
- Is the main subject in sharp focus? Don't even bother with photos that are slightly soft or out of focus.
- Is the lighting even and clear? Soft, natural light is your best friend. Steer clear of harsh shadows or blown-out, super-bright spots.
- Is the resolution decent? A tiny, pixelated image just doesn't give the AI enough information to create something good.
You'd be amazed what a simple brightness and contrast bump can do. Seriously, most free photo editing apps on your phone can handle this in seconds. It brings out all the little details the AI needs to see for a really vibrant anime transformation.
Simplify the Composition
A busy background is a major distraction for the AI. If your photo is packed with other people, crazy patterns, or just a lot of clutter behind your subject, the AI can get confused about what it's supposed to be looking at. This often results in the background bleeding into the character or other strange, unwanted effects.
The fix is dead simple: crop your photo. Just zoom right in on the person or object you want to turn into anime. I find that a clean headshot or a photo from the waist-up almost always gives the best results because it forces the focus onto the character's features.
By cropping out all that extra noise, you're essentially pointing a big, flashing arrow at your subject and telling the AI, "Hey, look at this." It might just be the single most effective change you can make.
Getting Your Prompts Just Right
Okay, your photo is prepped and ready. Now for the fun part—actually telling the AI what to do. This is where you really get to be the director. You're moving beyond just feeding the machine a picture; you're actively guiding it with your words.
Think of it like commissioning an artist. Just saying "make this look like anime" is a starting point, but it leaves all the important creative decisions to the AI. If you want something that truly stands out, you have to get specific. This means giving the AI a blueprint filled with keywords that define everything from the art style and character details to the background and overall mood.
Building Your Perfect Prompt
A great prompt is built in layers, starting broad and then getting into the nitty-gritty details. I always start with the overall style. Are you going for something nostalgic and hand-painted, or something sharp and modern?
Pinpoint the Style: Try using phrases like "Studio Ghibli style" for that whimsical, painterly feel, or maybe "90s retro anime aesthetic" for a classic, slightly grainy vibe. You can even mention specific shows or artists—you'd be surprised what many models recognize.
Describe the Subject: This is where you can tweak or totally reimagine the person in your photo. Add details like "sparkling emerald green eyes" or "wind-swept silver hair" to really nail the character's look.
Paint the Scene: Don't forget the background! Something as simple as "a bustling Tokyo street at night, neon lights, reflections on wet pavement" can completely change the entire context and feeling of the image.
When OpenAI released GPT-4o, this whole process got a lot more intuitive. It allows for a more conversational way to refine images, making it easier to get exactly what you want without a bunch of technical commands. This is a big reason we saw that explosion of gorgeous, Ghibli-inspired art all over social media—it made advanced tools feel simple.
The best prompts combine a core subject, specific details, a defined style, and atmospheric elements. When you mix these together, you give the AI a clear blueprint, which means less guesswork for the machine and a much better result for you.
Our Anime Style Prompt Recipe Book
Getting started with prompts can be a bit of trial and error. To help you get a feel for what works, I've put together a "recipe book" with some ready-to-use examples for popular anime styles. Think of these as starting points—feel free to mix, match, and modify them to create your own unique look.
| Desired Style | Core Prompt Keywords | Example Negative Prompts |
|---|---|---|
| Studio Ghibli | Studio Ghibli aesthetic, painterly, whimsical, soft lighting, detailed nature background, hand-drawn |
photorealistic, 3D render, sharp lines, dark, horror |
| 90s Retro Anime | 90s retro anime style, cel-shaded, grainy, vintage film look, vibrant colors, soft focus |
modern, digital art, smooth gradients, 4k, hyper-detailed |
| Modern Shonen | modern shonen anime style, dynamic action lines, sharp shadows, intense facial expression, high contrast |
blurry, pastel colors, calm, simple background, peaceful |
| Cyberpunk/Sci-Fi | cyberpunk anime, neon lights, futuristic city, glowing eyes, rain-slicked streets, techwear |
natural, daytime, fantasy, medieval, simple clothing |
Remember, these are just templates. The real magic happens when you start combining these ideas with the specific details from your own photos.
Using Negative Prompts to Weed Out the Bad Stuff
Telling the AI what you want is only half the battle. You also have to tell it what you don't want. That’s where negative prompts come in. These are keywords that tell the AI what to avoid, and they are your secret weapon against all those classic AI art fails.
For example, if you keep getting blurry results or weird artifacts, a negative prompt can clean that right up. My standard negative prompt for almost any anime generation includes:
blurry, fuzzy, low-resolutionmutated hands, extra fingers, deformedwatermark, signature, textugly, tiling, poorly drawn hands
By adding these simple exclusions, you’re basically helping the AI focus on what matters and filter out the junk. It’s a small step that makes a huge difference in the final quality.
Crafting the perfect prompt is a skill that gets better with practice. For a deeper dive, our complete guide to writing effective text prompts has even more strategies and recipes to help you master it.
Refining And Upscaling Your AI-Generated Art
Getting your first AI-generated image is a rush, but that's just the starting line. The real magic happens in the clean-up and polishing phase.
You'll quickly notice that raw AI outputs often have… quirks. We’re talking blurry details, weird visual artifacts, and the infamous AI-mangled hands. Don't sweat it. These are totally normal and, more importantly, totally fixable. Think of your initial generation as a really solid rough draft, not the final product.
The goal now is to sharpen those edges and crank up the quality. We want something that looks stunning, whether it’s a tiny profile picture or a full-blown poster.
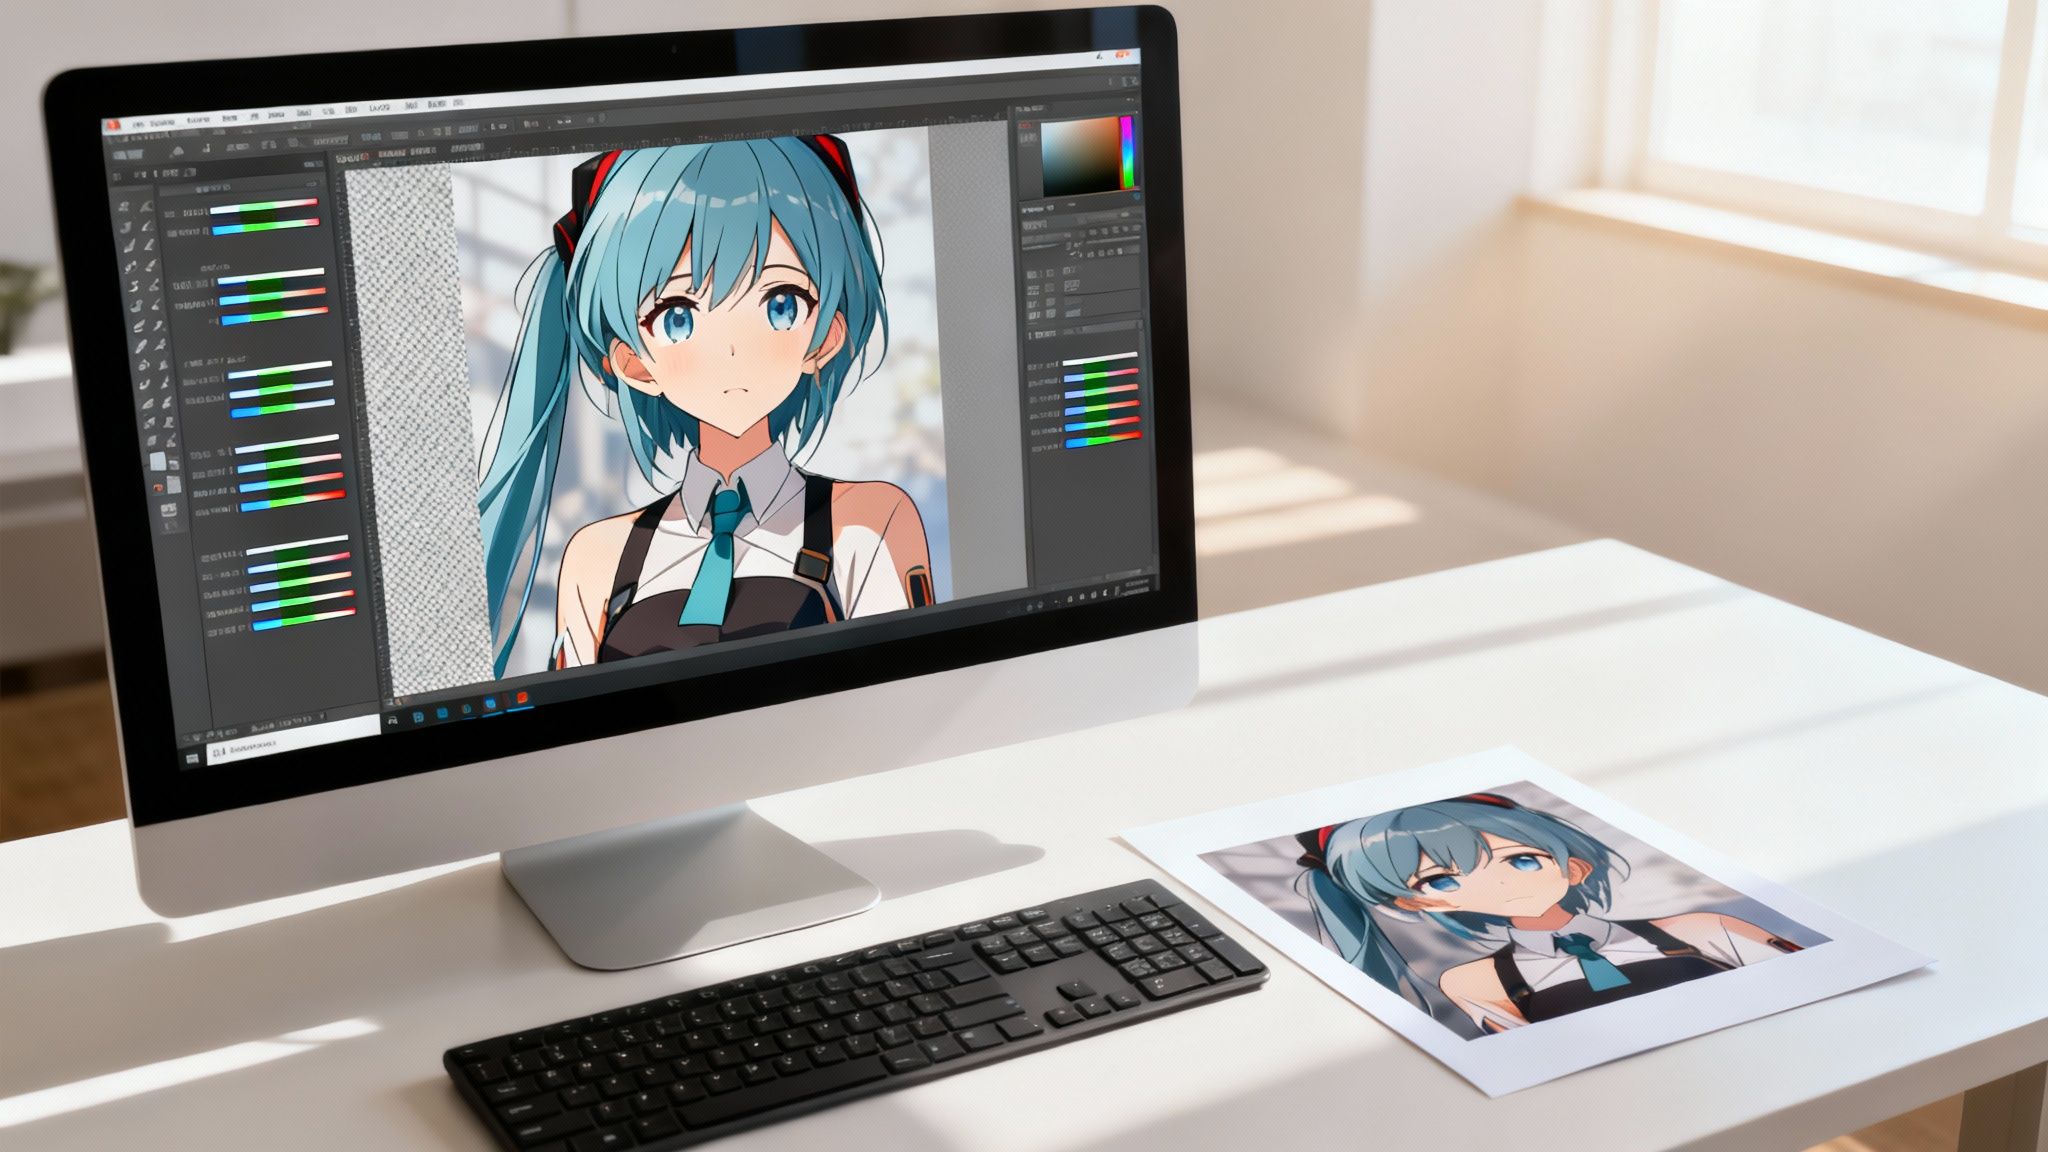
This final refinement stage is where you put in that last 10% of effort that makes 90% of the difference.
Fixing Common AI Art Flaws
Even the most sophisticated AI models will occasionally spit out something bizarre. You might get a near-perfect character portrait, only to notice they have six fingers, or a random floating object in the background. Most of these little hiccups can be ironed out with free tools like Photopea or GIMP.
- Weird Artifacts: For small glitches or unwanted patterns, the clone stamp or healing brush is your best friend. I use it all the time to clean up weird textures on clothing or distracting elements in the background.
- Distorted Hands or Faces: This is a classic AI problem. For something complex like a mangled hand, your best bet is "inpainting," a feature built into many AI art tools. You just mask the bad part and tell the AI to regenerate only that section with a new, more specific prompt like "a single, well-formed hand, five fingers, detailed."
These quick touch-ups can rescue an image you'd otherwise have to throw away. It saves a ton of time compared to generating dozens of new images hoping for a perfect one.
The Magic Of AI Upscaling
Here's the most critical step for a professional look: upscaling. Most AI tools generate images at a fairly low resolution, maybe 1024x1024 pixels. That's fine for a preview, but it will look blurry and pixelated on a big screen or if you try to print it.
Upscaling isn't just about making the picture bigger. A good AI upscaler rebuilds the image at a higher resolution, sharpening lines, refining textures, and adding incredible clarity. This is the secret to getting that high-definition anime look that really pops.
There are dedicated tools specifically for this. If you want to dive deeper into how this works, check out this guide on the benefits of AI upscaling. It breaks down how the tech enhances your final images.
Adding Final Artistic Touches
Once the technical fixes are done and your image is upscaled, it's time for the final artistic pass. These small tweaks are where you can inject your own style and really set the mood.
Here are a few of my go-to final touches:
- Color Correction: I almost always adjust the brightness, contrast, and saturation. You can make the colors incredibly vibrant or shift them to create a specific vibe, like a warm, nostalgic glow.
- Film Grain: Want that classic, retro anime feel? Adding a very subtle layer of film grain works wonders. It mimics the look of old-school cel animation.
- Sharpening: A final, gentle sharpen filter can make the line art and key details, like the character's eyes, extra crisp. Just don't overdo it.
These last steps are what separate generic AI-generated content from a polished, intentional piece of art. It’s how you give your work a unique personality and get it ready for your VTuber stream, a viral TikTok, or whatever else you have planned.
Common Questions About Image to Anime AI
Jumping into AI image generation is exciting, but it's natural to have a few questions. As you start turning your photos into anime art, you might wonder about privacy, who owns the final image, and why your anime twin doesn't look exactly like you.
Let's tackle some of the most common questions I hear from creators. Getting these details straight helps you create with confidence, knowing your photos are safe and your art is ready for whatever you've got planned.
Is It Safe to Upload My Photos?
This is probably the biggest question on everyone's mind, and for good reason. When you upload a personal photo, you absolutely want to know who sees it. The good news is that most reputable AI services have clear privacy policies explaining how your data is handled. Typically, they process your images on their servers to create the artwork and won't share them publicly unless you say so.
Still, it's always a good habit to skim the terms of service before uploading anything. If you're working with super sensitive photos or just prefer to keep everything in-house, you can use open-source tools like Stable Diffusion. These run directly on your own computer, meaning your images never even touch the internet.
The golden rule is simple: if you're ever in doubt, check the privacy policy. A trustworthy service will always be transparent. For most creators, well-known platforms are perfectly safe for turning selfies into amazing anime art.
Can I Use the Generated Images Commercially?
This one's a big deal, and the answer is: it depends entirely on the tool you're using. The rules for commercial use can be night-and-day different from one platform to another, so this is something you have to check.
- Paid Services: A lot of paid AI art generators give you full commercial rights to the images you create. This is awesome because it means you're free to use them for merchandise, ads, or any other business project you can dream up.
- Free Services: Free tools are more likely to have strings attached. Some might flat-out prohibit commercial use, while others may require you to credit the platform every time you share the image.
Always, always check the licensing agreement. It's the only way to know for sure if you can legally put that cool new anime character on a T-shirt or use it in a marketing campaign. Once you've refined your AI art, it can be really helpful to see how these styles translate to actual products. For example, looking at popular Japanese T-shirt designs can give you some great ideas for your own merch.
Why Doesn't the AI Character Look Exactly Like Me?
Think of an image to anime AI as more of an artist than a photocopier. Its goal isn't to create a perfect replica; it's to capture the essence of your features—like your hairstyle, eye color, and face shape—and then reinterpret them in a distinct anime style. The final image is a creative blend of your photo and the massive library of art the AI was trained on.
If you want a stronger resemblance, start with a clear, well-lit, front-facing photo. From there, you can experiment with settings like "image strength" or "identity preservation." Dialing back the intensity of the anime style a bit often results in a character that looks much more like the original you.
Ready to transform your own photos into stunning anime art and viral videos? Aicut gives you the tools to create engaging content in minutes, from animated characters to automated faceless channels. Join over 500,000 creators and start building your audience today at https://www.aicut.pro.