Stepping into the world of video editing can feel like learning a new language. With endless software options, complex timelines, and confusing jargon, it's easy to get overwhelmed before you even start. But what if you could skip the frustration and jump straight to creating polished, engaging content that captures attention? This guide is designed to do exactly that.
We've compiled a list of essential video editing tips for beginners that bypass the fluff and deliver actionable techniques you can use immediately. These aren't just vague concepts; they are the foundational skills that separate amateur clips from professional-looking videos.
You will learn how to structure your projects efficiently, make your audio sound clean and seamless, and use simple yet powerful cutting techniques like the J-cut and L-cut to elevate your storytelling. We'll also cover crucial visual principles, from strategic B-roll placement to intentional framing and color correction. Each tip is broken down into simple steps, giving you the confidence to transform raw footage into a compelling final product. Whether you're creating content for YouTube, TikTok, or business ads, mastering these fundamentals will dramatically improve your workflow and the quality of your work.
1. Master the Rule of Thirds in Framing
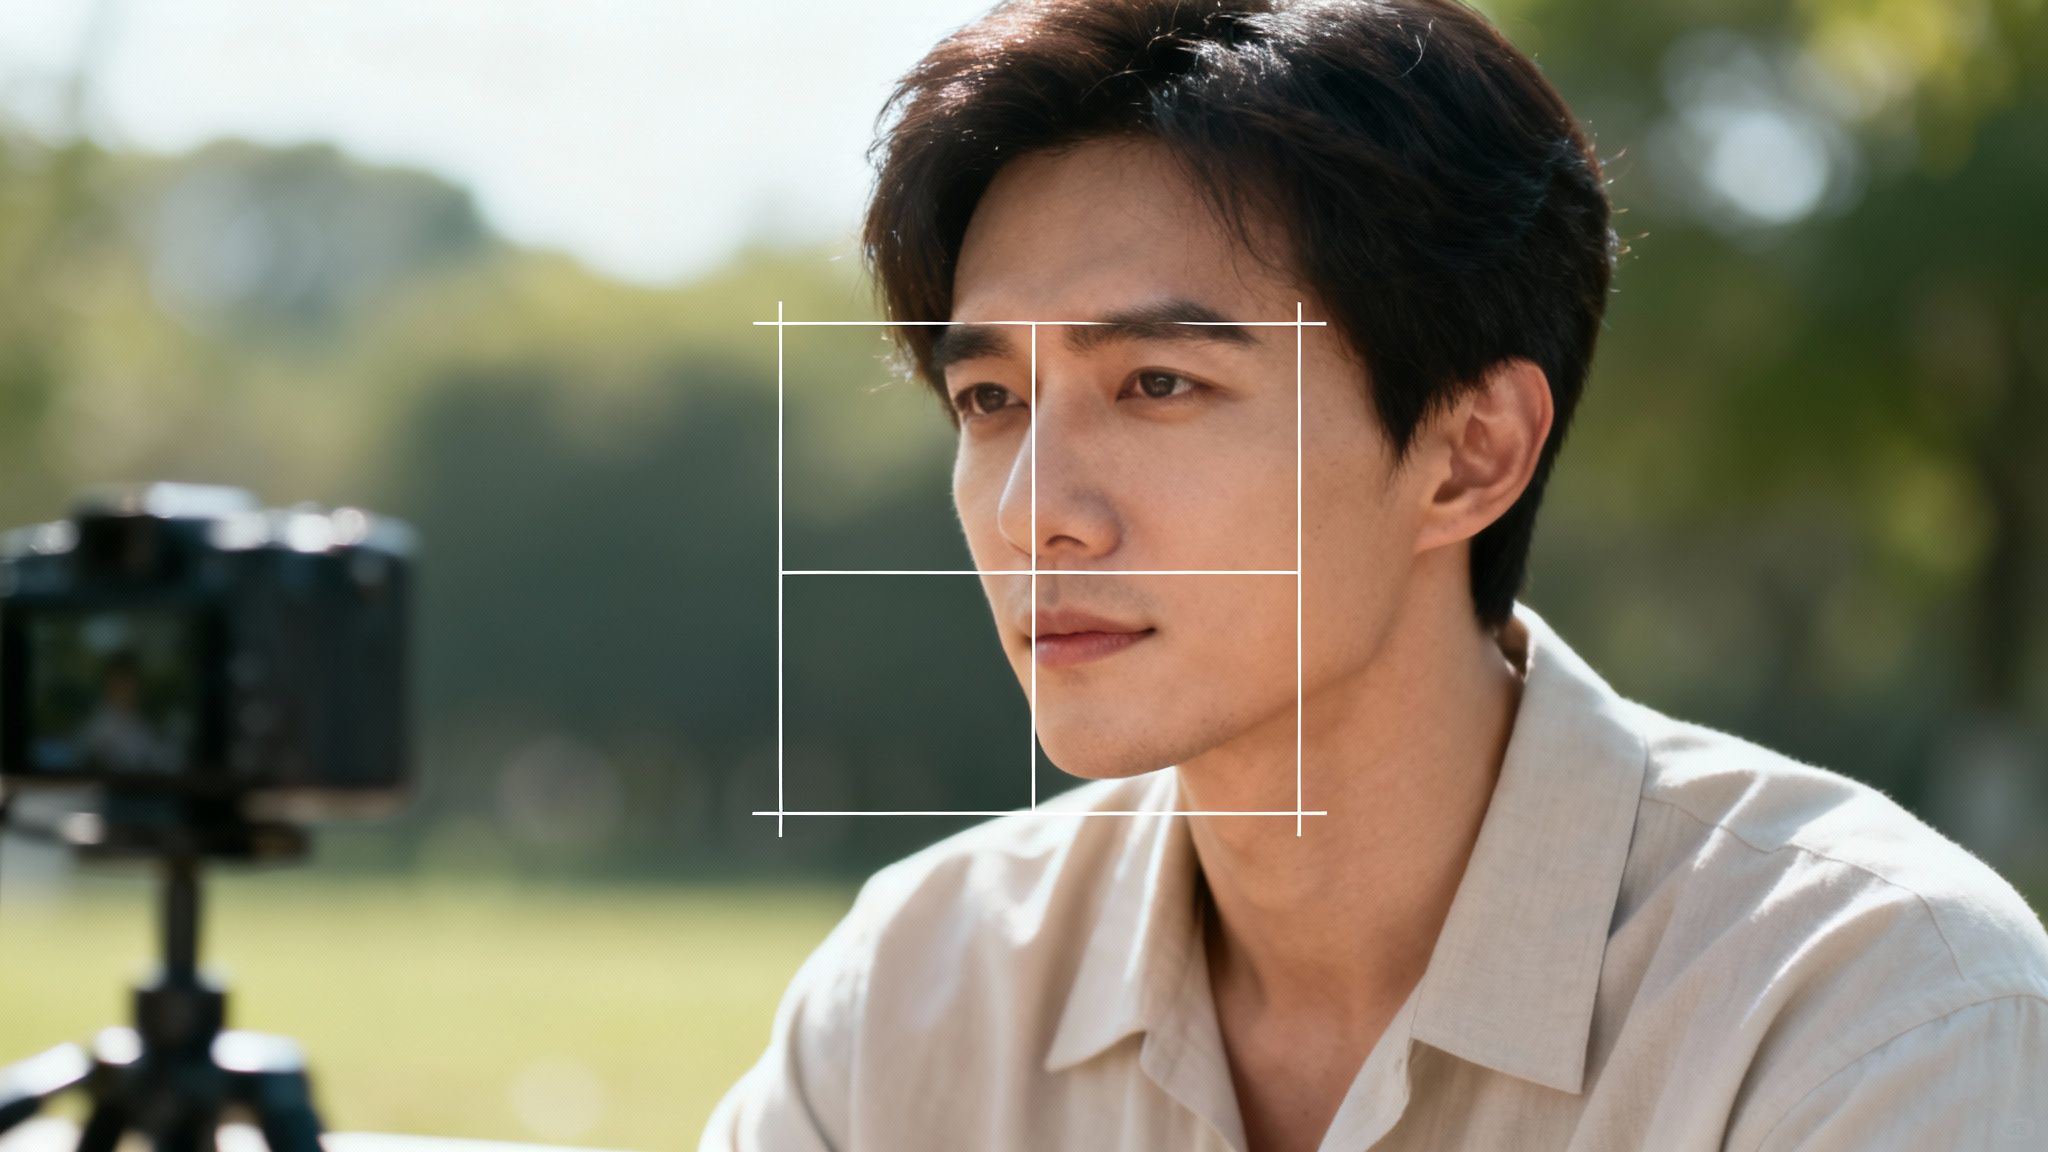
One of the most foundational yet impactful video editing tips for beginners is mastering the Rule of Thirds. This classic composition principle helps you create visually balanced and dynamic shots that naturally guide the viewer's eye. Instead of placing your subject dead center, imagine your frame is divided into nine equal squares by two horizontal and two vertical lines.
The goal is to place key elements along these lines or at their intersection points. This simple shift creates tension, energy, and visual interest, making your footage look more professional and compelling. Centering a subject can feel static, while off-center placement feels more organic and engaging.
Why It Works
Positioning a person on a vertical line gives them "breathing room" in the direction they are looking, which feels more comfortable for the viewer. Placing a horizon on a horizontal line, rather than in the middle, makes landscapes feel more expansive or grounded. This technique is a shortcut to creating compositions that are inherently pleasing to the human eye.
How to Implement It
- During Filming: Most cameras and smartphone apps have a grid overlay feature. Turn it on to help you frame your shots according to the Rule of Thirds while you record.
- In Post-Production: If your footage is already shot, don't worry. Use the crop or transform tools in your editing software. You can easily reframe a shot to position the subject along one of the grid lines.
- Study the Pros: Watch a scene from a professionally shot film and notice how often characters and objects are placed off-center. You can learn more about cinematic framing techniques by exploring examples of professional framing on Aicut.pro.
Try This Now: Open your video editor and import a clip where the subject is centered. Use the transform tool to reposition the subject to the left or right third of the frame. Instantly, the shot will feel more dynamic and intentional.
2. Use Proper Color Correction and Grading
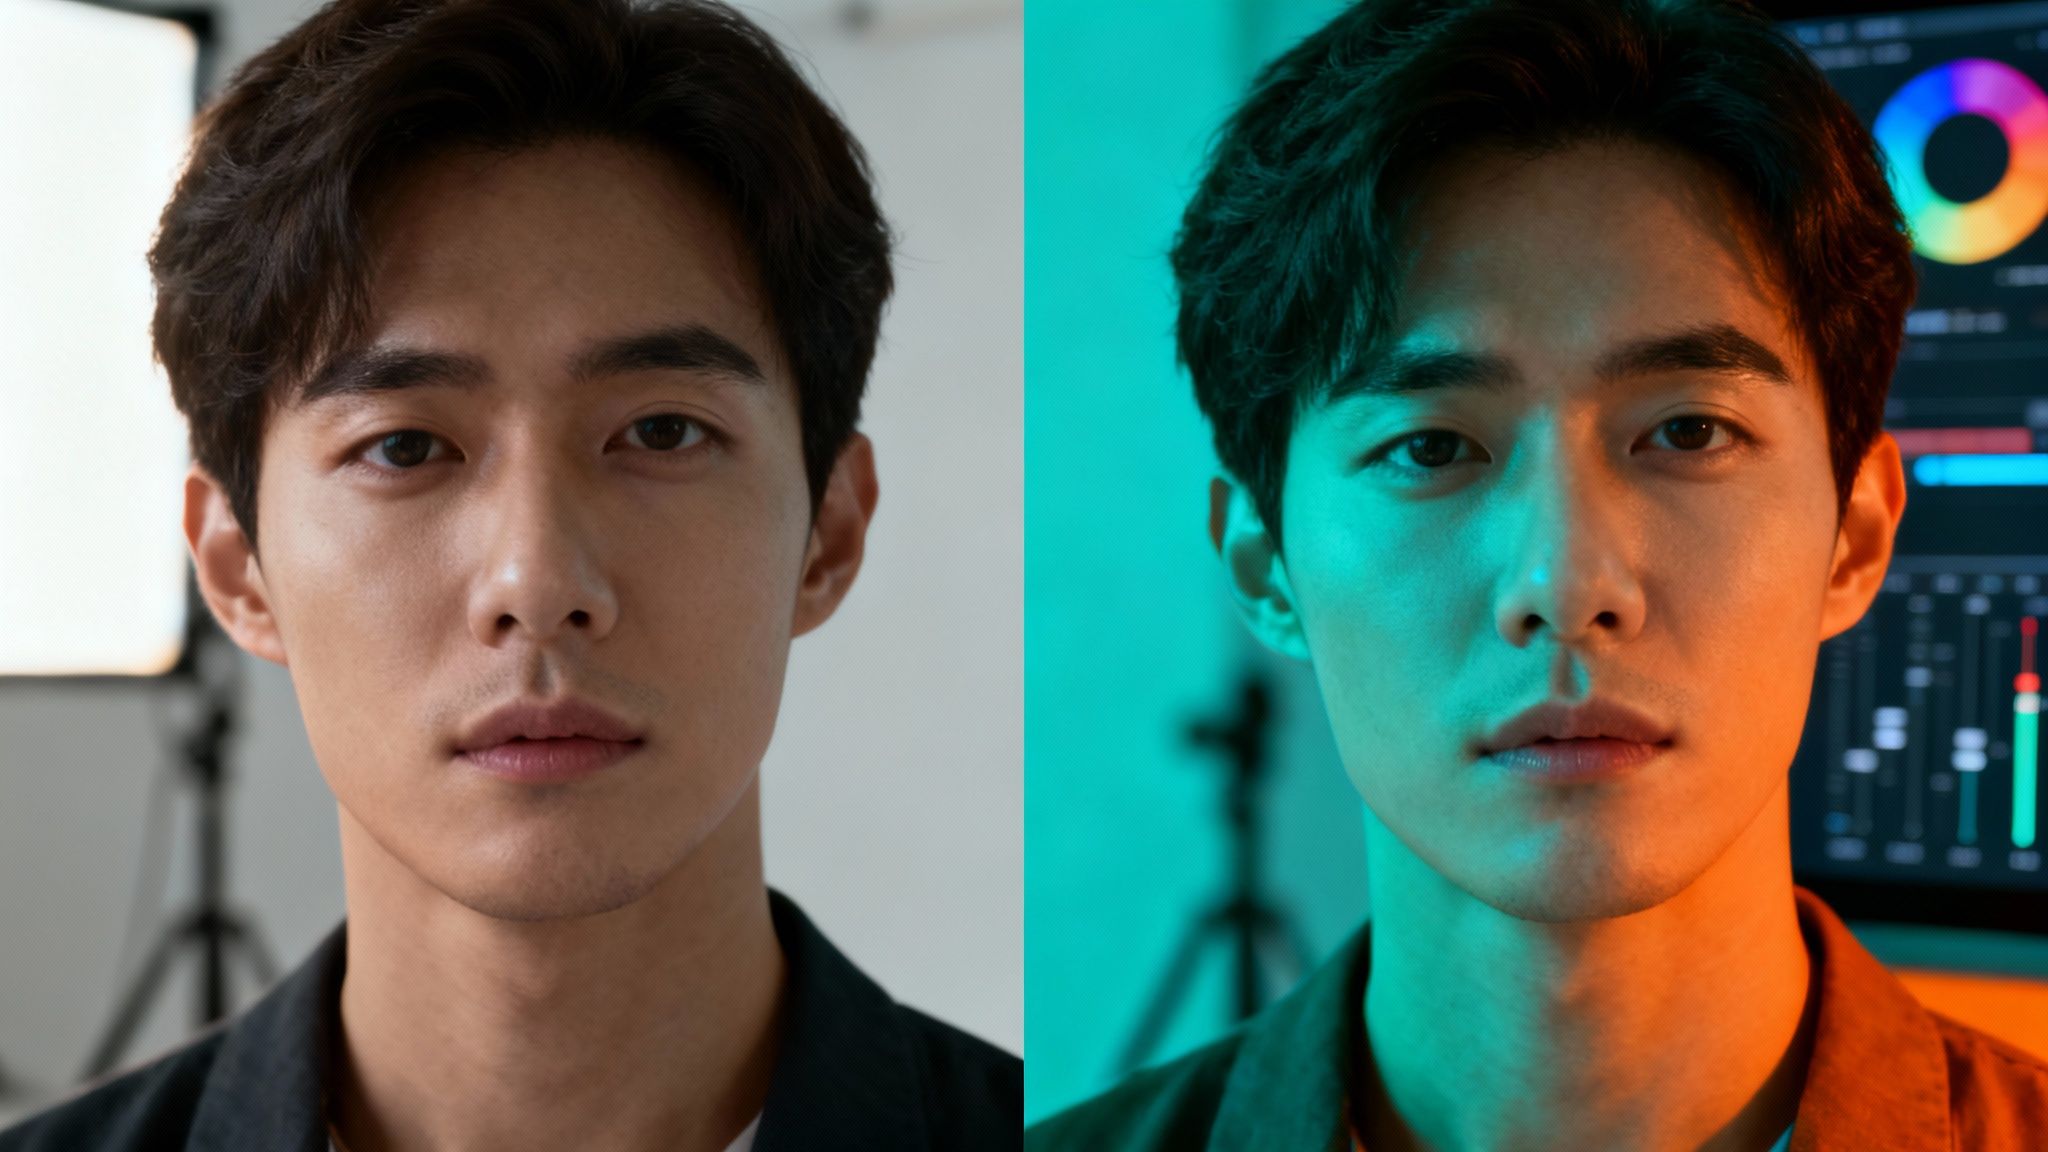
One of the most transformative video editing tips for beginners is learning the basics of color. This process is split into two key stages: color correction and color grading. Color correction is the technical step of fixing issues, like adjusting white balance and exposure, to make your footage look natural and consistent across different clips.
Color grading is the creative step that follows. This is where you apply a specific color palette to establish a mood, tone, and a distinct visual style. Getting this right elevates your video from looking like raw footage to a polished, professional production. It’s the difference between a simple recording and a cinematic story.
Why It Works
Proper color treatment makes your video cohesive and emotionally impactful. A warm, saturated look can evoke happiness and energy, while a cool, desaturated palette can create a sense of melancholy or tension. This visual consistency helps build a recognizable brand or style, making your content more memorable for your audience. Think of the signature teal-and-orange look in many blockbuster films.
How to Implement It
- Correct First, Grade Later: Always start by correcting the basics. Use your software’s white balance tool to ensure whites look truly white, then adjust exposure and contrast until the image looks balanced.
- Use LUTs: Look-Up Tables (LUTs) are presets that apply a specific color grade to your footage. Most editing software comes with built-in LUTs, which are a great starting point for beginners.
- Apply to Multiple Clips: To maintain consistency, use an adjustment layer. Place it on a track above your video clips and apply your color effects to this layer. It will affect all the clips beneath it uniformly.
- Watch a Tutorial: Understanding the tools can make a huge difference. This quick tutorial explains the fundamentals of color grading in DaVinci Resolve, but the principles apply to most software.
Try This Now: Import a few different clips into your editor. Use the white balance dropper tool on something white or grey in each shot to neutralize the colors. Notice how this one simple step instantly makes your clips look more cohesive.
3. Implement Jump Cut Transitions Intentionally
Once seen as a sign of amateur editing, the jump cut is now a powerful stylistic tool. This editing technique involves cutting between two sequential shots of the same subject taken from a slightly different position, making the subject appear to "jump" forward in time. Rather than hiding these cuts, one of the most effective video editing tips for beginners is to use them deliberately to create energy and control pacing.
Intentional jump cuts remove unnecessary pauses, breaths, or filler words, resulting in a tight, fast-paced video that holds viewer attention. This technique is especially popular in modern online content, where creators like Casey Neistat and countless TikTokers use it to maintain a high-energy, engaging narrative that keeps audiences hooked.
Why It Works
Jump cuts create a sense of urgency and momentum, perfect for tutorials, vlogs, and promotional content. By cutting out the "dead air," you respect the viewer's time and deliver your message more efficiently. When synchronized with music or sound effects, jump cuts can also create a rhythmic, almost hypnotic effect that enhances the viewing experience and makes your edits feel more professional and purposeful.
How to Implement It
- Edit for Pace: In your timeline, find a continuous clip of someone talking. Make cuts right before they start a new sentence and right after they finish, removing the pauses in between.
- Use B-Roll as a Buffer: To soften a jarring jump cut, you can place a short B-roll clip (supplemental footage) over the edit point. This is a classic technique to maintain flow while still tightening the pace.
- Sync to Audio: Place your cuts on the beat of your background music. This turns simple jump cuts into a rhythmic editing choice that feels intentional and stylish, a common technique in music videos and dynamic ads.
- Add Sound Effects: Emphasize a jump cut with a quick "swoosh" or "pop" sound effect. This audio cue signals to the viewer that the cut was a deliberate creative choice.
Try This Now: Record yourself speaking for 30 seconds, including natural pauses. Import the clip and use your editor's blade tool to remove every single pause. Play it back to see how the energy and speed of your delivery are instantly transformed.
4. Create Smooth Audio Transitions and Mixing
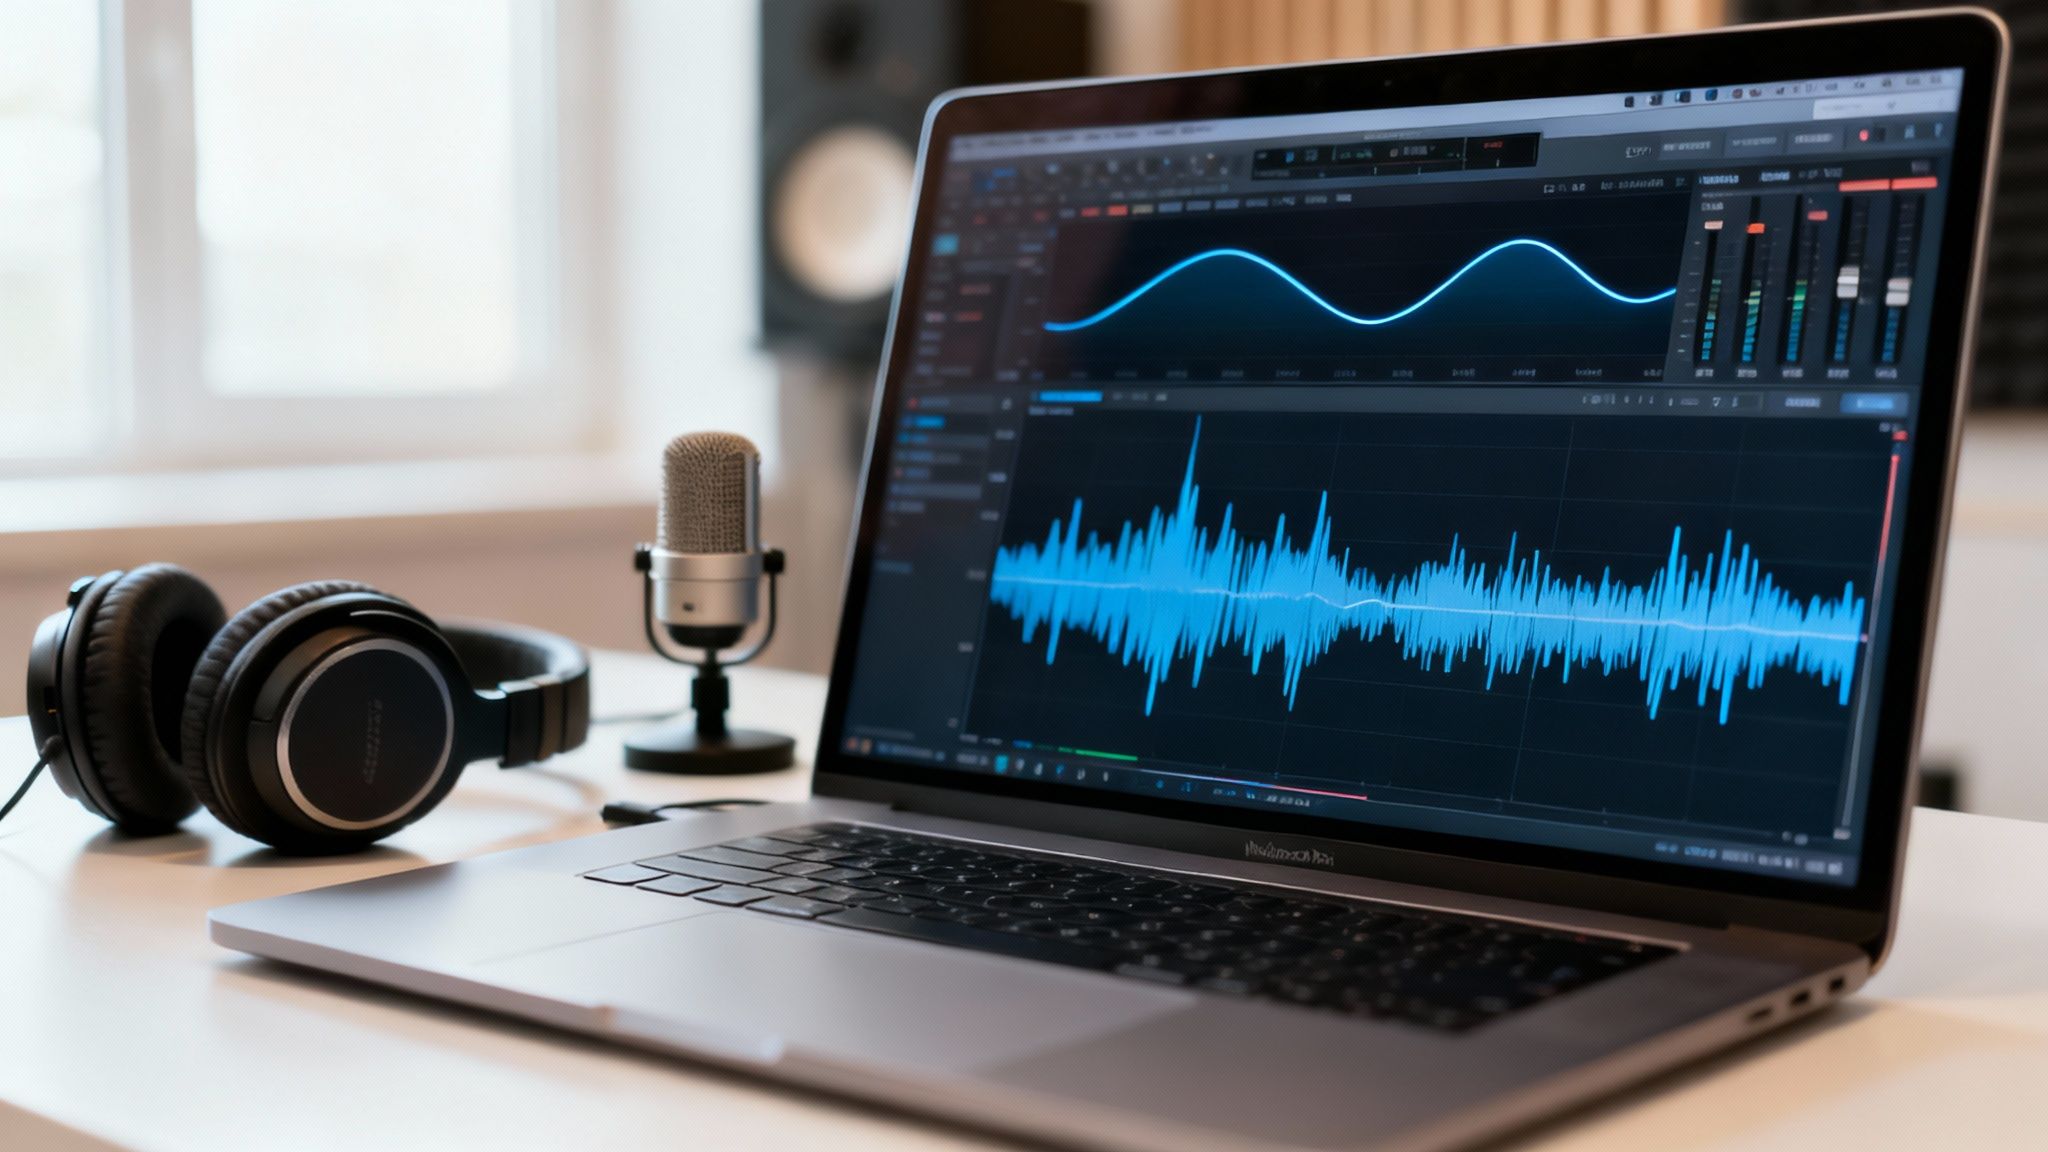
One of the most critical video editing tips for beginners is to prioritize audio quality. Viewers are far more likely to click away from a video with bad audio than one with slightly imperfect visuals. Creating smooth audio transitions and a balanced mix ensures your final product sounds professional, polished, and is easy for your audience to listen to.
This process involves more than just adding a background track; it's about seamlessly blending different audio elements like dialogue, sound effects, and music. Instead of abrupt audio cuts that can jolt the viewer, you should use techniques like crossfading to create a smooth, uninterrupted listening experience. Proper mixing makes your video feel cohesive and keeps your audience engaged from start to finish.
Why It Works
Harsh audio cuts are distracting and can break the viewer's immersion. By carefully managing volume levels and using fades, you guide the audience's attention and maintain the video's flow. A well-mixed soundtrack with clear dialogue and appropriately leveled music enhances the emotional impact of your content, making it more memorable and effective.
How to Implement It
- Use Audio Crossfades: Instead of letting one audio clip abruptly end and another begin, apply a crossfade. This effect gently lowers the volume of the outgoing clip while simultaneously raising the volume of the incoming one, creating a seamless transition.
- Normalize Your Audio: Before you start mixing, normalize all your dialogue clips to a consistent level (around -6dB to -12dB is a good target). This prevents viewers from having to constantly adjust their volume.
- Balance Your Levels: The most important audio, usually the dialogue, should be the loudest. Background music should be present but not overpowering. A good rule of thumb is to set background music 15-20dB lower than your primary audio.
Try This Now: Import two separate audio clips into your timeline. Place them back-to-back and listen to the hard cut. Now, apply a 1-second crossfade between them. Notice how the transition instantly sounds smoother and more professional.
5. Utilize Keyboard Shortcuts for Efficiency
One of the most impactful video editing tips for beginners is to prioritize learning keyboard shortcuts. Instead of constantly moving your mouse to click through menus and select tools, shortcuts allow you to execute commands instantly with a few keystrokes. This simple habit drastically reduces editing time and lets you maintain a creative flow without getting bogged down by the software interface.
Professional editors rely on shortcuts to work quickly and reduce physical strain over long sessions. By building this muscle memory early, you adopt a professional workflow from the start. Focusing on the most common commands first provides the highest return on your time investment, making your entire editing process smoother and more intuitive.
Why It Works
The core benefit of using keyboard shortcuts is speed. Actions that take several seconds with a mouse, like making a cut, trimming a clip, or adding a transition, become instantaneous. This efficiency compounds over the course of a project, saving you hours. It also helps you stay focused on the creative aspects of your edit rather than hunting for buttons, leading to better storytelling and pacing.
How to Implement It
- Start Small: Don't try to learn every shortcut at once. Begin with 10-15 of the most frequent commands, such as play/pause (Spacebar), cut (Ctrl/Cmd + B), and undo (Ctrl/Cmd + Z).
- Create a Cheat Sheet: Print out a list of essential shortcuts for your chosen software and keep it next to your monitor. A quick glance is much faster than searching through menus. Many guides for beginner video editing software include these lists.
- Practice Deliberately: Actively force yourself to use a shortcut instead of the mouse for a specific task. Do this consistently, and it will quickly become second nature.
- Group by Function: Learn shortcuts in logical groups, such as navigation (zooming in/out, moving along the timeline) and editing (cutting, ripple delete, extending clips).
Try This Now: The next time you edit, commit to only using the keyboard to make cuts. Use your software’s "razor" or "blade" tool shortcut (often 'B' or 'C') to split every clip instead of clicking the icon. Notice how much faster your rough cut comes together.
6. Plan and Organize Projects with Proper Folder Structure
One of the most crucial video editing tips for beginners isn't about cutting or color grading; it's about organization. A proper folder structure is the foundation of an efficient workflow, preventing lost files, broken media links, and the headache of searching for assets. It ensures every file has a designated home from the start.
This disciplined approach means creating a consistent hierarchy of folders for every new project. By separating raw footage, audio files, graphics, project files, and final exports, you create a logical system that is easy to navigate. This habit is a non-negotiable in professional production and will save you countless hours of frustration.
Why It Works
A systematic folder structure makes your editing process predictable and scalable. When you need a specific audio track or graphic, you know exactly where to look. This organization prevents the dreaded "media offline" error that happens when your editing software can't locate a file, which is a common nightmare for beginners who save files randomly across their desktop or downloads folder.
How to Implement It
- Create a Master Template: Build a template folder with subfolders like
01_ProjectFiles,02_Footage,03_Audio,04_Graphics,05_Exports. Copy and paste this entire structure for every new video project you start. - Use Consistent Naming Conventions: Name your main project folder clearly, for example,
2024-07-26_SummerVlog. This makes projects easy to sort and find later. - Import, Don't Scatter: Before you even open your editing software, move all your raw footage, music, and other assets into their designated subfolders. This keeps everything related to the project in one self-contained location.
- Archive and Back Up: Once a project is complete, move the entire master folder to an external hard drive for archival. This frees up space on your main computer while keeping your work safe.
Try This Now: Create a new folder on your computer named "VIDEO EDITING TEMPLATE." Inside it, create subfolders for
Project Files,Footage,Audio,Graphics, andExports. The next time you start a video, copy this entire template folder and rename it for your new project.
7. Master the L-Cut and J-Cut Techniques
One of the most powerful video editing tips for beginners to elevate their work is mastering L-cuts and J-cuts. These professional techniques involve staggering the audio and video transitions, creating a seamless and immersive flow. Instead of a hard cut where both picture and sound change simultaneously, these edits create a more natural and engaging viewing experience.
An L-cut is when the audio from the first clip continues to play over the beginning of the second clip. A J-cut is the opposite: the audio from the upcoming second clip begins before the visuals of that clip appear. This simple overlap helps to blend scenes together, guide the audience’s attention, and improve the overall pacing of your video.
Why It Works
Standard hard cuts can feel jarring and abrupt. L-cuts and J-cuts smooth out these transitions by linking scenes sonically. An L-cut allows a visual to change while the speaker continues talking, making the conversation feel uninterrupted. A J-cut introduces the sound of the next scene before we see it, effectively teasing what's coming and creating a sense of anticipation and continuity.
How to Implement It
- Unlink Audio and Video: In your editing software, right-click on your clips and select "Unlink" or "Uncouple Audio and Video." This allows you to edit them independently.
- Create the Overlap: For an L-cut, drag the end of the first video clip to the left, but leave the audio track extended over the next clip. For a J-cut, drag the beginning of the second audio clip to the left, so it starts under the first video clip.
- Start with Small Offsets: Begin with a 0.5 to 2-second overlap. A subtle offset is often more effective than a long one. Adjust the timing until the transition feels natural.
- Sync with Dialogue: Use these cuts to make conversations flow better. Let a character's reaction shot appear while the previous person is still finishing their sentence (L-cut).
Try This Now: Take two clips of someone talking. Unlink the audio and video. Create an L-cut by letting the speaker's audio from the first clip continue for one second into the second clip, which shows the listener's reaction. Notice how much more fluid and professional the conversation feels.
8. Use B-Roll Strategically to Enhance Storytelling
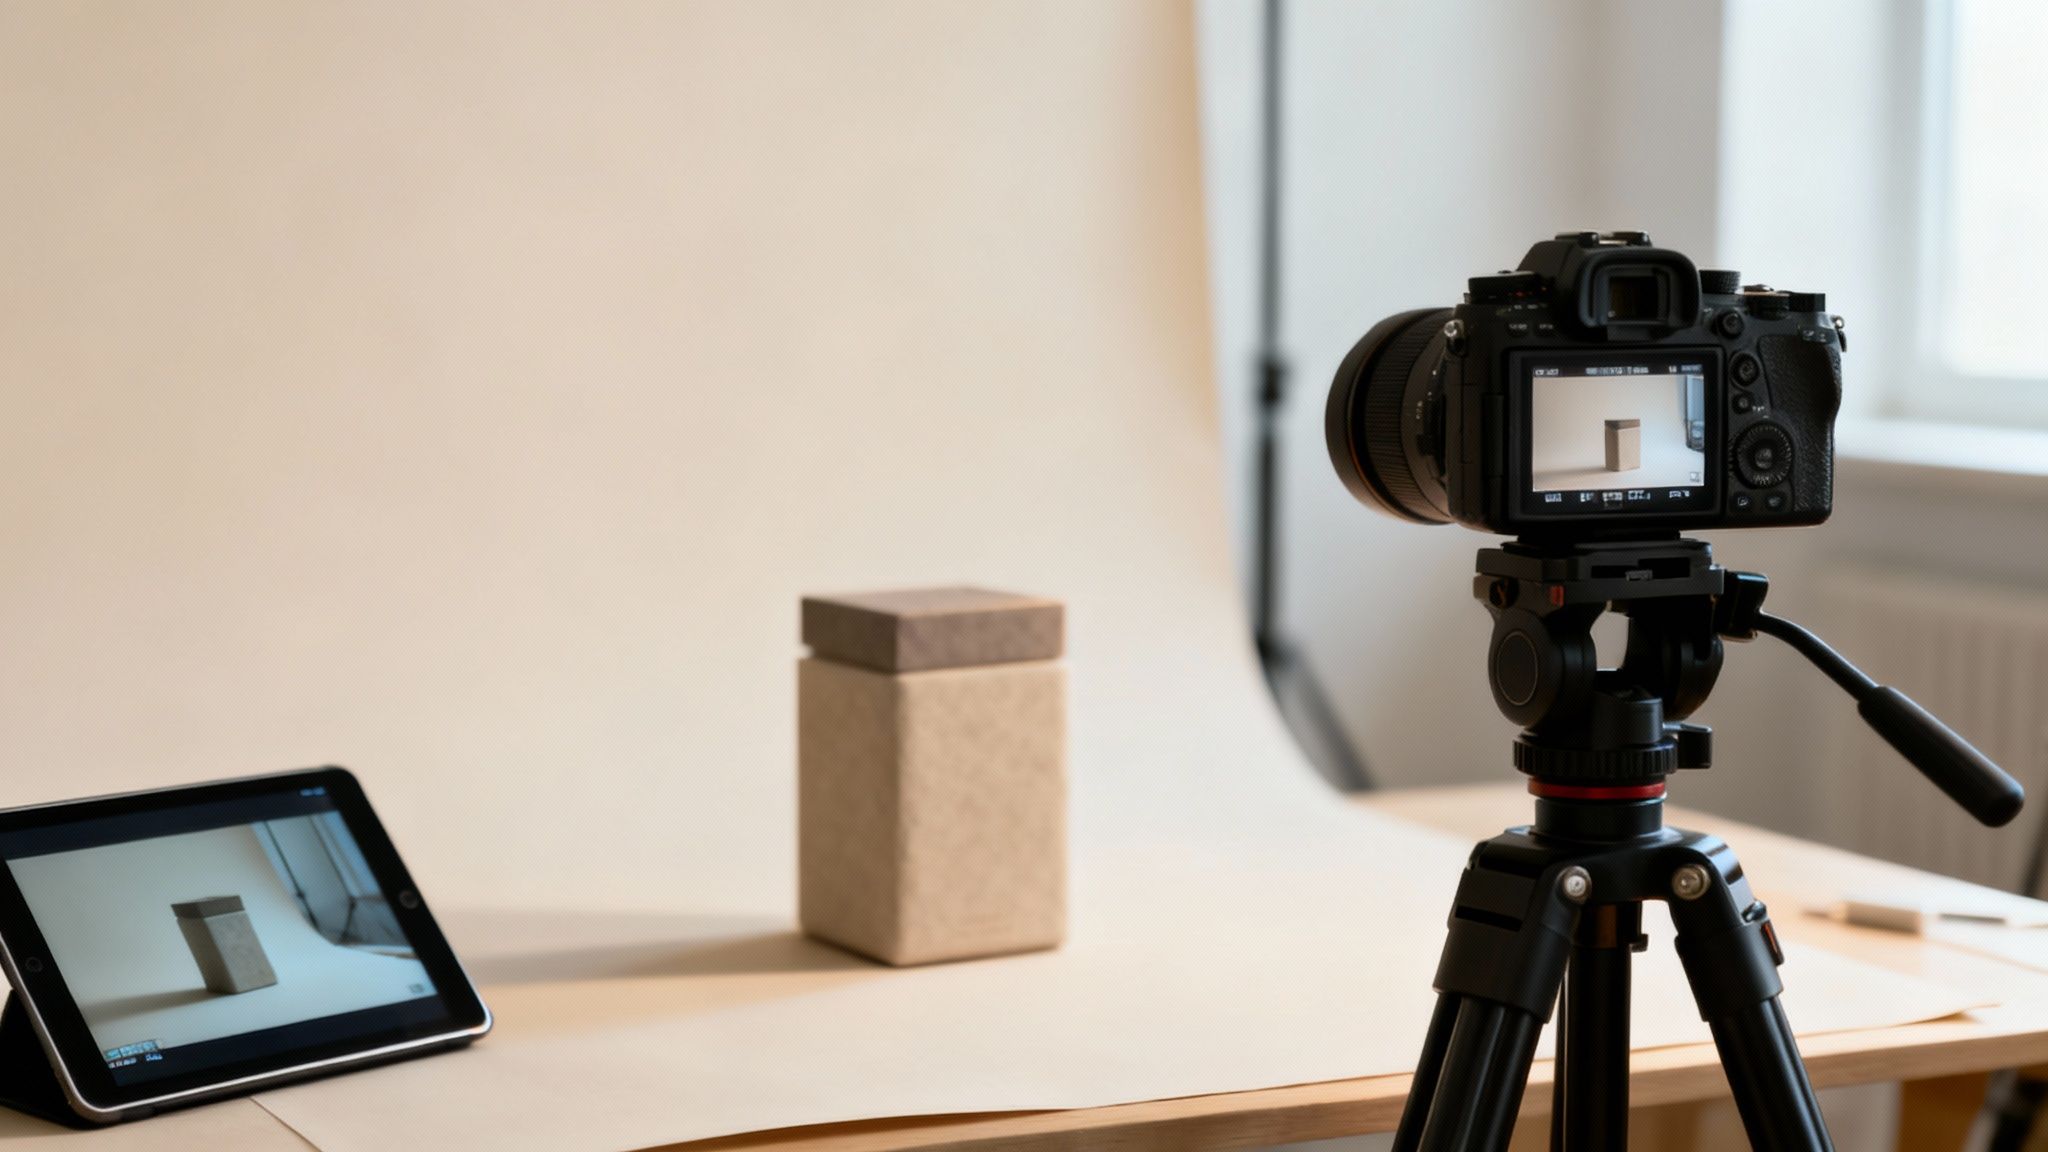
One of the most effective video editing tips for beginners is to use B-roll footage to add context and visual interest. B-roll is any supplemental footage used to enrich your main shot (the A-roll). Instead of showing a single, static shot of a person talking, you can cut away to other relevant visuals, making your story more dynamic and engaging.
This technique is essential for breaking up monotony and illustrating what the speaker is talking about. Whether it’s a product demonstration, a travel vlog, or a corporate video, strategic B-roll makes your content more professional, hides awkward edits, and keeps viewers captivated. It’s the visual "show, don't just tell" of video editing.
Why It Works
B-roll provides visual context, which helps the audience understand and connect with your narrative on a deeper level. For a tutorial, it can show the steps being performed. In a documentary, it can transport the viewer to a specific time or place. It gives the editor incredible flexibility to control the video's pace and hide jump cuts or mistakes in the main footage.
How to Implement It
- Gather Relevant Footage: While filming your A-roll, think about what supplementary shots would support your story. Capture close-ups, wide shots, and different angles of your subject or environment.
- Layer in Your Editor: Place your B-roll clips on a video track above your primary A-roll footage in your timeline. When the playhead reaches the B-roll, it will appear on screen, but the audio from the A-roll will continue uninterrupted.
- Keep It Short and Sweet: Use B-roll clips that are just 2-5 seconds long. This keeps the pace brisk and maintains viewer engagement without distracting from the main narrative.
- Source Stock Footage: If you don't have enough of your own B-roll, websites like Pexels or Unsplash offer high-quality, free-to-use video clips that can fill in the gaps.
Try This Now: Import a talking-head clip into your editor. As you mention a specific object or idea, find a short B-roll clip that illustrates it. Place the B-roll on top of your main track at that exact moment. Notice how the video immediately becomes more informative and visually appealing.
8-Point Comparison: Beginner Video Editing Tips
| Technique | 🔄 Implementation complexity | ⚡ Resource requirements & efficiency | ⭐ Expected outcome | 📊 Ideal use cases | 💡 Key tips |
|---|---|---|---|---|---|
| Master the Rule of Thirds in Framing | Low — simple compositional guideline | Minimal — camera/grid overlay; quick to apply | Improved visual balance and natural focal points | Interviews, vlogs, landscapes, general framing | Enable grid, crop in post, use as guideline not rule |
| Use Proper Color Correction and Grading | Medium–High — technical + creative process | High — grading software, calibrated monitor, LUTs; time investment | Cohesive, professional look; strong mood and tone control | Narrative films, documentaries, brand videos, multi-camera shoots | Correct white balance first, start with LUTs, calibrate monitor |
| Implement Jump Cut Transitions Intentionally | Low–Medium — timing and intent required | Low — editing software and sufficient footage/B-roll | Dynamic pacing; condensed runtime; emphasis on moments | Vlogs, short-form social, tutorials, energetic edits | Cover with B-roll/matching action; add audio hits; test cut points |
| Create Smooth Audio Transitions and Mixing | Medium–High — requires ear and technique | Medium–High — good mic, headphones, plugins, time for mixing | Vast improvement in perceived production quality and clarity | Podcasts, interviews, tutorials, film/streaming content | Use crossfades, normalize dialogue, noise reduction, monitor on headphones |
| Utilize Keyboard Shortcuts for Efficiency | Low–Medium — initial learning curve for muscle memory | Minimal — time/practice; cheat sheets; customizable keys | Significant speed and workflow gains (30–50%+) | Any editor, high-volume projects, tight deadlines | Learn 10–15 essentials first, practice daily, customize shortcuts |
| Plan and Organize Projects with Proper Folder Structure | Low–Medium — requires upfront planning and discipline | Medium — storage drives, backup solution, template setup | Faster navigation, fewer lost files, smoother collaboration | Team projects, long-term channels, multi-asset productions | Use templates, consistent naming (YYYY-MM-DD), regular backups, README |
| Master the L-Cut and J-Cut Techniques | Medium — needs timing and A/V sync understanding | Low–Medium — multi-track editor and clear audio | Smoother transitions, natural pacing, cinematic flow | Documentaries, scripted TV/film, interviews, news packages | Start with 0.5–2s offsets, sync to dialogue/music, practice on two-shot cuts |
| Use B-Roll Strategically to Enhance Storytelling | Medium — planning, shooting, and editorial choice | Medium — extra shoot time, angles, stock footage options | Stronger storytelling, covers mistakes, maintains engagement | Tutorials, travel vlogs, corporate videos, documentaries | Shoot varied angles/distances, use 2–5s clips, match color and pacing |
Your Next Step: From Learning to Creating
You've just navigated a comprehensive toolkit of foundational techniques, moving far beyond simple trimming and slicing. This collection of video editing tips for beginners was designed to be your launchpad, transforming how you approach every project. We've covered the art of visual storytelling through composition, the emotional impact of color, and the seamless flow created by masterful audio transitions.
Remember, the goal isn't just to know what a J-cut is, but to understand why you should use it to build anticipation. It’s not about just dropping B-roll onto your timeline; it's about strategically placing it to enrich your narrative and prevent viewer fatigue. These aren't just rules to follow, they are creative instruments.
Key Takeaways to Guide Your Journey
Let's distill these concepts into your core editing philosophy moving forward:
- Organization is Speed: A clean, logical folder structure (Tip #6) isn't just about being tidy. It's the single most effective way to prevent frustration and speed up your entire editing process, allowing you to find assets instantly and focus on creativity.
- Audio is Half the Experience: Viewers will forgive imperfect visuals, but poor audio is an instant turn-off. Mastering smooth audio transitions (Tip #4) and using L-cuts and J-cuts (Tip #7) will make your videos feel dramatically more professional and polished.
- Efficiency Unlocks Creativity: Every minute you save by using keyboard shortcuts (Tip #5) is another minute you can spend on creative decisions like color grading (Tip #2) or finding the perfect piece of B-roll (Tip #8). Efficiency isn't lazy; it's smart.
Turning Knowledge into Action
The most significant barrier for new creators isn't a lack of information; it's the gap between learning and doing. The true value of these video editing tips for beginners will only materialize when you apply them. Don't wait for the perfect footage or the ideal project.
Your mission is simple: pick one tip from this list and apply it to your very next edit.
Your Challenge: Open your editing software right now. Take a short, 30-second clip and practice creating a J-cut. Hear the audio from the next scene before you see the video. Feel how that small change immediately elevates the viewing experience.
This hands-on practice is what builds muscle memory and transforms theoretical knowledge into an intuitive skill set. Each video you complete, no matter how small, is a stepping stone. The journey from a beginner to a confident creator is paved with completed projects, not just consumed tutorials. You now have the blueprint; the final, most crucial step is to start building.
Ready to put these tips into practice but want to accelerate your workflow? Discover how Aicut uses AI to automate the tedious parts of editing, from generating faceless B-roll to creating entire videos from a simple prompt. Start creating professional-quality content faster and focus on what matters most: your story. Visit Aicut to learn more.