If you've ever tried to blow up a small, low-quality picture, you know the result: a blurry, pixelated mess. AI image upscaling completely changes that. Instead of just stretching pixels, AI intelligently rebuilds the image, adding new, realistic detail to create a final version that's both larger and sharper.
How AI Image Upscale Actually Works
We've all been there. You find an old digital photo you love, but it's tiny. When you try to enlarge it, everything turns to mush. That’s because traditional software uses a basic method called interpolation, which just guesses at the new pixels based on what’s next to them. It’s a fast but dumb approach that almost always leads to a soft, blurry image.
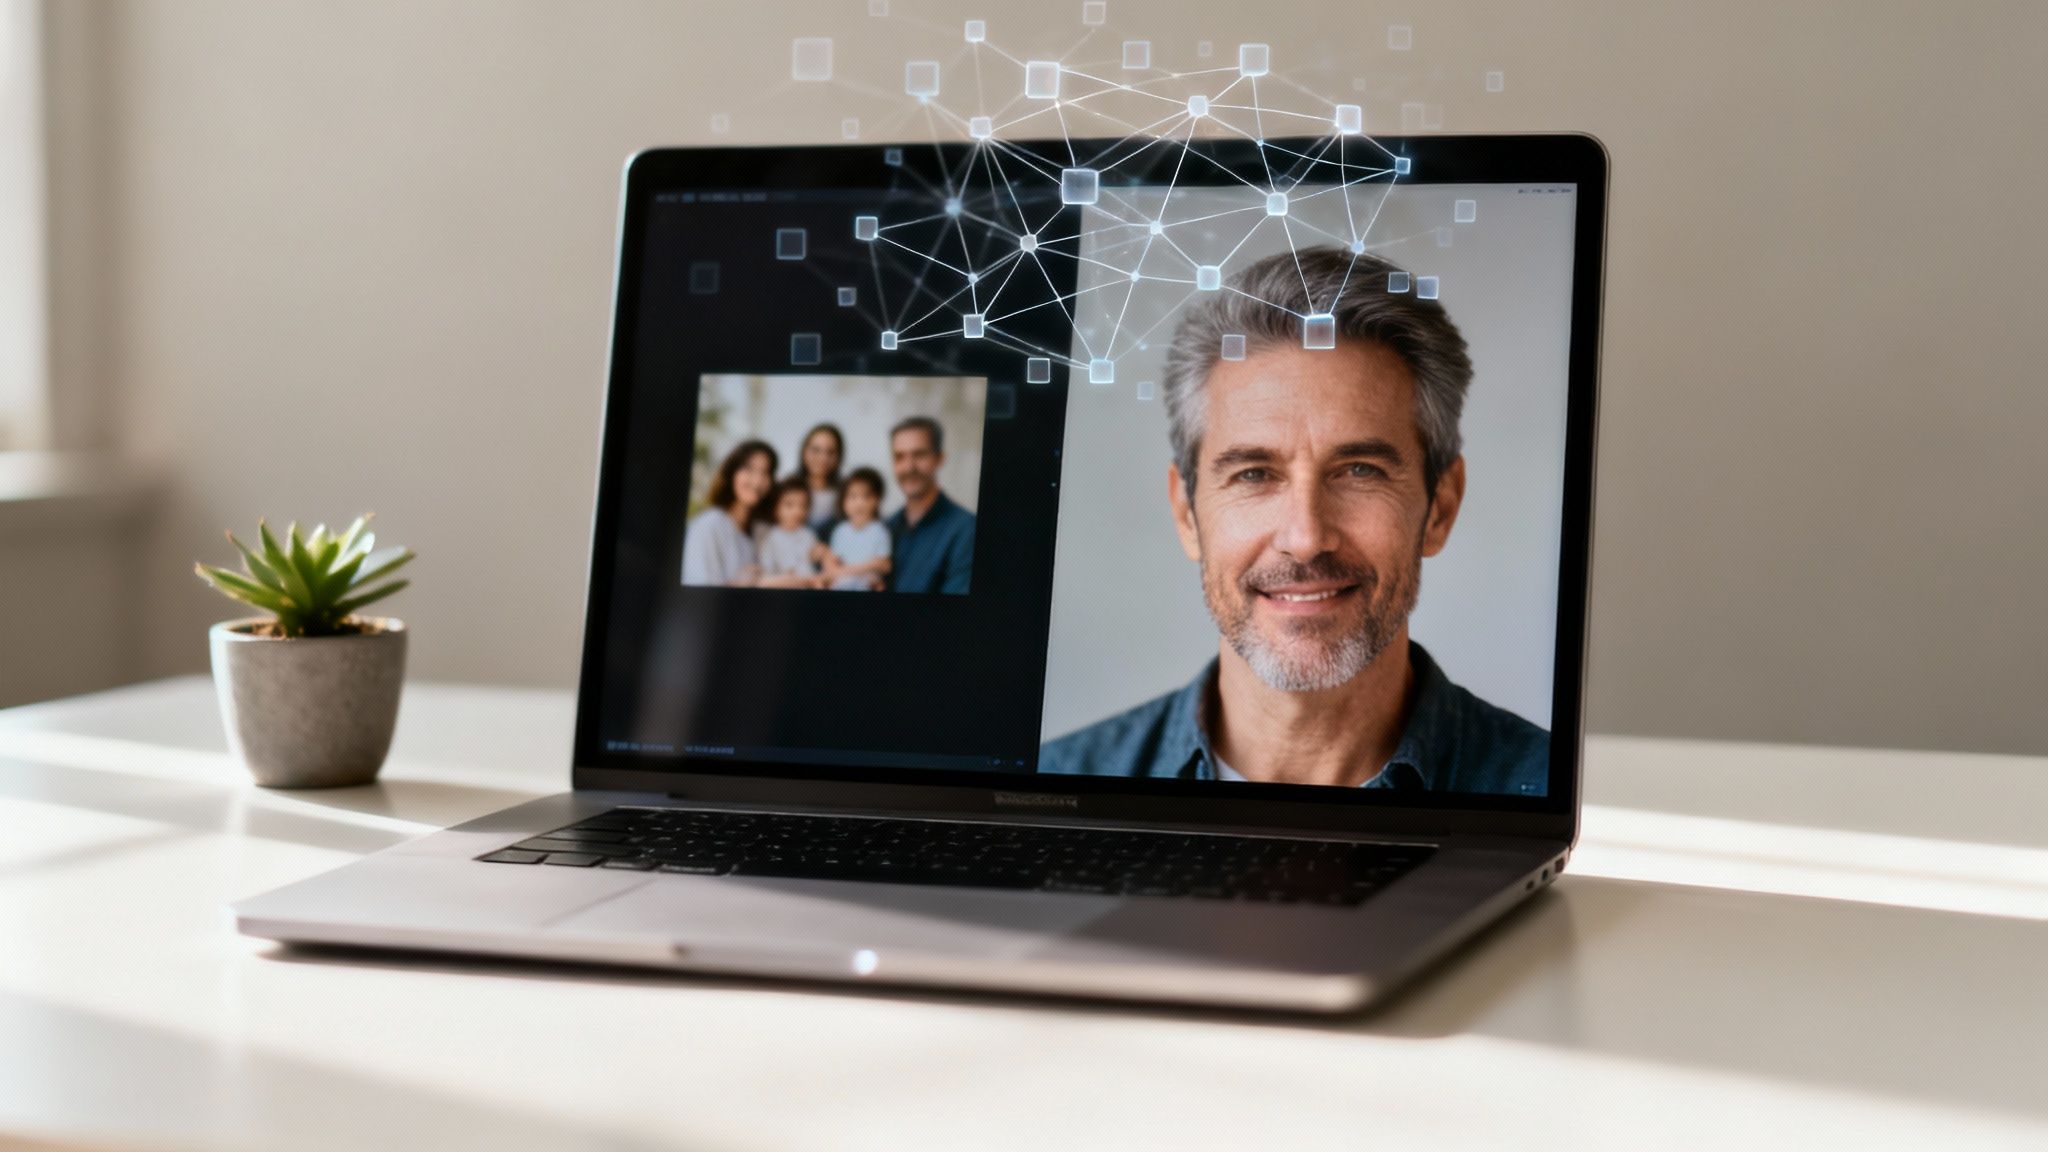
AI tools work on a totally different level. They run on powerful neural networks—often a specific type called a Generative Adversarial Network (GAN)—that have been trained by analyzing millions of pairs of images, one high-res and one low-res.
By studying this mountain of data, the AI learns to recognize patterns, textures, and objects. So, when you give it your small image, it doesn't just make a blind guess. It reconstructs it. The AI analyzes what's there and intelligently predicts the missing details needed to create a convincing, high-resolution version.
Think of it like a master art restorer. They don't just slather paint over a crack in a masterpiece. They study the artist's brushstrokes and the context of the painting to fill in the missing piece authentically. AI does the same thing, but at a microscopic, pixel-by-pixel level.
From Pixels to Plausibility
This is way more than just a fancy sharpening filter. A good AI upscaler can generate brand-new, realistic textures that simply didn't exist in the original file. For example, if it identifies a pattern that looks like a brick wall, it won't just sharpen the lines—it will add subtle mortar details and the rough surface texture you'd expect to see on real brick. It’s a massive leap forward.
If you want to dive deeper into how these models think, our guide on the Nano Banana image model offers some great insights into what makes them tick: https://www.aicut.pro/blog/meet-nano-banana-the-image-model-everyone-s-talking-about
This technology isn't just a gimmick; it has tons of practical uses.
- E-commerce: Turning tiny, grainy product photos into crisp, high-detail images that customers can actually zoom in on.
- Photography: Rescuing old, low-resolution family photos and making them sharp enough to print and frame.
- Content Creation: Taking low-quality screenshots or old graphics and making them look clean and professional in a new HD video.
The demand for these tools is exploding for a reason. The global AI Image Upscaling market is on track to hit USD 10.97 billion by 2033. That’s a nearly eight-fold jump, which tells you this isn't just a niche tool for tech geeks anymore—it's becoming a fundamental part of creating modern digital media.
How to Pick the Right AI Upscaler for Your Projects
With so many AI upscaling tools out there, picking the right one can feel overwhelming. The trick is to tune out the marketing noise and think about what you actually need to get done.
Are you a photographer prepping a massive print for a gallery wall? Or are you a social media manager trying to clean up a bunch of low-res user photos for an Instagram post? The perfect tool for one job is often the wrong tool for the other.
Match the Tool to Your Specific Task
What you're trying to achieve should be your guiding star. For example, a dedicated desktop app like Topaz Gigapixel AI gives you an incredible amount of control, which is fantastic for professionals who need to obsess over every single detail in a landscape or portrait. But that power comes with a price tag and a bit of a learning curve.
On the flip side, online tools and integrated platforms are built for speed and convenience. They're a lifesaver for creators who just need to get the job done quickly and process images in bulk without getting bogged down in a dozen different settings. A good tool should slide right into your workflow, not disrupt it.
What Kind of Images Are You Working With?
The source material matters. A lot. Some AI models are trained almost exclusively on real-world photographs, so they're brilliant at enhancing natural textures like skin, fabric, and leaves. Others are built specifically for digital art, logos, and illustrations, excelling at creating crisp lines and smooth color transitions without those weird, fuzzy artifacts you sometimes see.
If you’re like me and work on all sorts of projects, you'll want a tool that can handle anything you throw at it. For example, inside Aicut, you can upscale images directly for your video projects without having to jump between different apps, which saves a ton of time. You can check out a bunch of different AI upscaling use cases to see how a flexible tool can adapt to your needs.
Remember, upscaling is often just one step in the process. Your tool needs to play nicely with the other software you rely on, whether it's Adobe Photoshop or the best real estate photography editing software for getting that final professional polish.
Comparing Popular AI Upscaling Tools
To help you decide, here’s a quick look at how some of the popular options stack up. I’ve focused on the features that really matter for day-to-day work, comparing a powerful integrated platform, a specialized desktop app, and the general category of free online tools.
| Feature | Aicut | Topaz Gigapixel AI | Online Free Tools |
|---|---|---|---|
| Best For | Video creators & content teams | Pro photographers & print work | Quick, one-off tasks & casual use |
| Platform | Web-based (integrated video editor) | Desktop (macOS & Windows) | Web-based |
| Batch Processing | Yes, built for high volume | Yes, very robust | Often limited or non-existent |
| Ease of Use | Very simple, drag-and-drop | Moderate learning curve | Extremely simple |
| Cost | Subscription-based | One-time purchase | Free (with ads, watermarks, or limits) |
| Key Advantage | Seamlessly integrated into a video workflow | Unmatched detail & model control | No cost or commitment |
This table gives you a starting point. Aicut is a no-brainer if you’re already making videos, Topaz is the king for pure image quality, and free tools are great for the occasional fix when you're in a pinch.
The Features That Actually Matter
When you're comparing tools, don't get distracted by a long list of bells and whistles. Focus on these core things that will directly impact your work.
- Processing Speed: How fast does it work? Cloud-based tools like Aicut often have an edge because they run on powerful servers, not your local machine.
- Batch Processing: This is non-negotiable if you’re dealing with more than a handful of images. It’s the difference between a 5-minute task and a 5-hour headache.
- AI Model Options: Can you choose a model specifically for photos versus digital art? Having the right model for the job makes a huge difference in the final quality.
- Workflow Integration: Does it fit with how you already work? A standalone app means exporting and re-importing, while an integrated feature saves you clicks and time.
At the end of the day, the "best" upscaler is the one that solves your problem with the least amount of friction. Don't pay for pro-level features you’ll never touch. Prioritize the tool that makes your life easier and your workflow faster.
Getting Your Images Ready for a Flawless Upscale
The final quality of your upscale hinges almost entirely on the quality of the image you start with. An AI can do some amazing things, but it can't pull detail out of thin air or fix fundamental flaws. It’s like trying to build a solid house on a shaky foundation – a little prep work makes all the difference.
You’ve probably heard the old saying, "garbage in, garbage out." It’s a classic for a reason, and it's especially true for AI. If you feed the algorithm a heavily compressed, blocky JPEG full of artifacts, it's just going to amplify those problems. The AI can easily mistake that compression noise for real detail, leaving you with a bigger, but much uglier, image.
Start with the Best Possible Source File
First things first: the file format you choose is critical. If you have the option, always start with a lossless format like PNG or TIFF. These formats are a purist's dream because they keep every single pixel of the original image data, no compromises.
JPEGs, on the other hand, use what's called "lossy" compression. To keep file sizes small, they throw away a little bit of image data every time you save them. This might not be noticeable at first, but if an image has been saved over and over, that data loss adds up, creating the ugly blocky artifacts and weird color bands that AI upscalers can get confused by.
- PNG (Portable Network Graphics): This is my go-to for digital art, graphics with text, or anything with sharp, clean lines. It’s lossless, so you know you're not losing a drop of quality.
- JPEG (Joint Photographic Experts Group): Still the king for photographs, especially for the web. Just be sure to use the highest quality setting you can to keep compression artifacts to a minimum.
- TIFF (Tagged Image File Format): A favorite among professional photographers and for print work. TIFF is another fantastic lossless format that packs in tons of detail, making it an excellent starting point for a high-quality upscale.
Tweak It a Little Before Upscaling
Before you hand your image over to the AI, it's worth taking a minute to make a few small corrections. I’m not talking about a full-on retouch, just simple adjustments to things like brightness, contrast, and color balance. These quick fixes give the AI a much cleaner canvas to work with.
For instance, if you have a photo that’s a bit dark, brightening the shadows can reveal hidden details the AI can then use to build a much better high-resolution version. Fixing a weird color cast also helps the AI understand the scene more accurately. Sharpening, however, is something you should almost always skip at this stage; let the upscaler handle that.
I like to think of this pre-editing step as giving the AI a clear roadmap. By fixing simple lighting and color issues first, you're getting rid of the noise and letting the algorithm focus on its main job: creating new, believable detail. It's a simple habit that can genuinely transform your results.
Just remember not to overdo it. The goal here is a clean, balanced source image, not a final, polished masterpiece. Let the ai image upscale tool do the heavy lifting. Your job is just to set it up for success.
A Practical Walkthrough of the Upscaling Workflow
Alright, you’ve prepped your source image and it’s looking clean. Now for the fun part. Let's get our hands dirty and walk through a typical AI image upscale project. The goal here is to give you a simple, repeatable process you can use every time, whether you're working on one photo or a thousand.
We'll use a popular tool as an example, but don't worry—the core ideas are the same no matter what software you use. The two most important decisions you'll make are picking the right AI model for your image and choosing how much you want to scale it up.
Just as a quick recap, remember the prep steps we just covered. Getting these right is half the battle.
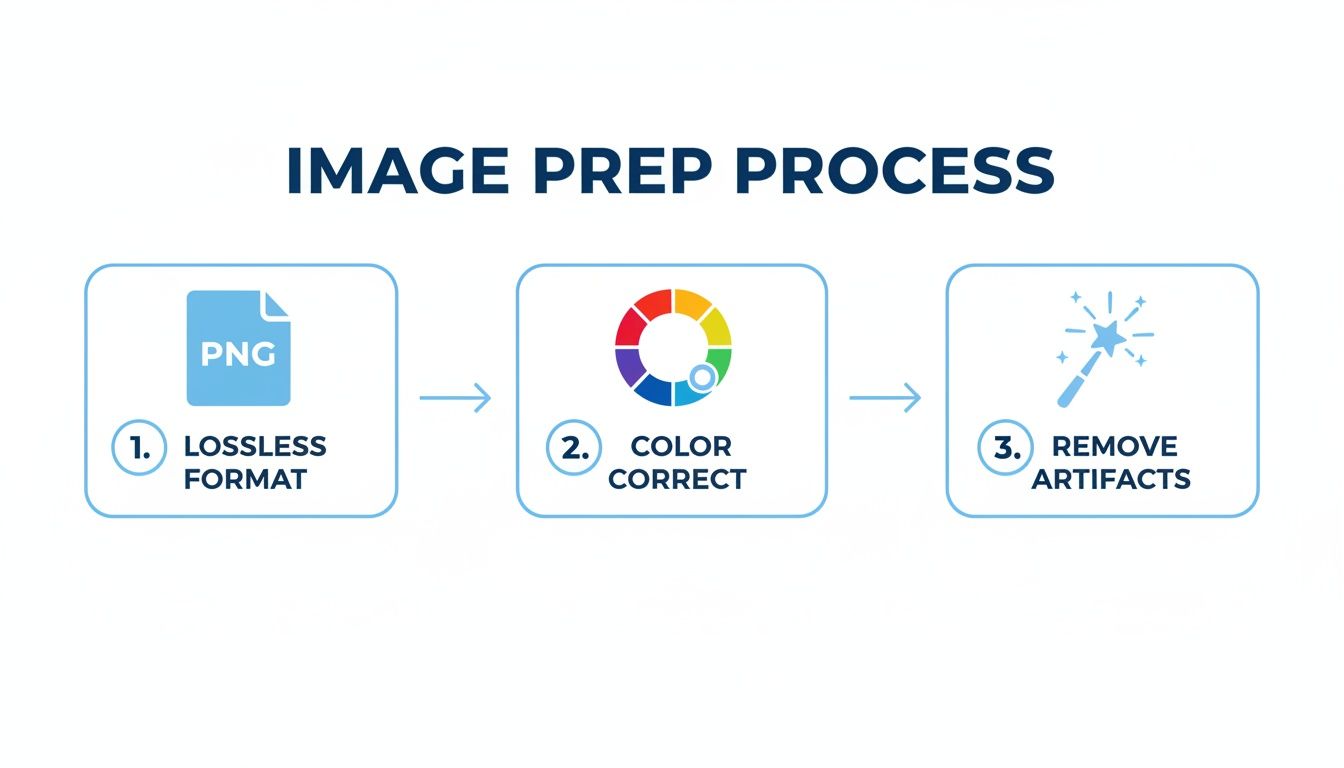
Starting with a high-quality format, tweaking colors, and zapping artifacts beforehand really sets you up for a fantastic final result.
Choosing the Right Model and Settings
Most modern upscalers aren't a one-size-fits-all deal. They come loaded with different AI models trained on specific kinds of visuals. Picking the right one is your first critical move, because a mismatch can create some seriously strange, unnatural-looking images.
Standard or Photo Model: This is your workhorse for most real-world photographs. It’s been trained to understand and enhance natural textures—think skin, fabric, stone, and leaves. Use this for portraits, landscapes, and product shots.
Art & CG Model: Got a digital illustration, a logo, a screenshot, or a 3D render? This model is your best friend. It excels at creating crisp lines, smooth gradients, and clean edges without trying to add that "photographic" texture that makes digital art look weird.
Denoise and Artifact Removal: Many tools also give you a slider for noise reduction. If your original image is a bit grainy (super common with old photos or low-light shots), a light touch here can be magic. Just be careful not to crank it too high. Overdoing it can soften important details and give the image a waxy, artificial look. I usually start low and only bump it up if the noise is genuinely distracting.
Once you’ve locked in a model, you just need to pick the scale factor. This is a simple trade-off: more detail means more processing time.
A 2x upscale is quick and perfect for things like cleaning up a blurry thumbnail. A 4x upscale gives you a serious jump in detail, making it ideal for website hero images or high-quality social media posts.
For a pro photographer prepping a large print, an 8x or even 16x upscale might be on the table, but you'll want to grab a coffee while you wait.
Single Image vs. Batch Processing
For a single image, the workflow couldn't be easier. You upload your file, select your model (let's say 'Photo'), set your scale factor to 4x, maybe nudge the noise reduction a bit, and hit "Process." In a few moments, you can flip between the before-and-after and download your shiny new high-res file.
But the real magic of these tools comes with batch processing. Imagine you have a folder with 100 low-res product photos for an e-commerce site. Doing them one by one would be a nightmare.
With batch mode, you can just drag the whole folder in, apply the same settings across every single image, and let the AI do all the heavy lifting. This is a massive time-saver and keeps your entire product catalog looking consistent. It’s the difference between an entire afternoon of tedious clicking and a five-minute setup.
This automated approach is a game-changer for social media managers, e-commerce store owners, and anyone who needs to process visuals at scale. Just be sure to spot-check a few of the results to make sure the settings you chose worked well across all the different images in your batch.
Advanced Techniques for Professional Results
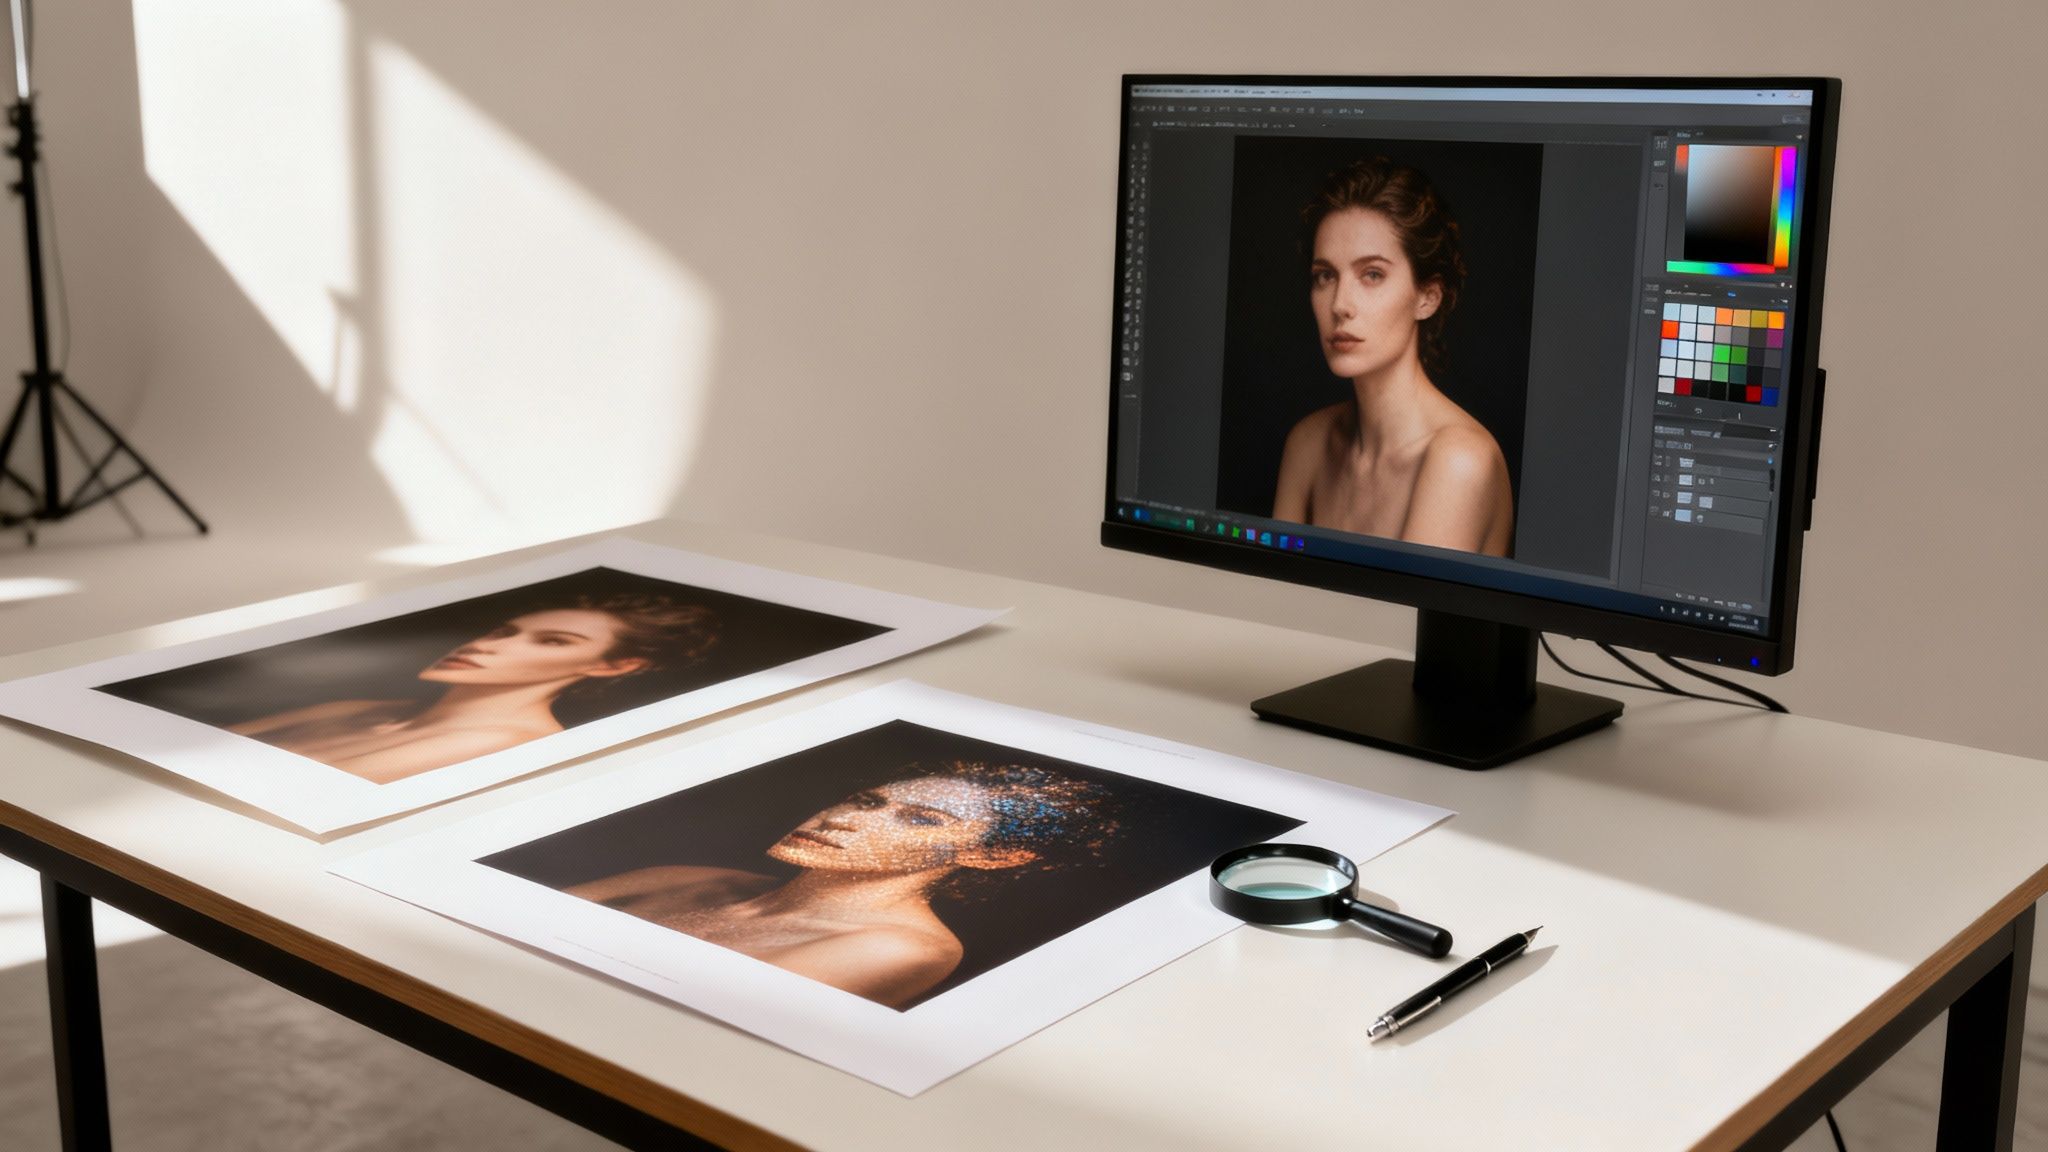
This is where the real magic happens. Moving past the simple one-click upscale is how you get those truly professional results. The default settings will get you 80% of the way there, sure, but mastering a few advanced tricks can take an image from good to genuinely stunning. It's all about adding a layer of control that separates amateur work from polished, client-ready visuals.
One of my favorite, though slightly counterintuitive, tricks is stacked upscaling. Instead of making a huge leap from a small image to an 8x version, you do it in stages. For instance, you could upscale by 2x, bring it into your editor for a touch of sharpening, and then run another 2x upscale on that new, improved file.
This incremental approach almost always produces cleaner details and fewer weird artifacts, especially with tricky textures like fabric or leaves. You're giving the AI a better starting point for each jump, so it doesn't have to "guess" as much information all at once.
Selective Enhancements with Masking and Sharpening
A standard upscale treats the whole image the same way, but let's be honest, not every part of your photo needs the same treatment. A classic problem with AI upscaling is how it can over-sharpen smooth areas—think clear skies or skin—creating a gritty, unnatural texture. That's where selective editing comes into play.
After you've done your initial AI upscale, try bringing the original low-resolution image back as a separate layer in a program like Photoshop. Using a layer mask, you can gently "paint" back the softer, original areas right over the upscaled version. This technique is fantastic because you get to keep the incredible new sharpness in detailed spots, like a person's eyes or the lines of a building, while restoring the natural smoothness elsewhere.
And a quick word on sharpening after the upscale: a delicate touch is key.
- Don't Go Overboard: It's so tempting to crank up the sharpening, but this is how you get those ugly, harsh halos around edges. Less is more.
- Try a High Pass Filter: This is a pro-level technique that targets only the edges in an image, adding crispness without mucking up the overall texture.
- Sharpen Last: Always, always make sharpening the absolute final step in your workflow, after all your color corrections and other edits are locked in.
The goal isn't just to make the image bigger; it's to make it believably bigger. Advanced techniques are all about guiding the AI and then refining its output with a human touch for a result that looks both sharp and natural.
Optimize Your Exports for Different Platforms
Finally, how you save your image is just as crucial as how you upscale it. Every platform has its own weird compression algorithms and display specs. A one-size-fits-all export is a recipe for disaster, often leaving your sharp images looking soft or artifacted online.
If you're serious about getting professional-grade results, pairing AI upscaling with a solid foundation in photography fundamentals is a game-changer. An advanced photography course can be incredibly valuable here. And this thinking isn't limited to still images. For those of you working with video, the same principles apply. You can learn more in our guide on the best video upscaling software.
Here’s a little cheat sheet I use for exporting to different platforms:
| Platform | Recommended Format | Key Consideration |
|---|---|---|
| Website Hero | WebP | Gives you much better compression and quality than an old-school JPEG. |
| JPEG | Export at 1080px on the wide edge to avoid Instagram's brutal compression. | |
| High-Res Print | TIFF | This is a lossless format, meaning it preserves every last bit of detail for printing. |
Taking a moment to tailor your final export ensures all your hard work actually pays off, giving you a crisp, impressive image no matter where people see it.
Got Questions About AI Image Upscaling?
As you start playing around with AI image upscalers, you'll probably run into the same questions that trip everyone up at first. Getting your head around these common puzzles is the key to fixing issues before they happen and really understanding what the AI is doing.
Let's tackle the big ones.
Is the AI Just Making Stuff Up?
Not exactly. AI isn't pulling new details out of thin air. What it's actually doing is making incredibly smart guesses about what the missing details should look like, based on the millions of images it was trained on.
Think about a portrait. The AI has learned what realistic skin texture and sharp eyelashes look like. So, when it upscales your photo, it's reconstructing those features based on familiar patterns. It feels like magic, but it's really just a very sophisticated reconstruction—which is why it blows old-school image stretching out of the water.
What’s the Best File Type to Use?
If you have the option, always start with a lossless format like PNG or TIFF. No question. These formats are perfect because they keep every single bit of original image data, giving the AI the best possible information to work with.
You can upscale JPEGs, of course, but just know they use "lossy" compression. That means some data gets thrown away to make the file smaller. If you try to ai image upscale a heavily compressed JPEG, you're basically telling the AI to magnify all the blocky, fuzzy artifacts along with the actual image.
The quality of your starting file puts a hard ceiling on the quality of your final result. Giving the AI a clean PNG is like giving a chef fresh, high-quality ingredients. You're just setting yourself up for success.
How Big Can I Go Before It Looks Weird?
This is the big one, and the honest answer is: it depends. It comes down to the quality of your original image and the smarts of the tool you're using.
Most of today’s AI upscalers can knock 2x and 4x enlargements out of the park, leaving you with a crisp, clean image. If your starting photo is decent, pushing to 6x or even 8x often works surprisingly well.
But if you try to get too ambitious with a tiny, low-res image—say, jumping straight to 16x—you might get something that looks a bit artificial or "painterly." That happens when the AI has to invent almost everything from scratch. My advice? If you're unsure, run a quick test on a small crop of the image before you commit to the full-size upscale.
Ready to turn your low-res shots and clips into sharp, professional assets? Aicut has a powerful AI upscaler built right into its workflow, so you can stop jumping between different apps. Try Aicut for free and see the difference for yourself!