Ever wondered how to make a small, blurry image sharp and usable? That's what AI upscaling is all about. It's a process where smart software increases an image's resolution, not by just stretching it, but by intelligently adding new, realistic detail. This turns low-quality photos into crisp, professional-looking visuals ready for big prints, 4K screens, or your social media feed. For any creator, it's a must-have tool for rescuing old pictures or polishing up new ones.
Why AI Upscaling Is a Creative Game Changer
Imagine finding a perfect, but tiny, family photo you want to print on a huge canvas. Or grabbing a frame from a video to make a killer 4K YouTube thumbnail, only to find it's a pixelated mess. This is exactly where AI upscaling comes in and saves the day. It’s not just a technical fix; it’s a creative superpower that breathes new life into your images.
At its heart, an AI image upscaler has been trained on millions of pictures. It learned what things are supposed to look like. So, instead of just making pixels bigger and blurrier like old-school resizing, the AI actually understands the context. It sees the edges, textures, and patterns in your photo and then generates brand-new pixels that look totally natural and convincing.
From Unusable to Unbelievable
This kind of tech opens up possibilities that just weren't there before. A few years ago, if a photo was too small, it was simply unusable. Now, that's not the case.
Think about these real-world situations:
- Rescuing old digital photos: Those pictures from your first digital camera are probably tiny by today's standards. AI can blow them up so they look great on modern displays.
- Improving user-generated content: A client sends you their logo, but it's a fuzzy little JPEG. Instead of asking for a new one, you can often upscale it to professional quality.
- Enhancing video frames: You can pull a single moment from a video and turn it into a high-quality promotional image without that typical low-res look.
The real magic here is turning a limitation into an opportunity. AI upscaling takes a "this is too small to use" problem and transforms it into a "wow, this looks incredible" solution. It saves a ton of time and unlocks creative options you didn't have before.
The Impact on Creator Workflows
For creators, the practical benefits are huge. A good AI upscaler can enlarge an image anywhere from 2x to 8x while adding back a surprising amount of detail. This means you can get content published faster, avoid the headache and cost of a reshoot, and even save on storage by keeping smaller master files and just upscaling them when needed.
If you’re using a tool like Aicut, building an AI upscaling step into your workflow is a no-brainer. You'll produce better-looking content more efficiently.
And it’s not just about fixing bad photos—it's about pushing what's creatively possible. To get a sense of how AI is shaking up other creative fields, check out the amazing things it's doing for high-quality AI book cover design.
Getting Started: Picking Your Upscaler and Prepping Your Image
The secret to a great AI upscale isn't just hitting a button; it’s about making the right choices before you even start. Think of AI models as specialized artists—each with a unique talent. Picking the right one for your image is the most important decision you'll make in this whole process.
You wouldn't ask a portrait painter to design a clean, minimalist logo, right? The same logic applies here. An AI trained on millions of real-world photographs will work wonders on a family photo, adding realistic skin textures and fine hair details. But if you feed it a crisp illustration, that same AI might try to add unwanted textures and soften your sharp lines. For graphics, you need a model that understands how to keep those edges clean and colors flat.
Finding the Right AI Model for the Job
Your choice of tool often determines which AI models you have access to. Many of us who do this for a living have a few different upscalers in our toolkit, switching between them depending on the project. It’s all about using the right tool for the right job.
Here’s a quick guide to help you choose the best model for what you're working on.
AI Upscaling Model Selection Guide
| Image Type | Recommended AI Model | Key Feature |
|---|---|---|
| Portraits & Photos | Models focused on realism (like in Topaz Gigapixel AI) | Excels at creating natural skin, hair, and fabric textures. |
| Illustrations & Logos | Models designed for graphics (found in Aicut) | Preserves sharp lines and solid colors without adding noise. |
| Mixed Media/General | All-purpose models (like Adobe's Super Resolution) | A solid, balanced option for a wide variety of images. |
| Old/Damaged Photos | Restoration-focused models | Specialized in repairing scratches, noise, and color fading. |
Ultimately, the goal is to match the AI’s training data to your image’s style. A great pro tip is to test a small, important section of your image—like a face or a logo—on a couple of different tools. You'll quickly see which one gives you the look you're after.
How to Prep Your Source Image for the Best Results
Once you've settled on a tool, a little prep work goes a long way. This might sound odd, but you need to start with the best possible version of your low-resolution image. A clean, uncompressed file—even if it's small—will always give you a better result than a heavily compressed JPEG riddled with artifacts.
The AI essentially guesses what details are missing, so giving it a clean starting point leads to much more accurate and believable results.
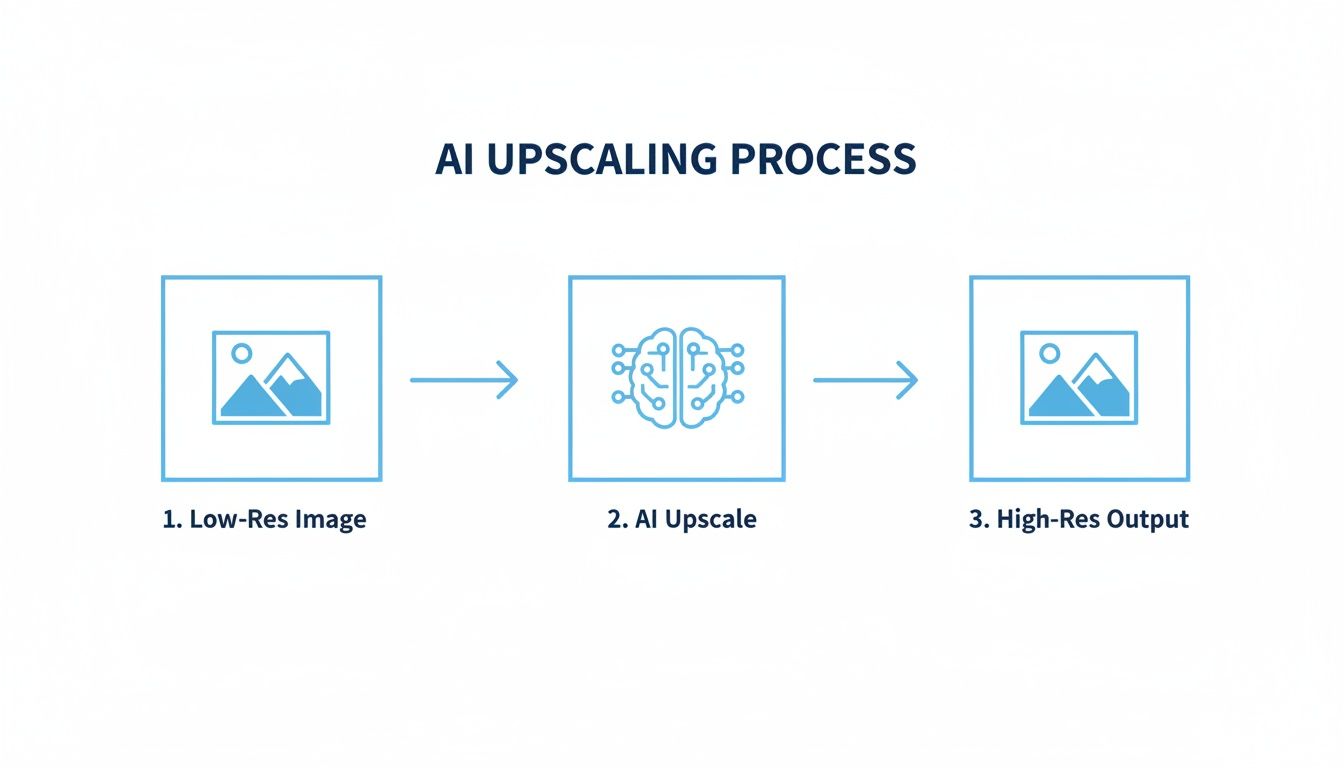
Before you upload your file, run through this quick checklist:
Crop with Purpose: Trim away any distracting backgrounds or useless space. This tells the AI to focus all its power on what matters most—the subject.
Make Minor Tweaks: Gently adjust the brightness and contrast. A properly exposed image gives the algorithm more information to work with. Whatever you do, don't sharpen the image yourself. Let the AI handle that.
Spending just a few minutes on prep work can make the difference between a good upscale and a great one. If you're interested in the nitty-gritty, you can learn more about how different AI image upscale models work and find what’s best for your creative projects.
Fine-Tuning Your Upscale for Perfect Results
This is where the real magic happens. Moving beyond the default settings is how you take a good result and make it truly great. It's all about taking creative control and dialing in the perfect look for your specific project.
Let's walk through a common scenario. Imagine you snapped a fantastic photo on your phone, and now you want to blow it up for a large canvas print. The composition is perfect, but you know the original resolution will look soft and pixelated at that size. This is a classic job for an AI upscaler, but just hitting the "auto" button probably won't get you the professional result you're after. We need to tweak the settings to match our goal.
Dialing in the Upscale Factor
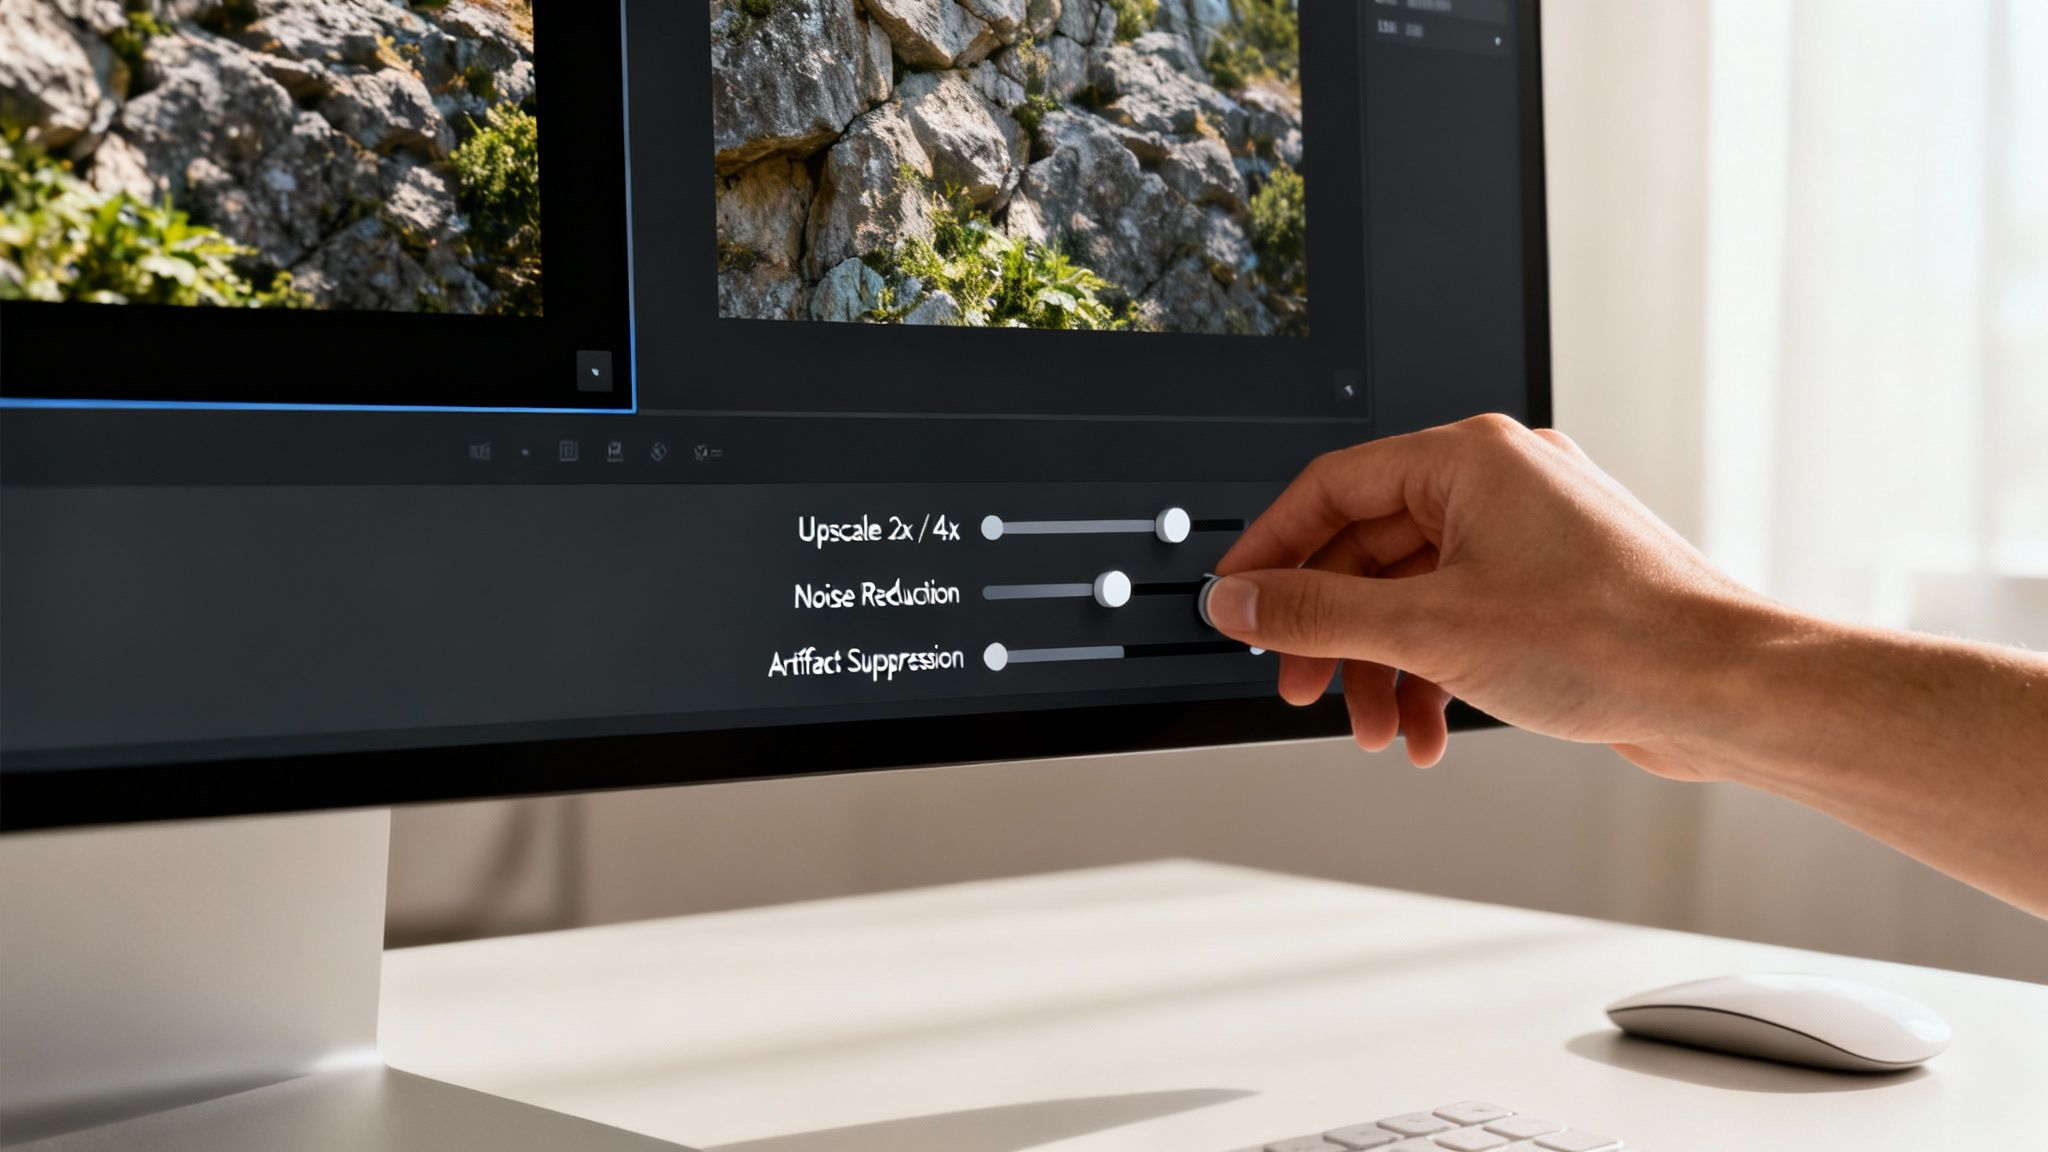
Your first decision is how much bigger you need the image to be. Most tools offer presets like 2x, 4x, or even 8x.
For our canvas print example, a 4x upscale is usually a solid choice. It gives you more than enough resolution for a quality print without pushing the AI so hard that it starts hallucinating weird, unnatural details. If you were just prepping an image for a high-res web banner, 2x would likely be plenty.
The trick is to use the lowest upscale factor that gets the job done. This helps maintain the most integrity from the original photo.
Managing Noise and Preserving Texture
Next up are the sliders for noise reduction and artifact removal. These are incredibly powerful, but you have to use a light touch. The right setting depends entirely on what kind of image you're starting with.
- Grainy Old Photos: If you're working with a scanned film photo that has a lot of grain, you’ll want to set noise reduction to moderate or high. This helps the AI separate the unwanted noise from the actual detail in the photograph, giving you a much cleaner final image.
- Clean Digital Art: For a crisp piece of digital artwork, turn noise reduction way down, or even completely off. If you get too aggressive here, the AI can mistake intentional textures for noise and smooth them out, leaving your art with a flat, plastic-like finish that kills its character.
- Standard Smartphone Photos: For our canvas print, a low to medium setting is usually the sweet spot. It's just enough to clean up the subtle digital noise from the phone's sensor without making the photo look overly processed or artificial.
Pro Tip: Always zoom way in on a detailed part of your image—like an eye or the texture on a piece of clothing—to preview how the noise reduction is working. That's where you'll immediately see if the AI is being too aggressive and scrubbing away the details you want to keep.
The Power of Iterative Testing
Honestly, the best way to nail your settings is to test them. Don't just run the upscale on the whole image and cross your fingers. Most pro-level tools let you select a small portion of your image and run a quick preview.
Use this feature! Select a critical area of your photo and run two or three quick tests with slightly different settings. Maybe try one with a bit more noise reduction and another with a different AI model selected. Then, compare them side-by-side.
This hands-on approach takes all the guesswork out of it. In just a couple of minutes, you can see exactly which combination of settings makes your image look its best. This puts you firmly in the driver's seat, ensuring every image you create is perfectly suited for its final destination.
How to Fix Common AI Upscaling Artifacts
Even the best AI upscaler can get things wrong. Sometimes the algorithm just misreads a subtle texture or smooths over a detail that really mattered, leaving you with a result that looks a little… off. This is where your creative eye and some simple post-processing come in handy. And don't worry, you don't need to be a photo editing guru to get this right.
Think of the AI’s output as a really good first draft. Now, it's your turn to be the editor. The most common issues I see are faces that look waxy or unnatural, weird patterns showing up in backgrounds like grass or skies, and text or logos getting garbled. Just being able to spot these artifacts is the first step toward fixing them. This final polish is what separates a decent AI upscale image from a truly professional one.
This correction phase is a non-negotiable part of the workflow for creators. The demand for top-tier digital assets has never been higher, and that’s driving huge investments in this technology. The AI image enhancer market is already worth billions, and some analysts think it could balloon to over USD 50 billion by 2034. You can read more about the rapid expansion of the AI upscaler market if you're curious. This trend just proves how vital it is for creators to master these final touch-up skills.
Restoring Natural Facial Features
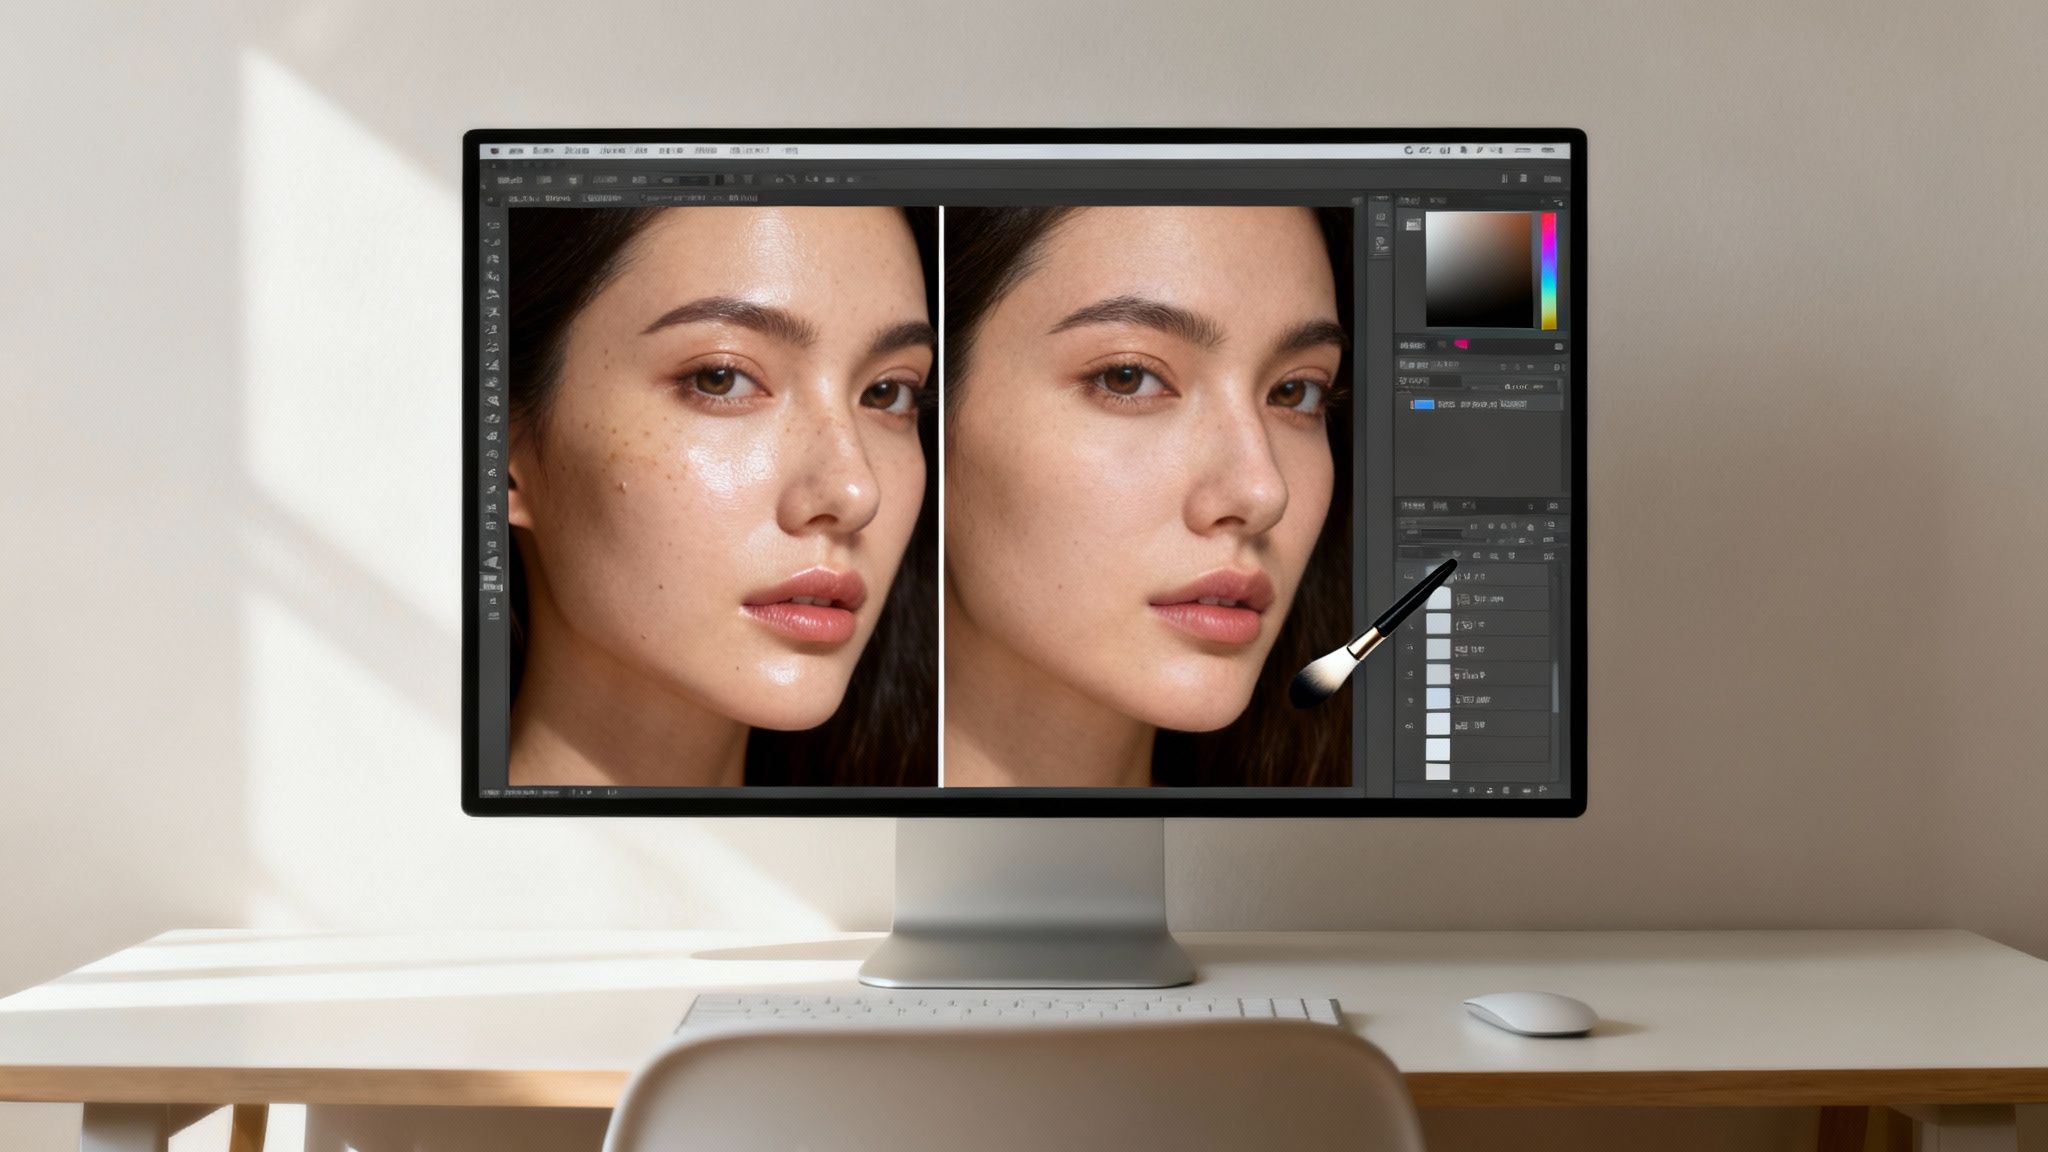
One of the most common issues is what I call "AI face"—where the AI smooths skin into a waxy, doll-like finish. In its effort to remove noise and add detail, it can accidentally erase the natural pores and tiny imperfections that make a face look human. Thankfully, the fix is pretty straightforward.
Here’s a quick-and-dirty method using any standard photo editor like Photoshop or GIMP:
- Open your newly upscaled image.
- Drag your original, low-res image onto it as a new layer.
- Line up the original layer perfectly on top of the upscaled version.
- Add a black layer mask to the original image layer, which will make it disappear for now.
- Grab a soft brush with a low opacity (I stick to around 10-20%) and start painting with white over the face on the mask.
This technique lets you gently brush the original, natural skin texture back into the high-res image. You get that authentic look back without losing the sharpness the AI added to the hair and eyes.
Correcting Distorted Text and Repetitive Patterns
Text and repeating background patterns are another classic AI stumbling block. An algorithm might warp letters into something unreadable or create an oddly uniform pattern on a brick wall or grassy field.
Key Takeaway: The goal isn't to undo the AI's work but to selectively refine it. Your human intuition is the perfect partner for the algorithm's raw processing power, letting you blend the best of both worlds for a flawless final image.
For mangled text, honestly, the easiest fix is usually just to replace it with a clean text layer. But for those unnatural patterns, the Clone Stamp or Healing Brush tools are your best friends. Just sample a nearby, more natural-looking area and paint over the repetitive bits to break up the uniformity. I've also found that if an upscaled illustration ends up with jagged lines, applying a very subtle Gaussian Blur can smooth them out perfectly.
And don't forget, these editing principles are just as important for moving pictures. If you're working with video, many of the same artifact correction techniques apply. You can see how these skills translate to motion in our guide on using an AI video quality enhancer.
Exporting Your Upscaled Image Like a Pro
You’ve done the heavy lifting—upscaling, tweaking, and getting your image just right. But the final step, exporting, is where it all comes together. If you get this part wrong, you can accidentally compress away all the beautiful detail you just worked so hard to create.
The trick is to think about where your image is going to live. Saving a photo for a high-quality art print requires a completely different approach than prepping a thumbnail for your next YouTube video. Each destination has its own unspoken rules for file formats and color settings. Nailing these final settings is what separates amateur results from professional-quality work.
There's a reason so much attention is being paid to this technology. The global AI image upscaler market was valued at a whopping USD 1.42 billion in 2024 and is expected to climb past USD 10 billion by 2033. This explosion shows just how vital high-quality visuals have become for creators and businesses. You can dig deeper into the booming AI upscaler market trends to see why mastering this final export step is such a valuable skill.
Choosing the Right File Format
The file format you pick is a constant trade-off between image quality and file size. There isn't one "best" option—it's all about what you need the image to do.
- JPEG (or JPG): This is your workhorse for the web. If you're exporting for Instagram, your blog, or a website, a high-quality JPEG is almost always the right call. I usually aim for a quality setting between 80-95%. This gives you a fantastic balance between sharp detail and a small file size that won't slow down your page load times.
- PNG: Reach for PNG when you absolutely need transparency. If you've just upscaled a logo or a graphic element that needs to sit on top of other content without a white box around it, PNG is your only real choice. It's a lossless format, which means file sizes can get beefy, but it keeps every single pixel perfectly intact.
- TIFF: Think of TIFF as the format for legacy and high-end printing. These files are uncompressed and pack in the maximum amount of image data. If you’re sending your upscaled masterpiece to a professional lab to be printed on a gallery-quality canvas, they'll almost certainly ask for a TIFF.
Understanding Color Space
Ever wonder why an image looks vibrant on your screen but dull when you post it online? The culprit is usually the color space. This setting tells devices how to interpret the colors in your photo.
The rule of thumb is simple: sRGB for screens, Adobe RGB for print. Sticking to this will ensure your colors look consistent, whether they’re on a phone or on paper.
For anything destined for a screen—social media posts, website banners, video thumbnails—export in the sRGB color space. It's the universal standard for the web and ensures everyone sees your colors as you intended.
For professional printing, however, Adobe RGB offers a wider range of colors. High-end printers can actually reproduce these extra tones, resulting in richer and more vibrant prints. Once you get the hang of these export settings, you can be confident your beautifully upscaled images will look stunning everywhere you share them.
Got Questions About AI Upscaling? Let’s Clear Things Up.
As you start using AI to breathe new life into your images, you're bound to have some questions. It’s a powerful tool, but understanding its strengths and weaknesses is key to getting the results you want and avoiding frustration.
Let's tackle a few of the most common questions I hear from creators.
Can I Throw Any Terrible Image at an AI Upscaler and Expect a Miracle?
Honestly, no. AI is impressive, but it’s not a magic wand that can fix absolutely everything. It needs something to work with.
Think of it like this: AI excels at enhancing images that are small but still have some clarity. If your starting image is a pixelated mess or a blurry blob, the AI has to guess what was originally there. This often leads to weird, "hallucinated" details or an outcome that just doesn't look right.
For the best results when you ai upscale image files, always start with the cleanest, highest-quality source you can get your hands on, even if the resolution is low.
Is AI Just Making Up Fake Details in My Photo?
Yes and no. This gets to the heart of how this technology actually works. The AI isn't revealing hidden pixels that were magically there all along. It's generating entirely new pixels based on its training on millions of other images.
For example, when upscaling a portrait, it might add incredibly realistic skin texture or define individual strands of hair that were just a soft blur in the original.
The real goal here is to generate details that are so believable and fit so seamlessly that they feel completely real to the human eye. When it's done well, you shouldn't be able to tell what was original and what the AI added.
Is an AI Upscaler Actually Better Than Just Resizing in Photoshop?
For making images bigger, a dedicated AI upscaler almost always comes out on top.
Traditional resizing methods, like Photoshop’s standard "Image Size" command, rely on something called interpolation. This basically just stretches the pixels you already have, which is why you end up with that soft, blurry, or blocky look. It's just making the existing information bigger.
AI upscalers are different. They analyze the content and intelligently generate sharp, new details. While Photoshop has added its own AI-powered "Super Resolution" feature, which is a big improvement, specialized tools often give you more fine-tuned control and produce more natural-looking results, especially when you’re pushing an image to 4x its original size or more.
Ready to create stunning, high-resolution visuals in minutes? With Aicut, you get access to powerful AI tools for upscaling images, generating photorealistic video clips, and automating your content creation for YouTube, TikTok, and Instagram. Join over 500k+ creators and start growing your channel today at Aicut.