So, what exactly is AI video upscaling? At its core, it’s a way to use artificial intelligence to boost a video's resolution and overall quality. Instead of just stretching out the pixels (which makes everything look blurry), the AI intelligently predicts and rebuilds the missing details. It can take a grainy 480p or 720p clip and transform it into sharp, clean 1080p or even 4K footage.
This is a huge deal for creators. It means you can salvage old clips you thought were unusable or give new footage a much more professional finish.
Why AI Video Upscaling Is a Creator's Secret Weapon
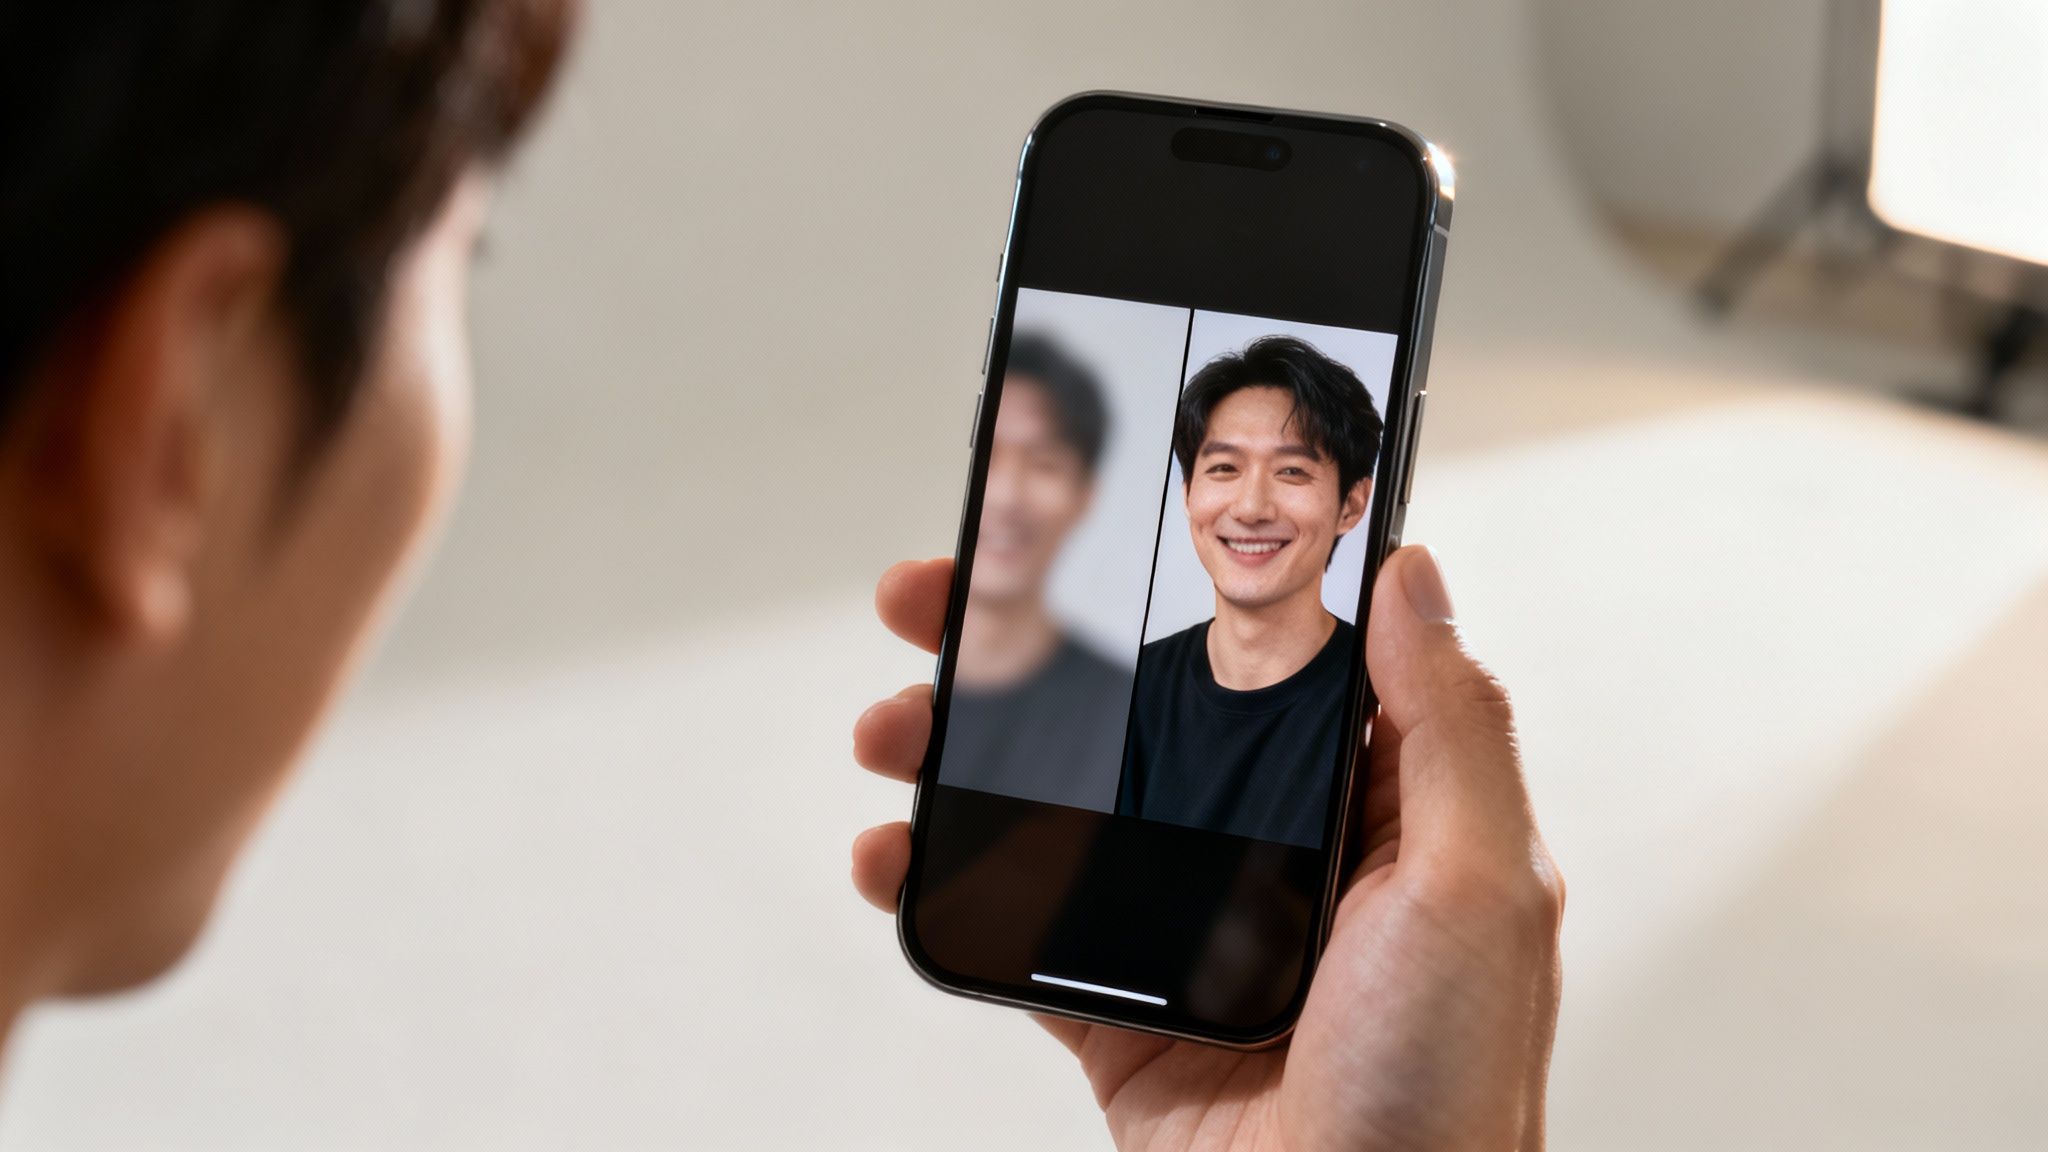
We’ve all been there. You capture a perfect moment on camera, but when you pull it up on your computer, it’s too blurry or low-res to actually use. It's a common frustration that can completely derail a project. AI video upscaling is the fix, turning those flawed clips into assets you can be proud of.
This isn't your old-school upscaling. Traditional methods just made the existing pixels bigger, which is why you’d get that soft, blocky, and distorted look. AI is different. It actually analyzes the content in every single frame to generate new, convincing details from scratch.
The Power of Intelligent Reconstruction
I like to think of it like an art restorer working on a classic painting. They don't just paint over the cracks. They study the artist's original style and fill in the gaps with brushstrokes that feel authentic. An AI upscaler does something similar. After being trained on millions of videos, it learns what faces, landscapes, and objects are supposed to look like in high definition.
When it sees your low-resolution clip, it uses that knowledge to recreate the missing information. The result is a video that isn’t just bigger—it’s genuinely sharper and more detailed.
This opens up a ton of possibilities:
- Rescue Archived Footage: Dust off old family videos, grainy stock clips, or footage from older cameras and make them look like they were shot yesterday.
- Enhance Smartphone Content: Take a solid 1080p clip from your phone and bump it up to a stunning 4K video that looks amazing on a big screen.
- Improve User-Generated Content (UGC): Clean up videos sent in by your audience or customers so they match your brand's quality standards.
- Fix Technical Goofs: Accidentally recorded in the wrong resolution? Got some motion blur from a shaky hand? AI can help salvage that footage.
It’s no surprise the demand for this is exploding. The global market for AI video upscaling software is already huge, valued somewhere between USD 175 million and USD 670 million in 2024. And it's on track to hit an incredible USD 1.42 billion by 2031. That kind of growth shows that automated enhancement is quickly becoming a standard part of the creator toolkit. You can actually explore more data on this market's impressive growth.
To help you figure out when to pull this tool out of your back pocket, I’ve put together a quick reference table.
When to Use AI Video Upscaling for Your Content
This guide breaks down the best scenarios to apply AI upscaling for the biggest impact on your content.
| Scenario | Why It Works | Recommended Approach |
|---|---|---|
| Repurposing Old Content | You have valuable footage from old cameras or archives that looks dated on modern screens. | Use a high-quality preset to upscale to at least 1080p. Focus on models that excel at noise reduction and detail restoration for older, grainier sources. |
| Enhancing UGC or Interviews | User-generated content or Zoom interviews are often low-res, but the content is gold. | Upscale to 1080p to match the quality of your A-roll. Use models that specialize in enhancing faces and cleaning up compression artifacts. |
| Preparing for Large Displays | You shot in 1080p but need the video to look sharp on a 4K TV or projector for a presentation or ad. | This is a perfect use case. Upscale from 1080p to 4K. Choose an AI model designed for high-fidelity upscaling to avoid an "over-sharpened" look. |
| Fixing Accidental Settings | You accidentally recorded a shot in 720p instead of your usual 1080p or 4K. | Upscaling can save the shot. Match it to the rest of your project's resolution. The AI can often make it nearly indistinguishable from native footage. |
| Improving Stock Footage | You found the perfect stock clip, but it's only available in a lower resolution than your project requires. | Don't compromise. Purchase the lower-res version and use AI to upscale it. This can save money and give you more creative options. |
Think of this table as a starting point. The more you use upscaling, the more you'll discover new ways it can save a shot or elevate a project.
More Than Just Resolution
Modern AI upscalers do a lot more than just add pixels. The best tools offer sophisticated improvements that give your video that polished, professional look. For instance, advanced models can get rid of the digital noise from a low-light recording, fix weird color tints, and even sharpen text that appears in the frame, like signs or logos.
The real magic of AI here is its ability to maintain frame-to-frame consistency. This is what prevents the flickering and strange visual artifacts that you see with older upscaling methods, ensuring motion stays smooth and completely natural.
Ultimately, AI video upscaling is about creative freedom. It removes the technical limits of your source footage so you can focus on telling a great story. Whether you’re a YouTuber chasing that crisp 4K look, a TikTok creator trying to make your Reels pop, or a brand repurposing assets for an ad campaign, this tech is a secret weapon for delivering incredible content every single time.
Choosing the Right AI Model and Settings for Your Footage
Diving into an AI video upscaler can feel a bit like stepping into a cockpit—there are buttons, sliders, and a whole bunch of models to choose from. The secret to a jaw-dropping result isn't just hitting "upscale," but knowing how to match the right tools to your specific footage.
After all, not all blurry video is created equal.
A grainy clip from an old camcorder needs a totally different approach than a slightly soft 1080p smartphone video. One might require some serious noise reduction, while the other just needs a gentle sharpening. This is where choosing the right AI model becomes your first—and most important—decision.
Selecting the Best AI Model for Your Content
Think of AI models as specialized artists. One might be a master at restoring portraits, while another is a genius with architectural details. In Aicut, you’ll find different models trained for specific types of video, and picking the right one is the foundation of a great upscale.
Here’s a quick rundown of the common model types and when I reach for them:
- General Purpose Models: These are my go-to for a wide range of footage, like a product demo or a vlog. They’re balanced to improve detail and fix common issues like compression artifacts without getting too aggressive.
- Archival & Restoration Models: Got old, grainy, or faded footage? These models are trained specifically to handle film grain, digital noise, and color degradation. They work wonders to restore detail while keeping the original character of the clip intact.
- Face Enhancement Models: If your video has people in it, especially in interviews or close-ups, this model is a non-negotiable. It’s trained to recognize and reconstruct facial features, making sure eyes, skin texture, and hair look natural and sharp—not plasticky.
- Animation & CG Models: This one’s for cartoons, motion graphics, or anything computer-generated. These models know how to sharpen clean lines and vibrant colors without creating the weird artifacts you can sometimes see on live-action footage.
For instance, if I’m upscaling a 720p interview for a client's YouTube channel, I’ll always start with a Face Enhancement model. It just knows how to add that crucial clarity to the speaker’s features, which is key for keeping viewers hooked. On the other hand, for a sweeping drone shot of a landscape, a General Purpose model is a much better fit.
Pro Tip: Always run a short test clip first. Before you commit to upscaling a full 10-minute video, process a 5-10 second segment with a couple of different models. This little step saves a massive amount of time and helps you nail the look you're after.
Fine-Tuning Your Upscale Settings
Once you’ve picked your model, it's time to dial in the settings. This is where you get to balance quality with processing time and sidestep common problems, like that over-processed, artificial look.
Let's focus on the two big ones: enhancement strength and noise reduction.
Enhancement Strength (or Sharpness)
This slider tells the AI how much new detail to create. Be careful here—pushing it too high can give skin a weird, "plastic" texture.
- Low Setting (10-30%): Perfect for footage that's already in decent shape, like a 1080p clip you're bumping up to 4K. It adds a subtle crispness without looking fake.
- Medium Setting (40-60%): This is the sweet spot for most 480p or 720p footage. It does a great job rebuilding detail for a very noticeable improvement.
- High Setting (70%+): Use this one sparingly. It's best for really blurry or low-quality source files where you need to salvage every last bit of detail, even if it means risking a few artifacts.
Noise Reduction (or Denoise Level)
This setting goes after that grainy, static-like texture you see in low-light videos or old recordings.
- Low Setting: Great for zapping minor digital noise from modern camera footage shot at a high ISO.
- Medium Setting: The right choice for moderately grainy clips, like old home videos or compressed stock footage.
- High Setting: Reserved for extremely noisy video. Just be aware that high levels can sometimes soften fine details, leaving things a little too smooth.
If you want to see how these tools stack up against other options, our detailed guide on the best video upscaling software offers a deeper dive into the features different platforms provide.
Let’s walk through a real-world example. Say you've got a 480p product clip you want to use in a 1080p Instagram Reel.
- Select a Model: I’d start with a General Purpose model since it’s a product, not a person.
- Set Resolution: The target is 1080p, so that's what we'll choose.
- Adjust Strength: Since 480p is pretty soft, I'd probably set the enhancement strength to a medium-high level, maybe around 65%.
- Apply Denoise: If the original clip has some blocky compression artifacts, a low denoise setting of around 20% would clean it up beautifully without mushing the texture.
By making these kinds of deliberate choices, you go from just clicking a button to actually directing the AI. That control is what separates a decent upscale from a truly flawless one, giving you the power to turn flawed footage into a high-quality asset for any project.
Your AI Video Upscaling Workflow in Aicut
Theory is one thing, but actually putting it to work is what really matters. Let’s get our hands dirty and walk through the real process of an ai video upscale in Aicut. My goal is to show you just how simple the workflow is, turning what sounds like a complex technical job into a few straightforward, creative choices.
You’ll see how this fits right into your existing content creation process. We're talking about taking a low-quality clip and turning it into a polished, high-resolution video in just a few minutes. From uploading your footage to making those final tweaks, here’s how it’s done.
Get Your Source Footage Uploaded
First things first, you need to get your video into the Aicut platform. This is the easy part. Whether you have a clip from your phone, a stock video you downloaded, or an old file you found on a dusty hard drive, it's a simple drag-and-drop.
Aicut is built to handle a ton of different file formats, so you rarely have to worry about converting your video beforehand. This initial step is fast and gets your raw material ready for the AI to do its thing.
Choose Your Enhancement Model
Once your video is in the system, Aicut will ask you to pick an AI model. As we covered earlier, this is the most important decision you'll make. The model you choose directly shapes the final look of your footage, so take a second to think about what you’re working with.
- For interviews or talking heads: The Face Enhancement model is almost always your best bet. It’s been specifically trained to reconstruct the tiny details in human faces, which keeps your subjects looking sharp and natural.
- For B-roll, product shots, or most other footage: The General Purpose model is a fantastic workhorse. It strikes a great balance between sharpening the image and removing unwanted artifacts, making it a versatile choice for the majority of clips.
- For cartoons or motion graphics: Stick with the Animation & CG model. It’s designed to keep those clean lines and vibrant colors crisp without adding the weird fuzzy edges you might get from a model built for live-action.
This is really just a simple, three-stage process.
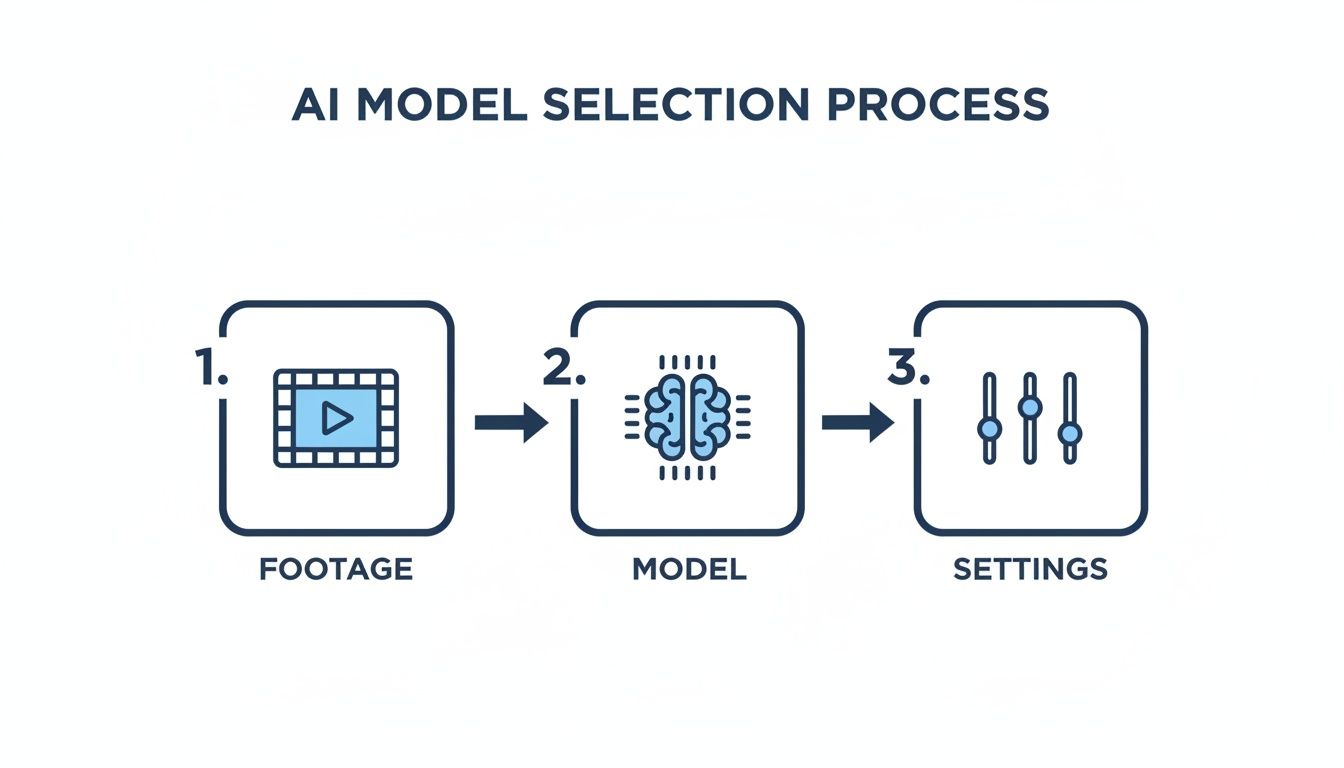
You start with your source footage, pick the right AI model for the job, and then fine-tune the settings to get the exact result you're after.
Preview the Results Before Committing
Before you tell the AI to process the entire video (which can take a bit of time), Aicut gives you a fantastic preview feature. Seriously, don't skip this step. It lets you see a side-by-side comparison of your original clip next to the AI-enhanced version.
This split-screen view is incredibly useful for seeing if your chosen model and settings are working. You can tell right away if the details are sharper, if the noise is gone, and—most importantly—if the final result still looks natural.
Don't be afraid to go back and play around with the settings. If the preview looks a little too "plastic" or over-sharpened, just dial the enhancement strength back a bit and run another preview. This little bit of back-and-forth is the key to getting a truly professional upscale.
Finalize and Export Your High-Res Video
Happy with the preview? Great. Now it's time to process the whole clip. You’ll choose your final output resolution—whether you're bumping 720p up to 1080p or going all the way to 4K—and then let the AI get to work. Processing times will vary depending on how long your video is, but Aicut is pretty well-optimized to move quickly.
You don’t have to just sit there and wait, either. You can work on other things, and you'll get a notification when your upscale is done. The last step is exporting the new video. Aicut even offers presets for different platforms, making sure your file is perfectly spec'd for YouTube, TikTok, or Instagram.
This whole workflow removes the old technical hurdles that used to make video enhancement a job for specialists. Now, any creator can get incredible results.
Ready to see the difference for yourself? You can start your first ai video upscale project in Aicut right now. With just a few clicks, you can bring old footage back to life and make sure every video you post has that high-quality look your audience expects.
Optimizing Upscaled Videos for YouTube, TikTok, and Instagram
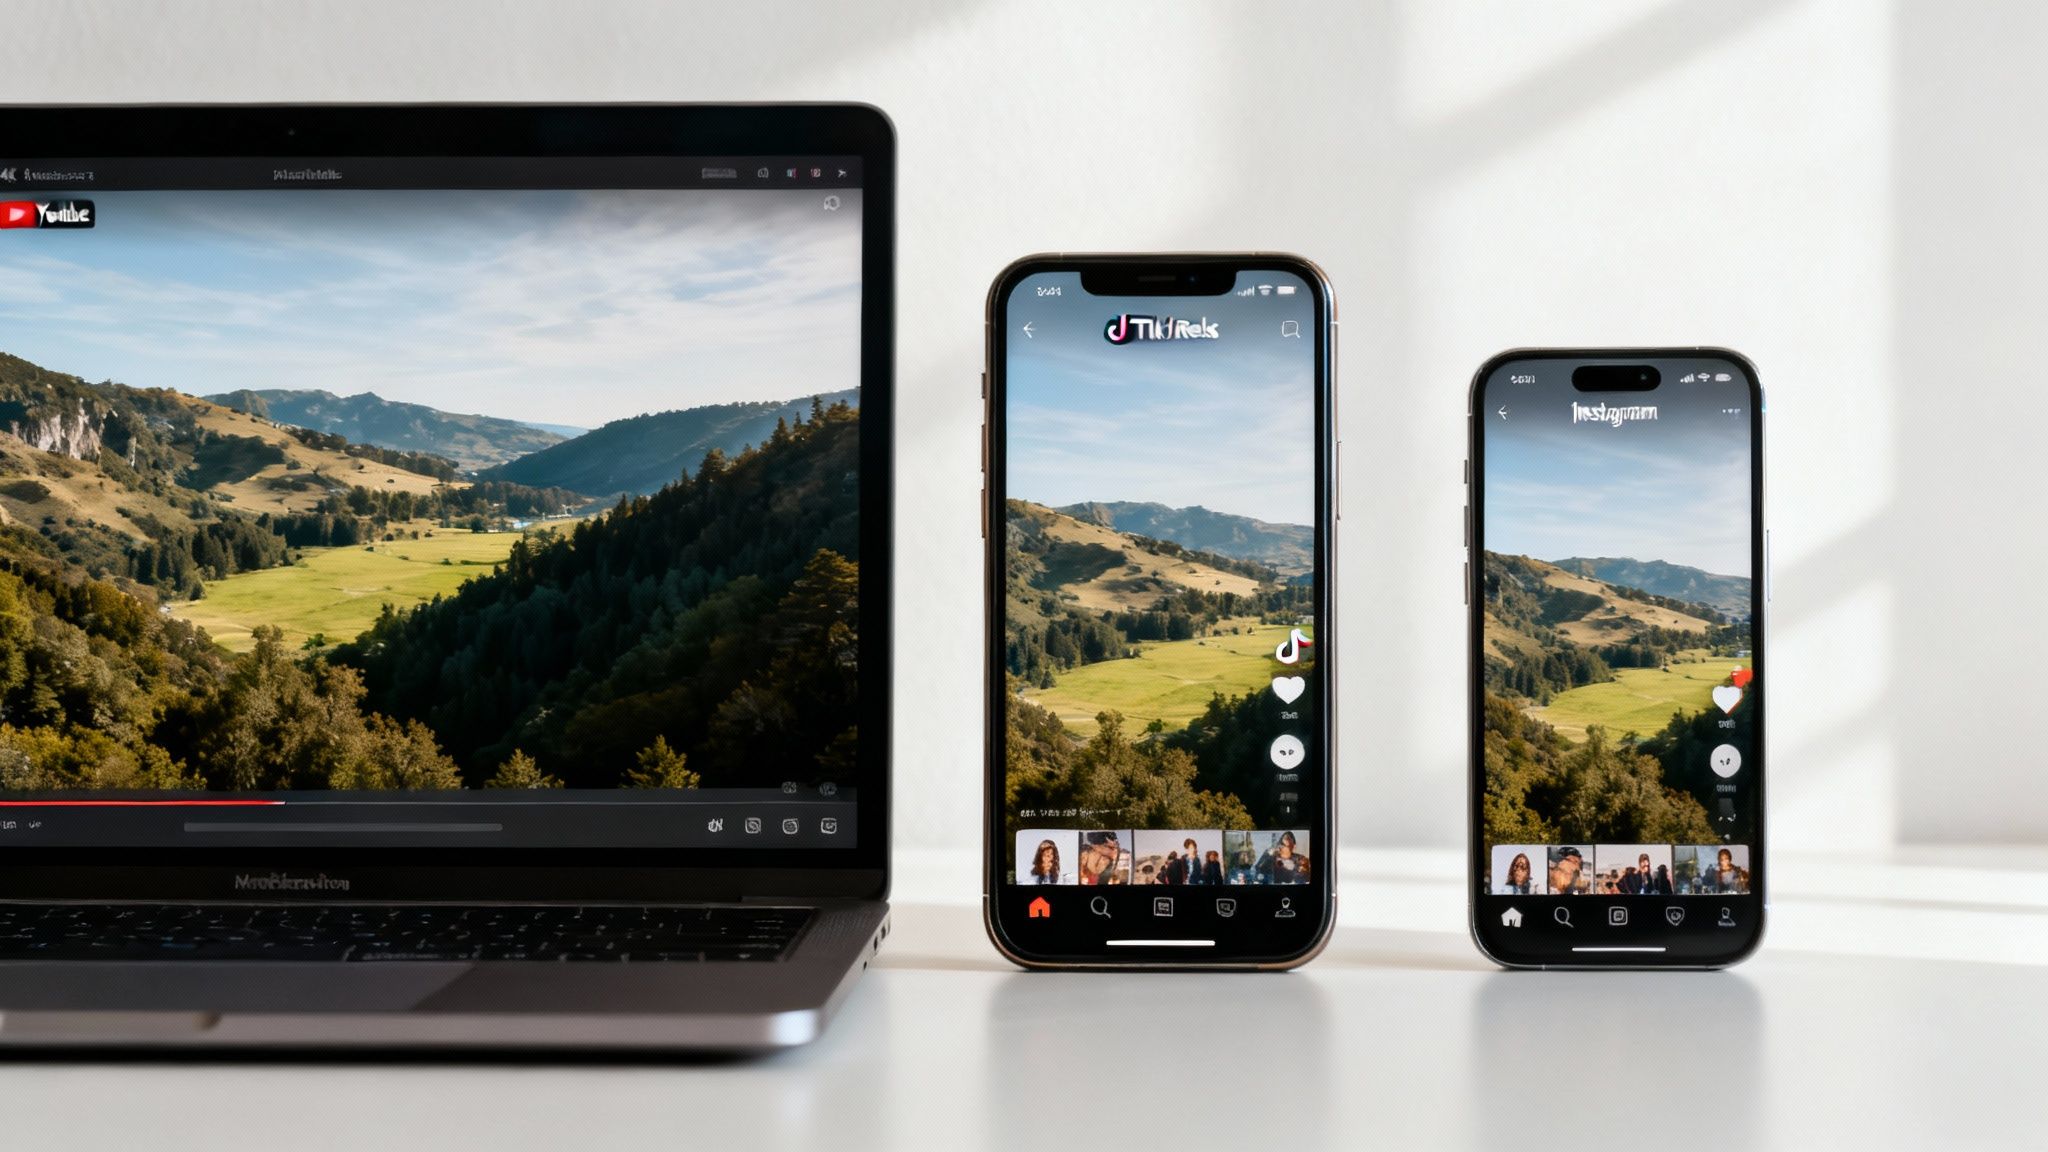
Running your footage through an AI video upscale feels like a victory, but the work isn't over yet. The real test is making sure your masterpiece looks just as good once it’s live on social media.
Each platform—YouTube, TikTok, and Instagram—is its own beast, armed with aggressive compression algorithms ready to chew up your video quality. If you use a one-size-fits-all export, all that new sharpness and detail you worked so hard for can get crushed into a pixelated mess. The trick is to give each platform a file so clean and high-quality that it survives the squeeze.
Winning the YouTube Quality Game
YouTube’s number one priority is a smooth playback experience for viewers, which means heavy compression. But there's a neat trick to get its algorithm to handle your video with extra care. The secret is to upload a file that's a higher resolution than what most people will watch it in.
When you upload in 4K, YouTube often uses the more efficient VP9 codec. This is a big deal because it preserves way more detail than the standard AVC1 codec that most 1080p uploads get stuck with.
So, even if your original footage was 720p and you upscaled it to 1080p, consider exporting it from your editor as a 4K file. This tells YouTube your video is a premium file, and you'll often see a much crisper final result, even for viewers watching at 1080p.
Here are the settings I use for the best results on YouTube:
- Resolution: 3840x2160 (4K UHD)
- Format: MP4
- Bitrate (SDR): 35-45 Mbps for 24/25/30fps footage
- Bitrate (SDR): 53-68 Mbps for 48/50/60fps footage
Following this strategy helps your upscaled video hold onto as much clarity as possible after YouTube’s compression does its thing.
Mastering Vertical Video for TikTok and Instagram
For TikTok and Instagram Reels, it's all about vertical video and mobile viewing. These platforms are notorious for their brutal compression, especially with fast motion. Your goal here is to deliver a file that’s sharp but not so large that the platform just butchers it.
A huge part of this process is maintaining optimal image quality, which is exactly where AI upscaling shines. Viewers are on small screens, so every pixel counts if you want your content to pop and stop the scroll.
The improvement from AI isn't just a gimmick; it's tangible. Top-tier upscaling models can boost quality by 2x–4x the spatial resolution, effectively turning a soft 480p clip into a clean 1080p Reel that looks professionally shot.
For razor-sharp vertical video, stick to these guidelines:
- Resolution: 1080x1920 (Full HD Vertical)
- Format: MP4
- Frame Rate: 30 FPS is the standard, but go for 60 FPS if your source footage can handle it for an extra smooth look.
- Bitrate: I've found a variable bitrate around 10-15 Mbps is the sweet spot. It provides plenty of data for clarity without being overkill.
Don’t forget about your dimensions, either. To get your sizing perfect, check out our ultimate guide to YouTube Shorts video size, which has tons of tips that also apply directly to TikTok and Reels.
By tailoring your exports, you ensure your AI-enhanced video looks incredible everywhere you post it.
Common Upscaling Mistakes and How to Fix Them
Jumping into AI video upscaling is exciting, but it’s rarely a one-click-and-done deal. AI is an incredible assistant, not a magic wand, and it needs a human touch to get things just right. It's really easy to make a few common missteps that can leave your footage looking a bit strange or unnatural.
But don't worry. These issues are almost always fixable with a few simple tweaks. Think of this as your troubleshooting guide for those moments when the output isn't quite what you had in mind. We'll walk through the most common problems I see and show you exactly how to get your project back on track.
The Dreaded Plastic Look
One of the first things people complain about is that upscaled footage, especially with faces, looks waxy or "plastic." This almost always happens when the enhancement or sharpening settings are cranked up way too high. The AI tries so hard to add detail that it overcompensates, smoothing out natural skin textures and creating that fake, artificial look.
The fix is usually pretty simple: just dial back the enhancement strength. I'd suggest starting by dropping the setting by about 20-30% from where you had it. Render a short preview and see how it feels. You're looking for that sweet spot where details are sharpened, but the original texture of skin, fabric, or other surfaces still looks real.
A great upscale should feel naturally sharp, not digitally processed. It’s always better to end up with a slightly softer, natural-looking video than an over-sharpened one that screams "AI-generated."
Choosing the Wrong AI Model
You wouldn't use a paintbrush to hammer a nail, right? The same logic applies to AI models. Using a "General Purpose" model on a close-up interview might work in a pinch, but it's never going to give you the same quality as a model specifically trained on facial reconstruction. This kind of mismatch is a huge reason for disappointing results.
Before you upscale any clip, just take a second and ask yourself: what’s the most important thing in this shot?
- Is it a person talking? You'll want to use a Face Enhancement model. These are built to understand and preserve the subtle details in human features.
- Is it a landscape or a product shot? A General Purpose model is probably your best bet here for clean, balanced results.
- Is it an animation or CGI? Stick to an Animation/CG model. It's designed to keep lines crisp and colors vibrant without adding weird visual noise.
Taking a moment to pick the right tool for the job is single-handedly the most effective thing you can do to get better results from the very beginning.
Ignoring Your Audio Quality
This one has nothing to do with the pixels but can completely ruin the final product. Imagine you've just spent time turning your old 720p clip into a gorgeous 4K video. It looks incredible—sharp, vibrant, and professional. But now, the slightly muffled, low-quality audio from the original file sounds totally out of place.
That disconnect between pristine visuals and poor audio can be really jarring for an audience. When you upgrade your video, you have to think about upgrading your audio, too.
Here are a few easy ways to handle it:
- Use an AI Audio Enhancer: Lots of tools and even some video editors have features that can clean up background noise, balance levels, and make voices sound much clearer.
- Add a Music Bed: A subtle background music track can do wonders for masking minor audio flaws and just making the whole thing feel more polished.
- Re-record Narration: If it's a voiceover, seriously consider re-recording it with a better microphone. It's a bit of extra work, but the payoff in quality is massive.
By keeping these common slip-ups in mind, you’ll go from just using the tool to actually mastering it. Every little adjustment gives you more creative control, helping you deliver a final video that’s not just higher resolution, but also more natural and engaging.
Your Top Questions About AI Video Upscaling
Jumping into AI video enhancement brings up some solid questions. It's smart to wonder about the tech, the time it takes, and what it'll cost you. Getting straight answers is key to using this tool well.
This is where we tackle the most common things creators ask about using an AI video upscale tool. We'll get into everything from how the AI actually sees your footage to what it means for your day-to-day workflow.
How Long Does This Actually Take?
Processing time is a huge one, and the real answer is: it varies. A few things directly impact how long you'll wait, like the video's starting resolution, its length, and which AI model you pick. For instance, bumping a 30-second 480p clip to 1080p is way faster than taking a 10-minute 1080p video all the way to 4K.
You can probably expect a few minutes for a quick clip. Longer, more demanding jobs will naturally take a bit more time. The great part is that cloud-based tools like Aicut do all the heavy lifting on their end. You can literally close your browser and wait for an email telling you it's done. Your own computer's resources are never tied up.
Can It Really Fix My Super Blurry Video?
AI can pull off some incredible things, but it's not magic. If a video is so blurry that important details are just gone—think a face that's just a blob or text you can't even guess at—the AI will have a tough time bringing it back. It has to have something to build on.
Here’s a good way to think about it: AI is fantastic at sharpening what’s already there and cleaning up ugly compression noise. It can’t invent detail from nothing. It shines when dealing with soft footage, but it's not going to rescue a clip that was shot completely out of focus or has wild motion blur. Your best bet is always to run a short test and see what the AI can do with it.
Will AI Upscaling Mess With My Original File?
Nope, never. Your original video is completely safe. When you use an AI video upscale service, it generates a brand-new, improved file. Your source clip stays exactly as it was, right where you left it.
This is a non-destructive workflow, which means you can experiment without any fear. Feel free to try out different AI models and play with the settings to find the perfect look. If you don't like the result, your original is still there, untouched. You're just adding a new, better-looking asset to your project, not changing the old one.
One of the biggest wins with modern AI upscalers is how well they keep things consistent from one frame to the next. This gets rid of the flickering or weird visual glitches that older sharpening methods often created, so all the motion in your video stays looking smooth and natural.
Is AI Video Upscaling Going To Break The Bank?
Not anymore. The cost of AI upscaling has dropped dramatically, making it a real option for creators, not just big studios. Instead of buying pricey software or needing a beast of a computer, most services use a simple credit system. You just pay for the processing you actually use.
A quick upscale for a social media post might only use a handful of credits, while a big 4K project will require more. This pay-as-you-go model makes professional-level quality accessible to everyone. It's a surprisingly affordable way to make your content look seriously good.
Ready to turn those low-res clips into something incredible? With Aicut, you can use powerful AI to upscale, sharpen, and perfect your videos in just a couple of clicks. Join over 500,000 creators who are already making content that stands out. Give Aicut a try and see the difference it makes: https://www.aicut.pro