Getting your video formatted for Instagram is the first, and most crucial, hurdle to clear if you want people to actually see your content. This isn't just about tweaking a few settings; it's about making sure your video’s aspect ratio, resolution, and file type are spot-on before you even think about hitting 'upload'. Do it right, and your video fits the screen perfectly—no weird black bars or fuzzy, compressed visuals.
Why You Can't Afford to Ignore Instagram's Video Specs
Nailing your video format isn't just a technical box to check. Think of it as a direct signal to the Instagram algorithm. When your video is perfectly formatted for a specific spot like Reels or Stories, it delivers that clean, immersive, full-screen experience everyone loves. It just looks more professional, and that polish keeps people watching.
And that's the key: watch time. A better viewing experience leads directly to higher watch time, which is one of the most powerful metrics the algorithm cares about. When viewers stick around longer, it tells Instagram your content is good stuff, encouraging the platform to push it out to a much bigger audience. This is exactly how proper formatting can be the secret ingredient to boosting your reach.
The Algorithm Plays Favorites
Let's be clear: Instagram is all-in on video. In fact, videos pull in 21.2% more engagement than static images, and the platform's AI now curates more than half the content people see in their feeds. This has led to a 24% jump in the time users spend on the app, with an almost unbelievable 139 million Reels watched every single minute.
If you want the algorithm on your side, formatting your video correctly is non-negotiable. You can learn more from these eye-opening Instagram marketing statistics.
It all feeds into a powerful cycle:
- You nail the formatting: Your video is crisp, fits the screen, and loads fast.
- Viewers have a great experience: No awkward cropping or distracting blurriness.
- They watch for longer: This increased engagement signals quality to the algorithm.
- Instagram shows it to more people: Your video gets pushed into more feeds, and your audience grows.
Quick Guide to Instagram Video Specs
To keep things simple, here’s a quick-reference table with the essential specs you'll need for every type of Instagram video.
| Placement | Aspect Ratio | Resolution (Pixels) | Max Duration | Recommended Codec |
|---|---|---|---|---|
| Reels | 9:16 | 1080 x 1920 | 90 seconds | H.264 |
| Feed Video | 4:5 or 1:1 | 1080 x 1350 or 1080 x 1080 | 60 minutes | H.264 |
| Stories | 9:16 | 1080 x 1920 | 60 seconds | H.264 |
| Instagram Video | 9:16 or 16:9 | 1080 x 1920 or 1920 x 1080 | 60 minutes | H.264 |
Bookmark this table! It'll save you a ton of time trying to remember which format goes where. A quick glance is all you need to ensure you're setting up your project correctly from the start.
Stop Guessing and Start Creating with Smart Tools
Manually fiddling with export settings for every single video is a recipe for frustration and mistakes. This is where a tool like Aicut becomes a real game-changer. Instead of trying to memorize a dozen different aspect ratios and bitrate settings, you can lean on pre-built templates and export presets made just for Instagram.
By letting a tool handle the technical stuff, you can stop fighting with export settings and get back to what actually matters—making awesome content that your audience will love.
Aicut’s AI-driven workflow takes all the guesswork out of the equation. Just pick where your video is going—Reel, Story, or Feed—and the software does the rest, spitting out a perfectly optimized file every single time. It's not just about guaranteeing the best quality; it's about saving yourself a ton of time so you can create more, post consistently, and stay ahead.
Getting the Video Specs Right for Every Instagram Placement
This is where the real work begins—and where most people trip up. You can't just create one video and blast it everywhere. A Reel formatted for a full-screen, vertical experience will look completely out of place and amateurish in the main Feed.
Let's walk through the exact specs for each video type on Instagram. Nailing these details ensures your content looks professional and native to the platform, which is exactly what you want.
Think of it this way: each placement on Instagram is a different "room" with its own rules. You wouldn't wear a swimsuit to a black-tie dinner, right? Same principle. Forcing a horizontal video into a vertical space like Reels just doesn't work. Before we dive in, a solid grasp of understanding various aspect ratios is a huge help, as it’s the foundation for making smart formatting choices instead of just guessing.
How to Format Instagram Reels
Reels are your ticket to reaching new audiences, but they have one non-negotiable rule: they must be a full-screen, immersive experience. To do that, your video has to be formatted perfectly.
The most important spec is the 9:16 aspect ratio. This is the standard vertical phone screen size. If you use anything else, Instagram will slap ugly black bars on the top and bottom, which immediately screams "I didn't make this for Reels."
For the best quality, always export at 1080 x 1920 pixels. This resolution keeps your video looking crisp and clear on modern phones, even after Instagram does its own compression magic on it. Anything less will look pixelated.
Here’s your checklist for the perfect Reel:
- Aspect Ratio: 9:16 (full-screen vertical)
- Resolution: 1080 x 1920 pixels
- Frame Rate: Stick with 30 frames per second (fps). You can use 60 fps, but it makes your file size bigger without adding much noticeable benefit for the average video.
- Duration: You can go up to 90 seconds. But let's be real, the sweet spot for grabbing attention is usually way shorter, often around 7-15 seconds, especially if you're using trending audio.
A huge mistake I see all the time is people filming horizontally (16:9) and then trying to awkwardly crop it to 9:16 later. The framing is almost always terrible. Do yourself a favor and just film vertically from the get-go.
Optimizing Videos for the Instagram Feed
While Reels are for discovery, your In-Feed videos are mostly for your current followers. The game here is different. People are scrolling, so your main job is to take up as much screen space as you can to make them stop.
For a long time, the 1:1 square (1080 x 1080 pixels) was the go-to for the Feed. It's still a totally fine and safe choice.
But if you want an edge, the 4:5 vertical aspect ratio (1080 x 1350 pixels) is the way to go. It’s just a bit taller than a square, but that extra height makes a massive difference in a crowded feed. It can be the one thing that makes someone pause instead of scrolling right past your content.
Let’s break down the two main choices for the feed:
| Aspect Ratio | Resolution | Screen Real Estate | Best For |
|---|---|---|---|
| 4:5 (Vertical) | 1080 x 1350 px | Maximum | Grabbing attention, product showcases, tutorials. |
| 1:1 (Square) | 1080 x 1080 px | Good | A classic look, easy to cross-post from other sites. |
Honestly, choosing 4:5 over 1:1 is a simple strategic move that gives you a real advantage. It's a small formatting tweak that can seriously boost your visibility.
Formatting for Instagram Stories
Stories are designed to feel raw and immediate. Just like Reels, they are a full-screen vertical experience, so the technical specs are almost identical.
You’ll need to use a 9:16 aspect ratio with a 1080 x 1920 pixel resolution. This guarantees your Story fills the entire screen without any weird cropping, giving viewers that seamless experience they expect.
The main difference is in the timing and flow. Stories are meant to be consumed in quick, tappable segments.
- Max Length: An individual Story clip can be up to 60 seconds long. If your video is longer, Instagram will automatically chop it up into 60-second pieces for you.
- Best Practice: Even with the 60-second limit, people are used to tapping through Stories quickly. I've found that creating content in 15-second chunks just works better. It matches the natural rhythm of how people watch and helps hold their attention.
Since Stories are often viewed on the fly, keeping file sizes down is important for quick loading. A 30 fps frame rate and standard bitrate settings will ensure they play smoothly for everyone, even on a weak connection.
What’s the Deal with "Instagram Video"?
You might have noticed that IGTV is gone. It's been replaced by "Instagram Video," which is basically the platform's home for any longer video that isn't a Reel. These live in their own tab on your profile and also show up in the main Feed.
This format is the most flexible when it comes to aspect ratios. You can upload a standard horizontal 16:9 (1920 x 1080 pixels) video, which is fantastic if you're repurposing content from a YouTube channel.
Just remember, when that horizontal video appears in someone's feed, Instagram will add padding above and below it. It will take up way less screen real estate than a vertical video, making it easier to scroll past.
This quick summary shows why getting the formatting right is a win-win-win.
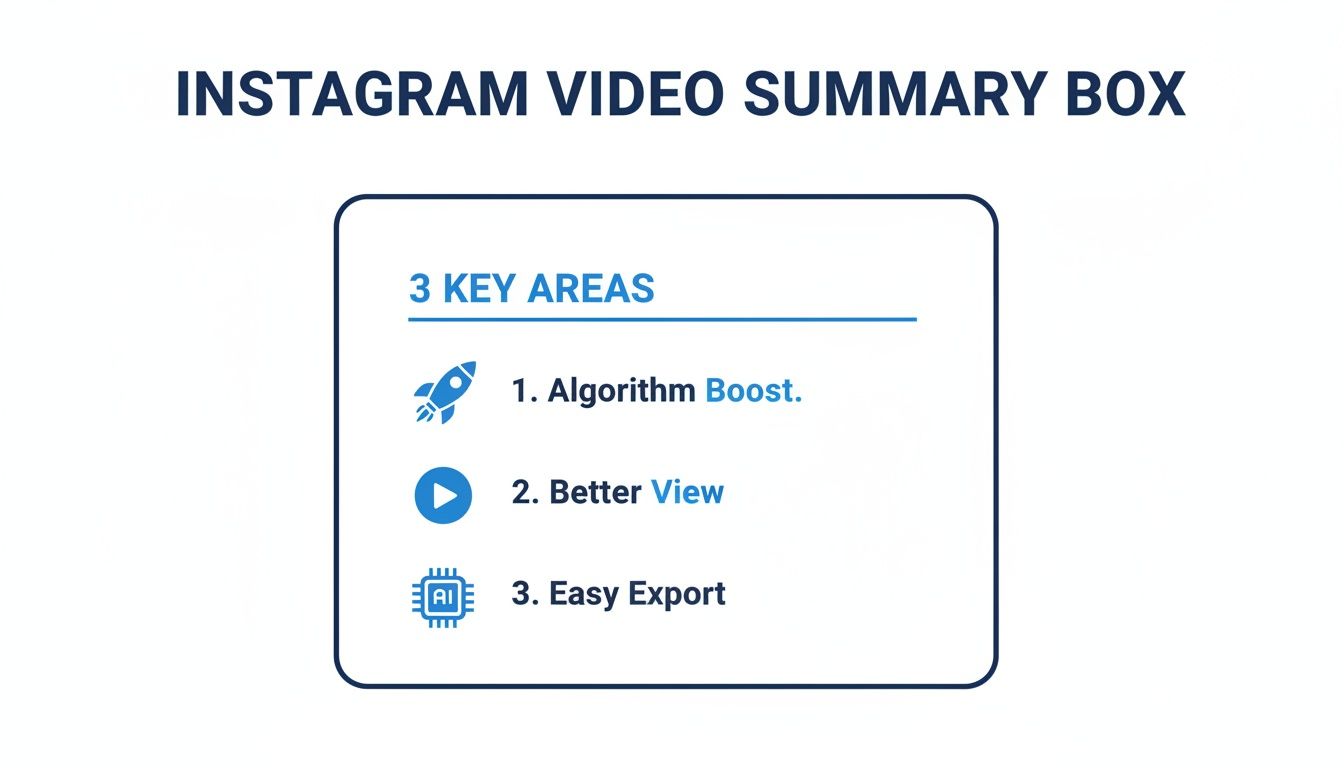
As you can see, properly formatted videos get a boost from the algorithm, give your audience a better experience, and make your export process a whole lot simpler. And even for this format, if you want to make the biggest impact in the feed, a 9:16 vertical video is still your best bet.
How to Export Your Videos for Crisp Quality
Ever spend hours meticulously editing a video, only to watch it turn into a blurry, pixelated mess the moment you upload it? You’re not alone. This all-too-common frustration almost always boils down to your export settings.
Getting these final technical details right is the most critical step. It ensures your hard work looks just as sharp on someone's phone as it did on your editing timeline.
Instagram's compression is notoriously aggressive. It has to be, to make videos load quickly for millions of users at once. But this process can be ruthless to files that aren’t set up correctly. To sidestep the dreaded pixelation, you need to give the platform a file that's already as close to its preferred specs as possible. This leaves less work for the algorithm and less room for it to destroy your quality.
Choosing the Right Codec and Container
Let's demystify two key terms: codec and container. Think of your video file as a package. The container is the box it comes in, and the codec is how everything is neatly packed inside.
For Instagram, and frankly for most of the internet, the undisputed champion is the MP4 container paired with the H.264 codec.
This combination is the universal standard for a reason. It strikes the perfect balance between high-quality visuals and manageable file sizes. When you're in your export menu, your first and most important move is to select MP4 as the format and H.264 (sometimes labeled as AVC) as the codec.
Mastering Your Video Bitrate
Bitrate is the secret sauce. It’s the amount of data used to create each second of your video, measured in megabits per second (Mbps). This single setting directly controls both the visual detail and the final file size. A higher bitrate means more detail and a cleaner image, but it also creates a much bigger file.
Here’s where a lot of people go wrong: they assume cranking the bitrate to the max will guarantee the best quality. The reality is the opposite. If your file is too big, Instagram's compression algorithm will go into overdrive, often resulting in worse quality than if you had started with a more reasonable bitrate.
The goal isn't the highest bitrate—it's the right bitrate. You’re looking for that sweet spot that preserves detail without creating a massive file that Instagram has to wrestle into submission.
For a standard 1080p video at 30 frames per second, a bitrate between 3 and 6 Mbps is your target range. This gives the video plenty of data for a crisp picture without being overkill. Most modern editing software even has "Social Media" export presets that will get you in this ballpark automatically.
Frame Rate: 30 fps vs. 60 fps
Frame rate, or frames per second (fps), determines the smoothness of motion in your video. While shooting at 60 fps can create that ultra-smooth, hyper-realistic look, it's often unnecessary for Instagram and literally doubles your file size.
For the vast majority of content—talking heads, tutorials, product shots—30 fps is the gold standard. It delivers a clean, professional look that viewers expect and helps keep your file size in check.
Only consider using 60 fps if your video involves high-speed action (like sports) or if you plan to create silky-smooth slow-motion effects during your edit. Otherwise, sticking with 30 fps is almost always the right call for consistency and performance on the platform.
Perfecting Your Audio Export Settings
Don't let muffled, tinny audio ruin a beautiful video. Just like your visuals, your audio needs to be exported with the right settings to sound clear and professional.
Here are the optimal settings for your audio track:
- Codec: AAC (Advanced Audio Coding) is the standard and most efficient choice for MP4 files.
- Sample Rate: 44.1 kHz is the industry standard for digital audio and is perfect for Instagram.
- Bitrate: Aim for 128 kbps. This delivers excellent stereo sound quality without adding unnecessary bulk to your file.
Dialing in these settings ensures your voiceovers, music, and sound effects are heard exactly as you intended. And after all that hard work, knowing the best upload speed for streaming helps make sure your perfectly polished file gets to Instagram's servers quickly and without a hitch.
If your source footage still seems a bit soft after all this, you might want to see how AI can upscale video footage to give it that final professional shine.
Creative Tips for Videos That Stop the Scroll
Getting the technical stuff right is just half the battle. Perfect formatting gets your foot in the door, but it's the creative choices that make people actually stop and watch. Now that you've got your settings locked in, let's talk about what turns a technically sound video into one that people can't ignore.
It’s easy to get bogged down in codecs and bitrates, but never forget there’s a real person on the other side of the screen. They're scrolling fast, and chances are, their phone is on silent. Your video has to be visually compelling enough to grab them before they even think about turning the sound on.
Design for a Sound-Off World
A massive number of people watch Instagram videos without any sound, especially if they're out in public. If your video absolutely needs a voiceover to make sense, you've already lost a huge chunk of your audience.
The fix is simple: add subtitles.
Captions make your content immediately accessible. People can understand what’s happening right away, which makes them stick around longer. Don't treat subtitles as an afterthought; they are a core part of your video's design.
You don't have to burn them in by hand, which is a real time-sink. For creators who want to work smarter, not harder, there are great guides on how AI can handle video captioning and automate the whole process.
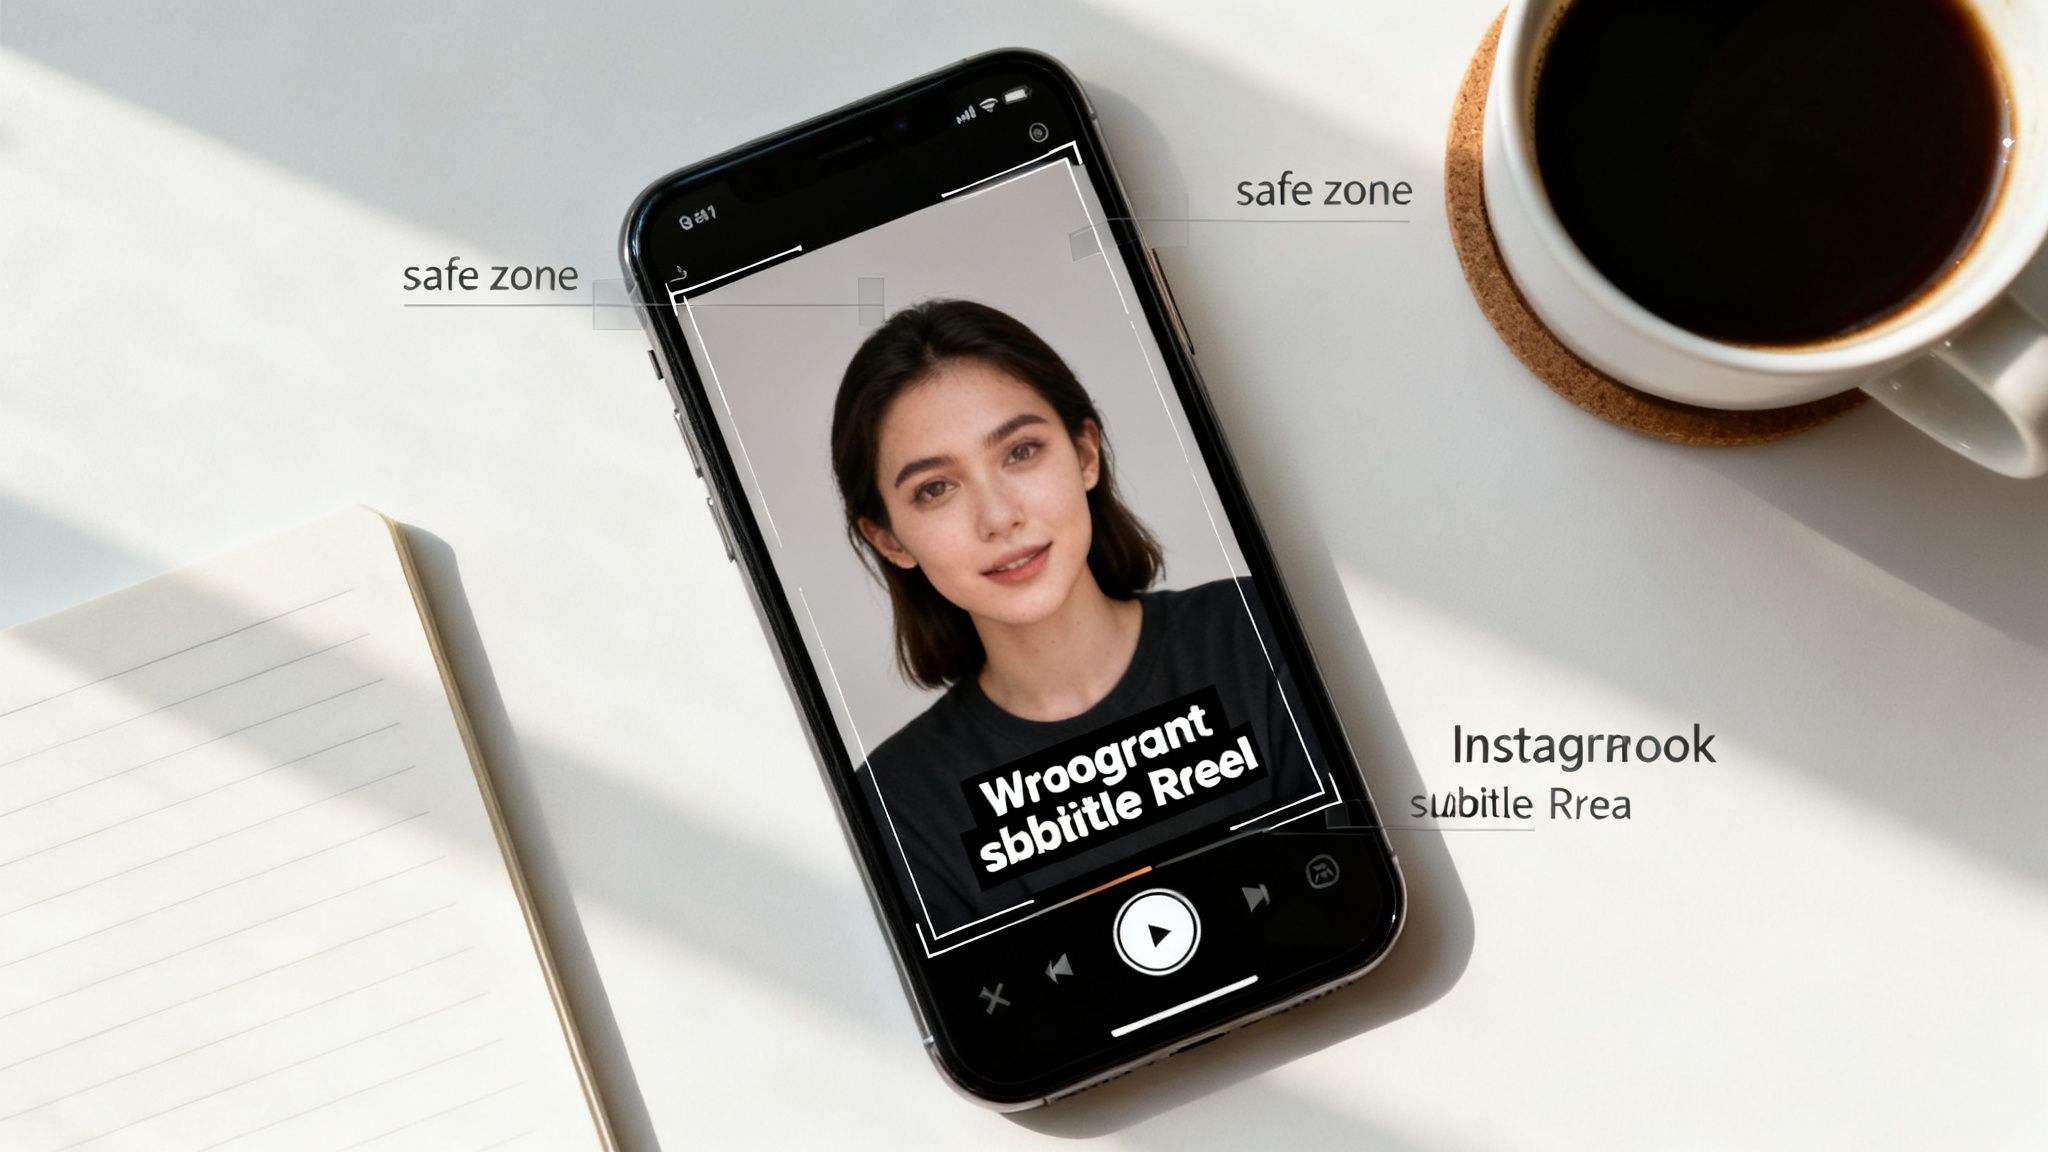
Respect the Safe Zones
Ever spent ages perfectly placing text on a Reel, only to post it and find it's completely hidden by the username or the "like" button? That's the painful result of ignoring Instagram's "safe zones."
The safe zone is simply the central part of the screen where your important visuals and text won't get covered up by the app's interface.
- For Reels and Stories: The top and bottom are danger zones. Keep your crucial text, logos, and key action within the middle two-thirds of the frame.
- The Bottom Bar: This is where the caption, username, and engagement icons live. Don't put anything important down there.
- The Right Edge: On Reels, the like, comment, and share buttons stack up along the right side. Give that area some breathing room.
Before you export, just imagine a frame around your video where the interface will be. If your main subject or text falls outside that imaginary box, nudge it back in. This one quick check can save you so much frustration.
Nail the First Three Seconds
You don't have a minute to win someone over. You have three seconds. That's it. The start of your video is the most valuable real estate you have, and your hook needs to hit hard.
Your opening shot should immediately ask a question, show a shocking transformation, or present something visually stunning. Ditch the slow intros and branded logo animations. Get straight to the good stuff. A strong hook is what stops the thumb from scrolling.
Pick a Cover Image That Clicks
Your cover image, or thumbnail, is what people see on your profile grid and the Explore page. It's your video's first impression, and it’s often what makes someone decide whether to watch or just keep scrolling. A blurry, confusing, or boring cover is a huge missed opportunity.
When you're choosing a frame from your video, make sure it is:
- High-Quality: It has to be sharp and clear. No pixelation.
- Intriguing: It should spark curiosity and make people want to know what happens next.
- Readable: If you add text, make sure it's big, bold, and contrasts with the background.
Don't let Instagram pick a random frame for you. Taking an extra 60 seconds to choose (or create) a compelling cover is one of the simplest things you can do to get more people to watch your video.
Your Aicut Workflow for Perfect Instagram Videos
Knowing the technical specs for Instagram is half the battle. The other half? Actually putting it all into practice without pulling your hair out. This is where your workflow is everything. Fiddling with manual export settings for every single video is a surefire way to waste time and make mistakes. A better way is to use tools that handle the nerdy stuff for you, so you can just focus on being creative.
A smart workflow means you’re not second-guessing yourself. Forget trying to remember the exact resolution for a Reel or the right bitrate for a Story. You can lean on a system that’s already been programmed with the best settings. This doesn't just save you a ton of time; it guarantees every video you push out is perfectly prepped for Instagram, giving it the best shot at success.
Start with a Proven Template
The fastest path to a great video is to avoid starting from scratch. Instead of staring at a blank timeline, why not use a structure that’s already proven to get views? With Aicut, you can grab viral templates built specifically for Instagram's different formats. These aren't just empty layouts; they're based on content styles that are actually trending right now.
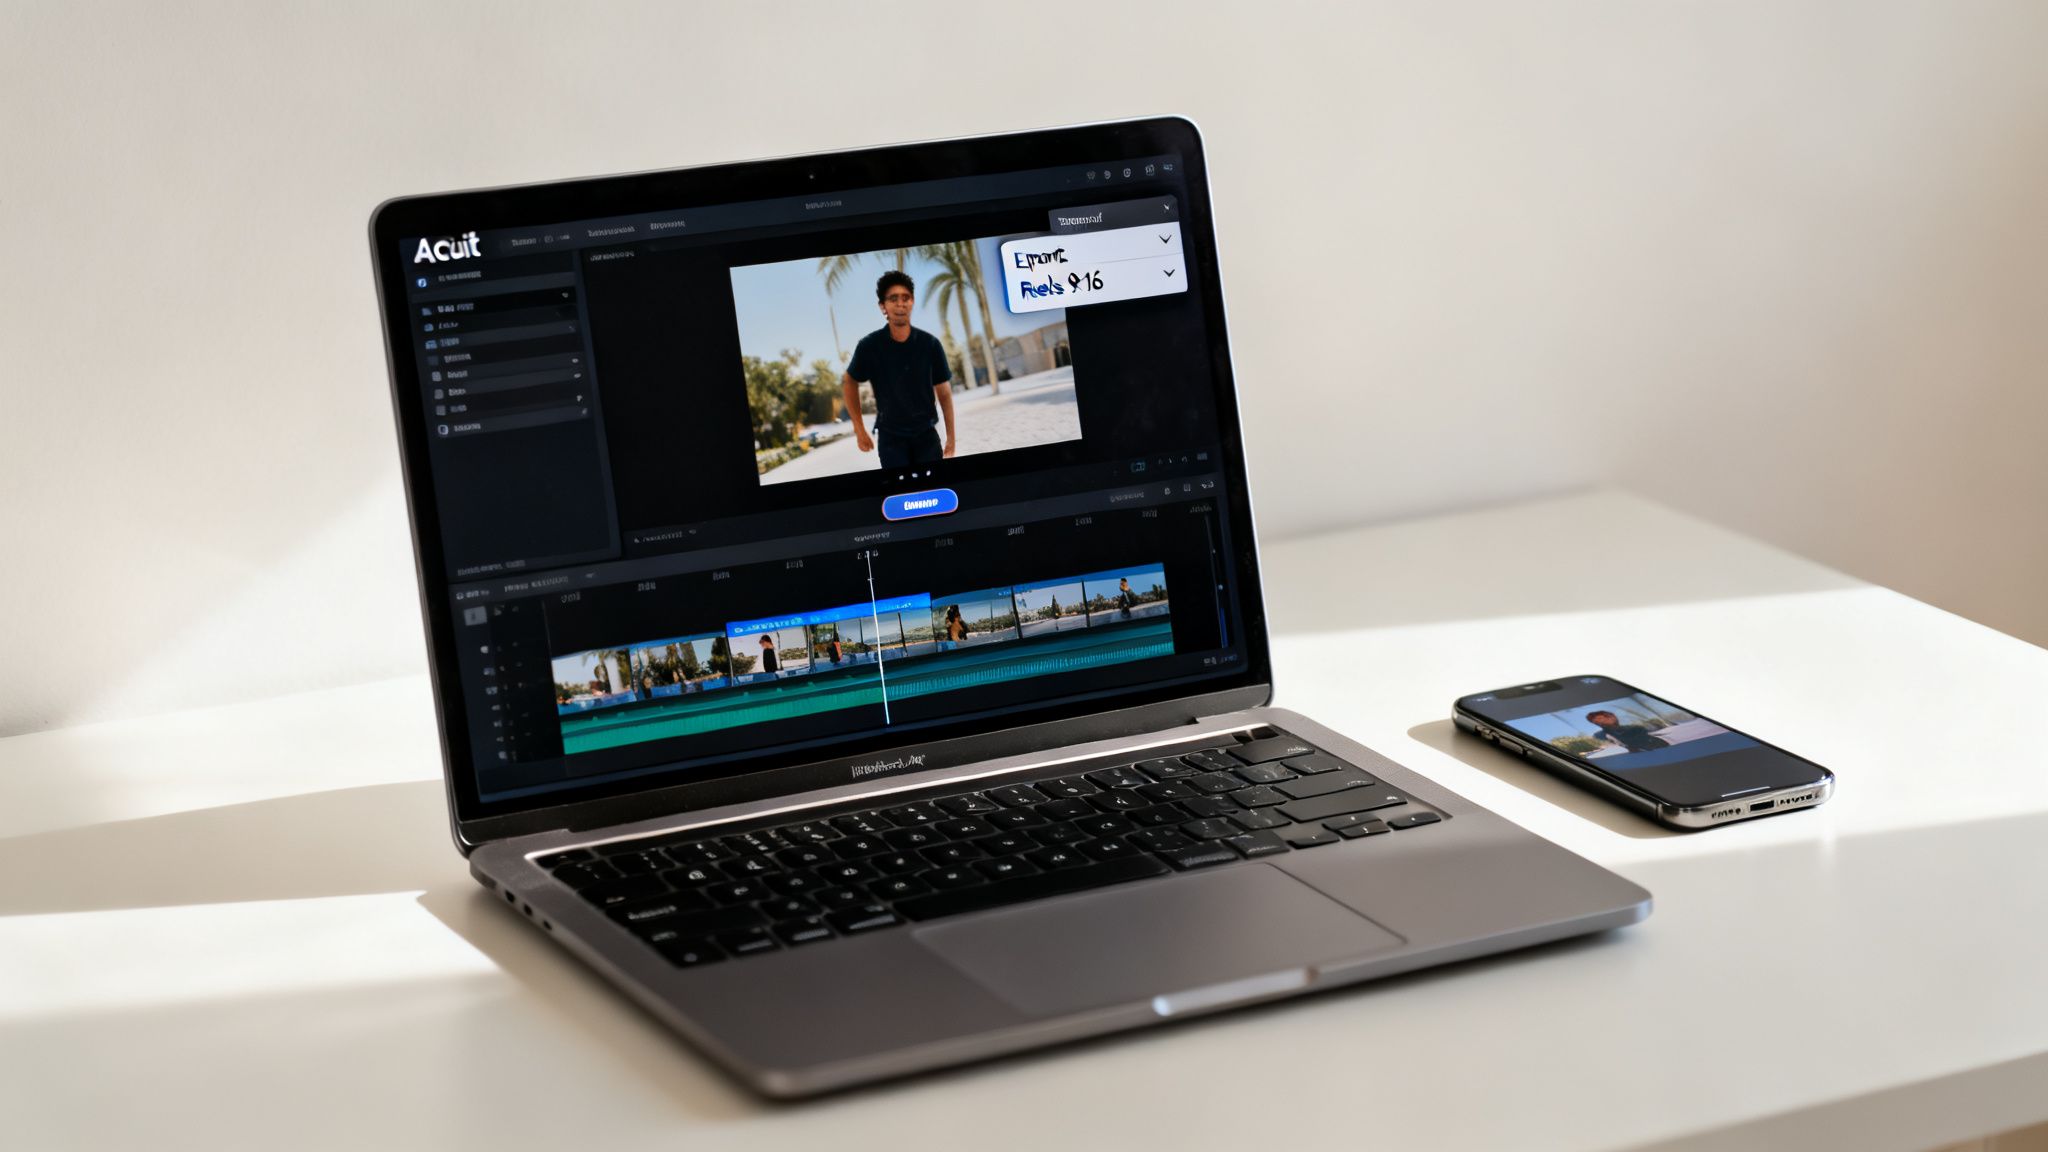
This approach lets you see exactly what you're making from the get-go, making sure the format is right before you even drop a clip in.
For instance, just choosing the "Instagram Reels" template automatically locks in the 9:16 aspect ratio and 1080x1920 resolution. That one click sidesteps the most common formatting mistakes. It’s all about working smarter.
Use AI to Generate and Refine Your Clips
Okay, you’ve got your template. Now you need killer visuals to fill it. This used to be the hard part—hours spent hunting for stock footage or trying to film the perfect shot. But an AI-powered workflow completely changes the game.
Aicut lets you create high-quality video clips just by typing out what you want to see. Making a Reel about a morning routine? You could generate clips of:
- A cinematic shot of a coffee maker brewing
- A first-person view of someone journaling
- A time-lapse of the sun rising over a city
Suddenly, you have total creative freedom without the real-world hassle. You can spitball ideas and generate dozens of clips until you find the perfect ones to tell your story, all of which will be perfectly formatted for your project. If you really want to go deep on this, we've got another guide on using AI to create stunning Instagram Reels.
Export with One-Click Instagram Presets
You’ve made your video. It looks amazing. Now for the moment of truth: the export. This is where one wrong click can turn your crisp video into a blurry, pixelated mess.
A good workflow takes all that risk off the table. Instead of having to dial in codecs, bitrates, and resolutions yourself, you can just use presets made for your exact destination.
My Favorite Tip: Always use a dedicated export preset like "Instagram Reel" or "Instagram Story." It’s the single best way to make sure your video quality survives the upload. These presets are already set up with the ideal H.264 codec, AAC audio, and a variable bitrate that plays nice with Instagram's own compression.
This one-click export is your final quality control check. It bundles all the best practices we've talked about—the right dimensions, encoding, everything—into one simple button. It's the most reliable way to nail the final export and make sure your content looks sharp every single time.
Schedule Your Posts for Maximum Impact
Getting the format right ensures your video can be seen. But posting it at the right time is what gets it actually seen. The last piece of the puzzle is scheduling your content to go live when your audience is scrolling.
Once you’ve exported your perfectly formatted video, use a built-in scheduler to plan your content calendar. This helps you stay consistent, which the algorithm loves.
By looking at your Instagram insights, you can figure out your peak hours and schedule your Reels, Stories, and Feed videos to publish right then. This gives your beautifully formatted video the launchpad it needs to take off.
Got Questions? Let's Clear Up Some Instagram Video Confusion
Even with the best game plan, you're bound to hit a few snags. It happens to everyone. Let's walk through some of the most common questions and roadblocks I see creators run into when prepping their videos for Instagram.
"Why Did My Video Get So Blurry After I Uploaded It?"
This is the big one, and almost every time, the culprit is Instagram's own compression algorithm. When you upload a video that doesn't quite match what the platform expects, it automatically squishes your file to make it fit, and that's when things get blurry.
If your video's bitrate is too high, for instance, Instagram will aggressively compress it, killing your quality. The fix is usually straightforward: export your video as an MP4 file using the H.264 codec. For a standard 1080p video, I've found the sweet spot for bitrate is between 3 and 6 Mbps. By sticking to the right resolution (like 1080x1920 for Reels) and a 30 fps frame rate, you’re giving Instagram’s algorithm less work to do, which helps preserve that crisp look you worked so hard for.
"Can I Just Post My Horizontal Video to Reels?"
Technically, yes, but I’m going to tell you why you really shouldn't. When you upload a horizontal (16:9) video into a vertical-first space like Reels or Stories, you get those massive, awkward black bars at the top and bottom. Your content ends up looking tiny and completely breaks the immersive feel of the format.
It’s just as bad in the Feed. A horizontal video will either be cropped weirdly or padded with space, which means it takes up way less screen real estate than a properly formatted 4:5 video. You're immediately putting yourself at a disadvantage.
My advice is simple: always re-edit your content to fit the placement. Use 9:16 for Reels and Stories, and aim for that screen-grabbing 4:5 aspect ratio for your Feed posts. Don't let lazy formatting sink your engagement.
"What's the Perfect Video Length for Instagram?"
This is a great question, and the answer really depends on where you're posting and what you're trying to achieve.
- Instagram Reels: For viral potential, short and snappy is king. I often see the best results with videos between 7 and 15 seconds, especially when using trending audio. If you're sharing educational content, you can definitely push that to 30-60 seconds, but make it count.
- Feed Videos: They can technically be up to 60 minutes long, but shorter is almost always better. In my experience, videos under one minute consistently get the best viewer retention.
- Instagram Stories: Each individual clip is capped at 60 seconds. But remember, people are conditioned to tap through Stories quickly. A much better strategy is to think in bite-sized, 15-second segments that flow seamlessly from one to the next.
No matter where you post, the mission is always the same: hook your viewer in the first three seconds and give them a reason to stick around.
Stop wrestling with confusing export settings and let AI handle the hard work. Aicut offers viral templates and one-click export presets that guarantee your videos are perfectly formatted for Instagram every single time. Start creating faster and smarter with Aicut today.