Ever found yourself with a grainy, low-res video clip and wished you could magically make it 4K? That's not science fiction anymore. AI video upscaling is the real-deal tool that’s changing the game for creators, letting you turn so-so footage into something that truly pops. It’s perfect for salvaging old phone videos, giving stock footage a facelift, or polishing client content without having to go back and reshoot everything.
Why AI Video Upscaling Is Your New Secret Weapon
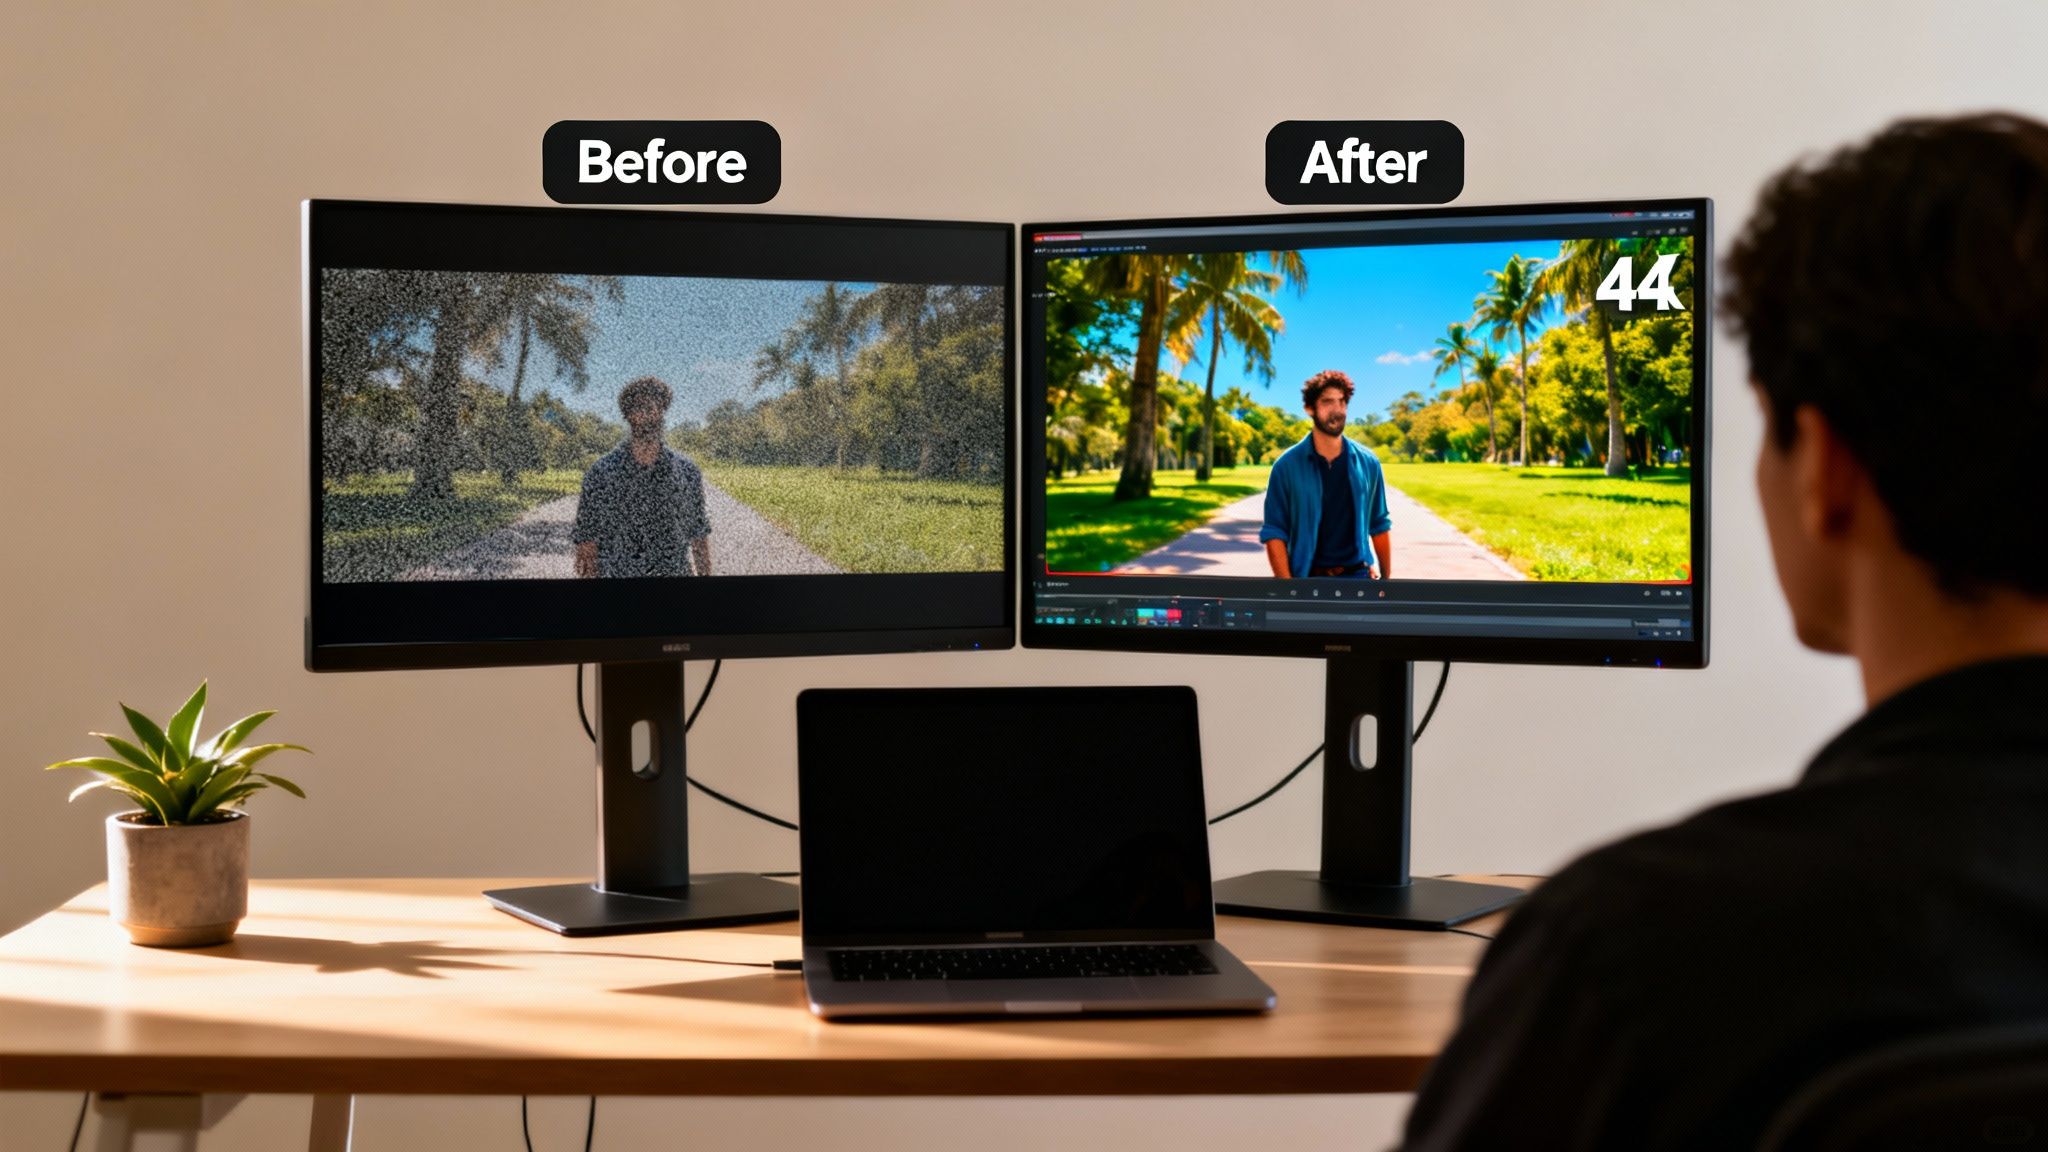
If you're a content creator—especially if you run a faceless channel or rely heavily on user-generated clips—you know that quality visuals are everything. Today’s audiences have high standards. They expect crisp, clear video, and anything less can make your brand look amateur and hurt your engagement. This is where AI upscaling stops being a neat trick and becomes an essential skill.
So, how does it actually work? Instead of just stretching out the existing pixels (which creates that blurry, blocky mess we all hate), AI gets smart. It uses complex algorithms to analyze the video frame by frame, intelligently adding new pixels to reconstruct details that were never there. It sharpens edges, cleans up digital noise, and builds a genuinely higher-quality video from the ground up.
Elevate Your Content and Save Resources
Just think about what you could do with this. You could finally restore those old family videos, give your drone footage from an older camera a modern polish, or make user-submitted clips look professional enough to feature in a high-stakes marketing campaign. The biggest win? It saves you from the headache and expense of a reshoot.
The real power of AI video upscaling is how it levels the playing field. Suddenly, solo creators and small businesses can produce visuals that look like they came from a big-budget studio, all without dropping thousands on new camera gear.
The industry is taking notice, too. The market for AI video upscaling software is projected to hit an incredible US$1,423 million by 2031, growing at a rate of 35.4% each year. That kind of explosive growth tells you just how critical high-res video has become across the board, from social media shorts to professional streaming.
Beyond Upscaling: AI in Visual Media
This tech isn't happening in a vacuum; it's part of a massive shift in how we create visual content with artificial intelligence. To get a feel for the broader landscape, look at the progress in AI image generation with Midjourney, which uses similar AI principles to create stunning images from simple text prompts. Both upscaling and generation tools are giving creators more power than ever before.
When you get the hang of AI upscaling, you’ll see direct results in your work:
- A more professional brand image: High-quality, consistent visuals build trust and authority.
- Higher engagement rates: Let's be honest, clean and crisp video is just more captivating.
- A clearer path to monetization: Better content attracts a bigger audience, which often leads to faster channel growth.
Getting Your Footage Ready for a Flawless Upscale
To get a truly professional ai upscale video result, you’ve got to start with the best possible source file. It’s a lot like cooking a great meal—even the best chef in the world can't turn bad ingredients into a masterpiece. Taking just a few minutes to prep your clip before you even think about uploading it can make a massive difference in the final quality.
The first rule is the most important one: always, always use the original, highest-quality file you have. Videos you've sent through messaging apps or downloaded from social media have been heavily compressed, which strips out tons of data the AI needs to do its job well. That 720p clip you shot on your phone has way more potential than the version you sent to your friend on WhatsApp.
A Quick Pre-Processing Checklist
A little housekeeping before you upscale goes a long way. This isn't about getting into a full-blown editing session, but more about giving the AI a clean slate to work from. If you're new to this, a great place to start is with some fundamental video editing tips for beginners to get comfortable with the basics.
Here’s a simple workflow I follow:
- Trim the Fat: Cut out any dead space or awkward pauses at the beginning or end of your clip. This doesn't just save on processing time; it also makes sure the AI is only working on the footage that actually matters.
- Basic Color Correction: Do a quick color and contrast adjustment before you upscale. This simple step helps the AI see the edges and details in your footage more clearly, which leads to a sharper result.
- Stabilize Shaky Shots: If you're working with shaky footage, run it through a stabilization tool first. Sometimes, upscaling can actually make camera shake look worse, so handling it beforehand will give you a much smoother, cleaner output.
Remember, the AI is an enhancer, not a magician. It can't fix fundamental problems like terrible lighting or extreme motion blur. Its purpose is to add detail and clarity to what's already there, not to salvage unusable footage.
Let's put this into a real-world context. Say you've got a 720p clip that you want to include in a 4K YouTube video. By starting with the original file from your camera, trimming the fluff, and doing a quick color pass, you're giving the AI a solid foundation. This small time investment upfront is what prevents those annoying artifacts or that weird "plastic" look, ensuring your final 4K video looks crisp and professional.
A Step-By-Step AI Upscale Video Workflow
Alright, with your footage prepped and polished, it's time to get into the fun part: the actual upscaling. Let's walk through a common scenario—taking a standard-def stock clip and getting it ready for a slick social media ad. I’ll show you how a tool like Aicut keeps everything in one place, so you’re not bouncing between different apps to get from low-res to 4K.
First things first, you need to get your video into the system. It's usually as simple as dragging and dropping the file from your computer right into the editor's media library. Once it's uploaded, you're ready to start the magic.
Finding the Upscaler and Dialing in Your Settings
In any decent all-in-one editor, you'll find the AI tools grouped together. Look for a tab or menu called something like "AI Magic" or "Enhance," then find the "Video Upscaler" feature. This is where you'll make the most important decision for your final video quality.
The big choice here is your upscaling factor. Most tools give you two main options: 2x or 4x.
- 2x Upscale: This is your everyday workhorse. It’s perfect for taking a 720p clip to a sharp 1440p (2K) or bumping a 1080p source up to a beautiful 4K. It's faster and usually the best bet for most modern footage.
- 4x Upscale: This is the heavy lifter. If you're working with old 480p standard-definition clips, this is what you need to bring them into the modern HD or even near-4K era. It takes more processing muscle but the results can be genuinely jaw-dropping on the right kind of footage.
For our 720p stock clip ad, a 2x upscale is the perfect move. It gets us to a professional-looking 1440p/2K resolution that looks fantastic on social feeds.
Once you’ve made your choice, you just apply the effect and let the AI do its thing. The processing time can vary from a few seconds to several minutes, depending on how long your clip is and the resolution you're aiming for.
The real game-changer is having this all in one workflow. In the past, I'd have to upscale a file in one program, export it, then import that new file into my video editor. Now, you just click a button, wait a moment, and the upscaled clip is ready to drag right onto your timeline.
This whole process is built on a clean foundation. You want to give the AI the best possible file to work with.
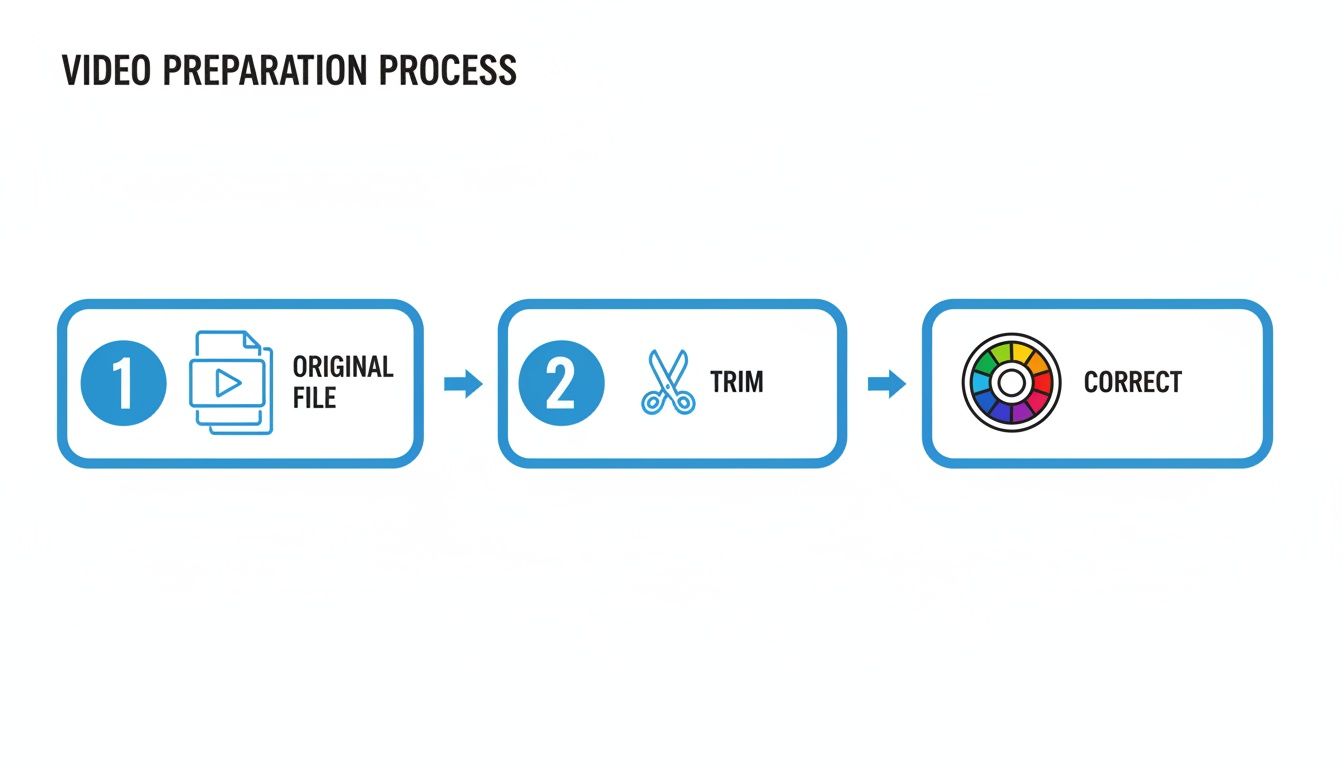
Starting with the source file, trimming it down to only what you need, and doing a quick color pass gives the AI a much better canvas to start from, leading to a far cleaner final result.
Finalizing Your Upscaled Video
When the process is finished, the newly enhanced clip usually appears in your media library, often right next to the original. This makes it super easy to do a quick before-and-after check. You'll immediately notice the improved clarity and detail. From this point on, you can just treat it like any other high-res clip in your project.
There are a lot of great tools out there to get this done. If you're curious about your options, you can see how different platforms stack up in our guide to the 12 best video upscaling software choices available right now.
Ultimately, this kind of integrated approach just saves a ton of time and headaches. It removes the technical roadblocks and lets you stay focused on the creative side of things, getting you from a low-quality source to a polished, high-resolution video faster than ever.
You've put in the work, run your footage through an AI upscaler, and now you have a beautiful, crisp 4K video. Don't fall at the final hurdle. Exporting that masterpiece with the wrong settings will undo all that effort, leaving you with a compressed, blurry mess once it hits social media.
Think of it this way: each platform has its own aggressive compression algorithm. When you upload a high-quality file, you're giving that algorithm more data to work with. A better starting point means a sharper final product for your viewers, which is the whole point of using an AI upscale video process in the first place.
The Secret to Better Quality on YouTube: Triggering the VP9 Codec
Here’s a trick that seasoned video creators swear by: forcing YouTube to use its superior VP9 codec. By default, YouTube often processes 1080p uploads with the older, less efficient AVC1 codec. But if you give it a 1440p (2K) or 4K file, it switches over to VP9, which is far better at preserving fine details during compression.
Even if most of your audience watches in 1080p, uploading an upscaled 4K version means they'll see a cleaner image. The VP9 codec is simply more efficient at handling motion and complex textures, which drastically reduces those ugly, blocky artifacts you see on lower-quality uploads.
This one simple step can make a huge difference in how professional your content looks. For anyone serious about quality, it's a must-do.
Matching Your Export Settings to the Platform
While YouTube rewards you for higher resolutions, other platforms play by different rules. Instagram and TikTok are built for mobile, vertical viewing, where smaller file sizes are king. Throwing a massive 4K file at them is usually overkill and can even lead to weird, unpredictable compression.
You need a specific recipe for each platform.
To make things easier, here's a quick reference table with the ideal settings after you AI upscale video content for the most popular platforms.
Optimal Export Settings for Upscaled Video by Platform
| Platform | Recommended Resolution | Frame Rate (FPS) | Recommended Bitrate | Best Format |
|---|---|---|---|---|
| YouTube | 2160p (4K) or 1440p (2K) | 24, 30, or 60 | 35-45 Mbps (for 4K) | MP4 (H.264) |
| 1080x1920 (Vertical) | 30 | 10-15 Mbps | MP4 (H.264) | |
| TikTok | 1080x1920 (Vertical) | 30 or 60 | 10-15 Mbps | MP4 (H.264) |
Following these guidelines ensures you're giving each platform's compression algorithm the best possible file to work with, preserving the stunning quality you worked so hard to achieve.
Of course, once your high-quality, upscaled video is live, you'll want to see how it performs. Tracking your metrics is key. For Instagram, you can use an Instagram Engagement Calculator to get a sense of how your newly sharpened content is connecting with your audience.
By tailoring your exports, you guarantee that the time you spent upscaling actually pays off, delivering a clear, professional video every single time.
Working Through Common Upscaling Problems
While the results from an AI upscale video process can be mind-blowing, it’s rarely a perfect, one-click fix. You're bound to run into a few snags that need a bit of a human touch to get right. Honestly, learning to troubleshoot these common hiccups is what separates a decent result from a truly impressive one.
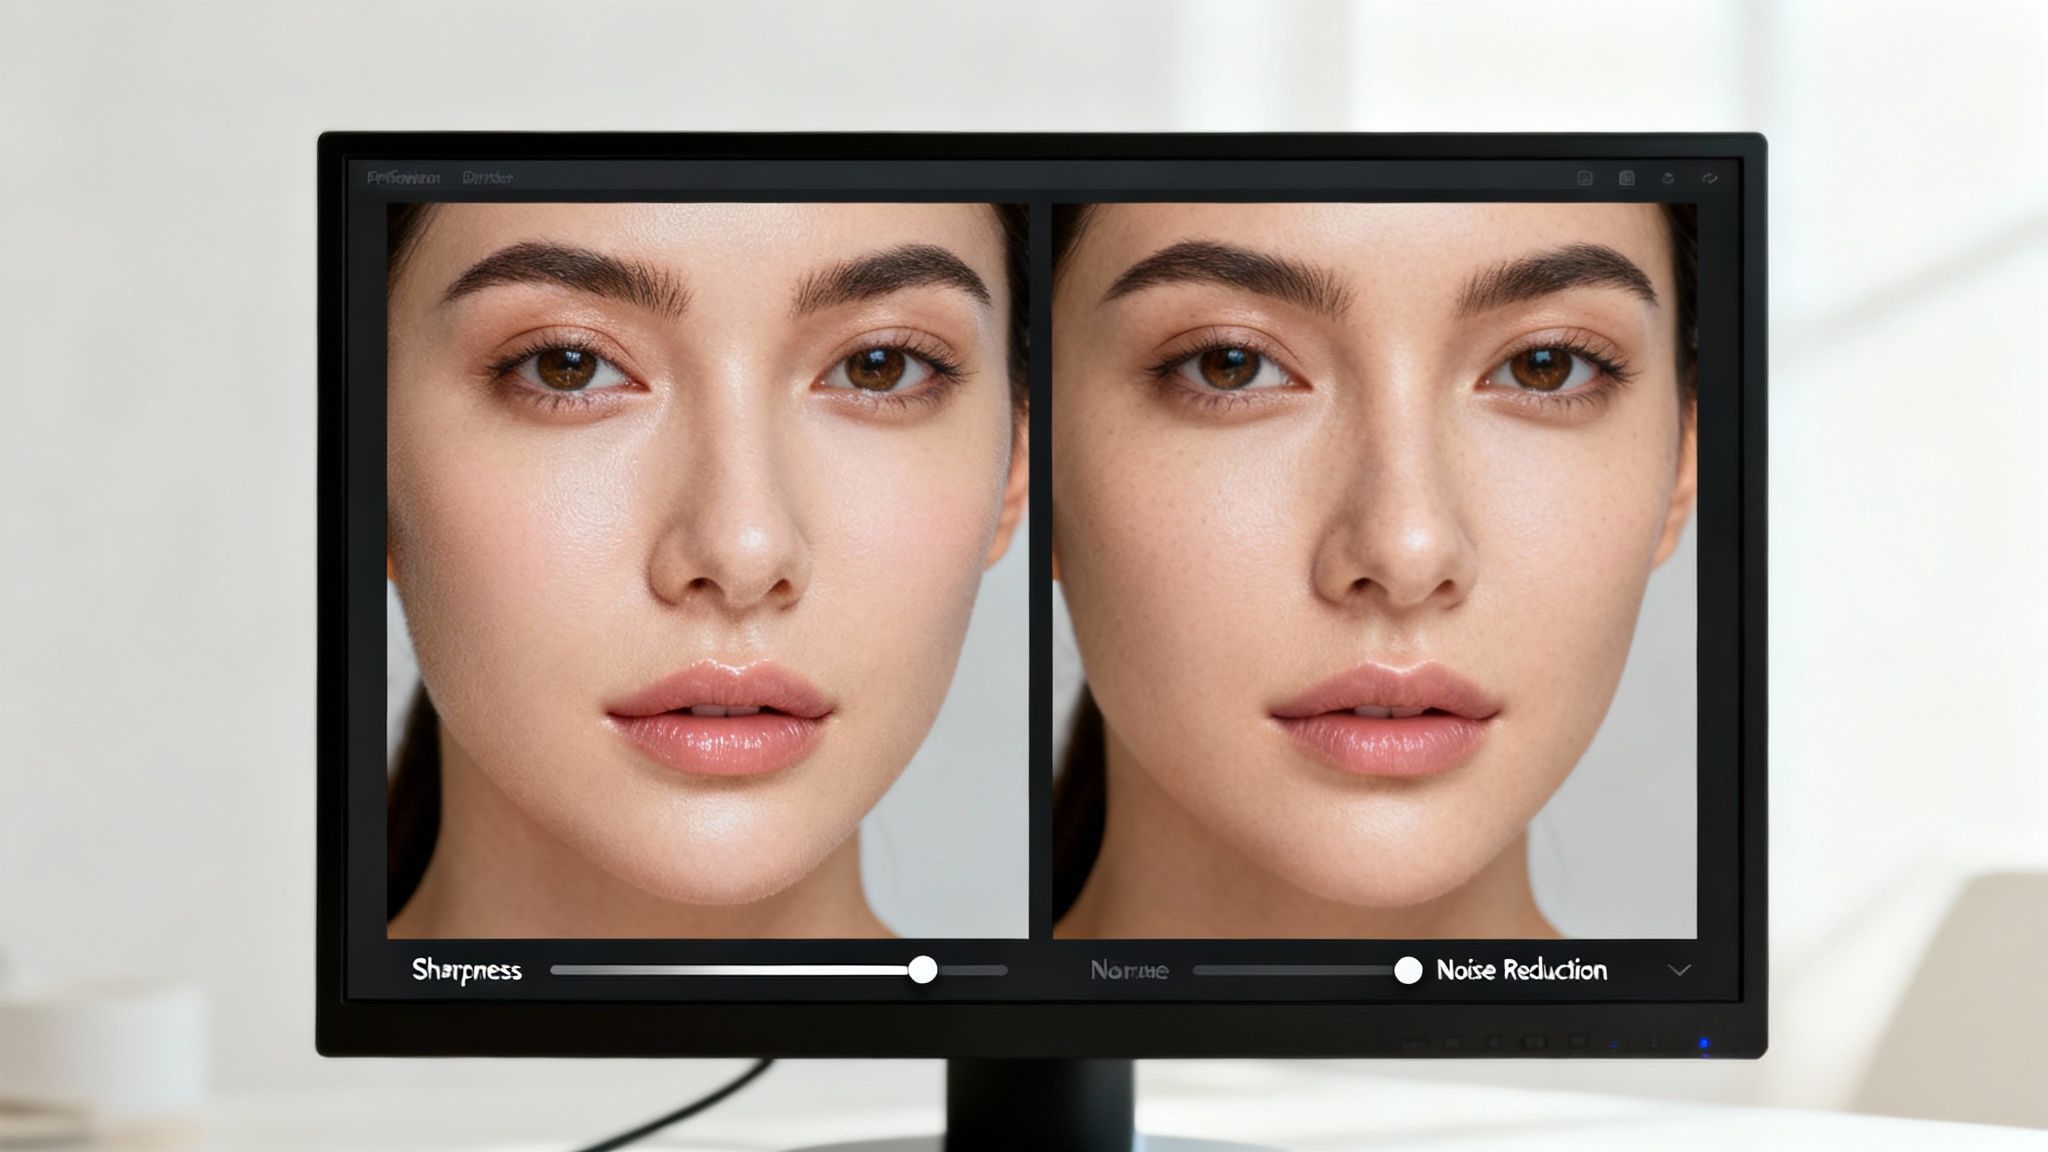
One of the first things you'll probably notice is the dreaded "plastic" or "waxy" look, especially on people's faces. This is a classic sign of the AI's noise reduction getting a little too enthusiastic. It ends up smoothing over fine details like skin texture in its attempt to clean up the image, leaving things looking unnatural.
Then there's the file size problem. It's not uncommon for a short 1080p clip to blow up into a massive multi-gigabyte file once you've pushed it to 4K. This can become a real headache for your storage and make uploading a painfully slow process. It’s just one of the trade-offs we have to manage for that higher visual fidelity.
How to Fix Over-Sharpening and Motion Artifacts
Ever seen a weird, shimmering effect around someone's arm when they move quickly in an upscaled video? That’s usually a motion artifact, and it's often caused by over-sharpening. The AI is trying its best to define edges that are supposed to be naturally blurred with motion, and the result just looks... off.
Here are a few things I do to fix this:
- Ease up on the settings. If your software has sliders for enhancement or sharpening, dial them back. A slightly less aggressive upscale almost always looks more natural and pleasing to the eye.
- Try a 2x upscale instead of 4x. Pushing a really low-quality source straight to 4K is asking for trouble. Sometimes, a clean 2x upscale is a much better and more realistic choice.
- Go back to the source. I can't stress this enough: starting with a less compressed video file gives the AI more information to work with, which means less guesswork and fewer errors.
The real goal isn't just to make a video sharper; it's to make it look believable. I’d rather keep a little bit of the original film grain than end up with a video that looks unnaturally smooth and heavily processed.
Dealing With Giant Files and Export Settings
Gigantic file sizes are just part of the high-resolution video game, but you don't have to let them ruin your workflow. With 70% of social media videos now being watched on 4K or better screens, upscaling is becoming essential. The good news is some AI tools can actually help shrink file sizes by 40-60% after the upscale, which is a lifesaver for platforms like Instagram. You can learn more about how these AI tools enhance video quality without creating monstrous files.
At the end of the day, troubleshooting is all about finding that sweet spot between quality and performance. A painstaking 4x upscale might be perfect for a short, cinematic brand video, but it’s probably overkill for a 20-minute talking-head segment. Once you get a feel for these common issues, you can start making smarter decisions and really fine-tune your AI upscale video process to get pro-level results every time. For a deeper dive into market trends, check out the research on AI video upscaling software trends.
Your Questions About AI Video Upscaling, Answered
Let's dig into some of the most common questions people ask about using AI to upscale their video. Think of this as the "what you really want to know" section, based on all the queries we see from creators just starting out. Getting these cleared up will help you know what to expect and get the results you're after.
We'll keep it straightforward and practical so you can get back to what matters—making great content.
Can AI Genuinely Create Detail That Was Never There?
This is a great question because it hits on the "magic" of how this all works. AI doesn't just invent new details out of thin air. Instead, it intelligently rebuilds them based on the millions of images and videos it was trained on.
Think of it like an expert art restorer who's seen countless paintings. The AI recognizes common patterns—the texture of a brick wall, the way light hits a face, the look of grass—and makes incredibly educated guesses about what the missing pixels should look like. The result is a far more convincing and detailed image than you'd get from simply stretching out the original video.
How Much Does It Cost to AI Upscale Video?
The pricing for AI upscaling tools is all over the map. You'll find expensive, dedicated software with a big one-time price tag, but you'll also see more modern platforms that use a credit or token-based system.
For most creators, the token model just makes more sense. Here’s why:
- It’s flexible. The same credits you use for upscaling can often be used for other AI tools, like transcription, AI voiceovers, or even generating new video clips.
- It’s cost-effective. You only pay for what you actually use. This is perfect if your project needs vary from month to month.
This way, you aren't stuck with a single-purpose tool. You get a whole creative suite for your investment.
What Is the Ideal Video Format for Upscaling?
The quality of your starting file is, without a doubt, the most important factor here. The old saying "garbage in, garbage out" has never been more accurate. To get a clean result, you have to start with a video format that has as little compression as possible.
High-quality formats like ProRes or a high-bitrate MP4 are fantastic choices. On the flip side, a video you downloaded from Instagram or got sent over WhatsApp is a terrible starting point. These files are heavily compressed, giving the AI very little original data to work with, which almost always leads to a muddy, disappointing result.
Always, always try to track down the original camera file. That uncompressed source footage is the secret ingredient to getting the best possible quality from any ai upscale video process.
Does Upscaling a 1080p Video to 4K Really Help?
Yes, it absolutely does, and for two key reasons. First, a good AI upscaler will produce a genuinely sharper and more detailed image than what your standard editing software can do with a simple scale-up. The difference is often night and day.
Second, uploading a 4K file to platforms like YouTube gives you a hidden advantage. It tells YouTube to use its better, more efficient VP9 codec to process your video. This codec does a much better job of preserving detail, meaning your video will look cleaner for everyone—even for people watching on a 1080p screen. It's a simple trick that helps fight back against YouTube's compression artifacts.
The industry is leaning heavily in this direction. By 2028, it's predicted that 90% of professional video workflows will use AI upscaling in some form. This shift shows just how important it is to have tools that can deliver top-tier results. You can read more about these market dynamics at ArchiveMarketResearch.com.
Ready to turn those low-resolution clips into crisp, stunning 4K footage? With Aicut, a powerful AI video upscaler is built right into your workflow. Stop letting grainy footage hold you back and start creating the professional-quality content your audience deserves.