So you've got a great photo, but you want to give it that extra spark to make it stand out online. You're in the right place. There are a few solid ways to animate a picture, and they range from super-fast AI tricks to more hands-on, creative approaches. You can use AI-driven tools for speed, dive into classic software like Photoshop for total control, or just use a handy mobile app for edits on the fly.
Each path offers a different mix of speed, creative freedom, and ease of use. This means literally anyone can learn how to bring a static image to life.
Bringing Your Photos to Life with Animation
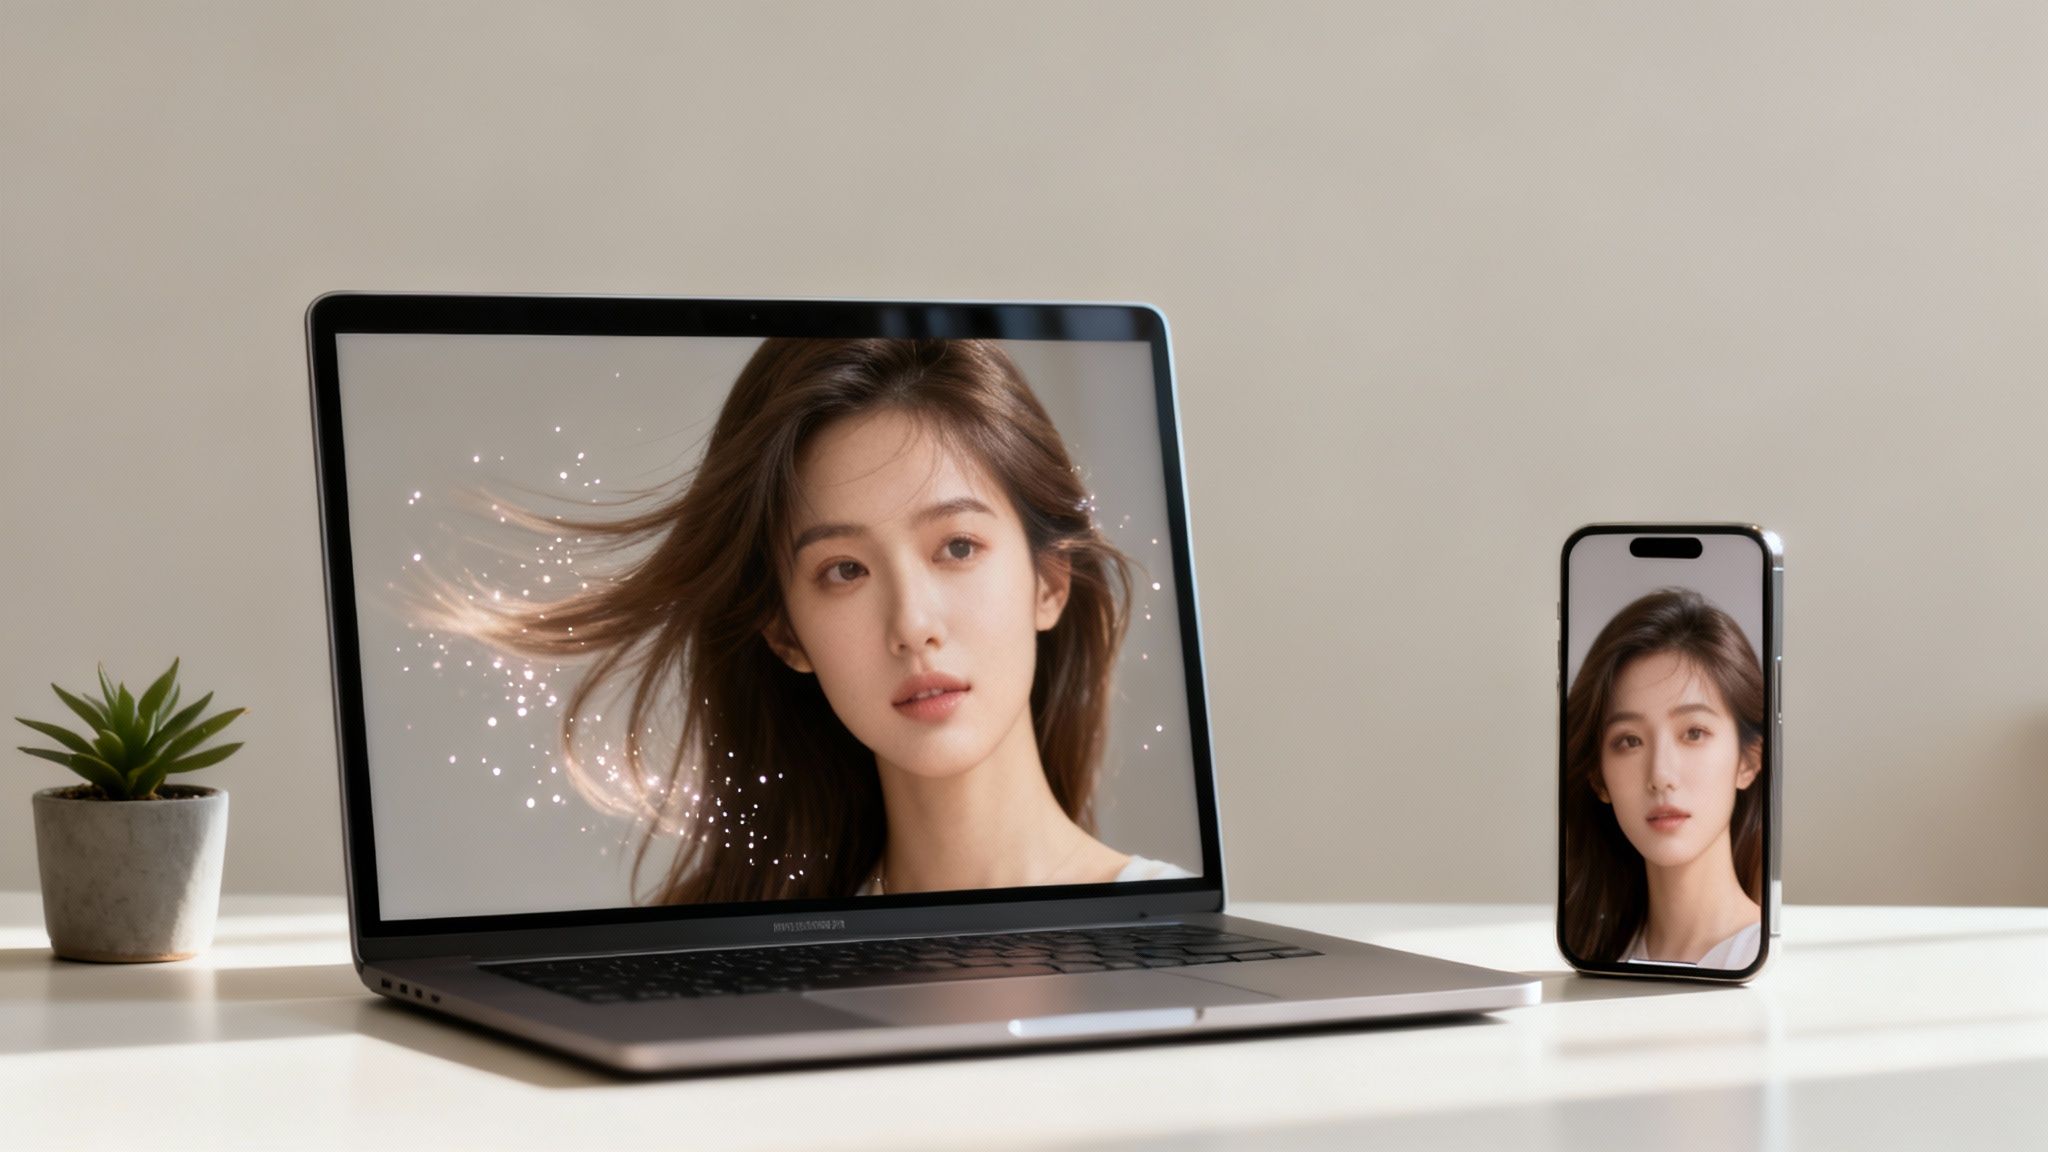
Ever scroll through your feed and see a photo that seems to move? That’s photo animation, and it’s a killer way to make your content pop. We’re going to walk through three different ways to do it.
For results in minutes, AI tools like Aicut are the go-to. If you’re a creative who loves getting into the details, you can’t beat the classics like Adobe Photoshop and After Effects. And for those times you need to create something cool while you’re out and about, there are some surprisingly powerful mobile apps.
This guide is for anyone—creators, marketers, or just someone curious—who wants to make slick, engaging videos for platforms like TikTok and YouTube without needing a full-blown video shoot.
Why Bother Animating Pictures?
Let’s be honest, animating a picture isn't just a neat party trick. It's a smart move for anyone making content today. Video almost always gets more eyeballs and clicks than a static image, and this is your shortcut to creating more video.
Here’s what it can do for you:
- Stop the Scroll: In a crowded feed, motion is what makes people pause. An animated image is an instant attention-grabber.
- Get More from Your Content: Don't let your best photos die in your camera roll. Turn them into looping videos, eye-catching stories, or dynamic ads.
- Tell a Deeper Story: You can add a whole new layer of emotion or context. Think of a portrait that suddenly blinks or a landscape where the clouds start to drift by.
This isn't just a trend; it’s a massive market. The global animation industry, which includes all these clever photo-to-video techniques, was valued at USD 462.32 billion in 2025 and is expected to hit a staggering USD 953.31 billion by 2035. That growth is fueled by people just like you, turning simple pictures into content that gets noticed.
The most effective content creators understand that attention is the new currency. Animating a static picture is one of the fastest ways to mint that currency, turning a forgotten photo into an asset that works for you.
How to Choose Your Animation Method
Before you jump in, it’s worth thinking about what you actually want to achieve. The right tool depends entirely on your skill level, how much time you have, and the final look you're going for.
To help you decide, here’s a quick breakdown of the three main approaches.
Photo Animation Methods at a Glance
This table gives you a high-level look at each method, so you can quickly see which one fits your project best.
| Method | Best For | Speed | Common Use Case |
|---|---|---|---|
| AI Tools (Aicut) | Beginners & creators needing speed | Minutes | Talking avatars, POV selfies |
| Classic Software | Professionals wanting full control | Hours | 2.5D parallax effects, keyframing |
| Mobile Apps | On-the-go creators & quick edits | Minutes | Cinemagraphs, animated overlays |
Seeing it laid out like this makes it easier to pick a starting point. If you want a deeper look at the AI route, check out our guide on how to transform photos into AI videos.
Now, let's get into the step-by-step for each of these methods.
Animate a Picture in Minutes with AI
What if you could create a slick, professional animation in less time than it takes to brew a pot of coffee? That's not a far-fetched idea anymore—it's what AI animation tools deliver. Platforms like Aicut have completely changed the game, letting you turn a static photo into a dynamic video with just a few clicks.
You don't need to be a tech wizard or spend weeks learning complex software. The whole process is incredibly simple: upload an image, pick a style you like, and let the AI handle the rest. This approach is a lifesaver for creators who need to pump out content quickly for platforms like TikTok or Instagram.
Getting Started with an AI Animator
First things first, you need the right image. For the best results, start with a photo that's clear, high-resolution, and has a well-defined subject. A crisp portrait or a landscape with distinct foreground and background elements gives the AI a lot more to work with and produces a much cleaner animation.
Once you have your picture ready, the workflow is a breeze.
- Upload your image: Just drag and drop your photo right into the tool.
- Pick an animation template: Most AI tools, including Aicut, offer a whole library of pre-built styles. You could choose a "talking head" template for a voiceover video or a subtle "zoom and pan" to showcase a product.
- Guide the AI with a prompt: This is where you get to add your own creative flair. A simple text prompt can direct the AI to create the exact motion you have in mind.
This kind of accessibility is a huge reason why the animation industry is exploding. It's projected to nearly double from USD 462 billion in 2025 to USD 895.71 billion by 2034, and a big part of that growth comes from easy-to-use photo animation tools. From creators animating selfies for user-generated ads to educators building immersive e-learning content, this technology is opening up new doors everywhere. You can read more about this animation market growth on globenewswire.com.
Practical Prompts and Real-World Examples
The real magic is in the prompts. Instead of just clicking a button, you can give the AI specific directions to bring your creative vision to life.
Here’s a look at the Aicut interface, which shows just how straightforward it is to get a project going.
The clean layout makes it easy to select a template and generate your video without getting bogged down in complicated settings.
For anyone looking to create viral content on a deadline, specialized tools like an AI meme generator can also get the job done fast.
Here are a few prompt examples to get your ideas flowing:
- For a character: "Make the person in the photo look toward the camera and smile gently."
- For a landscape: "Add a gentle falling snow effect to this winter scene and slowly pan right."
- For a product: "Create a smooth, slow zoom-in on the watch in the center of the image."
The key is to treat the AI like a creative assistant. Give it clear, direct instructions, and you’ll be amazed at what it can produce. This is how you can consistently create engaging content without burning out.
With simple commands like these, you can do everything from creating talking avatars for a faceless YouTube channel to generating cool POV-style clips from a single photo. If you want to dive deeper, check out our guide on the best AI picture animator tools and techniques out there. This method really makes animation something anyone can do.
Mastering Manual Photo Animation Techniques
While AI tools are fantastic for quick results, sometimes you need to get your hands dirty for that extra layer of polish and control. When you want to dictate every single movement and create something truly unique, learning to animate a picture manually in programs like Adobe Photoshop and After Effects is a game-changer.
This is the classic approach for creating the stunning 2.5D parallax effect, which gives a static photo an incredible sense of depth and motion. It's a two-part dance: first, you prep the image in Photoshop, and then you bring it to life in After Effects. Don't worry, it's more about patience than complexity.
The Foundation: Layering in Photoshop
The secret to a believable parallax effect is breaking your image apart. You need to think of your photo not as a single flat thing, but as a stage with a foreground, a middle ground, and a background.
Imagine a photo of a friend standing in front of a mountain range. To make this work, you have to carefully cut your friend out from the background. Once they’re isolated on their own layer, the magic of Photoshop's Content-Aware Fill comes in. You'll use it to intelligently paint in the part of the mountain that was hidden behind them, creating a complete, clean backplate.
Essentially, you're building a set of independent pieces:
- Foreground elements: Maybe a stray branch or a rock at the very front.
- The Subject: Your friend.
- The Midground: The valley or foothills between your friend and the mountains.
- The Background: The mountains and sky.
The more layers you can convincingly separate, the more depth and dimension you'll be able to create later on.
Bringing it to Life in After Effects
Once you have your layered Photoshop file, it’s time to head over to After Effects. This is where you become the director. The main tool here is keyframes—markers on your timeline that tell an object where to be and when.
By setting keyframes for each layer's position, scale, or rotation, you can make them move independently over time.
For that mountain photo, you could set keyframes to make the clouds slowly drift across the sky. At the same time, you might subtly scale up the foreground elements while scaling down the background, creating the illusion of a camera pushing into the scene. It’s this slight difference in movement between layers that sells the 3D effect.
For those who want a simpler path, AI-driven tools distill this process down to its core.
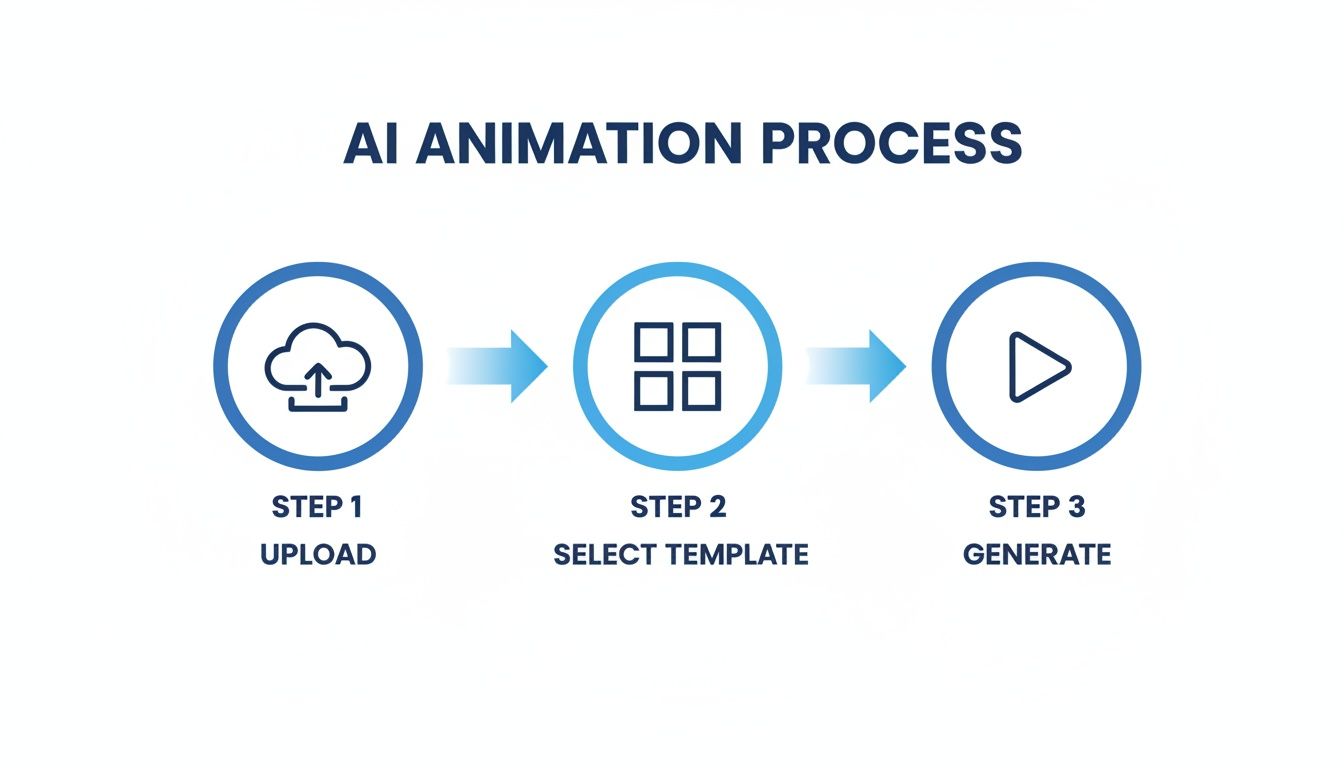
As you can see, the AI approach is really just about uploading your image, picking a style, and letting the software handle the rest.
Manually animating a picture gives you ultimate control over the story. You decide the speed of the clouds, the subtlety of the zoom, and the exact mood of the scene. It’s more time-consuming, but the result is a custom piece of art that is uniquely yours.
Getting comfortable with layering and keyframing is a fundamental skill in motion graphics. Once you nail it, you can animate almost anything and unlock creative options that go far beyond what any template can offer.
Creating Animations with Mobile Apps
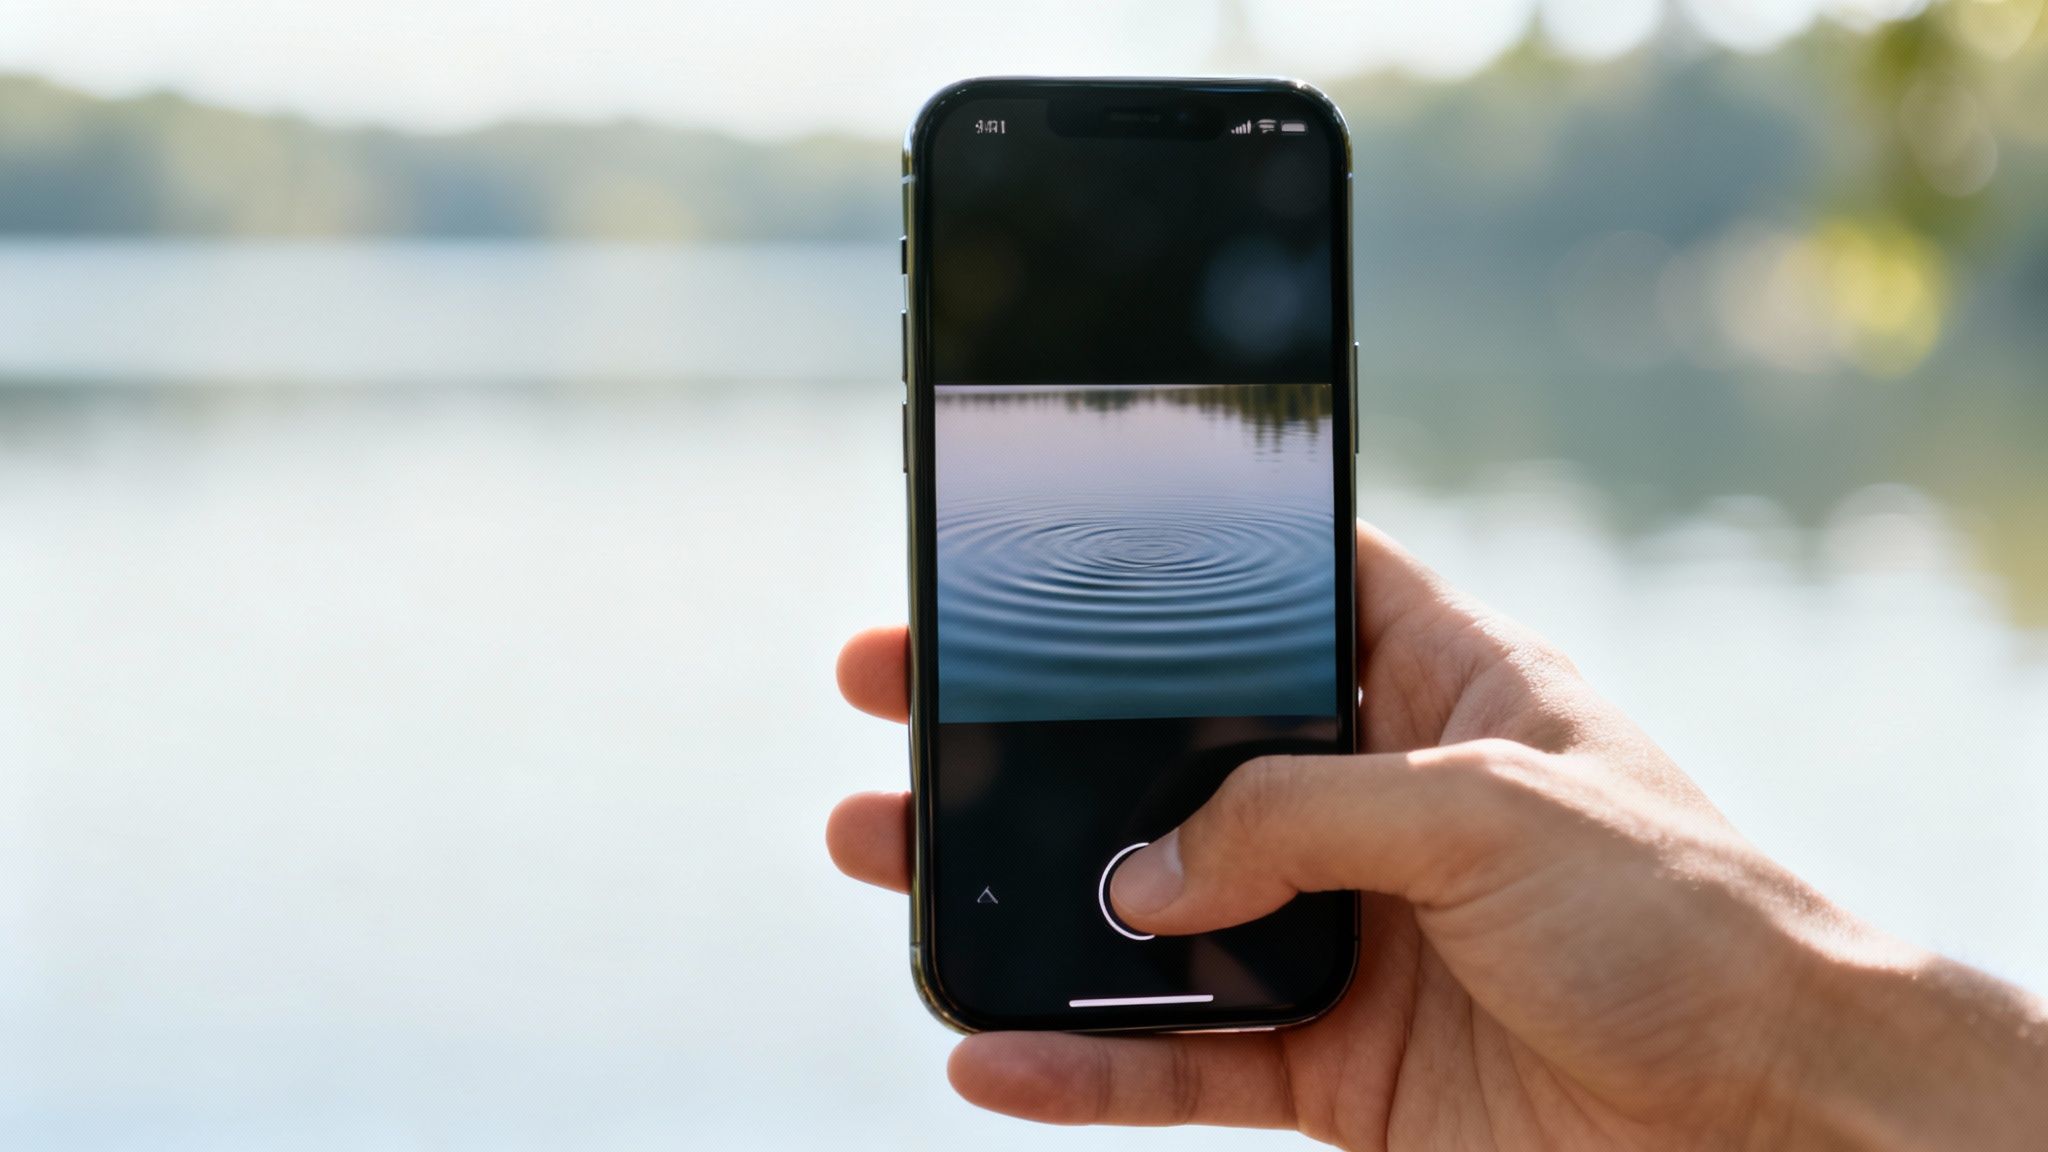
You don't need a beast of a computer to make your photos move. The phone in your pocket is a surprisingly powerful animation tool, especially for creating quick, engaging content for Instagram Stories, TikTok, or Reels while you're out and about.
Mobile apps have completely democratized photo animation. What used to be a complex, multi-step process is now something you can knock out in just a few minutes. Most of these apps are built specifically for social media, so they come packed with intuitive tools and trendy effects that are ready to share.
Create a Living Photo with Cinemagraphs
One of the coolest effects you can pull off on your phone is the cinemagraph. Think of it as a hybrid—part photo, part video. The magic is that only a small, specific part of the image moves in a seamless loop while everything else stays perfectly still. It’s an incredibly compelling trick that makes people stop scrolling.
Picture this: you have a great shot of a friend sitting by a lake. With an app like Motionleap (you might remember it as Pixaloop), you can make just the water gently ripple. It’s surprisingly simple.
- First, you mask the still areas. You just use a brush tool to "paint" over everything you want to keep frozen—in this case, your friend and the shoreline.
- Next, you define the motion. You’ll draw a few arrows directly on the water to tell the app which way you want it to flow.
- Finally, you set the speed. A simple slider lets you control how fast or slow the ripples move.
What you're left with is a mesmerizing "living photo" that adds a subtle touch of magic. It’s a fantastic technique for breathing life into landscape shots or travel photos.
Adding Dynamic Overlays for Mood
Another go-to mobile technique is layering on animated overlays. These are ready-made effects like falling rain, cinematic light leaks, or floating dust particles that you can place right on top of your photo. It's a ridiculously fast way to set a specific mood without much heavy lifting.
Let's say you have a cozy indoor photo. Using an app like CapCut or Prequel, you could add a gentle rain effect to the window in the background. The app does all the hard work; you just position the overlay and tweak its intensity until it looks right.
The real power of mobile animation apps is their speed and accessibility. You can come up with an idea, create it, and post a high-quality animated clip from practically anywhere. This turns your downtime into productive content creation time, which is how you stay ahead in today's fast-moving social media game.
Optimizing Your Animations for Social Media
Knowing how to animate a picture is only half the battle; getting people to actually see it is the other. Once you've brought your image to life, the final step is to package it perfectly for the platforms where it will live. This isn't just about hitting "export"—it's about thinking strategically to get the most eyeballs on your work.
Every social media platform has its own quirks and technical specs. An animation that looks fantastic on YouTube might end up blurry or awkwardly cropped on TikTok. The trick is to export your animation with the right settings from the get-go, saving yourself a ton of headaches later.
Platform-Specific Export Settings
Think of your export settings as the final polish on your masterpiece. Nailing these ensures your animation looks professional, loads fast, and fits seamlessly into each platform’s feed. A badly optimized video can completely undermine an otherwise brilliant piece of work.
Here are my go-to settings for the big three:
- For TikTok & Instagram Reels: Go with a 9:16 vertical aspect ratio (1080x1920 pixels). Always. Stick with the MP4 format using an H.264 codec and a frame rate of 30 FPS for that buttery-smooth playback.
- For YouTube (Shorts & Standard): For Shorts, you'll use the same 9:16 vertical setup. For classic widescreen videos, a 16:9 aspect ratio (1920x1080 pixels or even 4K) is the standard. YouTube can handle much higher bitrates, so don't be shy about exporting at a higher quality to make your work shine.
And when you're posting on a platform like YouTube, don't forget the basics. Applying some solid YouTube SEO optimization tips can make a huge difference in who finds your video.
The first three seconds are everything on TikTok and Reels. Your animation needs an immediate hook—a sudden movement, a punchy text overlay, or a killer sound—to stop the scroll dead in its tracks.
Crafting a Viral-Ready Vertical Video
Creating for vertical feeds is a completely different ballgame. You’ve got less screen real estate to work with, and your viewer has an itchy thumb, ready to swipe away at the slightest hint of boredom. You have to grab their attention instantly.
One powerful technique is creating a seamless loop. This works wonders for things like faceless commentary or storytelling channels because it keeps the motion going without a jarring cut, often tricking people into watching a few times over. It can be as simple as having a background element complete a perfect cycle or a character’s subtle animation resetting flawlessly.
The appetite for this kind of short, engaging animated content is absolutely massive. In fact, the global animation market is projected to hit USD 400 billion by the end of 2025. This explosion is fueled by photo animation techniques, especially with AI tools like Aicut that let anyone spin up content from a single image in minutes.
Of course, a great animation is only part of the puzzle. You also need to post it when people are actually online. Learning the best times to post on TikTok can give your new creation the launchpad it deserves.
Got Questions About Animating Pictures? Let's Clear Things Up.
Jumping into photo animation for the first time? You've probably got a few questions. That's totally normal. Getting straight answers is the fastest way to get past any hurdles and start making cool stuff. So, let’s tackle some of the most common things people ask when they’re learning how to bring their pictures to life.
It might seem complicated from the outside, but once you get a handle on the basic ideas and the tools out there, it all starts to click. Whether you just want to create a quick, eye-catching social media post or something more polished, knowing your options is the first step.
What’s the Absolute Easiest Way for a Beginner to Animate a Picture?
Hands down, the simplest way to get started is with an AI-powered tool. Seriously, don't overthink it. Platforms like Aicut were built for this very purpose—to get you from a static image to an animated video without the headaches.
Forget about keyframes, layers, and all that technical jargon. With an AI animator, you just upload your photo, pick a style from a library of templates—like making a portrait talk or adding some subtle background motion—and the AI does all the heavy lifting. It's perfect for when you need to pump out content fast for places like TikTok or YouTube Shorts.
The biggest difference between a beginner and a pro often comes down to their tools. AI animators really level the playing field, giving newcomers the power to get pro-level results without a massive learning curve.
Can I Really Make a Picture Talk?
Yes, you absolutely can! Making a still photo "talk" is one of the most popular tricks in the book right now. You see it everywhere: faceless YouTube channels, history explainers using old portraits, and funny social media clips that are impossible to scroll past.
AI video tools are the masters of this. The whole process is incredibly simple:
- First, upload a portrait. A clear, front-facing shot is your best bet here.
- Next, give it a voice. You can upload an audio file you've already recorded or just type out your script and let a text-to-speech voice handle the narration.
- Then, generate the video. The AI listens to the audio and syncs the mouth movements, eye blinks, and head nods to match the words. The result is a surprisingly lifelike talking character.
This approach will save you hours—or even days—compared to trying to manually lip-sync an animation frame by frame in traditional software.
How Do I Pick the Right Photo to Animate?
This is a great question because your starting image makes a huge difference. The quality of your animation is directly tied to the quality of the photo you choose.
If you want to make a character talk or show emotion, go for a high-resolution, front-facing portrait. Make sure the face is well-lit, sharp, and not covered by things like deep shadows or hair over the mouth.
Planning on animating a landscape with that cool 3D parallax effect? You'll want a photo with clear, distinct layers. An image with an obvious foreground (like a tree or a rock), a middle ground, and a background (like mountains or a skyline) will give you a much more dramatic and believable sense of depth. Steer clear of blurry or flat, low-contrast photos—they're tough for any tool, AI or manual, to work with.
Ready to stop wondering and start creating? Aicut provides all the tools you need to animate a picture in minutes, from talking avatars to dynamic product showcases. Try Aicut for free and bring your images to life today!