If you've ever found yourself endlessly scrolling through those mesmerizing AI evolution videos, you know how addictive they can be. The magic is in the transformation—watching something morph from a simple concept into a fully realized, photorealistic scene. Getting that effect isn't just about pushing a button; it's a creative process that blends a good idea with the right tools.
The whole thing hinges on a straightforward workflow: you dream up a story, generate the visual building blocks, and then stitch it all together with an AI video tool like Aicut.pro to animate the sequence and edit it together. Add the right music, and you've got something with serious viral potential.
Your Blueprint for Viral AI Evolution Videos
AI evolution videos are all over TikTok, YouTube, and Reels right now, and for good reason. They play on our natural curiosity about how things change over time. It’s captivating to watch a fantasy warrior age from a young squire to a grizzled king, or see a car evolve from a 1920s classic into a sleek, futuristic machine.
This guide is your roadmap. We’ll break down the entire process from start to finish, giving you a high-level strategy before we get into the nitty-gritty of making your own.

The real power of these videos is their ability to show a slow, almost impossible change in a quick, easy-to-watch format. That seamless journey is what hooks the viewer.
Understanding the Core Workflow
When you boil it down, the creative process has three main phases. Once you get the hang of this structure, you'll be on your way to making content that truly stands out.
- Phase 1: Concept & Storyboarding: This is your planning stage. Don't just chase what looks cool; focus on the story. A simple idea, like a single tree changing through the four seasons, often works best because the narrative is instantly clear.
- Phase 2: Asset Generation & Animation: Next, you'll create your starting image and then use AI to generate all the frames that show the evolution. This is where specialized tools really shine and do the heavy lifting for you.
- Phase 3: Polishing & Publishing: The final touches are everything. You'll edit your clip, add sound, and tweak the pacing for whatever platform you're posting on. Never underestimate the power of a great soundtrack to make or break your video.
If you're new to this space, it’s worth checking out a general guide to AI-powered content creation to get comfortable with the core concepts before diving in.
The secret to a great evolution video isn't just the AI technology; it's the strength of the underlying idea. A simple, well-told story will always outperform a complex one that lacks a clear narrative arc.
This structured approach makes sure you’re not just mashing random images together, but actually building a cohesive and compelling story. The use of AI in video creation is exploding for a reason. Just a few years ago, only 18% of companies were using AI for video, but that number has since shot up to 41%. Why? Because these tools can cut production time and costs by up to 80% compared to old-school methods.
To give you a clearer picture, here’s a quick summary of the workflow from start to finish.
AI Evolution Video Workflow at a Glance
This table breaks down each stage of the process, showing you what you need to do and what tools can help you get there. Think of it as your cheat sheet.
| Stage | Objective | Key Tools & Techniques |
|---|---|---|
| 1. Concept & Storyboard | Define the narrative arc and key visual milestones for your evolution. | Brainstorming, mind mapping, simple sketching, text-based story outlines. |
| 2. Asset Generation | Create the initial high-quality image and subsequent frames for the animation. | Midjourney, Stable Diffusion, Aicut templates, text-to-image AI generators. |
| 3. Animation & Sequencing | Animate the transition between frames to create a smooth, continuous evolution. | Continuous AI video tools (e.g., Aicut.pro), keyframing, morphing effects. |
| 4. Post-Production | Edit the final video, add audio, adjust pacing, and enhance visual quality. | Video editing software, audio libraries, AI upscaling tools, color grading. |
| 5. Publishing & Optimize | Export the video in the correct format and share it with platform-specific settings. | TikTok, YouTube Shorts, Instagram Reels, optimizing captions and hashtags. |
Having this workflow in mind helps keep your project on track and ensures you don't miss a crucial step.
Ready to see how it all comes together? This blueprint is your key to not just making cool-looking clips, but to crafting videos with real viral potential.
Crafting Your Story and Mastering Prompts
A great AI evolution video doesn't start with software—it starts with a story. The videos that really hook people aren't just a series of random changes; they have a clear narrative, even a simple one.
Forget about generic ideas like "a person aging." Think about concepts that have a natural story arc and make people curious to see what happens next.
- From Blueprint to Starship: Imagine starting with a flat, 2D technical drawing of a spaceship. Frame by frame, it gains dimension, then armor plating, its engines begin to glow, and finally, it's launching through a stunning nebula.
- The Enchanted Forest: You could start with a single, barren tree in a misty field. As the video progresses, it sprouts glowing leaves, magical creatures appear at its base, and the entire scene transforms into a vibrant, enchanted forest.
- A Hero's Gear: Or, zoom in on a simple leather bracer on a table. It slowly evolves, adding intricate carvings, then steel plates, and finally crackling with elemental energy. You're not just changing an object; you're telling the story of its owner's journey.
Each of these ideas has a clear beginning, middle, and end, which is exactly what you need to keep your audience watching. The goal is to create a journey that feels both impossible and completely believable at the same time.
The Power of the Master Prompt
Once you've got your story locked in, you need to translate it into a language the AI can actually understand. This is where prompt engineering becomes your most important skill. Instead of writing a brand-new prompt for every single frame, you'll create one "master prompt" to act as the foundation for the entire video.
A solid master prompt locks in the core elements that shouldn't change: the main subject, the setting, the camera angle, and the overall artistic style. This consistency is the secret to getting a smooth, professional-looking evolution. Think of it as the DNA of your video—you'll only tweak small parts of it to guide the transformation.
Here's a pro tip: To get that seamless, morphing effect, you need to keep about 80% of your prompt's structure the same from one frame to the next. If you change too much at once, the AI will just spit out a totally new image, and the illusion of evolution is broken.
For that starship idea, a master prompt might look something like this:cinematic shot of a Valerian-class starship, centered in frame, dark cosmic background, nebulae, detailed sci-fi, photorealistic, 8k, Unreal Engine
From here, you'll only make tiny changes to specific words to create the evolution. To get a better handle on the basics, you should check out our complete text prompt guide for some more advanced techniques.
Building Your Prompt Formula
To pull off a believable transformation, you have to be methodical with your prompts. It’s way more effective to modify just one or two key phrases at a time than to rewrite the whole thing for each step.
Let's break down a "before-and-after" example for a wizard's evolution.
Initial Prompt:Portrait of a young wizard apprentice, holding a simple wooden staff, nervous expression, dimly lit library background, fantasy art, detailed face, cinematic lighting.
See how specific that is? It nails down the character, his gear, his emotion, and the setting.
Final Prompt:Portrait of an old archmage, wielding a cosmic crystal staff, confident expression, throne room in a celestial observatory background, fantasy art, detailed face, cinematic lighting.
The core of the prompt—Portrait of a..., fantasy art, detailed face, cinematic lighting—never changed. The magic happens in the variables you swap out along the way:
- Subject:
young wizard apprentice->archmage->old archmage - Object:
simple wooden staff->ornate runic staff->cosmic crystal staff - Emotion:
nervous expression->focused expression->confident expression - Setting:
dimly lit library->grand magic hall->throne room in a celestial observatory
This step-by-step approach is the key to learning how to make AI evolution videos that flow perfectly. This isn't just a niche skill anymore, either. By 2025, it's predicted that 30% of all marketing messages will be created by AI, showing just how central these tools are becoming. AI is already writing scripts, editing clips, and generating entire scenes, making content creation easier for everyone. You can learn more about this shift by exploring the latest research on digital media habits.
Generating Your Animated Evolution Sequence
Alright, you've done the hard prep work. Your story is mapped out, and your prompts are dialed in. Now for the fun part: actually creating the animation and watching your idea come to life. This is where we turn a bunch of text commands into a smooth, captivating video. Let's walk through how it's done, focusing on the tools built for exactly this kind of project.
The real magic here comes from using the best AI video generators designed for this type of sequential animation. They’re built to take your prompts and weave them into a single, cohesive video, saving you a ton of manual work.
Getting Started with an AI Video Tool
I find that platforms like Aicut.pro make this whole process pretty straightforward. You'll usually kick things off by uploading your starting image—the "genesis" frame of your story. This might be the simple blueprint of that starship or the first rough sketch of your fantasy hero. Think of it as the visual anchor for everything that follows.
Next, you'll feed the tool your sequence of prompts. Instead of you having to generate dozens of images one by one and then struggle to stitch them together, these platforms handle the entire workflow. You provide the master prompt and its evolving variations, and the AI does the heavy lifting of generating and animating all the frames in between.
This integrated approach is a lifesaver. It helps maintain a level of visual consistency that’s incredibly difficult to pull off when you're jumping between different image and animation tools.
This simple chart breaks down the creative journey perfectly—it all starts with a solid idea and great prompts.
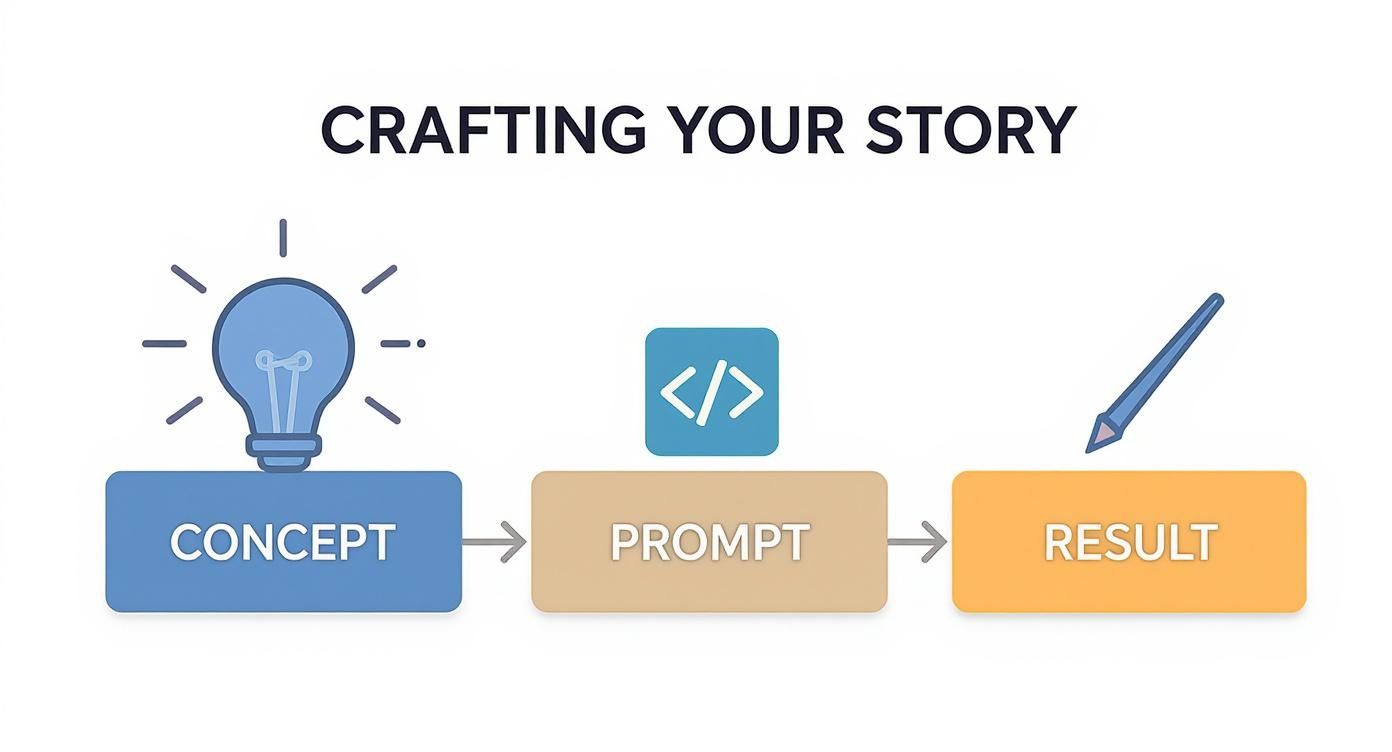
It really underscores how a strong concept is the foundation for a great result.
Fine-Tuning Your Animation Settings
Once your prompts are loaded in, don't just hit "generate" and cross your fingers. You'll see a few settings that give you real control over the final look and feel. Getting familiar with these is what separates an okay video from a great one.
- Evolution Strength: This is probably the most critical setting. It dictates how much the image changes from one keyframe to the next. A low strength gives you a slow, subtle morph, which is perfect for showing someone aging gradually. Crank it up for faster, more dramatic shifts, like a city evolving over centuries.
- Frames Per Second (FPS): This just controls the video's smoothness. For TikTok, Reels, or YouTube, 24 or 30 FPS is the sweet spot. Going higher makes for buttery-smooth motion but will chew through more of your generation credits.
- Seed Number: The seed is basically the starting point for the AI's "creativity." By using the same seed number for your whole sequence, you're telling the AI to maintain consistency in the overall composition and style. This is absolutely crucial for keeping your character's face or your object's core features from warping into something unrecognizable.
A little trick I've picked up: I usually start with a lower evolution strength, somewhere around 0.6 or 0.7. This forces the AI to make smaller, more careful changes between frames, which gives you a much smoother video. You can always speed up the final clip in an editor, but you can't easily fix a sequence full of jarring, unnatural jumps.
Spending a minute or two tweaking these settings gives you a ton of control and ensures the video actually matches the vision in your head.
Creating Dynamic Point-of-View Shifts
Want to pull your audience right into the scene? Try adding some camera movement. Instead of just a static shot, you can make it feel like the viewer is actually moving through the environment.
The cool part is you can do this directly in your prompts. Just add simple camera direction commands.
Examples of POV Prompt Modifiers:
slow zoom indolly shot, moving leftcrane shot, panning downhandheld POV, slight shake
Let’s go back to our starship idea. A prompt could evolve from cinematic shot of a Valerian-class starship to cinematic shot of a Valerian-class starship, slow zoom in as engine thrusters ignite. That one small addition adds a huge sense of scale and motion, making the final video feel so much more immersive.
Ready to see what you can create? You can start making these kinds of animations right now at https://www.aicut.pro/create/ai-video.
Polishing Your Video for Viral Potential
The raw, silent clip your AI tool spits out is just the beginning. The real secret behind AI evolution videos that actually go viral is in the final polish. This is where you transform a cool tech demo into an emotional, shareable story that people can't help but watch again and again.
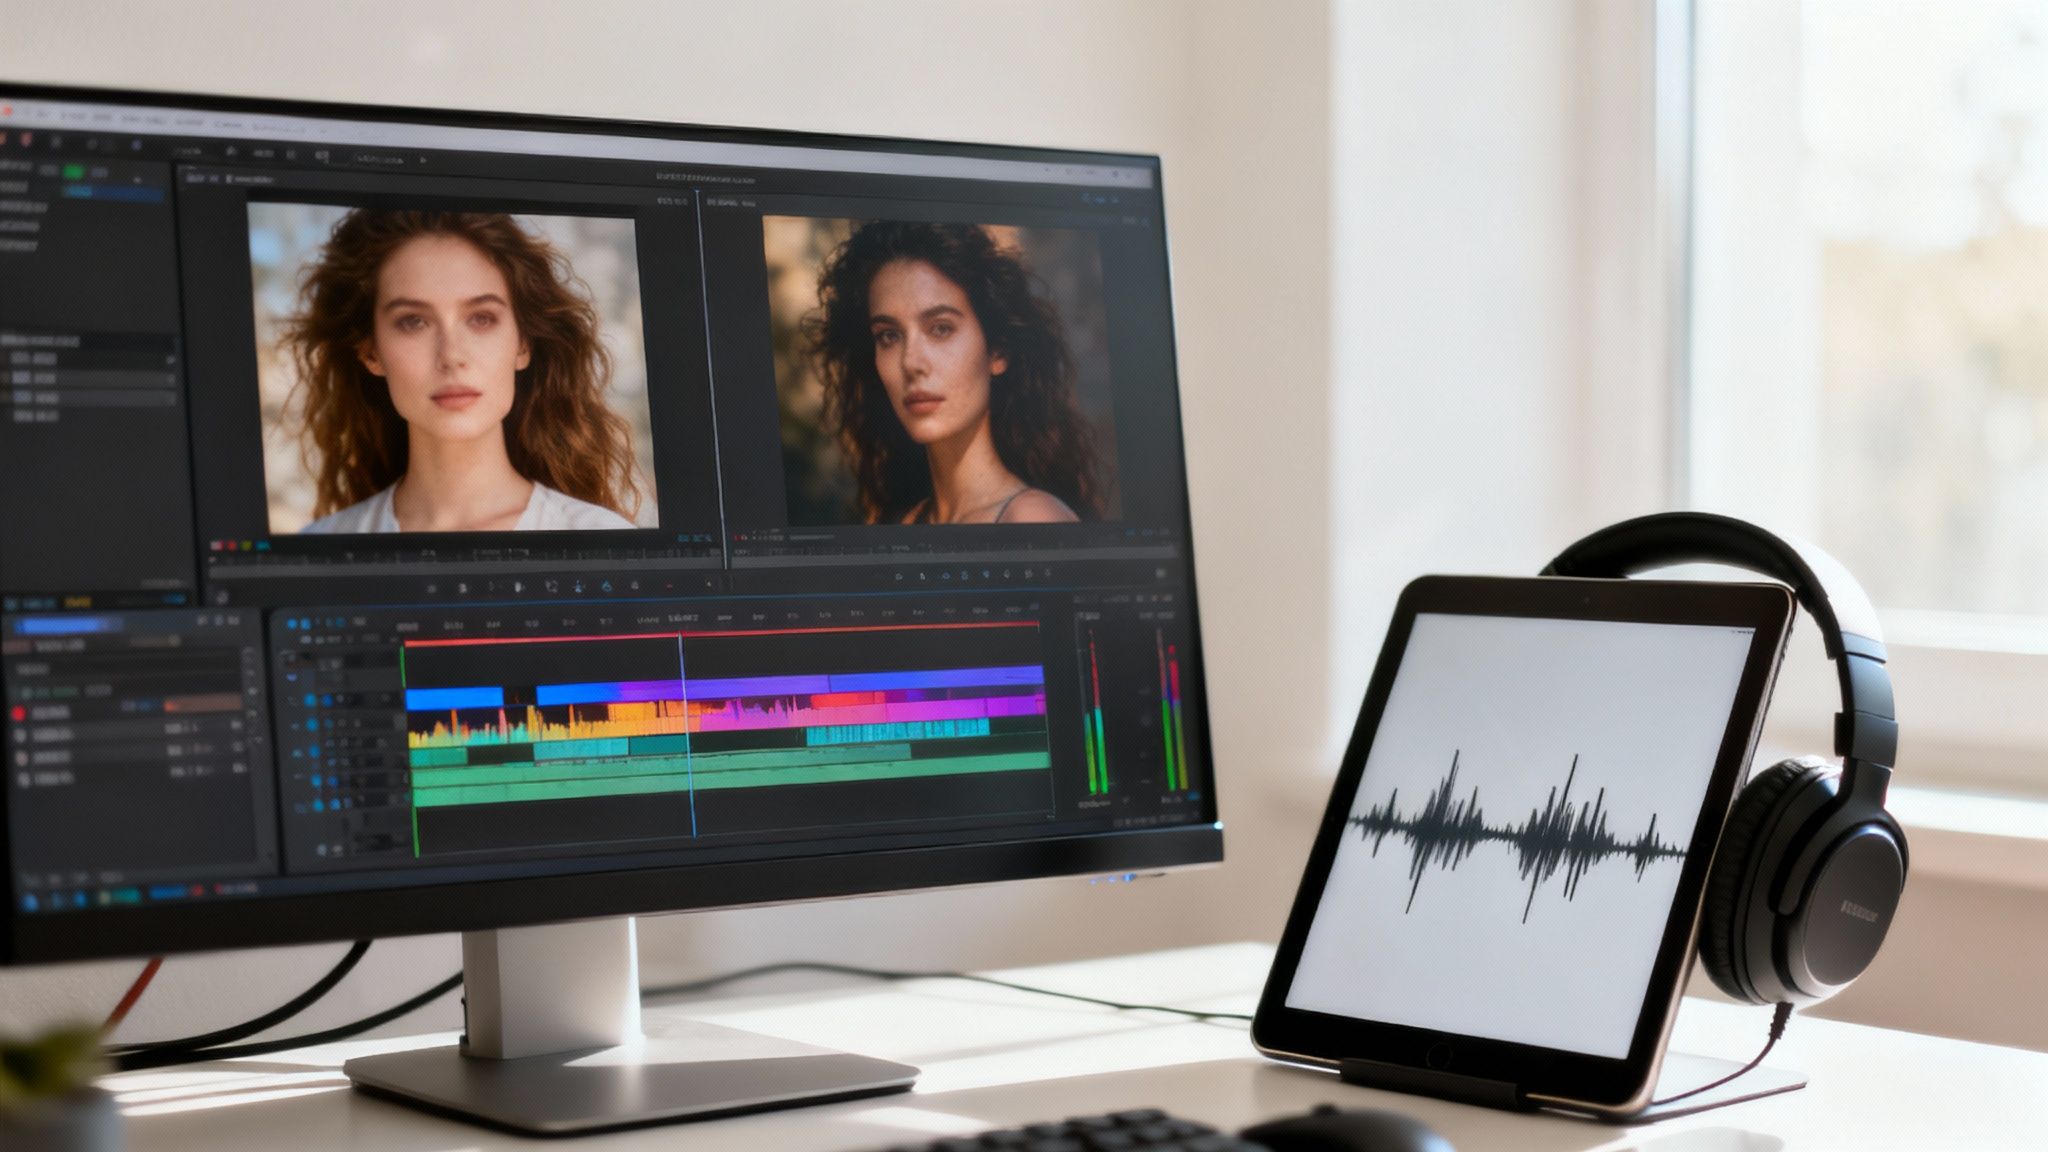
This editing phase is where you give the story its heartbeat. It’s your chance to add sound, nail the pacing, fix the little imperfections, and seriously crank up the "wow" factor before you even think about hitting publish.
Amplify Emotion with Sound
Don't ever underestimate the power of audio. The right music and sound effects can completely dictate the mood of your video. It's the difference between a simple visual progression and a suspenseful journey with a massive payoff.
Imagine you're showing an ancient ruin rebuilding itself. You could start with a quiet, somber ambient track. As the stones begin to reassemble, you can layer in subtle sound effects—the scrape of stone, a gust of wind—and swell the music into an epic, orchestral score for the final reveal. You're basically guiding the viewer's emotions with sound.
The most effective videos I've seen always sync their visual transitions to the beat of the music. A perfectly timed cut or morph that lands right on a drum hit or a musical crescendo just feels incredibly satisfying to watch. It’s what gets people to re-watch.
Master Pacing for Each Platform
How you pace your video completely depends on where you're posting it. What crushes it on YouTube will probably flop on TikTok. You have to edit with the platform's audience in mind.
- TikTok & Instagram Reels: These platforms are all about speed. You want a rapid-fire pace, where each evolutionary stage is on screen for just a fraction of a second. The goal is a hypnotic, quick-cut sequence that makes people watch it a few times just to catch all the details.
- YouTube (Shorts & Long-form): While YouTube Shorts also love speed, a longer YouTube video gives you room to breathe. You can build a more cinematic flow, letting certain stages linger to build suspense or show off intricate details before the next transition.
Think of it this way: a TikTok video is a sprint, while a YouTube feature is a marathon. Adjusting your cuts and the timing of each clip is critical for keeping your audience hooked.
Upscaling and Fixing AI Artifacts
Let’s be honest—AI generation isn't perfect. You’ll often spot minor visual flaws like flickering, weird warping, or just a general lack of sharpness. Cleaning these up is a non-negotiable step if you want a professional look.
The first move is usually upscaling. Most AI video tools output at a standard resolution, but for that truly stunning, crisp look, you'll want to push your footage to 1080p or even 4K. Many tools offer built-in enhancers, but dedicated software often gives better results. For a deep dive, our guide on using an AI video quality enhancer breaks it all down.
Next, you need to tackle any flickering or "boiling" artifacts. These can often be smoothed out with de-flicker plugins found in most editing software like Adobe Premiere Pro or DaVinci Resolve. Just a subtle application can stabilize the image without looking unnatural. Finally, use color grading to give your video a cohesive, cinematic feel. Tweaking the contrast, saturation, and tones ties the whole sequence together, making it look like a single, intentional piece of art.
Here's a quick checklist I run through myself before exporting any video. It helps ensure it's truly ready for the spotlight.
Final Review Checklist
- Audio Sync: Does the music hit perfectly with the key visual moments?
- Pacing Check: Is the speed right for the platform (fast for TikTok, cinematic for YouTube)?
- Visual Quality: Has the video been upscaled to at least 1080p?
- Artifacts Removed: Have I applied de-flicker or smoothing to fix any AI glitches?
- Color Grade Applied: Does the video have a consistent and appealing color scheme?
- Safe Zones: Are all the important visuals within the title-safe areas so they don't get cut off by the app's interface?
Getting these steps right will elevate your work from a simple AI generation to a polished, professional video with some serious viral potential.
Getting Your Video Out There: Publishing, Monetizing, and Advanced Tricks
You've done the hard work. The video is rendered, the pacing is spot-on, and the evolution is genuinely mesmerizing. Now what? It's time to get your creation in front of an audience, make an impact, and maybe even turn your new skills into a side hustle.
This final step—moving from creator to publisher—is where many people drop the ball. Let’s walk through the strategies I use to make sure my AI evolution videos get seen, shared, and valued.
https://www.youtube.com/embed/m647KpdNTDg
Where and How to Post: A Platform-Specific Playbook
Throwing your video onto every platform without a plan is a recipe for disappointment. Each social network has its own vibe, its own algorithm, and its own audience. You have to play their game to win.
- TikTok: Think fast. You have maybe two seconds to hook someone. Use a trending sound that matches your video's energy and keep your hashtags focused. I find a mix of a broad tag like
#aivideoand something specific like#characterevolutionworks best. - Instagram Reels: The vibe here is often a bit more polished than TikTok. High-quality visuals are key. Use your caption to tell a quick story behind the concept—this encourages the saves and shares that the algorithm craves.
- YouTube Shorts: This is all about the 9:16 aspect ratio. YouTube's algorithm is also obsessed with watch time and loops. If you can create a video that people re-watch, you're golden. Don't sleep on your title and description; they're huge for getting discovered through search.
No matter where you post, consistency is your best friend. Posting regularly tells the algorithms you're serious, which can give your content a nice little boost over time.
From Hobby to Hustle: Making Money with Your Skills
Let's be real: creating stunning AI evolution videos isn't just a cool party trick—it's a seriously valuable skill. Brands are desperate for eye-catching content, and you now know how to make it.
Sure, you can eventually join creator funds on TikTok and YouTube, but the real opportunity lies elsewhere.
Your portfolio is everything. Seriously. Just three to five of your best AI evolution videos are often enough to start landing freelance gigs. Think marketing content for brands, wild visuals for musicians, or slick short-form video ads.
This isn't some niche hobby anymore. AI video is exploding. The market was valued at $415 million in 2022 and is on track to hit a staggering $2.172 billion by 2032. Why? Because it slashes production costs for businesses by an average of 23%. If you want to nerd out on the data, the Wyzowl report on AI in video marketing is a great read.
Advanced Tip: Super-Smooth Animations with Prompt Interpolation
Ready to level up? Let’s talk about a technique called prompt interpolation. This is the secret to getting those buttery-smooth transitions where the character morphs seamlessly instead of making jarring jumps.
Instead of going straight from "a young wizard" to "an old archmage," you break it down into smaller, logical steps. You create 'in-between' prompts that guide the AI.
- Prompt 1:
a young wizard apprentice, nervous - Prompt 2:
a skilled wizard, focused - Prompt 3:
a powerful archmage, confident - Prompt 4:
an ancient archmage, wise
By feeding the AI these smaller evolutionary steps, you're giving it a clearer roadmap. This dramatically reduces the odds of the AI getting confused and turning your character into a blob.
Troubleshooting: The Character Consistency Problem
It’s the most common frustration when you make ai evolution videos: your character's face suddenly changes, or a key detail just disappears between frames. It drives me crazy.
Here’s my go-to checklist for fixing it:
- Beef Up Your Master Prompt. Get ridiculously specific about the details that cannot change. I'm talking phrases like
a woman with emerald green eyes, a small scar above her left eyebrow, freckles across her nosethat you copy into every single prompt. - Lock in the Seed. Many tools let you use a consistent seed number for a generation. The seed is the random starting point for the AI; using the same one forces it to produce much more similar results frame-to-frame.
- Dial Down the "Strength." Whether it's called "strength," "creativity," or "variance," a high setting tells the AI to go wild. Lower it. This makes the AI stick closer to the previous frame, which is exactly what you want for preserving details.
Putting these publishing strategies and advanced techniques into practice is what will set your work apart. The best way forward is to just start creating. So jump in, experiment, and begin your journey to make ai evolution videos that truly stand out.
Got Questions About AI Evolution Videos? Let's Get Them Answered
As you dive into creating AI evolution videos, you're going to hit a few snags. It's just part of the process. Getting good at this is all about trial and error, but knowing what trips people up can save you a ton of time and headaches. I’ve put together the most common questions I hear from creators just starting out to give you some straight answers.
Think of this as your personal troubleshooting guide. Once you get these fundamentals down, you'll find it much easier to handle the tricky parts and create that viral clip you're aiming for.
How Can I Stop My Character's Face from Changing?
This is, without a doubt, the biggest headache for most people. It's incredibly frustrating when your character suddenly looks like a completely different person halfway through the video. The solution is to be almost painfully specific with your instructions right from the start.
Begin with a very clear, high-quality image of your character. From there, you need to bake their key features into every single prompt. Don't just say "a woman with green eyes." Instead, describe her as "a woman with emerald green eyes and a small scar on her left cheek." That kind of specific detail is your best friend.
The best tools have features built just for this. Keep an eye out for a 'character lock' feature or the ability to use the same 'seed number' for the whole animation. Using the same seed tells the AI to use the same starting point for every frame, which is a massive help in keeping the face consistent.
What's the Ideal Video Length for TikTok or Reels?
For platforms like TikTok and Reels, you want to keep things short and sweet. The magic number is usually somewhere between 7 and 15 seconds. The whole game on short-form video is about grabbing attention instantly and creating a loop so satisfying that people watch it over and over.
Your video needs to jump straight into the action—forget slow, drawn-out intros. Each stage of the evolution should just be a quick flash on the screen before it moves to the next. The real pro move is to sync these rapid-fire cuts to the beat of a trending song. A perfectly timed transition that lands right on a beat is what gets people hooked.
Is It Actually Possible to Make Money from This?
Yes, you absolutely can. The most direct path is through creator funds on platforms like TikTok and YouTube, but you'll need to hit their follower and view counts first. Honestly, the faster and often bigger opportunity lies in using your skills for freelance projects.
Think of your AI evolution videos as your portfolio. Brands are always desperate for fresh, scroll-stopping content for their social media ads. You can start offering your services on sites like Upwork or even pitch your ideas directly to businesses. Another solid option is to sell your best work on stock footage sites to build up some passive income.
What Are the Biggest Mistakes I Should Avoid?
Aside from the character consistency problem we just talked about, a few other common slip-ups can torpedo a great concept.
- Dragging It Out: A slow, methodical evolution might seem cool and artistic, but it’s a death sentence on social media. People will scroll away in seconds. Keep it moving.
- Forgetting Post-Production: Just exporting the raw video from the AI tool is a classic rookie mistake. You should always be adding sound, fixing little visual hiccups, and maybe doing some color correction to make it pop.
- Starting with a Bad Image: This one is simple: garbage in, garbage out. If your starting photo is blurry or low-res, the final video will look cheap. Always, always start with the best quality assets you can get your hands on.
Just steering clear of these few mistakes will immediately make your work look more professional and way more shareable.
Ready to put this into practice? With Aicut, you get access to powerful tools designed to make this process smoother. It’s time to make ai evolution videos that really stand out.