
Starting a faceless YouTube channel usually stalls in the same place. You have ideas, maybe even a niche, but you don't want to be on camera, you don't want to spend on editors and voice actors, and every “free” AI tool seems to hit you with a watermark right when the video looks usable.
That frustration is real. Most free workflows break in the handoff. One tool writes the script, another generates clips, a third wants payment to export, and the final result looks too synthetic to hold attention. If you're trying to make youtube videos with ai free, the essential skill isn't finding one magic tool. It's chaining several free tools together so each one covers the other's weakness.
The upside is that AI has changed the speed of creation in a big way. The global AI video generation market is projected to reach $18.6 billion by the end of 2026, growing at a 34% CAGR, according to AI video statistics for 2026. That's happening because the tools are easier to access, and creators can produce more without traditional production costs.
Your Faceless YouTube Channel Starts Here
A lot of people start with the wrong question. They ask, “Which free AI video tool is best?” The better question is, “How do I build a workflow that still works after the free plan limits show up?”
That's the difference between dabbling and publishing.
A faceless channel can work well on a tight budget because you're not trying to mimic a full studio setup. You're building a repeatable process for scripts, visuals, voiceover, editing, and upload. If one step is weak, the whole channel feels weak. If each step is simple and dependable, you can keep posting.
What beginners usually run into
Free tools are useful, but they come with trade-offs:
- Watermarked exports: The preview looks fine, then the exported file isn't usable for a real channel.
- Short clip caps: You can generate a few seconds at a time, but not a full long-form video.
- Daily quotas: A solid workflow dies fast if you burn all your generations testing random prompts.
- Flat-looking output: Pure AI visuals often feel repetitive when every shot moves the same way.
Those problems don't mean free AI isn't worth using. They mean you need a practical system.
Practical rule: Treat free AI tools as parts of a pipeline, not as a complete studio.
The most useful shift is to stop expecting one platform to do everything. Use AI where it gives speed, then use free stock, screen recording, and manual edits where AI tends to fail. That's how small creators get videos out without paying for a full software stack.
If you're still deciding what kind of faceless channel to build, this guide on making money on YouTube without showing your face is helpful because it frames channel styles around what you can sustain. And if you're comparing tools more broadly, this rundown of the best AI for video and design gives useful context for where each tool fits.
The workflow that actually holds up
A zero-budget setup works best when you split the process into jobs:
| Stage | Best free approach |
|---|---|
| Topic and script | Use a free AI chatbot for ideation and first drafts |
| Visual generation | Create key stills first, then animate selected frames |
| Filler and variety | Pull royalty-free B-roll from free libraries |
| Voice and assembly | Use free TTS, then edit in a free timeline editor |
| Export workaround | Screen record previews or combine clips in a separate editor when needed |
That last row matters more than most guides admit. The channel doesn't fail because of ideas. It fails because the creator can't get clean exports consistently. The rest of this guide fixes that with a workflow that's cheap, realistic, and built for repetition.
From Idea to Script Without Writing a Word
A faceless channel usually stalls before editing. The creator has an idea, opens a chatbot, gets a bland script, and ends up with something that sounds like every other AI-made upload.
The fix is not more prompting. It is a tighter workflow.
For YouTube creators, AI has changed pre-production speed. The time to produce a 60-second marketing video has dropped from 13 days to 27 minutes, according to Vivideo's 2026 AI video statistics. On a free setup, that speed only helps if you use AI for rough drafts, then layer in your own angle, examples, and scene notes so the final video does not read like AI slop.
Pick topics that free tools can support
Good faceless scripts are cheap to illustrate. Bad ones force you into expensive visuals, paid research, or footage you cannot source cleanly.
Start with formats that match a watermark-free workflow:
- List videos: “Top mistakes,” “best tools,” “facts you didn't know”
- Explainers: history, finance basics, tech tutorials, psychology concepts
- Story-based videos: scary stories, Reddit-style retellings, mini documentaries
- Short opinion clips: one clear claim, one hook, fast pacing
These formats work well because you can mix AI images, free stock, screenshots, charts, and screen recordings without the video feeling stitched together.
Use AI for drafts, not judgment
ChatGPT, Gemini, and similar free chatbots are useful for volume. They are weak at originality unless the prompt gives them boundaries.
I use a simple sequence. First, get 15 to 20 topic options. Next, turn one topic into an outline. Then draft the script in sections instead of asking for a full piece in one shot. That keeps the model from drifting into repetitive filler.
Try prompts like these:
Topic generation prompt
“Give me 20 YouTube video ideas for a faceless channel in the [niche] niche. Make them curiosity-driven, easy to explain with stock footage or AI visuals, and suitable for viewers who are new to the topic.”Outline prompt
“Turn this topic into a short YouTube outline with a 10-second hook, 3 to 5 main points, one pattern interrupt in the middle, and a closing line that encourages comments.”Script draft prompt
“Write a YouTube script for a faceless video on [topic]. Keep the language clear, not theatrical. Use short sentences. Every paragraph should support visuals. Add a strong opening line and avoid filler.”Rewrite prompt
“Rewrite this script so it sounds less generic. Add sharper examples, remove repeated phrasing, and make each section easier to pair with B-roll.”
One warning matters here. Free AI tools tend to smooth out every sentence until nothing is memorable. Fix that before you generate visuals or voiceover.
Do not ask AI to “make it better.” Ask for a colder hook, a clearer example, a stronger opinion, or a rewrite aimed at a specific viewer.
If you plan to build visuals with motion models later, it helps to understand which text to video AI tools handle narration-heavy scripts, abstract concepts, or product-style scenes better.
Add the parts AI usually misses
A usable draft still needs human pressure. That is where small channels separate themselves from bulk-upload channels.
Check for these three things before you lock the script:
- A real hook: tension, payoff, conflict, or a mistake people want to avoid
- Specificity: named tools, dates, examples, costs, or side-by-side comparisons
- Visual intent: a clear note for what appears on screen with each beat
I recommend annotating the script as you edit it. Nothing fancy. A few tags are enough:
[AI scene] futuristic office with floating charts[Stock clip] person scrolling on laptop[Screen capture] YouTube Studio upload page
This does two jobs at once. It keeps the script grounded in visuals you can get for free, and it reduces the chance of publishing a video that feels like pure AI output.
A walkthrough like this can help you tighten the scripting stage before visual production:
The goal is a script that is easy to voice, easy to illustrate, and hard to mistake for mass-produced AI content. That is how free tools stay useful instead of dragging down the channel.
Creating All Your Visuals From Thin Air
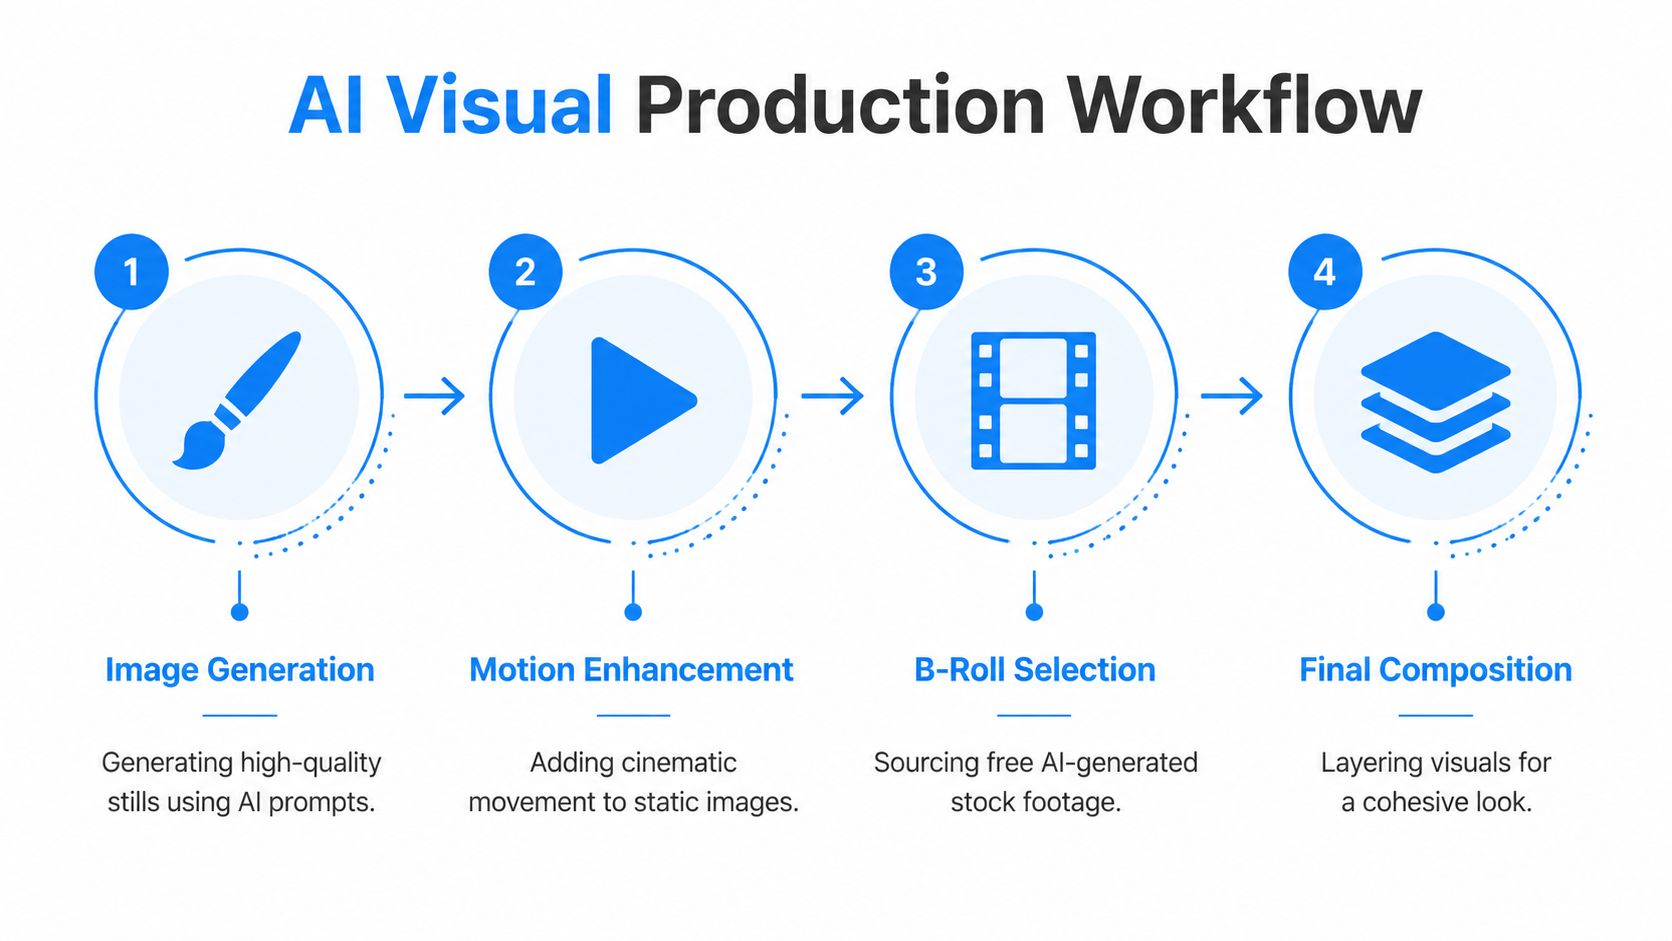
Most free AI video guides jump straight to text-to-video. That sounds convenient, but it often gives you the least control. The better free workflow starts with still images.
An expert method for free tools is to generate consistent character reference images with an 85% success rate, then use those as start and end frames in an image-to-video model. That approach boosts realism 2.5x over pure text-to-video, according to this image-to-video workflow breakdown.
Build a visual identity first
If your video jumps between wildly different faces, lighting styles, or color palettes, viewers feel it immediately. Even on a faceless channel, consistency matters.
Start by generating a small pack of reference images in a free image model. Focus on one of these paths:
- Character-led videos: create the same presenter, narrator, or avatar in multiple angles
- Mood-led videos: define a recurring look such as noir, cyberpunk, documentary, or clean business visuals
- Object-led videos: for channels about tools, tech, or products, keep the setting and composition style stable
Use prompts that lock in repeated details. Include clothing, age range, lighting, camera angle, lens style, and background mood. Save the strongest outputs in a folder by project so you can reuse the same base look later.
Use image-to-video for the important shots
Instead of asking a free text-to-video model to invent everything, feed it a solid starting frame. Then create an ending frame with a small visual change. That gives the model a cleaner path for motion.
This works especially well for:
- a person turning toward the camera
- a product moving from table view to close-up
- a city scene shifting from static to cinematic drift
- a hand gesture or head nod in a short clip
What usually fails on free plans is heavy action. Crowds, dancing, fast camera spins, and complicated object interaction often break the illusion. Keep motion simple and intentional.
The strongest free AI visuals usually aren't the most ambitious ones. They're the ones with controlled motion and clear composition.
Fill the gaps with free B-roll
At this point, the channel stops looking like “AI slop.” AI-generated clips should support the core moments, not carry every second of the video.
Use royalty-free footage from places like Pexels for:
- laptop typing shots
- city timelapses
- money, business, or office scenes
- nature, travel, cooking, or abstract atmosphere
- hands using phones or tablets
Mixing stock with AI scenes gives you visual variety and lowers the risk of uncanny sequences piling up. It also helps when your free generation limit runs out halfway through a project.
A simple composition approach works well:
| Shot type | Use case |
|---|---|
| AI key scene | Opening hook, specific metaphor, signature moment |
| Stock B-roll | Explanations, transitions, pacing support |
| Screen recordings | Tool tutorials, dashboards, examples |
| Text-only motion scene | Definitions, quotes, checklists, chapter breaks |
Stretch short clips into full videos
Free AI tools often generate only a few usable seconds at a time. That's fine if you edit like a YouTube creator instead of like a filmmaker.
Turn one short clip into more screen time by:
- Punching in: crop into the frame for a second angle
- Freezing and panning: hold a frame and animate a slow move in the editor
- Layering text: add bold on-screen phrases over a static or slow-motion shot
- Cutting on narration: change visuals with the voiceover, not only when a clip ends
If you want a long video, don't try to generate every second. Generate the moments that need novelty, then use stock, screenshots, text animations, and scene variations to carry the rest.
Finding Your Voice and Assembling the Video
Once you have a script and visuals, the project becomes an editing job. At this stage, free workflows either come together or fall apart.
Free AI video makers have a 65% end-to-end success rate for short faceless videos, but they also run into paywall traps and realism issues. Motion artifacts appear in 30% of shots, according to VEED's AI YouTube video maker page. That's why I don't recommend staying inside one browser tool from script to final export if you're trying to build a repeatable channel.
Pick a voice that fits the niche
A free text-to-speech voice can work well enough if the writing is tight and the pacing is edited. The mistake is choosing a voice because it sounds “realistic” in isolation. Choose one that matches the channel.
For example:
- a calm, steady voice fits history and finance
- a slightly animated voice fits lists and trivia
- a lower, more dramatic tone fits horror or mystery
- a plain, direct voice fits software tutorials
Add punctuation for performance. Short sentences, line breaks, and occasional ellipses can create natural pauses. If the generator supports pronunciation tweaks, use them for names and technical terms before you export the full track.
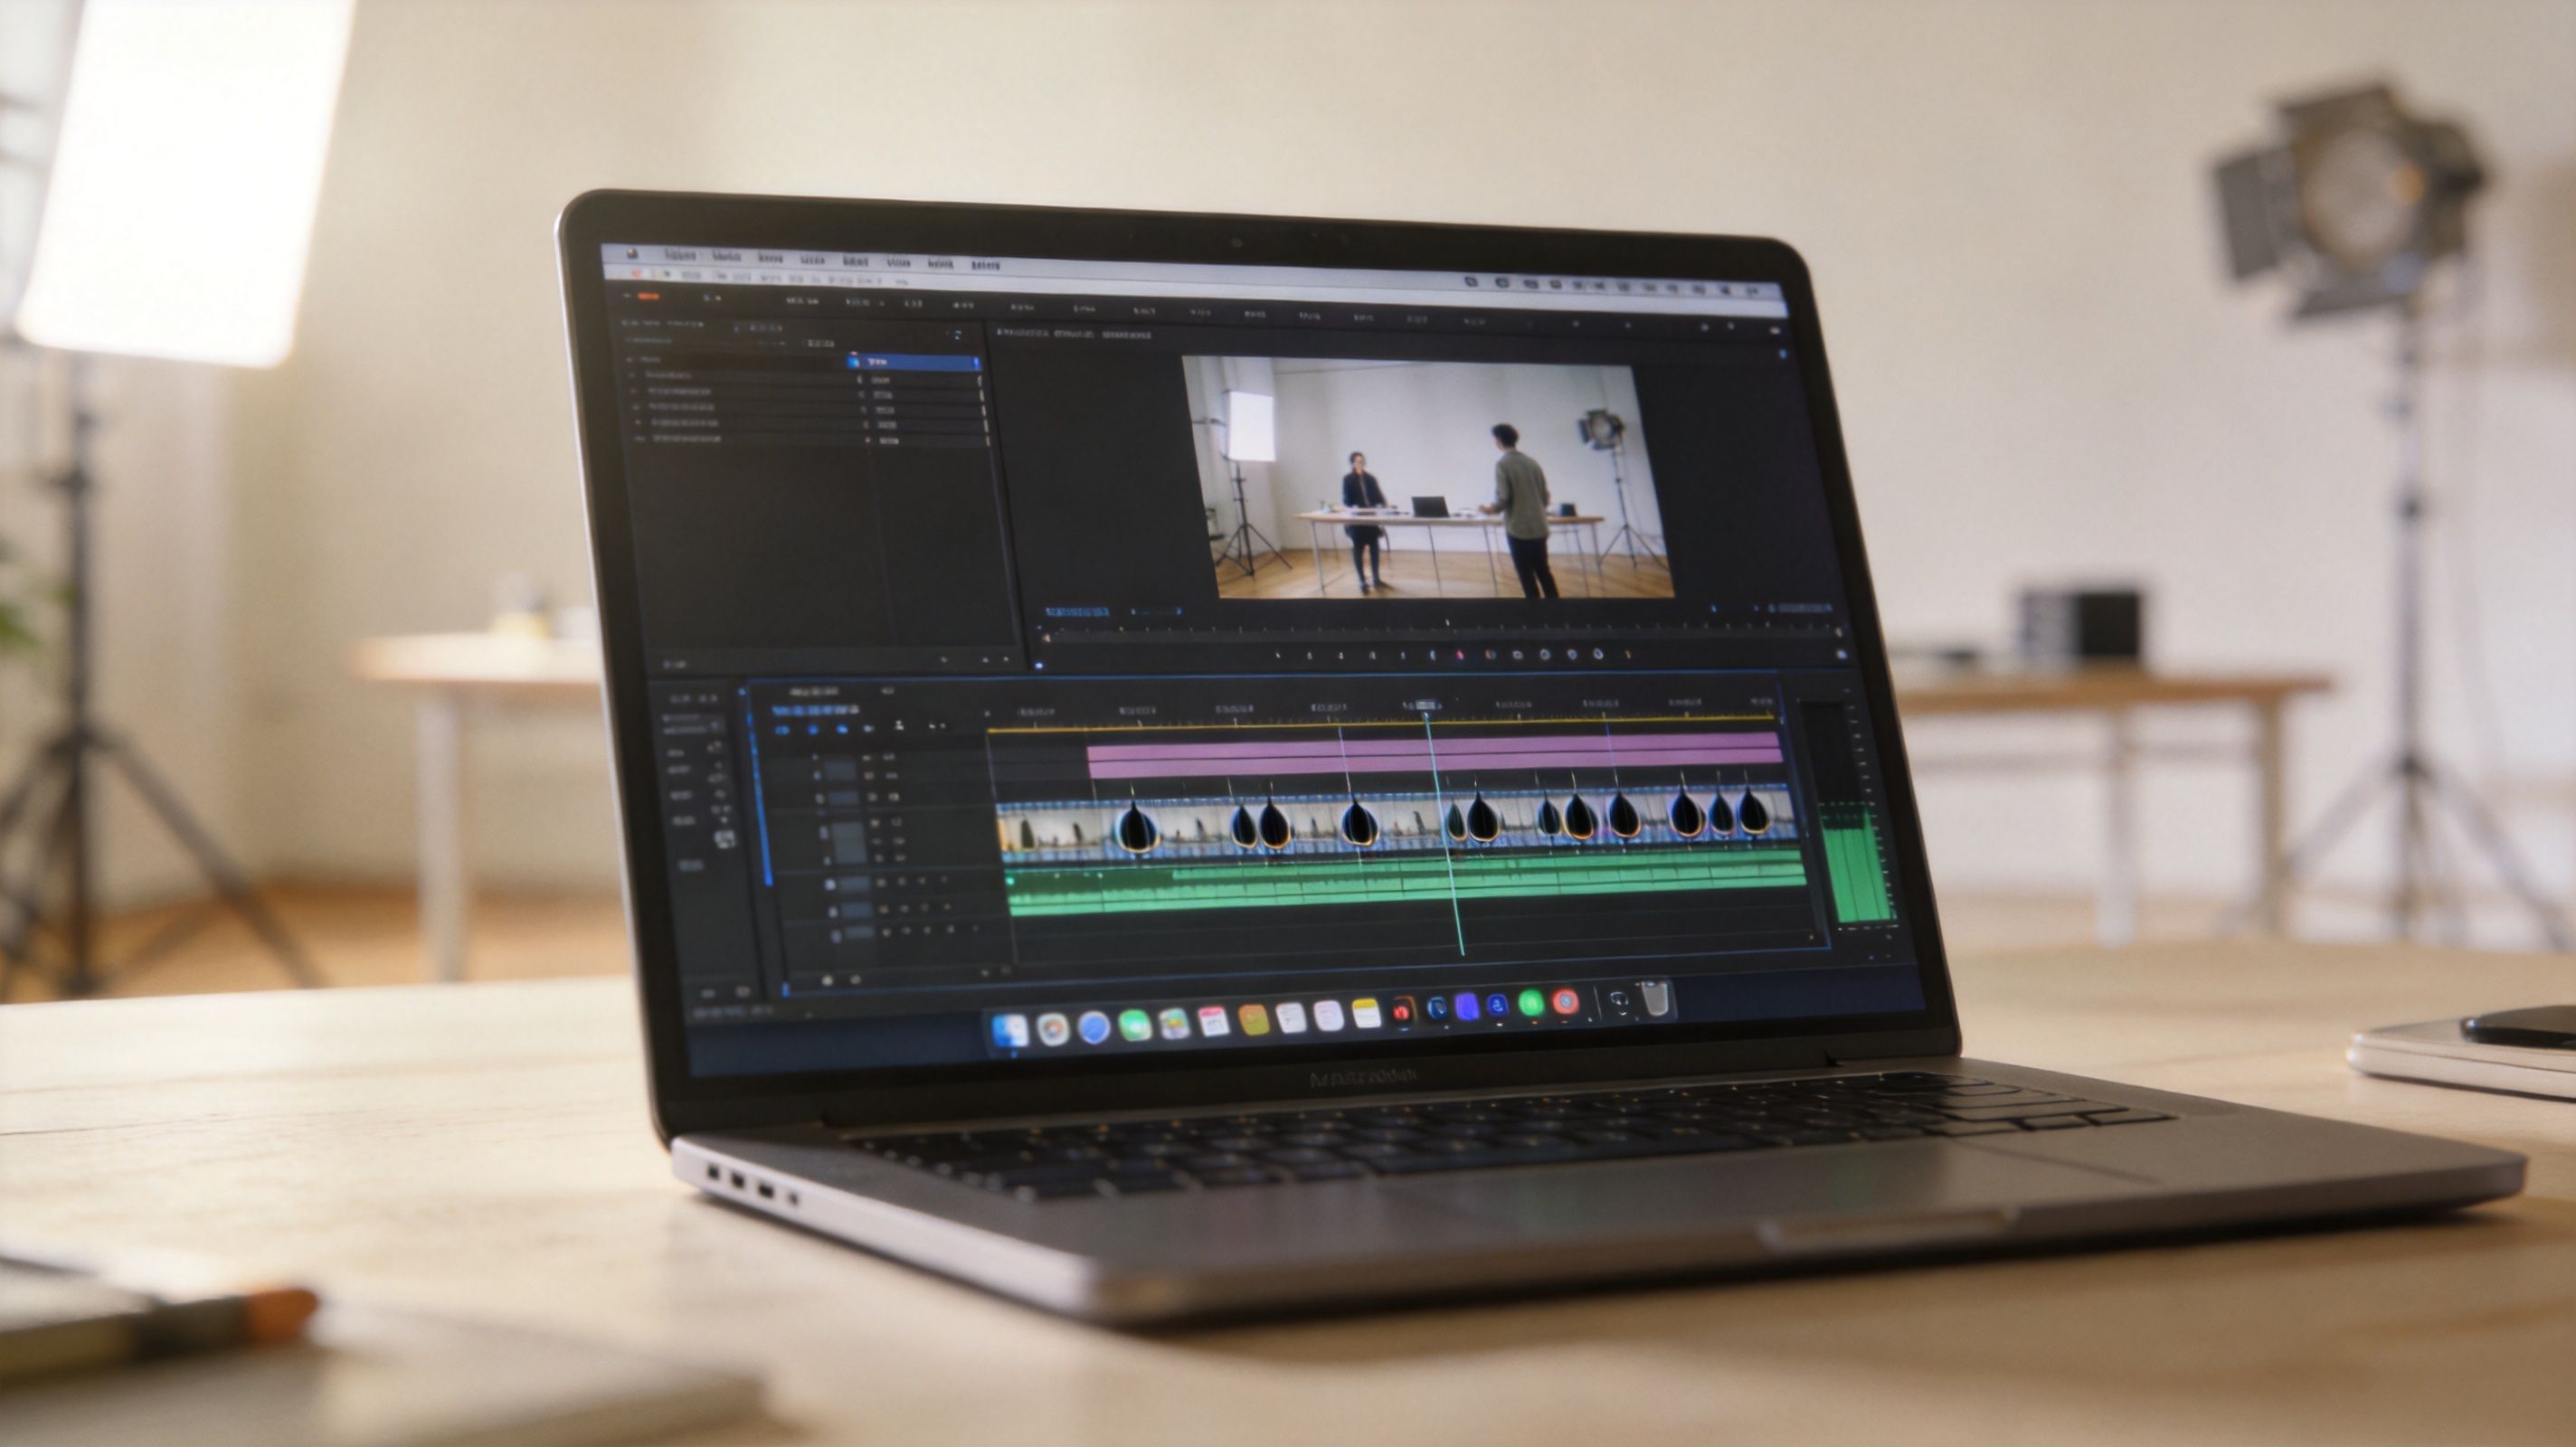
Edit in layers, not in one pass
Use a free editor like CapCut or DaVinci Resolve. Build the video in this order:
- Put the voiceover on the timeline first.
- Cut dead space and awkward breaths.
- Add your main visuals to match each script block.
- Drop in B-roll wherever the AI scenes feel repetitive.
- Add captions after the visual rhythm feels right.
- Bring in background music at a low volume from the YouTube Audio Library.
That order matters because the narration controls pacing. If you start with visuals, you'll overbuild shots that don't support the spoken flow.
A practical assembly checklist
This is the sequence that tends to keep the process fast:
- Voice first: Lock the narration before touching transitions.
- Wide variety early: If the first half of the video repeats the same visual treatment, retention drops fast.
- Captions with restraint: Highlight key words, but don't animate every line.
- Music low enough to ignore: Viewers should feel the music, not notice it.
- Hard cuts over fancy transitions: Most faceless channels benefit from cleaner pacing.
A polished faceless video doesn't need complex effects. It needs clear narration, frequent visual change, and no obvious dead air.
If you want a shortcut instead of assembling every element from scratch, one option is browsing AI video templates for faceless creators. Templates can reduce setup time, especially when you're repeating the same format across a channel.
Clean up the free-tool artifacts
Before you export, watch once with your sound off. Then watch once without looking at the timeline.
You're checking for different problems each time:
| Watch mode | What to catch |
|---|---|
| Sound off | weak cuts, repetitive shots, unreadable captions |
| Eyes off timeline | audio glitches, robotic pacing, music that's too loud |
| Full-screen playback | watermark surprises, blurry inserts, ugly crop choices |
A lot of free AI footage looks passable in a small preview window and bad in full-screen. Catch that before upload, not after.
Optimizing and Uploading for Maximum Reach
The upload step decides whether your work gets a fair shot. A good video with a weak package often loses to a decent video with a clear title and a thumbnail that earns the click.
YouTube's algorithm is shifting. Pure AI videos without dynamic B-roll see 50% lower retention, and channels can be demonetized if they are over 80% automated, according to Clipchamp's discussion of AI YouTube workflows. That means optimization isn't just about views. It's also about making the video look and feel like a human built it.
Build the thumbnail around one idea
Use a free design tool like Canva to make a simple thumbnail with high contrast. Don't cram the frame with five ideas. One visual promise is enough.
Good faceless thumbnails usually include:
- A clear focal point: one face, object, chart, or dramatic scene
- Very short text: a few words, not a headline
- Color separation: bright subject against a dark or simple background
- Emotional direction: confusion, urgency, curiosity, danger, surprise
If your title already explains the topic, the thumbnail should add tension or contrast. It shouldn't repeat the same sentence.
Write metadata that sounds searchable
Go back to the same AI assistant you used for scripting and ask it for title variations, but don't publish all-AI metadata untouched. Edit the outputs until they sound like something a real viewer would click.
A practical checklist:
- Title: clear promise first, curiosity second
- Description: first lines should explain the payoff fast
- Tags: keep them relevant, not stuffed
- Chapters: useful for longer videos and easier navigation
- End screens: push viewers into the next related video, not a random upload
For the click side of the equation, the advice in optimizing CTR for creator landing pages maps surprisingly well to thumbnails and titles. The principle is the same. Remove friction, sharpen the promise, and make the next action obvious.
Publish like a real channel, not a file dump
Use YouTube Studio carefully before hitting publish:
- check that music doesn't trigger avoidable claims
- upload subtitles or clean auto-captions
- pick the right category
- schedule the video when you can monitor early comments
- add a pinned comment that invites a specific response
A faceless AI channel gets stronger when each upload feels curated. The more your videos include stock footage, screen captures, edited narration, and intentional packaging, the less they resemble disposable automated content.
Quick Workflows and Avoiding Free Tool Traps
The biggest mistake with free AI video creation is thinking the workflow should be fully automatic. It shouldn't. That mindset is exactly what creates generic output, broken exports, and channels that never get traction.
Many tutorials skip the ugly part. Free AI tools often add watermarks or export limits that block monetization. A practical workaround is chaining tools and using screen recording to create 1080p videos over 10 minutes, as discussed on Invideo's YouTube video editor page. That's not elegant, but it works.
Three fast channel workflows
These are simple enough to repeat without paying for a full stack.
Scary story narration
Use AI for the script draft, then rewrite the opening so it starts with tension. Generate dark still images for the key moments, animate only a few of them, and fill the middle with stock footage of houses, roads, forests, and empty rooms. Use a slower AI voice and keep background music low.
Best when you want atmosphere more than complex action.
History or facts explainer
Write in short sections. For visuals, combine maps, archival-style AI images, screenshots, simple motion graphics, and text callouts. This format is forgiving because narration does most of the work, and viewers expect supporting imagery rather than cinematic scenes.
Best when you want repeatable long-form output.
Tool tutorial or trend commentary
Screen record the tool, site, or dashboard. Use AI visuals only for the hook and transitions. This avoids the “all generated, nothing grounded” look and makes the video easier to trust.
Best when your topic already lives on a screen.
The traps that waste the most time
Not every problem is technical. Many are planning mistakes.
- Generating before scripting: You burn through free credits on visuals that don't fit the final narration.
- Using only AI clips: The video starts to feel synthetic even when each clip looks decent on its own.
- Ignoring licenses and export rules: Some free plans are fine for testing and annoying for publishing.
- Trying to fix bad footage in editing: If the source clip is broken, no transition will save it.
- Over-automating the channel: The final product feels assembled by software, not shaped by a creator.
Free workflows reward planning more than brute force. Batch prompts, save your reusable assets, and reserve generation limits for the shots that matter most.
A cleaner way to bypass quotas and paywalls
When a free platform limits exports, don't force the whole project through it. Split the job.
A practical workaround looks like this:
| Problem | Better workaround |
|---|---|
| Watermarked AI video export | Screen record preview footage, then crop and sharpen in your editor |
| Clip too short | Extend with freeze frames, zooms, captions, and B-roll |
| Daily generation limit | Batch prompts and generate reusable visuals for multiple videos |
| Weak realism | Use AI only for hero shots and rely on stock for the rest |
| Low-value final look | Add human narration edits, pacing choices, and real examples |
This is also where broader tool comparisons can help. If you're trying to decide what free tools deserve a spot in your stack, explore Taja AI content tools for a wider view of content creation options beyond a single editor.
The standard that keeps channels alive
A faceless channel built with free AI doesn't win by automating everything. It wins by looking edited, intentional, and niche-aware.
Keep these standards:
- Every video needs human revision
- Every script needs a point of view
- Every upload needs non-AI visual variety
- Every workflow needs a fallback when a free plan blocks export
That approach takes a bit more effort than one-click generation. It also gives you a much better chance of building something publishable, repeatable, and worth monetizing.
If you want a faster way to turn this workflow into repeatable faceless videos, Aicut is built for that style of creation. It lets creators generate short-form AI videos with templates, prompt cloning, built-in voiceovers, and publishing tools for YouTube, TikTok, and Instagram, which can simplify the jump from idea to finished post.