
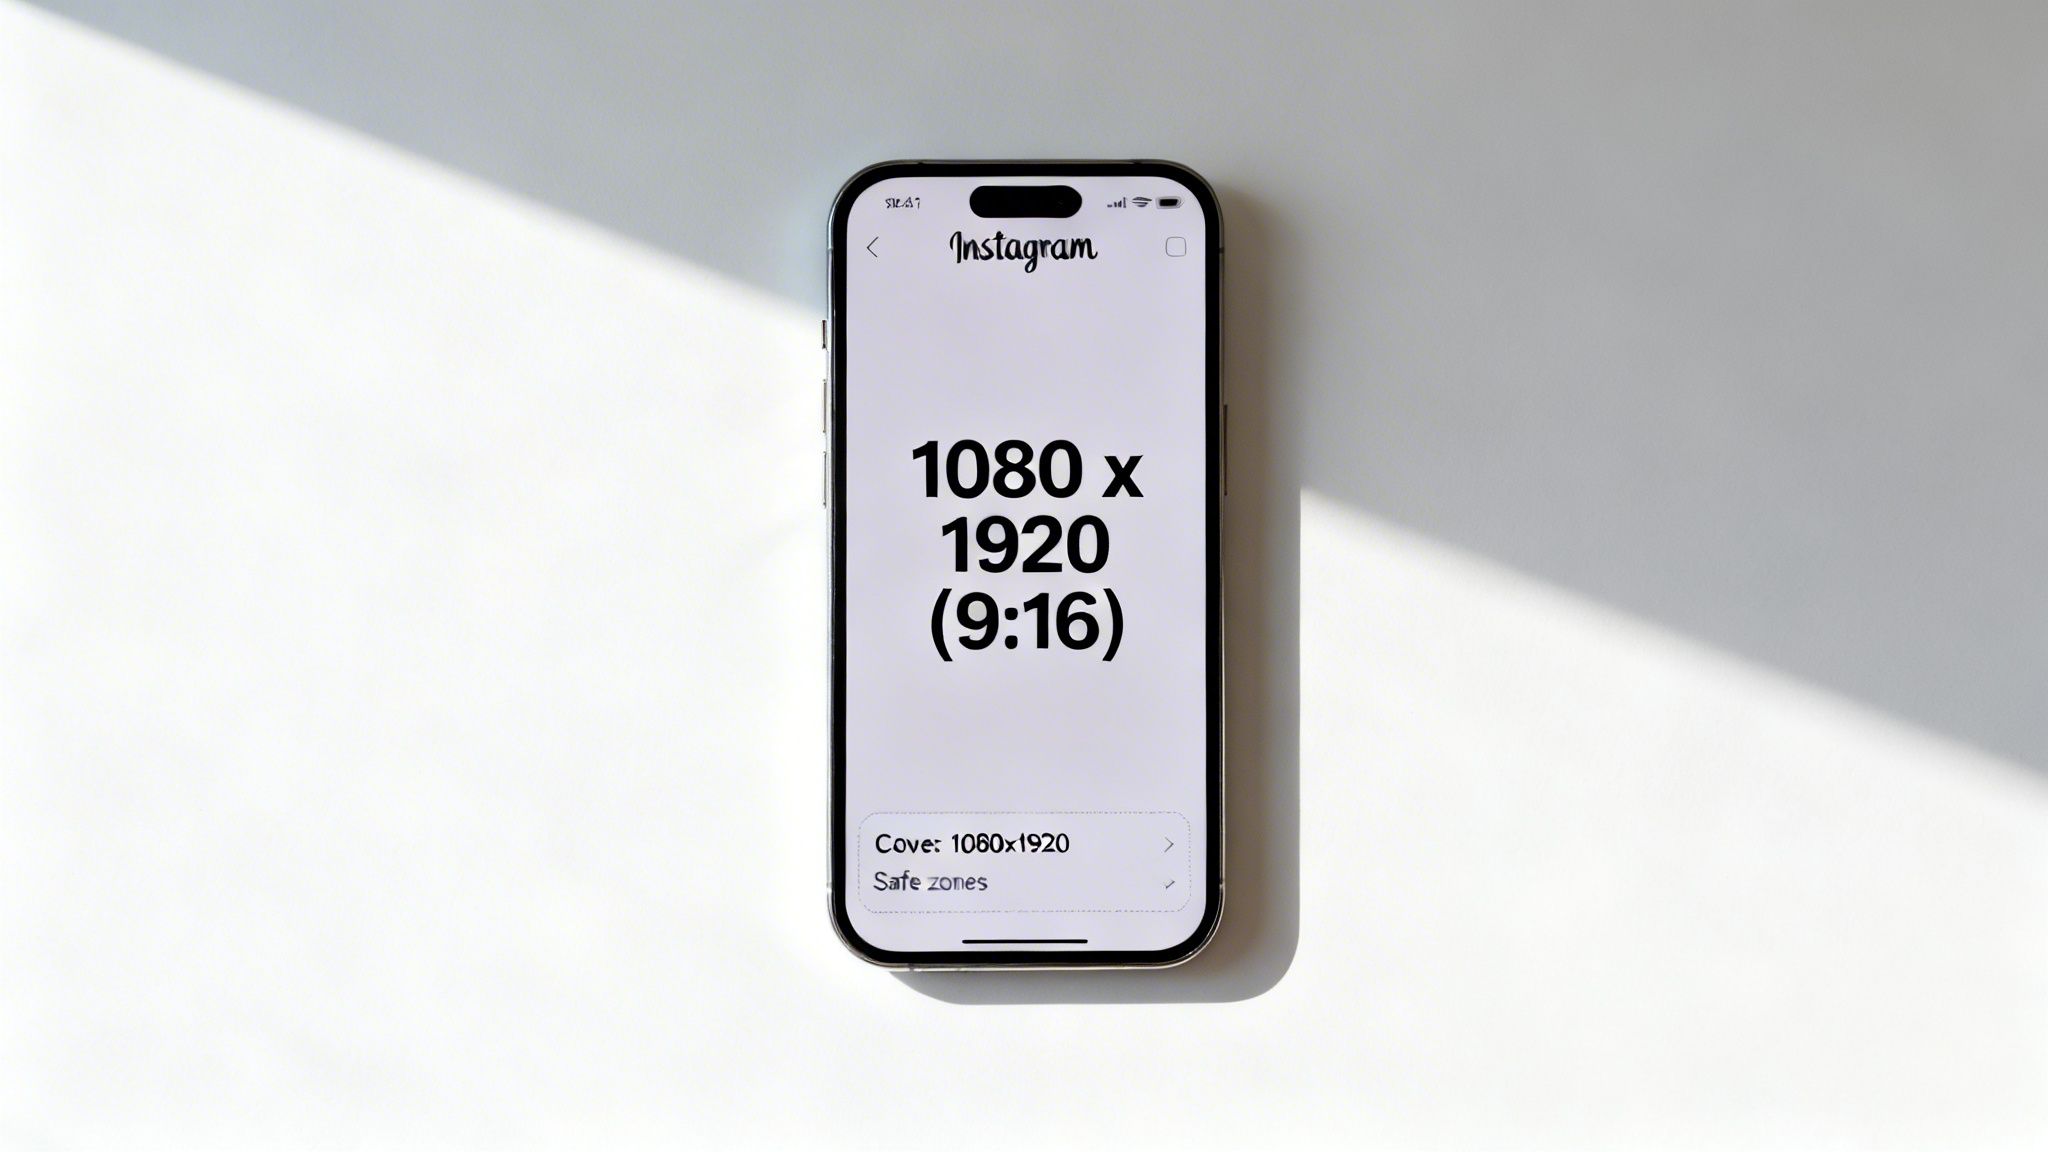
Let's cut right to it. If you want your Instagram Reels to look perfect, there's only one size you need to know: 1080 x 1920 pixels.
That's the magic number. It gives you a 9:16 aspect ratio, which is the tall, vertical format that fills a modern smartphone screen. Getting this right means your video looks polished and professional, with no distracting black bars or weird cropping. It’s the standard for a reason.
Your Go-To Guide for the Perfect Instagram Reels Size
Think of the 9:16 aspect ratio as the universal language for full-screen video on Instagram. It’s not just for Reels; it’s also what Instagram Stories use. Sticking to this size ensures your content feels native to the platform, flowing seamlessly from one format to the next.
Beyond the Pixels: The Technical Nitty-Gritty
While the 1080 x 1920 dimension is your starting point, a few other technical specs are crucial for a smooth upload and high-quality playback. Instagram can be picky, so it's best to give it exactly what it wants.
For a quick reference, here’s a handy table with all the key technical details you'll need.
Instagram Reels Technical Specifications at a Glance
Use this table as your go-to reference for all the essential dimensions, formats, and limits for creating perfectly optimized Instagram Reels.
| Specification | Recommendation |
|---|---|
| Dimensions | 1080 x 1920 pixels |
| Aspect Ratio | 9:16 |
| Video Format | MP4 or MOV |
| Video Codec | H.264 |
| Frame Rate | 30 FPS (frames per second) |
| Maximum File Size | 4GB |
Getting these settings right during export is half the battle. If you've already shot your video and it's not the right size, don't panic. You can use simple tools to resize videos and get them perfectly formatted without losing quality.
But Wait, There’s a Catch: The Profile Grid Crop
Here's something a lot of new creators miss. While your Reel plays in glorious 9:16 in the Reels feed, it gets cropped when people see it on your profile grid.
Pro Tip: Instagram crops your Reel cover to a 1:1 square (your old-school Instagram post) on your main grid. This means anything outside the center of your video will get chopped off. Always keep your most important visuals—like text, your face, or a key product shot—smack in the middle.
Think of it this way: the full-screen view is for capturing attention in the feed, but the centered, square-safe version is what draws people in from your profile. Mastering this is key. For brands, this precision is even more critical; Reels ads using these specs account for 22.2% of all ad placements, reaching a massive audience of 726.8 million users. Get your dimensions right, and you put yourself in the best position to be seen.
Why Mastering Reels Is Your Secret to Growth
Before we get lost in pixels and aspect ratios, let's talk about the big picture. Why should you even care so much about getting your Reels size perfect? It’s not just about making things look tidy—it’s about plugging directly into Instagram’s most powerful engine for growth.
If you feel like your static photos and carousels are just getting buried, you're not wrong. Reels have completely changed the game. They aren't a side dish anymore; they're the main course.
Reels Outperform Everything Else
Instagram has been shouting from the rooftops that video is their priority, and the user behavior proves it. The format has exploded, now accounting for a massive 50% of all time spent on the platform. With 140 billion daily views from nearly 2 billion users, Reels are the undisputed king.
The numbers are even more telling when you look at how different post types perform head-to-head.
- Reels Reach Rate: 30.81%
- Carousel Reach Rate: 14.45%
- Single Image Reach Rate: 13.14%
That means a single, well-made Reel is more than twice as likely to land in front of a new audience as your best photo post. It's a completely different league. If you want to dive deeper into these trends, check out the latest Instagram Reels statistics.
Your Unfair Advantage as a Smaller Creator
Here’s the real kicker, especially for anyone trying to grow a new account. The algorithm isn't just for the big players; it actually gives smaller accounts a serious leg up. While huge influencers claw for tiny gains, new creators are seeing wild results.
Accounts with under 5,000 followers see an average engagement rate of 3.79% on Reels. That’s a number that a macro-influencer would kill for.
This is your golden ticket. By putting your energy into Reels and nailing the technical details—starting with the correct dimensions—you give your content the best possible shot at going viral. It's the first and most fundamental step in a real growth strategy. For more tips on this, don't miss our guide on how to get more views on Instagram Reels.
Designing for Every View with Safe Zones
So, you’ve created a slick-looking Reel at the perfect 1080 x 1920 pixels. That's a great start, but your job isn't quite finished. What trips up a lot of creators is forgetting that one Reel gets displayed in several different places across Instagram—and each spot crops it differently.
Think of it like framing a shot for a live TV news report. The camera operator knows they have to keep the important stuff in the middle, leaving room for the news ticker at the bottom and the channel logo in the corner. You need to apply that same thinking to your Reels, using "safe zones" to protect what matters most.
Understanding How Instagram Crops Your Reels
Your beautiful, full-screen 9:16 video won't stay that way everywhere. Instagram automatically resizes and crops it to fit different parts of the app, and if you're not careful, key elements like text, your face, or your call to action can get unceremoniously chopped off. It's a quick way to make your content look sloppy.
Here’s a breakdown of where the cropping happens:
- In the Main Feed: As users scroll their home feed, your Reel gets cropped from 9:16 to a shorter 4:5 aspect ratio. This slices off a bit from the top and bottom.
- On Your Profile Grid: This is the most aggressive crop. Your Reel is squeezed into a 1:1 square, showing only the very center of your video as a thumbnail.
Getting this right is a huge piece of the puzzle. As you can see below, Reels are a powerful engine for growth, but that engine stalls if your videos are poorly framed and the message gets lost.
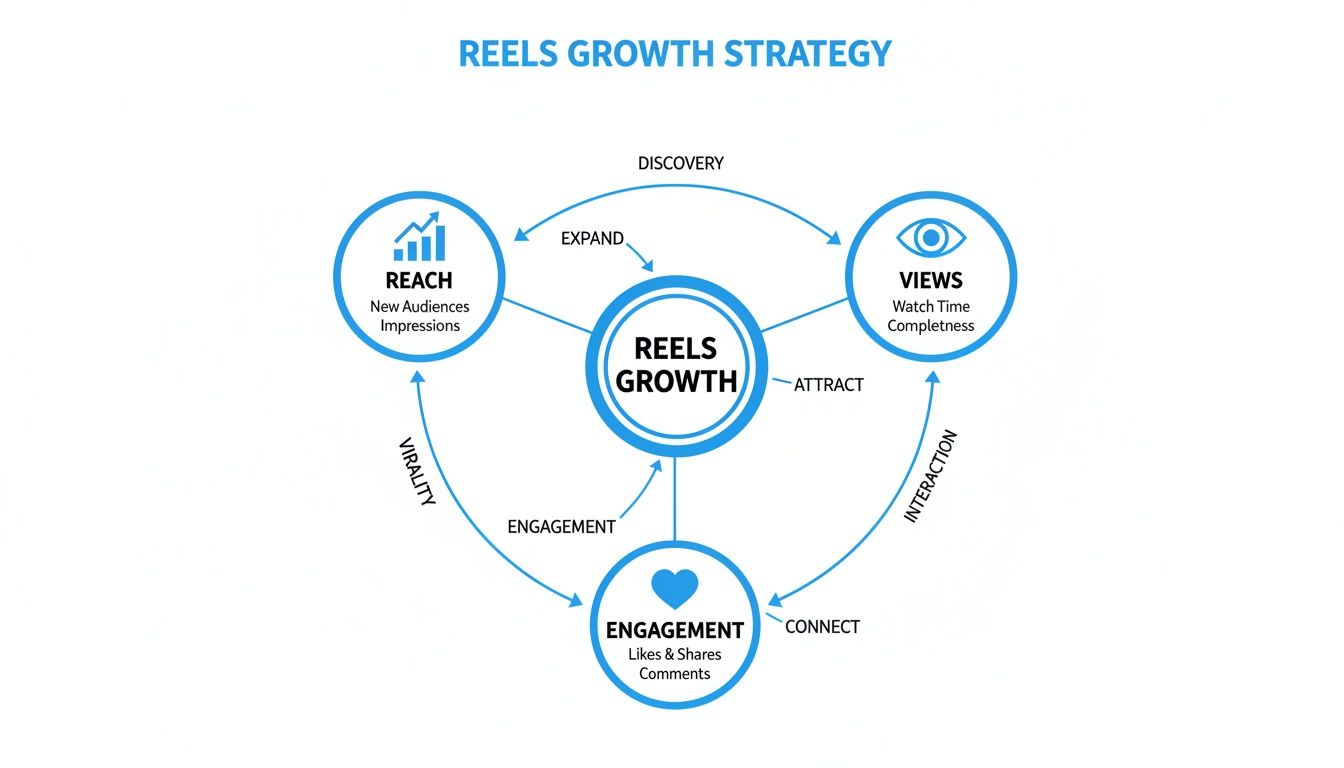
When your presentation is on point, you give your content the best possible chance to drive the reach and engagement that fuels your account's expansion.
Your Golden Rule: The Center-Safe Zone
To sidestep all these cropping headaches, you need a simple rule: keep all your vital content in the center. This "safe zone" is the part of your video that will always be visible, no matter how or where someone is watching it.
The most important safe zone is the 1080 x 1080 pixel square right in the middle of your 1080 x 1920 frame. Anything inside this square—text, logos, the product you’re showing off—is guaranteed to look great on your profile grid.
You get a little more room for the 4:5 feed view (roughly 1080 x 1350 pixels), but if you design for that restrictive 1:1 square first, you’ll be covered everywhere.
Stick to this, and your Reels will always hit the mark. They'll be immersive in the full-screen viewer, eye-catching in the feed, and clean on your profile grid. It’s a simple discipline that makes a world of difference, ensuring every view you get is an effective one.
How to Export High-Quality Reels Every Time
Ever notice how a video looks perfectly crisp in your editor, but turns into a blurry, pixelated mess once you upload it to Reels? It's a frustratingly common problem. The culprit isn't your camera—it's Instagram's aggressive compression.
Think of it like this: Instagram has to process and store millions of videos every day. To save space and keep the app snappy, it shrinks every file you upload. If you give it a file that's not already optimized, Instagram’s compression algorithm basically guesses how to shrink it, and the results are rarely pretty.
The secret to keeping your quality intact is to do the "heavy lifting" yourself. By exporting your video with the right settings, you’re handing Instagram a file that’s already neatly packaged and ready to go. This means it needs far less re-compression, which is what preserves all that sharp detail you worked so hard on.
Your Go-To Export Settings
You don't need to be a video wizard to nail this. It all boils down to a few key settings that make Instagram happy. Let’s walk through the most important ones: the video codec, frame rate, and bitrate.
- Video Codec: Always, always choose H.264. It's the gold standard for web video, offering the best balance of high quality and small file size. It’s exactly what platforms like Instagram are built to handle.
- Frame Rate (FPS): Stick to 30 FPS (frames per second). Even if your camera can shoot in 60 FPS for that buttery-smooth slow-motion, Instagram will just knock it down to 30 FPS anyway. Exporting at 30 FPS from the start gives you full control over the final look.
- Bitrate: This setting controls how much data is packed into each second of your video. For Instagram, more isn't always better. Aim for a Variable Bitrate (VBR) with a target of 10-15 Mbps. This is the sweet spot for razor-sharp 1080p video that won't get butchered by compression.
If you really want to get into the weeds, our guide on the official IG video format covers every single spec in detail. But for 99% of creators, sticking to these three settings is all you need.
Copy-and-Paste Presets for Popular Editors
To make things foolproof, here are the exact settings you can plug into editors like Aicut, Adobe Premiere Pro, or Final Cut Pro. The best part? You can usually save these as a custom preset and use it for all your Reels, saving you time and guesswork.
Pro Tip: Before you even think about exporting, double-check that your project or sequence settings match your final output: 1080 x 1920 pixels and 30 FPS. A mismatch between your editing timeline and your export settings is a classic recipe for stuttering video or unexpected quality drops.
Here’s a simple table with the recommended settings. Just copy these into your editor's export window, and you’ll be all set.
Recommended Export Presets for Aicut and Adobe Premiere Pro
| Setting | Recommended Value | Why It Matters |
|---|---|---|
| Format | MP4 (H.264) | This is the universal format Instagram is optimized for. |
| Resolution | 1080 x 1920 | Guarantees a perfect 9:16 full-screen fit with no black bars. |
| Frame Rate | 30 FPS | Matches Instagram’s playback for smooth, natural motion. |
| Bitrate Encoding | VBR, 1 Pass | A variable bitrate gives you great quality without a massive file size. |
| Target Bitrate | 10-15 Mbps | This is the data-rate sweet spot for crisp 1080p video on social media. |
| Audio Codec | AAC | The standard audio format that works perfectly with H.264 video. |
| Audio Sample Rate | 44.1 kHz or 48 kHz | Ensures your sound is clean, clear, and compatible. |
By using this checklist, you’re taking back control. You’re no longer just uploading a video and hoping for the best. You're giving Instagram a file that’s built specifically for its system, ensuring your content always looks as professional as you intended.
Common Reels Sizing Mistakes You Can Easily Fix
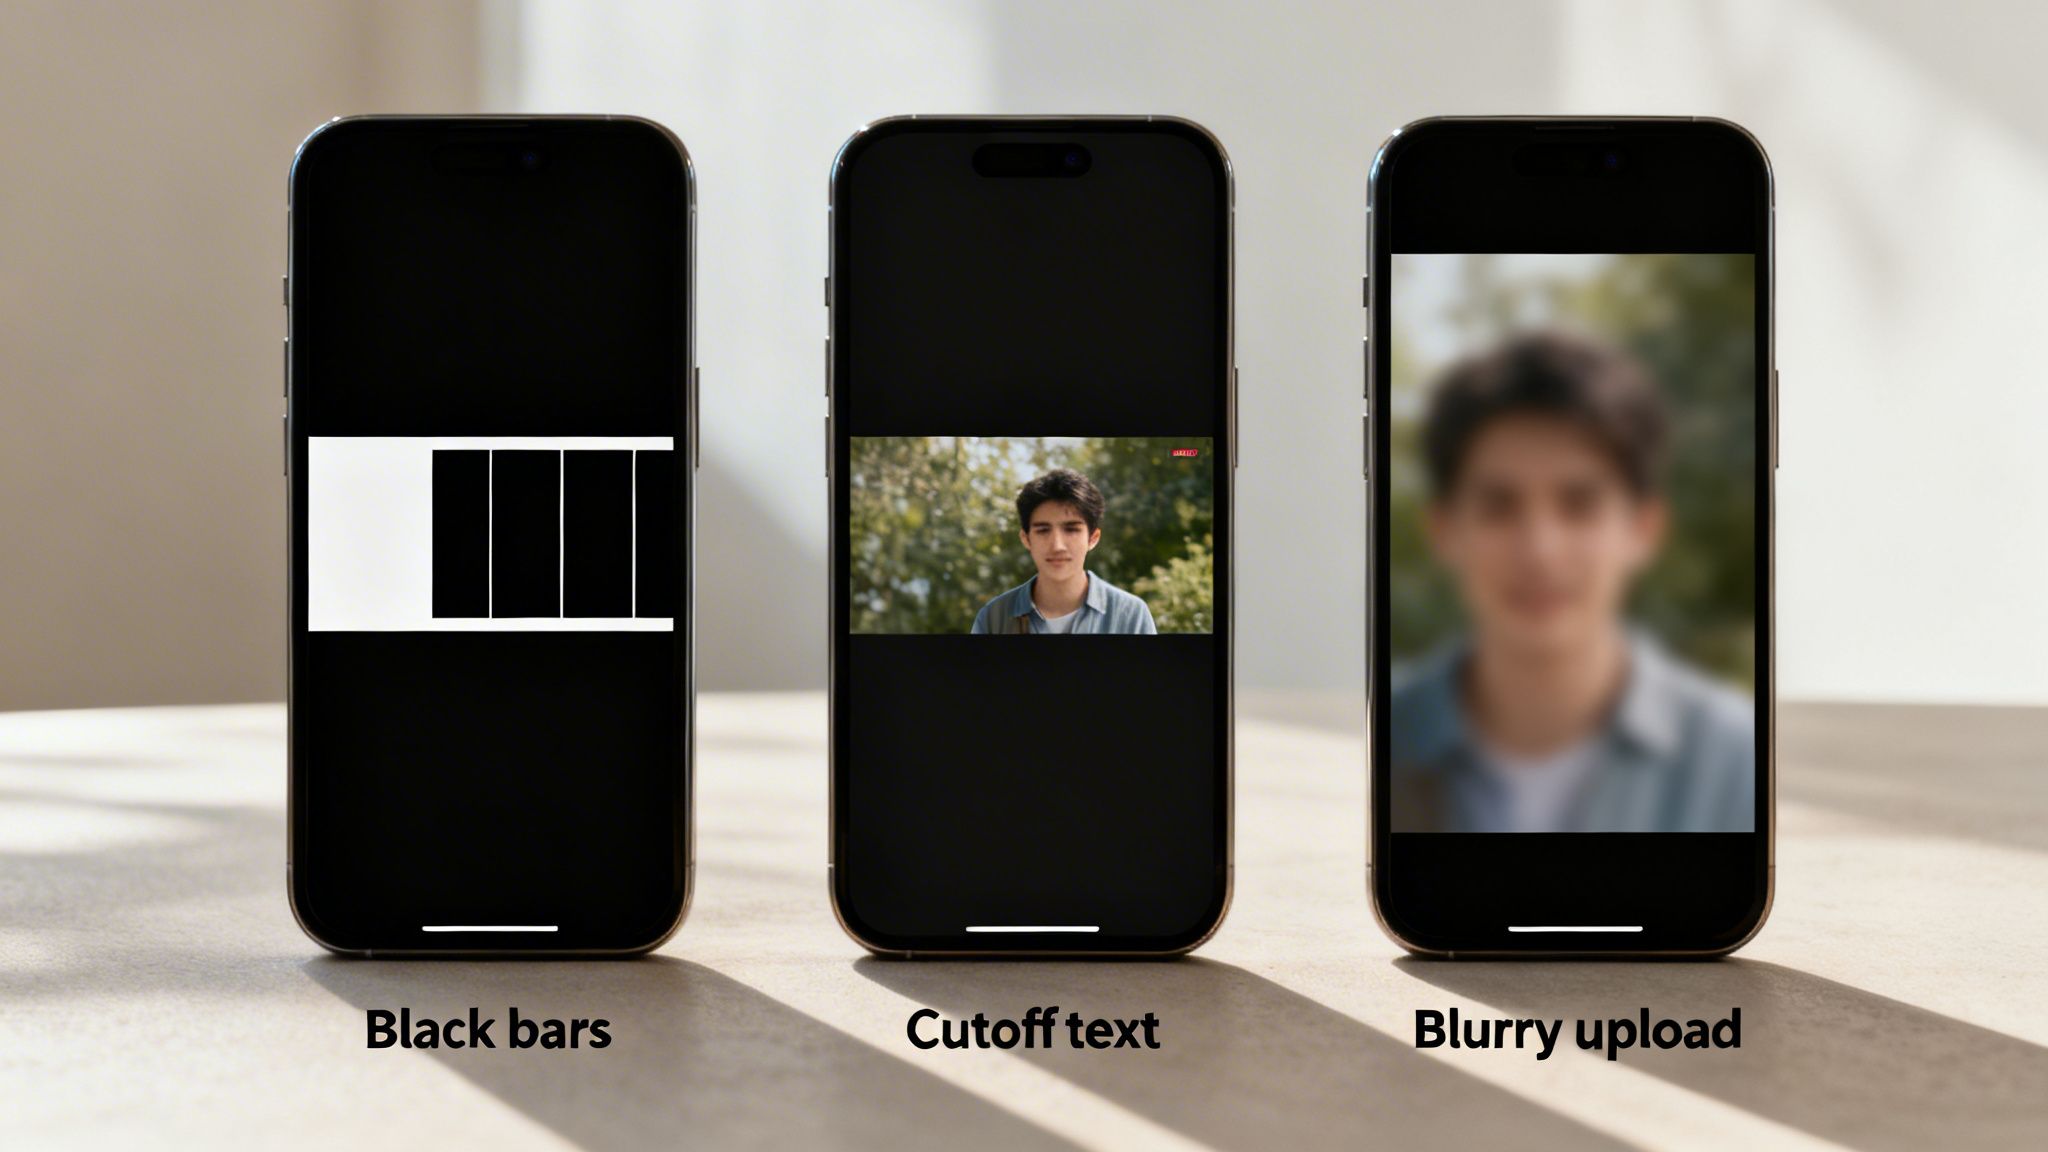
Ever spend hours on a Reel only to upload it and see ugly black bars, your captions cut off, or the whole thing looking blurry? We've all been there. Getting the perfect reels size Instagram can feel like a moving target.
But here’s the good news: these common issues are all surprisingly easy to fix. Let's walk through the most frequent sizing mistakes and exactly how to solve them, so your content looks professional every single time.
Problem 1: The Dreaded Black Bars
If you see black bars at the top and bottom of your Reel, that’s a dead giveaway you’ve uploaded a horizontal (16:9) video. This usually happens when you film in landscape mode and post it directly. Instagram doesn’t know what to do with the wide format, so it just fills the empty vertical space with black.
The Fix: You have to crop your video to a vertical 9:16 aspect ratio before uploading. Pretty much any video editor, including Aicut, has a simple tool for this. Just pick a 9:16 canvas and reposition your video to keep the best part of the action centered in the frame.
Problem 2: Text or Faces Get Chopped Off
This is hands-down the most common sizing mistake. Your Reel looks perfect when you watch it full-screen, but once it hits the main feed or your profile, your perfectly placed text—or even your face—gets awkwardly cut off.
Remember, your Reel gets cropped. It appears as a 4:5 video in the home feed and a 1:1 square on your profile grid. If you place text too close to the top, bottom, or edges, it’s guaranteed to disappear in these other views.
The Fix: Think "center is safe." Always keep your most important elements—like text, logos, or faces—within the middle 1080 x 1080 pixel square of your frame. This simple habit ensures nothing critical gets lost, no matter where people see your Reel.
Problem 3: Your Video Looks Blurry and Pixelated
You know the feeling. You export a crystal-clear HD video, but the second it hits Instagram, it looks like it was filmed on a potato. This is a classic case of letting Instagram's brutal compression algorithm ruin your quality.
The Fix: Don’t give Instagram’s algorithm a chance to mess things up. By exporting your video with the right settings, you give it an optimized file that needs very little extra compression.
Use these settings for a crisp, clean upload:
- Format: MP4 (using the H.264 codec)
- Resolution: 1080 x 1920
- Frame Rate: 30 FPS
- Bitrate: 10-15 Mbps
Exporting with these specs tells Instagram, "Hey, I've already handled the hard part," and it will reward you by preserving that sharp quality you worked so hard for.
Advanced Tips to Optimize Your Reels Performance
Getting the technical specs right for your Reels size on Instagram is the first hurdle. But once you've cleared that, the real work begins. It’s time to move beyond just dimensions and start thinking about what actually makes people stop scrolling and watch.
Let's talk about video length. It’s easy to assume shorter is always better, but the data tells a different story. We're seeing that videos in the 60-90 second range often get more love from the algorithm. This gives you enough breathing room to tell a compelling story or share a valuable tip, which is much easier now that Reels can be up to 3 minutes long.
Designing a Winning Cover Photo
Your Reel's cover photo is its handshake with the world, and it has to work in two different contexts. First, it needs to look great in the full 9:16 vertical format when someone is browsing. But it also has to look sharp and clear as a 1:1 square thumbnail on your profile grid.
The trick is simple: place your main subject, text, or most important visual right in the center. This creates a "safe zone" that ensures nothing critical gets cut off when Instagram crops it for your grid. The result is a clean, professional-looking profile that draws people in.
Reels have become the single most powerful tool for growth on the platform. An incredible 55% of views on Instagram now come from people who don't even follow you. A perfectly optimized Reel is your ticket to reaching this massive audience.
Capitalizing on the Growth Engine
Putting in this extra effort really pays off. Reels are racking up 140-200 billion daily plays across Meta's platforms, and users are resharing them 3.5 billion times every single day. The opportunity here is especially huge for smaller accounts. Creators with fewer than 5,000 followers often see engagement rates around 3.79%, which is way higher than what bigger accounts typically get. For more on this, you can check out these Reels design updates on almcorp.com.
A lot of the common sizing mistakes happen when people try to create everything from scratch. You can sidestep many of these issues by repurposing what you already have. Learning how to create Reels from photos can turn your static content into engaging videos. Better yet, you can effortlessly generate Reels with AI to make the whole process faster and easier.
Frequently Asked Questions About Reels Size
Alright, you've got the main principles down for your Reels, but a few nagging questions always seem to pop up. Let's run through some of the most common "what-if" scenarios that creators run into.
What Happens if I Upload a Square Video as a Reel?
We've all been there—you have a great square (1:1 ratio) video and want to quickly turn it into a Reel. Instagram won't automatically crop or stretch your video, which is good. Instead, it places it in the middle of the vertical 9:16 screen and fills the empty space above and below with a blurred, mirrored version of your video.
While it's not the worst thing in the world, it just doesn't look professional. That blurred background is a dead giveaway that the video wasn't made for Reels, and you lose that immersive, full-screen feeling that grabs a viewer's attention. The best move is always to create or edit for a true 9:16 aspect ratio from the start.
How Do I Stop Instagram From Lowering My Video Quality?
That dreaded blurry upload… it's almost always a result of Instagram's aggressive compression. If you upload a file that its system doesn't like, it will compress it heavily, and your sharp video turns into a fuzzy mess.
The secret is to give Instagram a file that's as close to its preferred format as possible, so it has less work to do.
The fix is all in your export settings. Stick to the H.264 codec, use a 1080 x 1920 pixel resolution, and lock your frame rate at 30 FPS. This is the gold standard combination for keeping your videos crisp.
What Is the Best Size for a Reel Cover Photo?
Your Reel cover has to do double duty. It needs to look good as a full-screen preview when someone taps on your Reel, but it also has to look great as a square thumbnail on your main profile grid.
Here’s a simple, foolproof way to get it right every time:
- Design at Full Size: Start with a canvas that is 1080 x 1920 pixels.
- Center Your Key Info: Place everything important—the title, your face, the main product—inside the center 1080 x 1080 pixel square.
This "safe zone" approach guarantees nothing critical gets awkwardly cut off when Instagram creates the square thumbnail for your profile. Your cover will look great in both places.
Ready to stop guessing and start creating viral content effortlessly? Aicut gives you the tools to generate perfectly sized, high-quality AI videos in minutes, complete with templates designed for maximum engagement. Transform your ideas into stunning Reels, TikToks, and Shorts without the headache. Start creating with Aicut today and watch your channel grow.