
You’re probably doing what most short-form creators do at some point. You save a viral clip, open CapCut or Premiere, search for “free effects video,” grab a few random assets, then spend far too long trying to make them feel like one coherent post.
That approach works once in a while. It doesn’t scale.
The problem isn’t a lack of free assets. It’s that most creators still treat free footage, overlays, sound effects, and AI generation as separate tasks. One folder for stock clips. One app for editing. One tool for captions. One half-finished idea sitting in drafts because the workflow got messy. That’s how the content treadmill starts. You’re always making the next video from scratch.
A better system is hybrid. Pull free assets where they make sense. Use AI where it saves time. Build around repeatable templates instead of one-off edits. That’s how you make a free effects video that looks current without spending all day in timelines.
Beyond the Content Treadmill
Short-form video moves too fast for handcrafted perfection on every upload. Trends shift, visual styles get copied in hours, and viewers can tell when a video feels slow or dated. If you’re trying to post consistently on YouTube Shorts, TikTok, or Instagram Reels, the old workflow breaks down quickly.
The usual failure point is over-editing low-value moments. Creators spend time on flashy transitions, but the hook is weak. Or they find a good effect pack, but the rest of the video still looks generic. A free effects video only works when the effect supports a clear format, not when it tries to carry the whole post.
What actually holds up
The workflow that lasts has three parts:
- Asset sourcing for backgrounds, overlays, motion elements, and sounds
- Pattern recognition so you can break down why a viral video works
- Prompt-based production so you can recreate the style fast instead of rebuilding it manually
That last part is where newer AI workflows matter. Tools built around template reuse, prompt cloning, and one-click publishing remove a lot of the repetitive editing work that used to eat entire afternoons.
Practical rule: Don’t chase “effects.” Chase repeatable visual formats. Effects are only useful when they fit a system you can reuse tomorrow.
A lot of faceless channels already work this way, even if they don’t say it out loud. They aren’t inventing a new editing language every day. They’re rotating proven structures. Data explainer. Character-driven story. Motion graphic listicle. UGC-style product cut. The smart shortcut is to collect free building blocks, then pair them with a workflow that can reproduce the same style on demand.
That’s the difference between posting when inspiration strikes and running a channel like a production system.
Build Your Goldmine of Free Video Assets
The fastest creators don’t search from zero every time. They build a personal library. That matters more than most beginners think. When you know exactly where to pull B-roll, chart animations, ambient clips, and sound effects, you stop wasting energy on the scavenger hunt and start shaping videos faster.
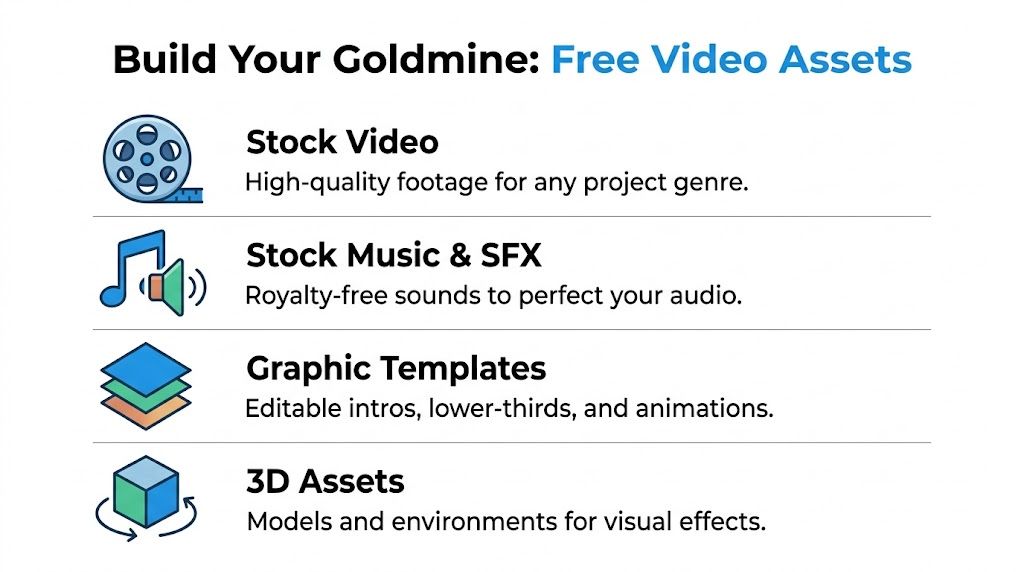
Start with footage that solves a specific problem
Not every asset library is good for the same job. Some are better for polished commercial-looking footage. Others are more useful for niche motion elements or quick filler clips that support narration.
Here’s the practical split I use:
| Asset type | Best use | Trade-off |
|---|---|---|
| Stock video clips | Backgrounds, B-roll, scene-setting | Can look generic if overused |
| Motion graphics | Charts, infographics, overlays | Licensing terms need checking |
| Audio and SFX | Pacing, emphasis, transitions | Easy to overdo |
| Templates | Reels, Shorts, listicles, faceless formats | Often need customization to avoid looking copied |
For creators working with data visuals or explainer formats, the supply is already large. Vecteezy’s statistics footage library lists 18,971 statistics stock video clips, including 15,606 in high resolution, while Storyblocks provides over 8,412 royalty-free statistics clips, Videezy hosts 177 free statistics video downloads, and Adobe Stock lists 329,998 HD and 4K statistic footage clips. That depth is one reason faceless explainer content has become easier to produce on a budget.
Pick libraries by workflow, not by hype
A creator making finance explainers needs different assets than someone building cinematic lifestyle reels. So use libraries with a purpose.
- Vecteezy works well when you need stock footage plus motion-oriented visuals like graphs and presentation-style clips.
- Videezy is useful when budget is the main constraint and Creative Commons options fit the project.
- Storyblocks is attractive if your edit flow already lives inside Adobe tools.
- Adobe Stock has scale, which matters when you need polished options for commercial-looking ads or dense niche searches.
- Freepik can be useful when you want HD or 4K visuals that feel more presentation-ready.
If you make content for ministries, community groups, or values-based brands, it also helps to keep a separate folder of niche-safe visuals. A useful roundup of sources of free church media can save time when you need footage that fits that style without digging through broad stock libraries.
Build your own grab-and-go vault
Don’t just download assets. Organize them like you’re going to reuse them for months.
Create folders such as:
- Hooks and intros for high-motion openers, fast zoom backgrounds, countdowns
- Neutral B-roll for phones, typing hands, city clips, office scenes, abstract loops
- Data visuals for charts, graph animations, dashboard screens
- Texture layers for light leaks, blur overlays, particles, glitch elements
- Audio utility for risers, whooshes, clicks, impact hits, subtle beds
A messy asset folder turns “free” into expensive, because you pay for it in search time every single edit.
If you want a repeatable starting point instead of assembling everything manually, browsing AI video templates for short-form formats can help you identify what kinds of clips and overlays are worth collecting in the first place. Even if you customize heavily, a template-first mindset keeps your asset library practical.
Watch the license before you stack assets
Mistakes frequently occur among creators. “Free” doesn’t always mean the same thing.
Some clips are royalty-free. Some are Creative Commons. Some are fine for commercial use. Some require attribution or have restrictions that become messy once you combine them with brand work, paid ads, or AI-generated layers. Before you build a reusable pack, keep a plain text note with the asset source and license type. It feels boring. It saves headaches later.
What works is a smaller, cleaner library you trust. What doesn’t work is downloading hundreds of random clips you’ll never confidently use.
Clone Viral Video Effects Using AI Prompts
A lot of creators still think effects come from packs. That’s old thinking. The more useful skill now is seeing a viral video, breaking it into visual ingredients, and turning those ingredients into a prompt that can reproduce the style.
That shift matters because trends aren’t just transitions anymore. They’re combinations of subject, camera behavior, lighting, timing, motion style, and background treatment. If you only hunt for overlays, you’ll always be late.
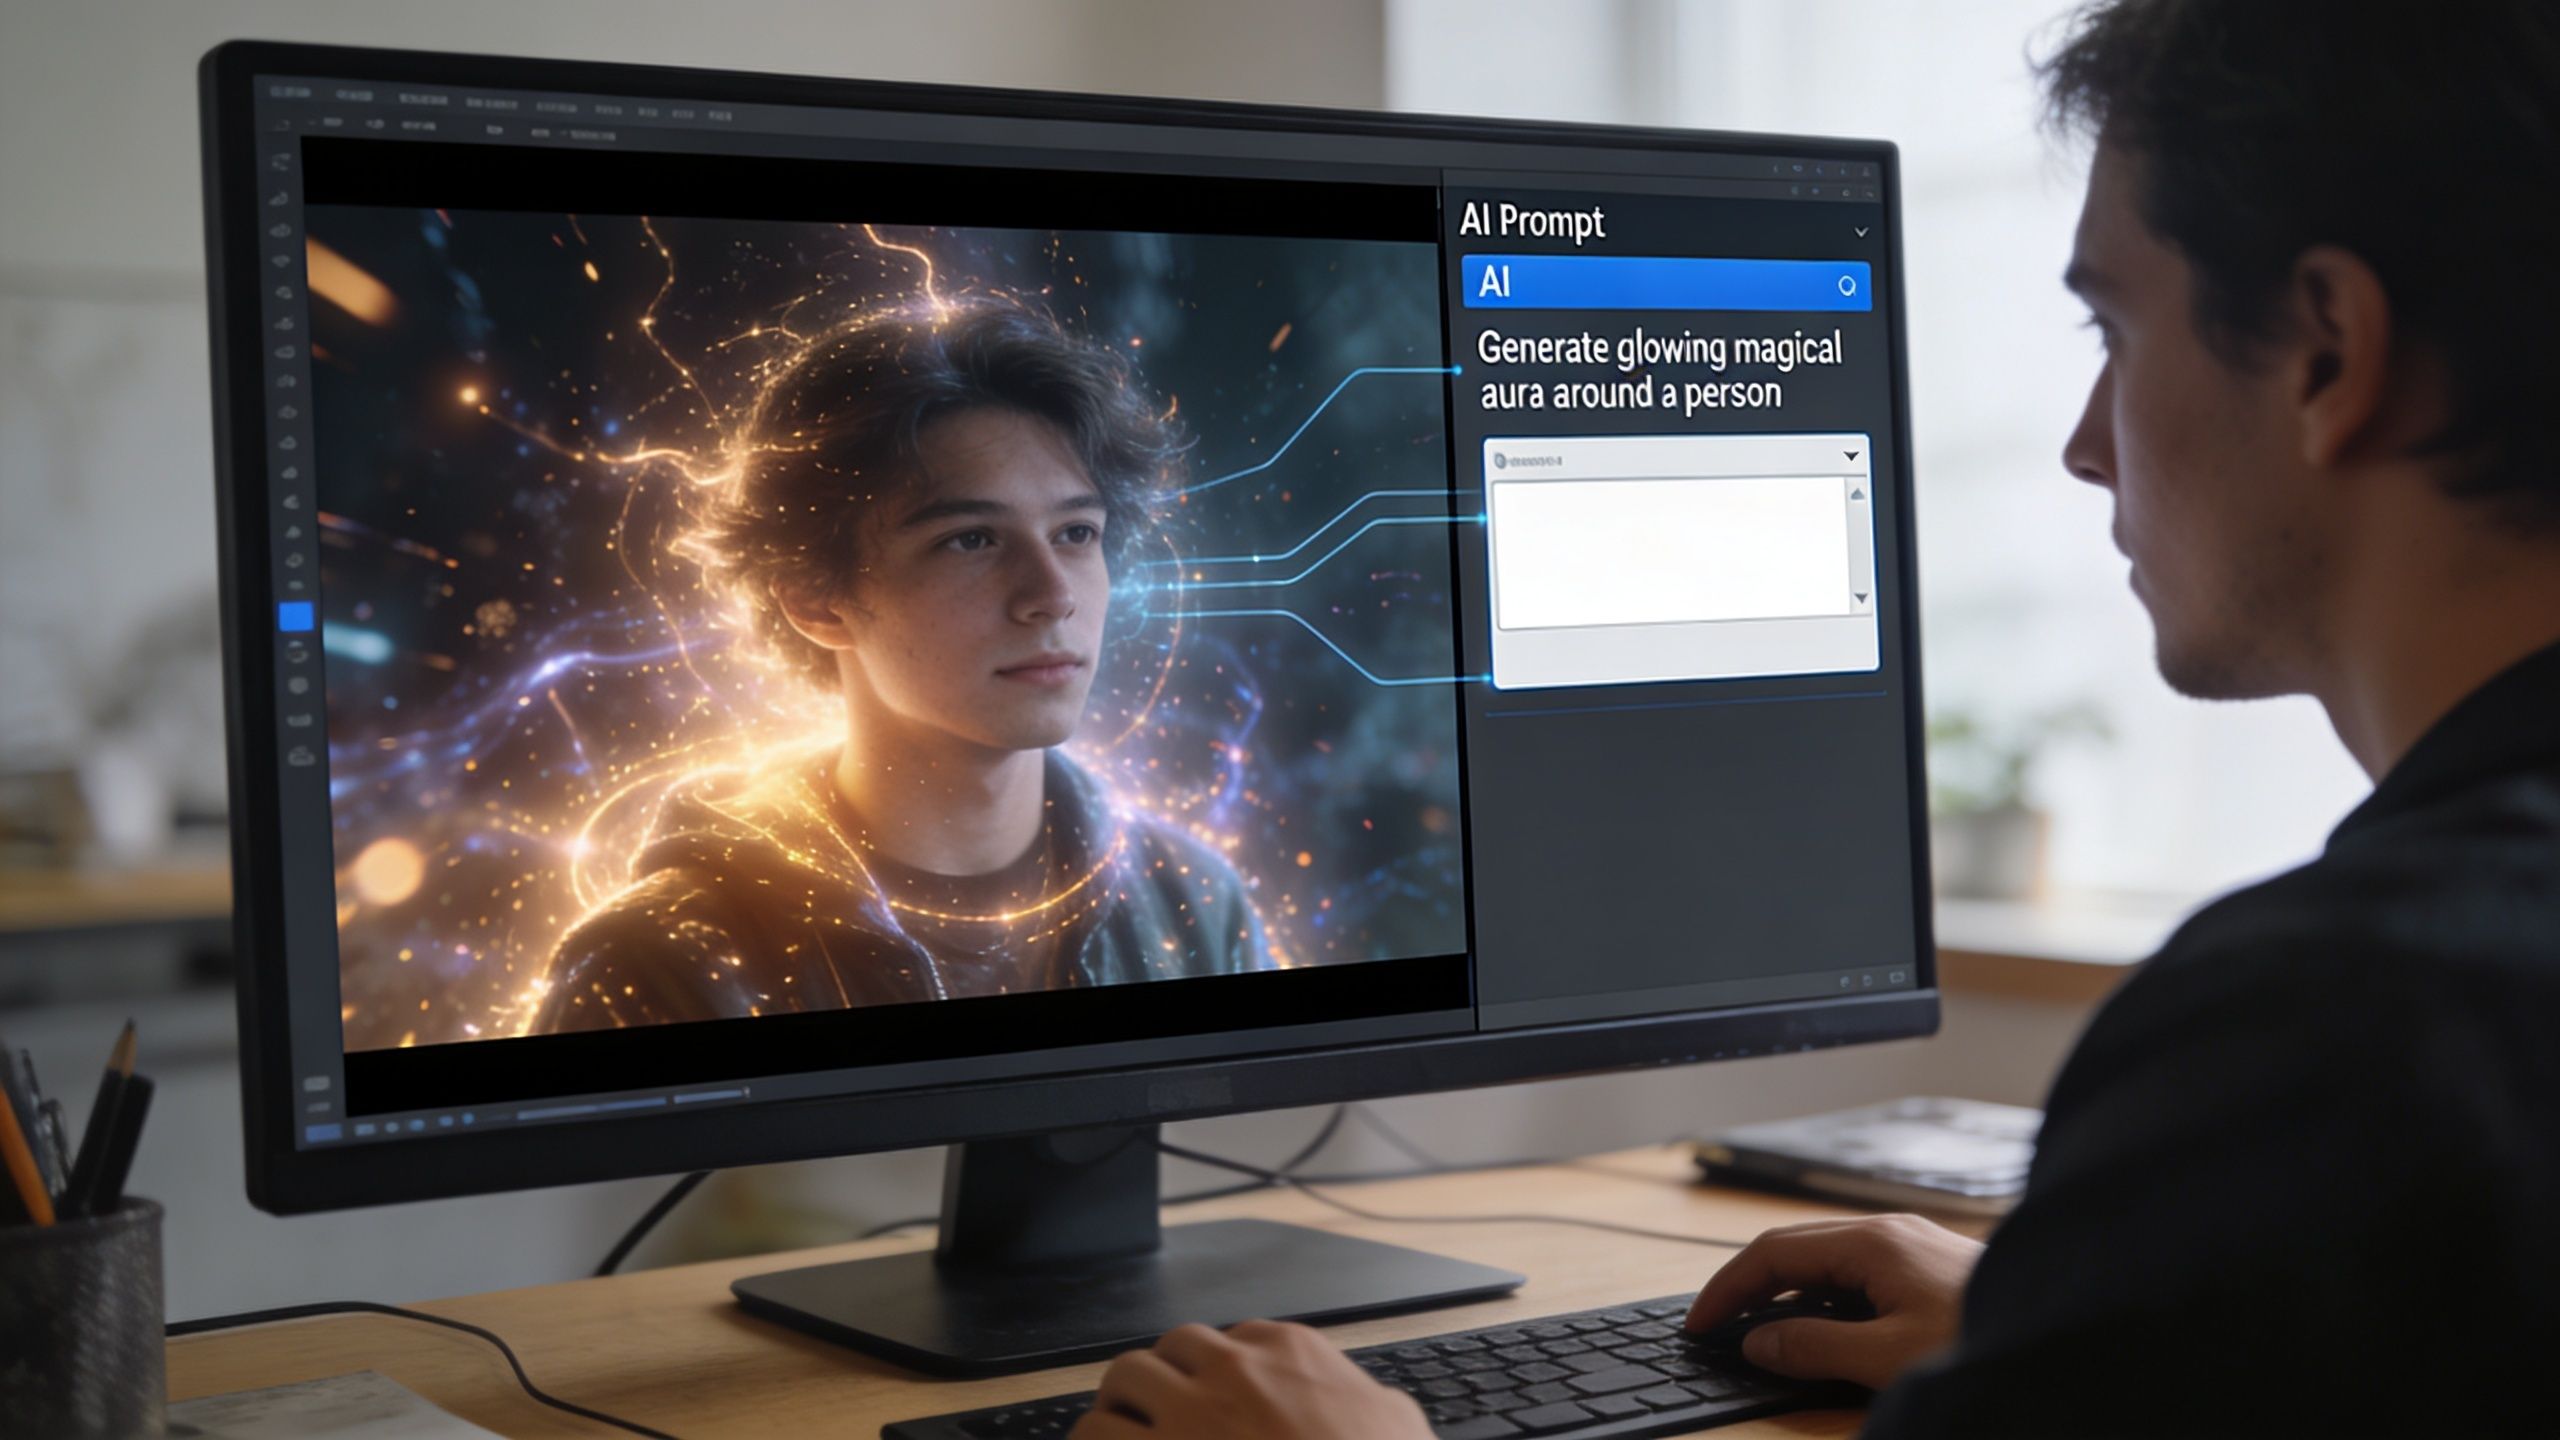
Break the viral clip into parts
When you study a strong short, don’t ask “what effect is that?” Ask:
- What is the subject doing?
- What is the camera doing?
- What changes every few seconds?
- What makes the frame feel alive?
- What part is stock footage and what part feels generated?
A skeleton story trend is a simple example. The effect isn’t just “skeleton.” It might be a dancing skeleton, in a moody library, with glowing edges, shallow depth of field, quick push-ins, and dramatic subtitle timing. Once you describe the full scene, the style becomes reproducible.
Translate style into prompt language
Most creators write prompts that are too vague. They ask for “cool cinematic effect” and then wonder why the result looks flat.
Better prompts describe:
| Weak prompt | Stronger prompt |
|---|---|
| skeleton dancing | animated skeleton dancing in a dim library, glowing blue aura, dramatic side lighting, slow camera push-in, vertical short-form framing |
| product ad | beauty product on marble counter, glossy reflections, soft daylight, floating particles, close-up macro movement, social ad style |
| graph video | animated bar chart with clean motion infographic style, high contrast colors, fast transitions, vertical explainer layout |
The reason this works is speed. FlexClip’s statistics video maker page describes a 3-step workflow of adding media, customizing with AI, and exporting, and notes that AI-based creation can be 90% faster. The same source also says 82% of top TikTok viral pages use animated stats for 40% higher retention, which explains why prompt-driven motion formats keep showing up in viral content.
Prompt cloning is really pattern cloning
The gap in most tutorials is evident. They’ll show you where to get free overlays, but they won’t show you how to rebuild the entire visual pattern of a trend.
Prompt cloning changes that. Instead of asking “where can I download this effect,” you ask “how do I describe the effect so a model can recreate the same style with my subject?”
That’s a better skill because it travels across niches.
If you can describe a trend clearly, you can adapt it to a new niche before the trend is fully saturated.
A simple way to learn this is to study prompt engineering for AI video workflows. The key habit is specificity. Subject. environment. camera movement. lighting. tone. output framing. Once you think in those components, viral visuals become less mysterious.
What works and what falls apart
What works:
- Matching the prompt to the platform format
- Keeping one dominant visual idea per clip
- Using AI for the hero motion, then adding free stock and audio around it
What doesn’t:
- Piling unrelated effects into the same shot
- Using a prompt with no camera language
- Copying a trend’s surface look without understanding its pacing
A free effects video goes further when the “effect” isn’t pasted on at the end. It should be baked into the concept from the first prompt.
Your High-Speed Aicut Production Workflow
The fastest workflow is the one that removes decisions. You shouldn’t be deciding from scratch how to structure every clip, where the captions go, or when to swap visuals. Those choices should already be baked into a repeatable format.
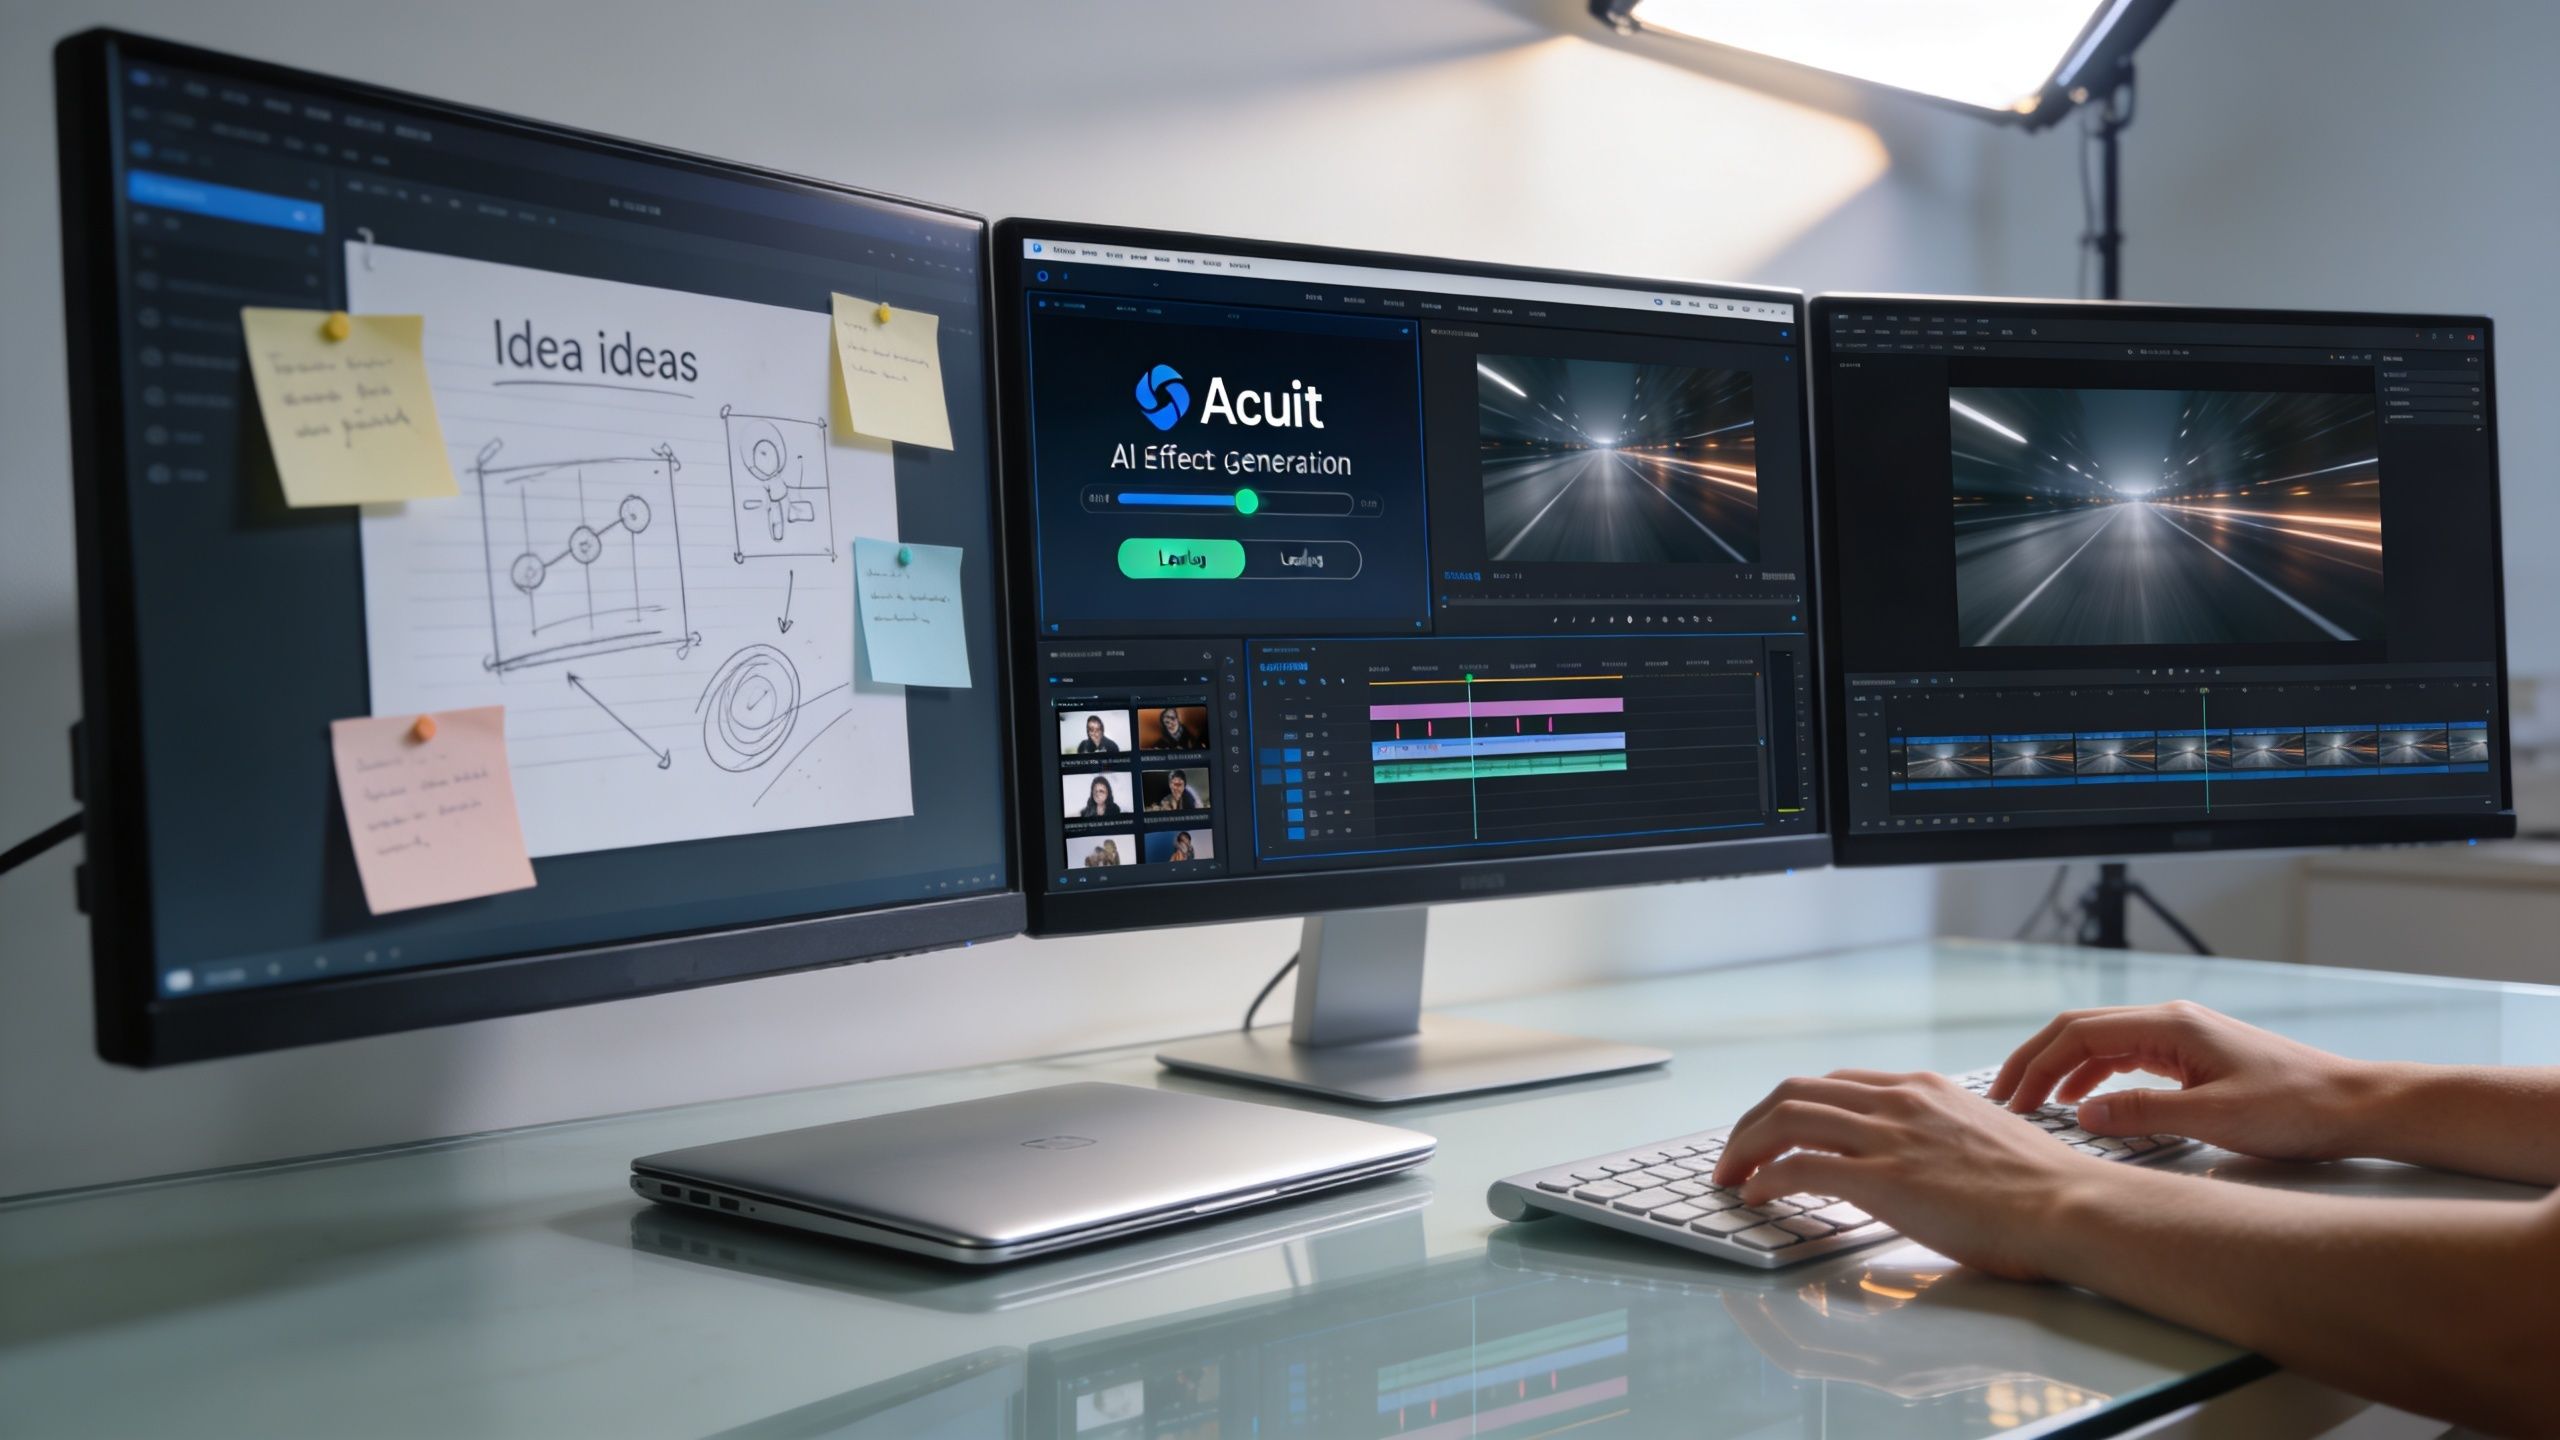
The process below is the one I’d use for a faceless short that needs to feel current without becoming an editing marathon.
Start with a format, not a blank canvas
Blank timelines make people slow. Pick the content shape first.
A format could be:
- a motion-driven listicle
- a character-based micro story
- a product-style UGC clip
- a narrated fact video with animated inserts
Once the format is clear, your asset choices get easier. You know whether you need stock backgrounds, generated subjects, infographic inserts, or all three.
One option in this category is Aicut, which lets creators start from viral-ready templates, use prompt cloning to adapt visual styles, swap characters or backgrounds with AI, add voiceover and captions, then publish across short-form platforms from one workflow.
Load free assets only where they add leverage
Most free stock should support the main action, not replace it. A common mistake is building the whole video from generic footage and then trying to rescue it with transitions.
A better sequence looks like this:
- Choose the core visual that carries the video
- Drop in stock B-roll only where the narration needs a reset
- Use motion layers to reinforce beats, not fill dead space
- Keep the edit modular so you can swap scenes quickly for a variant
Pacing drives retention. According to Cloudinary’s guide to video editing effects, creators should change visuals every 4 to 6 seconds, which can produce 25 to 35% higher average view duration. The same source recommends quick zooms, B-roll layering, and limiting effects to 2 to 3 per minute to avoid visual fatigue.
Build scenes in short visual blocks
Think in blocks, not one long sequence.
A practical short-form structure might look like this:
| Segment | Job in the video | Typical visual treatment |
|---|---|---|
| Hook | Stop the scroll | Strong motion, big subtitle, immediate contrast |
| Explanation | Deliver the point | Cleaner frame, readable text, less clutter |
| Reset | Keep attention | B-roll swap, zoom, cutaway, generated insert |
| Payoff | Give the reason to watch | Strongest effect or clearest reveal |
| End screen | Push action | Simple CTA, minimal distraction |
That pattern is easier to automate because each block has a role. You’re not decorating randomly. You’re assigning a visual job to each moment.
Editing shortcut: If a scene doesn’t change the information or the energy, cut it or replace it.
Let AI handle the repetitive layers
Speed becomes a critical element. Narration, subtitles, ratio exports, voice swaps, and scene variants are exactly the jobs that drain time in manual editing. They matter, but they don’t usually deserve handcrafted effort on every post.
For faceless content, AI voiceover is especially useful because it removes the setup friction. You don’t need a quiet room, a decent mic, retakes, cleanup, and subtitle syncing as separate chores. The same goes for auto captions and background swaps. They’re production utilities. Treat them that way.
The workflow is easier to visualize in action:
Iterate by swapping parts, not remaking the whole post
This is the piece most creators skip. They make one finished version and move on. That leaves a lot of value on the table.
Instead, make variants by changing:
- the hook line
- the first background shot
- the subtitle style
- the generated subject prompt
- the final CTA wording
Because the structure stays the same, the iteration is fast. That’s how you turn one concept into multiple posts without feeling like you’ve entered a full re-edit.
What works in this workflow is restraint. Quick zooms, rhythm changes, layered B-roll, and generated hero shots create momentum. What doesn’t work is spraying effects everywhere because the software made them easy. Viewers don’t reward complexity for its own sake. They reward clarity that moves.
Polish Your Video for Mobile and Go Viral
A lot of creators think polish means “more effects.” Usually it means better framing, fewer mistakes, and cleaner license decisions.
That’s why so many free effects videos still feel amateur. The ingredients are fine. The assembly is sloppy. Subjects get cropped badly in vertical. Text fights the footage. Layers compete instead of guiding the eye. Then the creator blames the stock or the app.
Vertical framing is not a last-minute export setting
Mobile-first editing starts before the final export. If you grab 16:9 stock and cram it into 9:16 at the end, you usually lose the subject or end up with weak empty space.
This is a common pain point. Vecteezy’s low-angle video page is cited in guidance noting over 1,200 monthly Google searches for reformatting free vertical effects video, and that 68% of freelance editors waste time on this issue. The same source notes 30% higher engagement for vertical ads on Instagram. That tells you framing isn’t a technical detail. It directly affects performance.
Use effect density like seasoning
The internet made a lot of editors trigger-happy. Every cut gets a flash. Every beat gets a zoom. Every caption gets a bounce. That style burns viewers out fast.
A better rule is to make each effect earn its place:
- Motion effect when attention is dropping
- Zoom or crop change when the point changes
- Overlay or texture when the frame feels too sterile
- Transition only when the scene shift needs emphasis
If the effect doesn’t improve comprehension or momentum, it’s clutter.
Most weak short-form edits don’t fail because they lack effects. They fail because the viewer doesn’t know where to look.
License stacking is part of the edit
This topic gets ignored because it’s less fun than transitions. It still matters.
If you combine a free stock clip, an AI-generated foreground subject, and a commercial-use music track, you’ve created a stack of separate rights conditions. That doesn’t always mean you’re in trouble. It means you need to know what each element allows.
Keep a simple checklist:
- where the footage came from
- what the license allows
- whether attribution is required
- whether the asset can be used commercially
- whether the music terms conflict with paid distribution
If you’re cleaning up visuals after the fact, a tool focused on improving AI video quality can help with final output issues. But quality enhancement won’t fix bad cropping, chaotic layering, or unclear rights.
The trade-off professionals accept
Budget workflows always involve compromise. Free assets save money, but they often require more judgment. You need to crop better, curate harder, and match styles more carefully than you would with fully custom production.
That trade-off is worth it when the system is clean. It’s not worth it when you throw random clips into a timeline and hope effects create a viral feel on their own.
Your Next Step From Creator to Channel Owner
There’s a big difference between making a cool video and building a repeatable content machine. The first one is exciting. The second one pays off.
A free effects video becomes strategically useful when you can produce it again next week in a different niche, with a different prompt, with a different stock package, and still keep the same production rhythm. That’s what turns editing from a hobby into a channel asset.
The opportunity is larger than one-off posting. Faceless YouTube channels need repeatable visual systems. E-commerce brands need UGC-style creatives without constant reshoots. Freelancers need a workflow they can adapt across clients without rebuilding every project from zero. The creators who move fastest aren’t always the most talented editors. They’re often the ones with the cleanest production loop.
There’s also a real compliance gap in this space. Guidance around mixing free stock footage with AI-generated visuals is still thin. Mixkit’s low-angle stock page is referenced in discussion of this problem, noting over 500 monthly queries on forums around legally combining free stock with AI effects, and that TikTok’s detection systems have flagged 15% more hybrid videos in recent reporting. That’s one reason a structured workflow matters. It reduces improvisation in the parts that can create risk.
If you treat this process seriously, you stop asking, “How do I make one viral edit?” and start asking, “How do I produce useful, repeatable short-form content on demand?” That second question leads to much better decisions.
You don’t need a giant setup. You need a reliable asset library, sharper taste in effect use, a prompt workflow that can clone visual patterns, and a publishing rhythm you can maintain.
That’s how creators graduate from chasing trends to owning a channel.
If you want one place to turn prompts, stock-friendly concepts, faceless formats, voiceovers, and publishing into a repeatable workflow, try Aicut. It’s built for short-form creators who want to make and ship videos faster without stitching together five separate tools.