Learning how to animate still photos is probably easier than you imagine. It's all about using some clever software—often powered by AI—to inject motion, depth, and even speech into a static picture. This simple trick can turn a single photograph into a scroll-stopping video clip, perfect for grabbing attention online.
Bringing Your Images to Life with Photo Animation
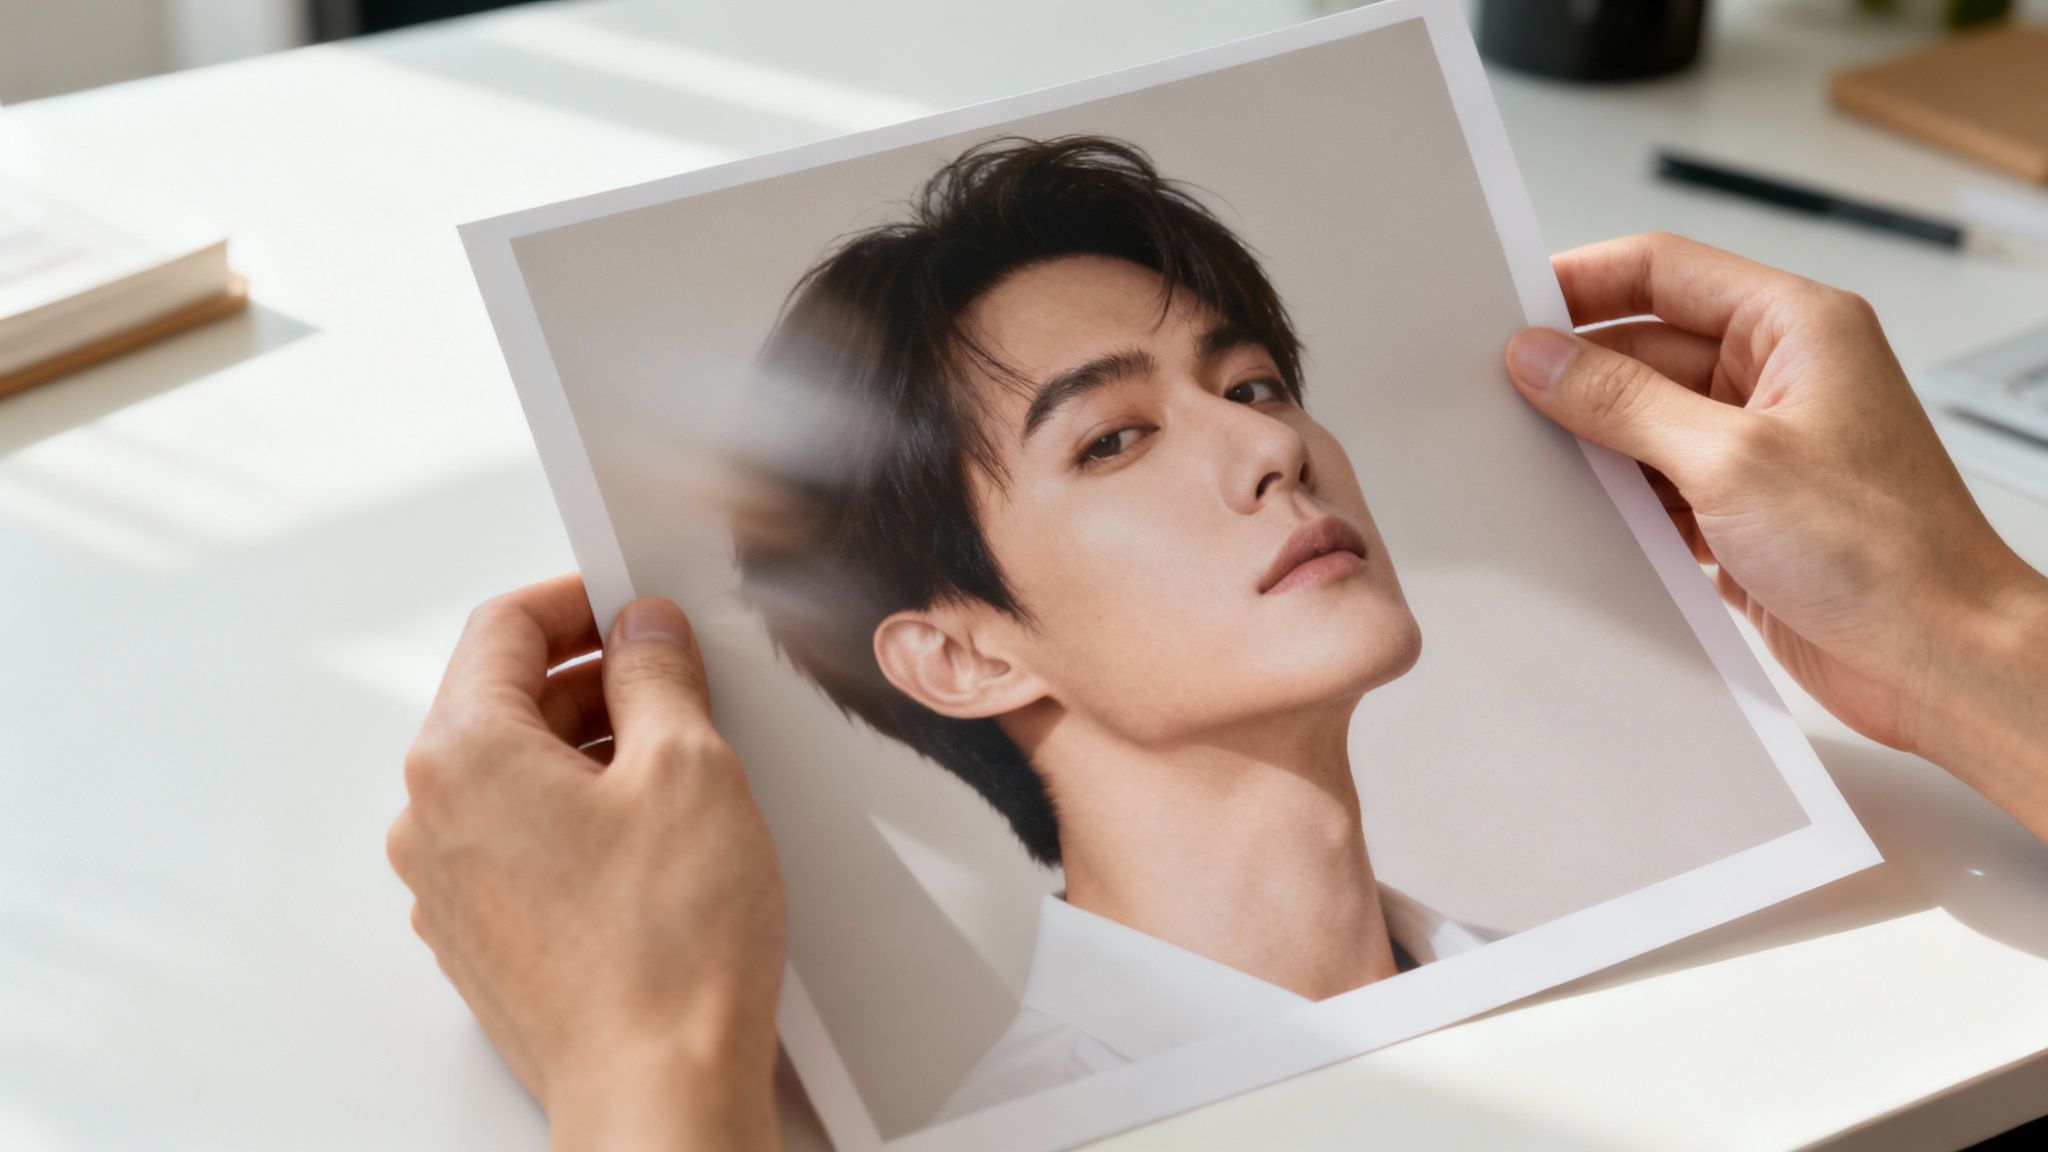
Ever seen an old historical portrait that suddenly blinks and speaks? Or scrolled past a product photo that subtly shifts and seems to pop off the screen? That’s the magic of photo animation. It’s a powerful technique that lets creators cook up compelling, story-driven videos without needing a film crew or expensive cameras.
In this guide, I'll walk you through the main methods you can start using today. We’ll cover everything from AI tools that make faces talk to subtle parallax effects that create an immersive, 3D-like feel.
Why Animating Photos Is a Smart Move
This isn't just a cool visual effect; it's a genuine advantage for modern content creators. For solo creators, faceless channels, and small brands, animating photos is a fantastic way to ramp up video production and keep a steady stream of content flowing. It’s the perfect middle ground between a simple graphic and a full-blown video.
Here’s why it works so well:
- It's incredibly cost-effective. You can skip the expenses of a live-action shoot—no actors, no locations, no gear rentals.
- It saves a ton of time. You can pump out engaging video content in minutes, not days. This means you can post more often and stay top-of-mind.
- Your creativity is the only limit. You can make historical figures tell their own stories or turn a boring product shot into a dynamic showcase.
- Motion grabs attention. Animated content consistently outperforms static images, leading to longer watch times and better engagement on platforms like TikTok and Instagram.
The great news is that a wave of new, easy-to-use AI tools has put this power in everyone's hands. The animation industry is booming, and animating still photos is a huge part of that. In fact, some analysts predict the global Animation and VFX market will hit a staggering USD 386.34 billion by 2031.
This growth is largely thanks to AI platforms like Aicut, which let creators make photorealistic clips from a single image. If you’re building a brand around your visual work, a Photography Blog Writer Virtual Assistant can be a huge help in sharing your animated creations and the stories behind them. You can dive deeper into this market's growth projections at Mordor Intelligence.
The process of turning a book into a film or television show is an act of translation. You tell stories differently in picture books than you do in 11-minute episodes. Similarly, animating a photo is a translation of a single moment into a moving narrative.
Once you get the hang of this, you’re no longer stuck with your source material. A single, powerful photo can become the centerpiece of an entire video, unlocking endless new ways to tell stories and connect with your audience.
Which Animation Style is Right for Your Project?
Before you can make a photo move, you have to figure out how it should move. It's not a one-size-fits-all situation. The right animation technique is what separates a gimmick from a video that genuinely connects with people. Your choice sets the whole mood and style of the final piece.
Think about it: making a historical portrait "narrate" a story is a world away from adding a subtle, premium feel to a product photo for an Instagram ad. It’s all about matching the method to the message. Let's break down the main options.
AI Character and Lip-Sync Animation
This is where things get really interesting. With AI-driven animation, you can take a static portrait—a person, an animal, even an illustration—and make them talk, blink, and show emotion. All you need is the image and an audio file or script, and the software does the heavy lifting, generating realistic facial movements.
This method is a game-changer for:
- Faceless YouTube Channels: Perfect for Reddit story channels or history deep-dives where you can have historical figures "speak" their own words.
- Educational Content: Animate a photo of an expert to explain a tricky concept. It makes the information feel more direct and personal.
- Social Media Avatars: Create a talking version of your profile picture to post quick updates or announcements.
The real goal here is storytelling. You're literally giving a voice to a silent image, which is an incredibly powerful way to grab attention and make your message stick.
The 2.5D Parallax Effect
Ever seen a photo where the background seems to glide separately from the foreground, creating a subtle, almost 3D look? That’s the parallax effect, also known as 2.5D. It works by digitally separating the image into layers (like a person, the things behind them, and the distant background) and then moving each layer at a slightly different speed.
This technique adds a touch of sophistication and depth, making it ideal for:
- Product Showcases: A gentle parallax motion on a product photo can make it feel more tangible and luxurious in an e-commerce ad.
- Landscape and Travel Photos: Add a slow, sweeping movement to a landscape to pull the viewer right into the scene.
- Real Estate Imagery: Bring property photos to life by adding subtle motion, giving potential buyers a more dynamic feel for the space.
Parallax isn't about making your subject talk; it's about making the entire scene breathe. It’s less about narration and more about creating a professional, cinematic atmosphere that draws the eye.
Motion Graphic Overlays
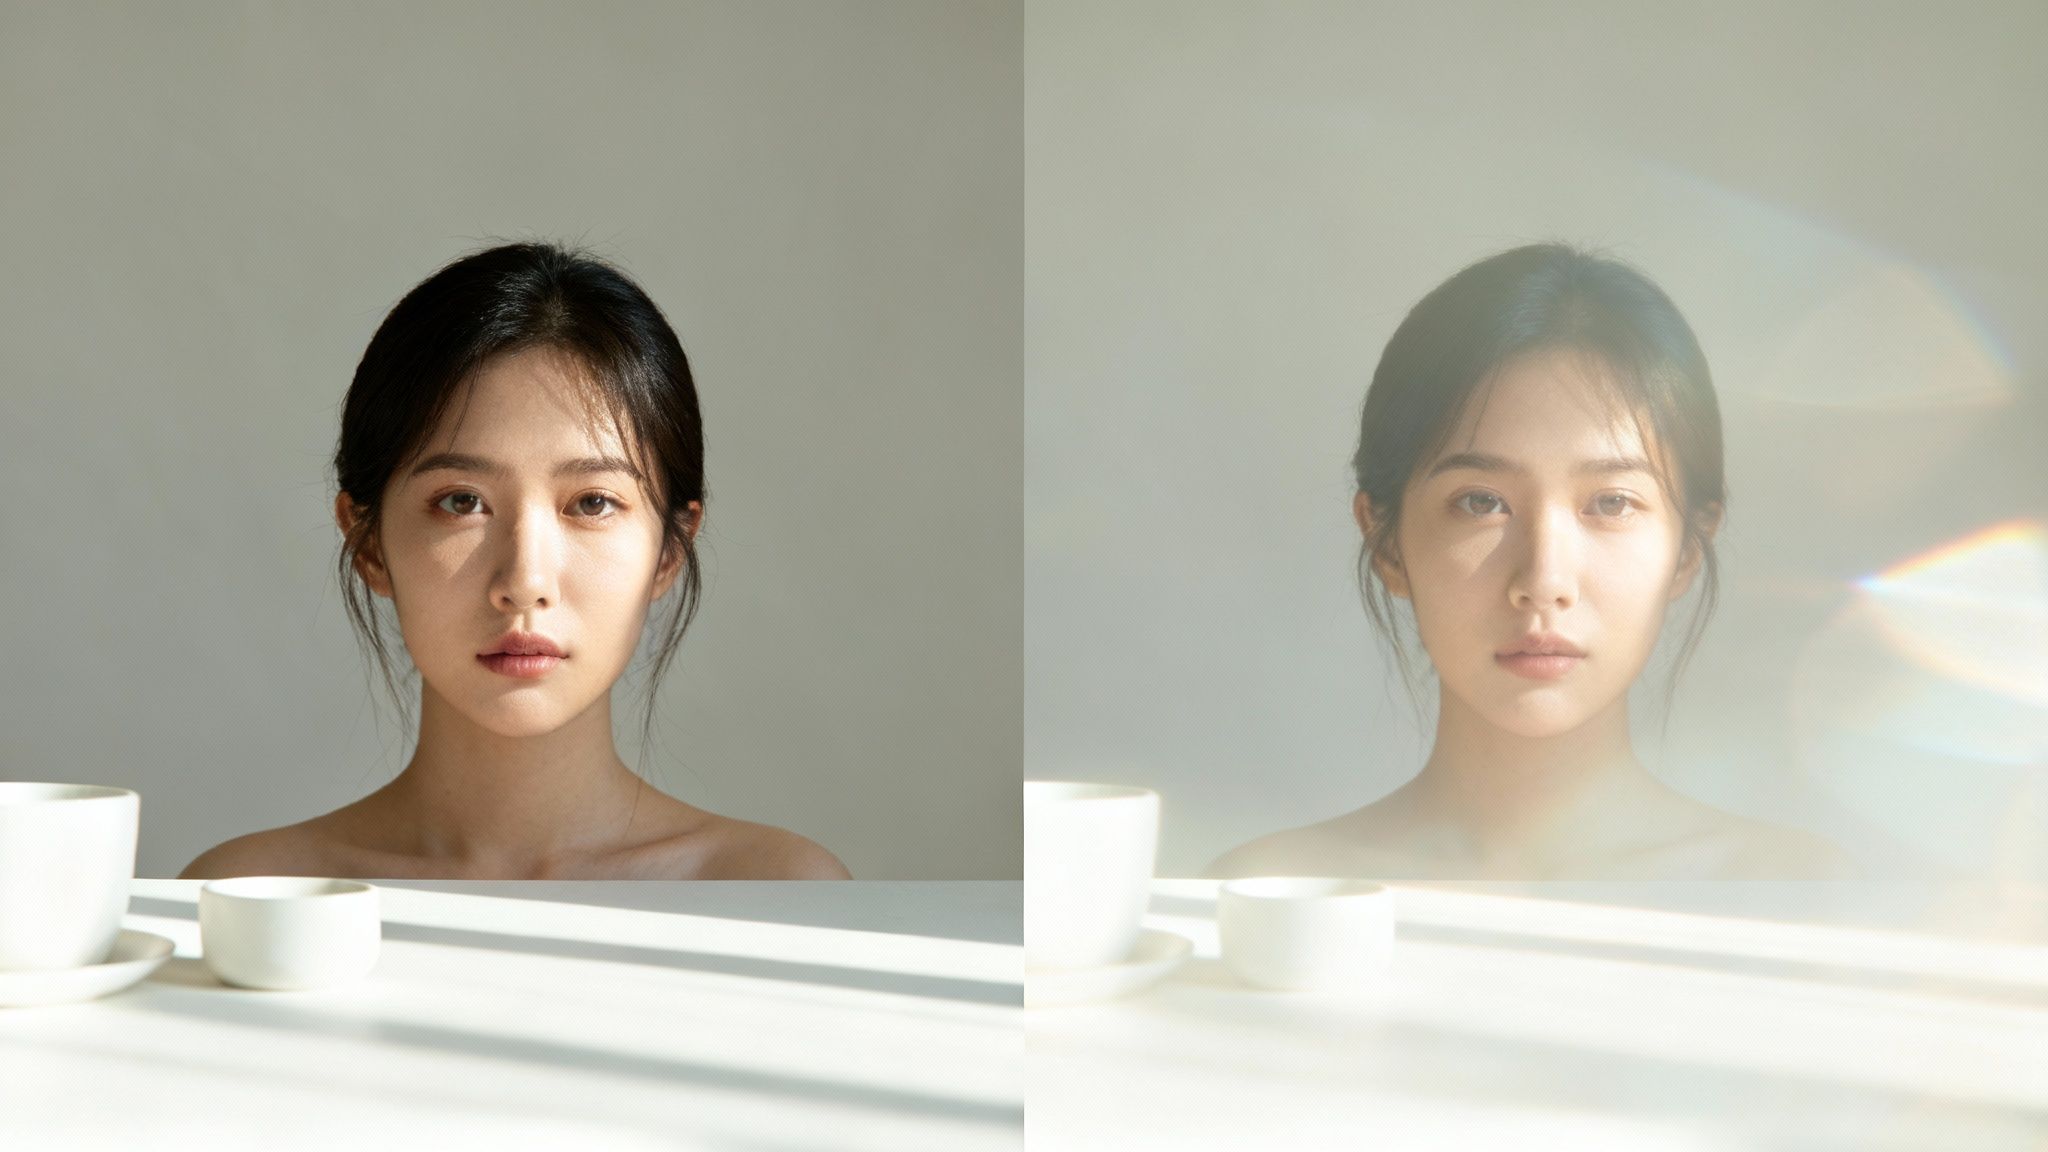
Sometimes, a photo just needs a little something extra to completely change its vibe. Motion graphic overlays are pre-made animated elements—like falling snow, floating dust particles, lens flares, or vintage film grain—that you layer right on top of your image.
The best animations often feel like they were always there, just waiting to be revealed. A subtle overlay can unlock that feeling, turning a simple picture into a living moment without being distracting.
This is often the fastest and easiest way to add a dynamic feel. A brand could layer a soft light leak over a lifestyle photo to give it a warm, dreamy quality. A creator making a spooky story video might add a faint fog overlay to a picture of a dark forest. It’s an instant mood-setter.
The market for animation software is exploding, projected to hit an incredible USD 212 billion by 2035, mostly because AI is making these techniques so easy for anyone to use. The 3D animation segment, which includes AI character generation, already commands a 46% market share, showing just how popular turning static portraits into talking characters has become. You can dig into more of this data over at Precedence Research.
To help you decide, let's compare these techniques side-by-side.
Animation Method Comparison: Which Technique Is Right for You?
This table breaks down the four main animation styles to help you choose the best fit for your specific goals, from the skill required to the potential impact on your audience.
| Animation Method | Best For | Skill Level | Potential Impact |
|---|---|---|---|
| AI Lip-Sync | Storytelling, educational content, social media avatars | Beginner | High engagement, creates a personal connection |
| 2.5D Parallax | Product ads, landscapes, real estate showcases | Beginner-Intermediate | Professional, cinematic feel that adds depth |
| Motion Overlays | Setting a mood, adding atmosphere quickly | Beginner | Instant visual enhancement, stylistic flair |
Ultimately, your project's goal should guide your choice. Many of the best AI video creation tools now support all of these methods, so you don't have to limit yourself. You can find a tool that lets you experiment freely.
Don't be afraid to mix and match, either. Some of the most compelling results come from combining techniques, like using a parallax effect on a background while an AI-animated character in the foreground delivers a message. The key is to play around and see what best serves your story.
A Practical Guide to Animating Photos with AI Tools
Alright, let's get our hands dirty and walk through exactly how you can bring a still photo to life using a modern AI tool. I'm going to use Aicut as the main example here because its workflow is so intuitive. It’s a great starting point whether you're a total beginner or a seasoned pro just looking to work faster.
The whole point is to spend less time fiddling with complex software and more time actually creating. It all begins with a simple upload. From there, we’ll look at a couple of real-world scenarios to see how different animation styles work in practice.
Making a Portrait Narrate a Story
Imagine you have a fantastic portrait. Maybe it's a historical figure for a YouTube documentary you're producing, or an AI-generated character for a faceless channel. The goal is to make them talk, transforming that static image into a compelling narrator. This is easily one of the most impactful ways to animate a photo.
First up, you'll want to apply a talking animation. In a tool like Aicut, you’d upload your portrait and head straight for the character animation feature. This is where you feed it the audio. You’ve got two main ways to do this:
- Text-to-Speech (TTS): Just type or paste in your script. You can then pick a voice that matches the character—say, a deep, authoritative tone for a historical figure—and the AI handles the rest.
- Upload an Audio File: If you've already recorded a voiceover, just upload the MP3 or WAV file. This gives you total control over the emotion and pacing of the delivery.
Once the audio is in, the AI works its magic. It analyzes the sound and maps it to realistic facial movements. The result is a video where the character’s lips, jaw, and even slight head motions are perfectly synced. I've found this technique is brilliant for creating things like engaging Reddit narrations or quick educational explainers.
The real secret sauce isn't just that the lips move. It's the subtle, human-like mannerisms the AI adds in. A slight head tilt or a natural blink is what separates a robotic animation from a character that truly feels alive.
Creating a Dynamic Product Showcase
Now, let's shift over to an e-commerce example. You've got a sharp, clean photo of a product, and you need it to pop on a crowded social media feed. The goal here isn’t to make your product talk, but to give it a high-end, almost three-dimensional presence. This is the perfect job for a parallax effect, also known as 2.5D.
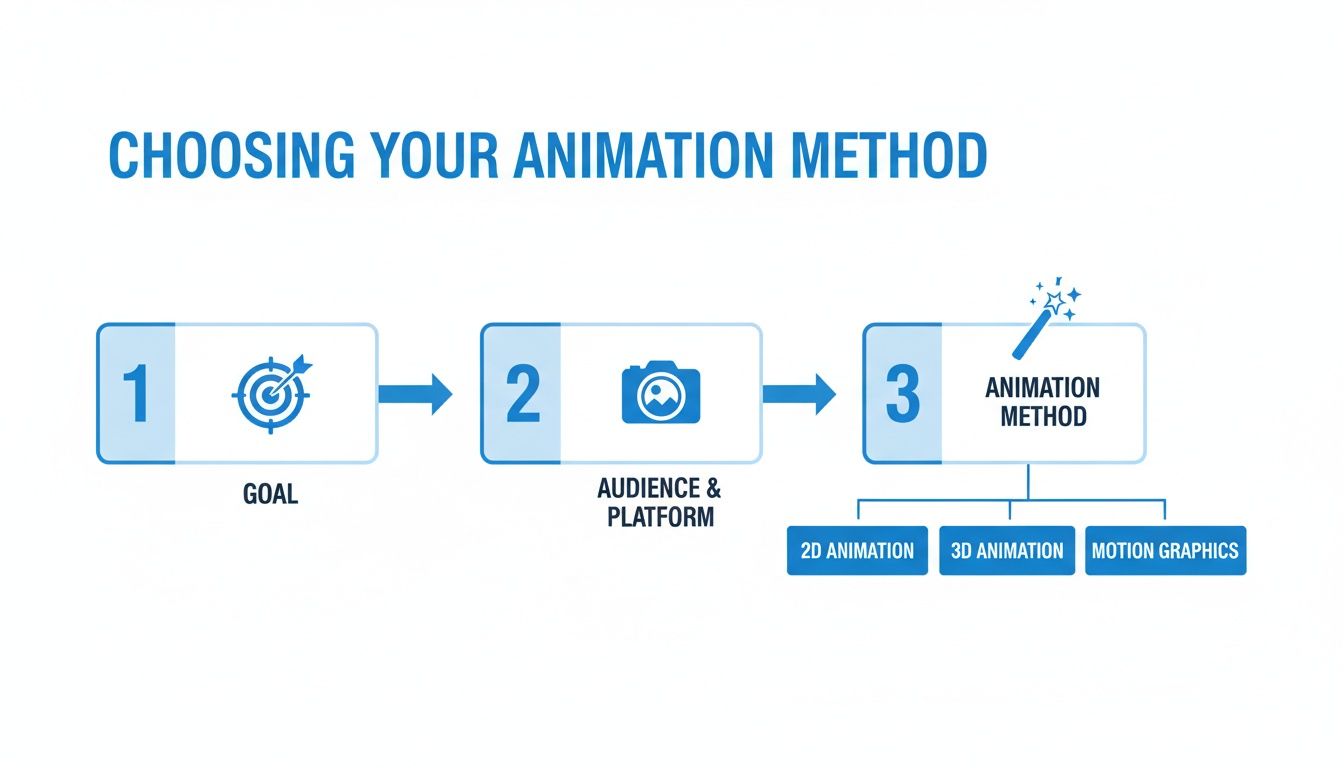
This flowchart shows that the animation method you pick should always be tied directly to your creative goal and the kind of photo you're working with.
With a tool like Aicut, you don't have to painstakingly cut out layers yourself. The AI is smart enough to identify the foreground (your product) and the background. From there, you can apply a subtle zoom or pan. By moving these layers at slightly different speeds, the tool creates a sense of depth that makes the product feel more tangible. It’s a simple motion, but it's often just enough to stop a scroller in their tracks.
Tapping Into Prompt Libraries for Mood
Beyond direct animation, a lot of these AI platforms have prompt libraries that are fantastic for setting a specific mood instantly. Instead of tweaking settings manually, you can just use a descriptive prompt like "cinematic, golden hour glow" or "vintage, grainy film effect" to apply a whole set of visual changes.
This is a massive time-saver, especially if you're creating UGC-style ads or social content that needs a consistent aesthetic. A prompt for a "dreamy, ethereal look," for example, might add a soft background blur and a gentle light leak overlay, completely changing the vibe of your animated photo in seconds. This approach lets you experiment quickly. For a deeper look, check out our guide on the best AI picture animator tools out there.
As you get more comfortable, you'll start to see how you can combine these techniques. You might animate a character speaking while adding a slow parallax zoom to the background for a richer, more dynamic video. Once you see how AI can bring photos to life, you may want to explore powerful AI video editing tools to take your creations even further. The key is to start simple, master a few of these workflows, and then start blending them to create your own unique style.
Advanced Techniques to Make Your Animations Stand Out
Once you've nailed the basics, you can start exploring the techniques that really make your work pop. Moving beyond a single, simple effect is how you develop a style that people remember. The real magic happens when you start layering different methods to build atmosphere, guide the viewer’s eye, and tell a much richer story.
Think of it like this: a single instrument can play a nice tune, but a full orchestra creates an unforgettable experience. The same goes for photo animation.
Combine Animation Styles for Greater Impact
A mistake I see a lot is people treating each animation method like a standalone trick. But the true power is in the combination. For instance, layering a subtle motion overlay on top of an AI-animated face can completely transform a scene's mood.
Imagine you've animated a historical portrait to narrate a story. Cool, but a little static. Now, add a soft, flickering candlelight overlay. Suddenly, it feels intimate, like they're sharing a secret from the past.
Here are a few combinations that work wonders:
- AI Character + Parallax Zoom: Have your main subject talk while the background slowly pushes in. This builds intensity and forces the viewer to focus on what’s being said.
- Parallax Effect + Motion Overlay: I use this for product shots all the time. Create a slow, sweeping parallax motion, then add a lens flare or some dust particle effects. It instantly gives the shot a polished, high-end commercial feel.
- Lip-Sync + Animated Elements: While your character is speaking, have small animated text or icons pop up to emphasize key points. It adds a dynamic, "explainer video" vibe.
This layered approach adds depth and makes your videos feel far more professional and thoughtfully produced.
"The best animations often blend multiple subtle effects. Your goal isn't to overwhelm the viewer with movement, but to create a cohesive, believable world within the frame of a single photo."
Use Advanced Masking for Precision Effects
Sometimes you only want an effect on a specific part of an image. This is where masking is your best friend. Masking lets you isolate one area and apply an animation just to that section, leaving everything else untouched.
For example, you could animate just the steam rising from a coffee cup while the cup itself stays perfectly still. Or maybe make the stars in a night sky photo twinkle without affecting the landscape below. This level of precision gives your work a clean, pro finish. It shows you’re in control of every detail.
Master Storytelling Through Motion and Pacing
Animation isn't just about making things move; it's about how they move. The speed, direction, and style of your motion are powerful storytelling tools. A slow, gentle zoom can create a sense of nostalgia, while a fast, sharp cut can build excitement.
Think about the emotion you want your audience to feel:
- Suspense: Use a very slow, almost imperceptible zoom-in on a subject’s face right before a big reveal.
- Excitement: Animate a product with quick, energetic movements to make it feel vibrant and desirable.
- Calm: Apply a gentle, drifting motion to a landscape photo to create a peaceful, meditative mood.
The demand for this kind of engaging visual content is exploding. The global animation market is projected to reach an incredible USD 777.38 billion by 2035, largely driven by social media. Brands are turning simple product photos into viral TikToks and seeing engagement jump by over 200%. You can dive deeper into this expanding market at Research Nester.
Of course, none of these advanced effects will work if you start with a blurry image. A high-quality source photo is non-negotiable, otherwise your final animation will look pixelated and amateurish. To learn how to get your images ready, check out our guide on how to improve your image quality with an AI image upscale. With a crisp starting point and these techniques, you can turn any static picture into a captivating story.
Getting Your Animated Photos Ready for Social Media
You’ve done the creative work and brought your photo to life. But all that effort can fall flat if the final video looks blurry, cropped, or just wrong when you upload it. The final step—exporting—is just as crucial as the animation itself.
Every social network plays by its own rules. A one-size-fits-all export simply won't cut it if you want your work to look professional and get the reach it deserves.
Think of it this way: dialing in the right settings tells the platform's algorithm that you know what you're doing. It’s a small step that can make a huge difference in how your video is perceived and promoted.
Nailing the Technical Settings
Before we get into platform-specific tricks, let's cover the three non-negotiables. These are the core settings you'll find in any video tool, including Aicut, and getting them right solves most of the common quality problems I see.
Resolution: This is all about clarity. For vertical videos meant for TikTok, Reels, or YouTube Shorts, you should always be exporting at 1080x1920 pixels. This is the gold standard for HD vertical video and keeps your animations looking crisp on any phone.
Frame Rate (FPS): This is how many images flash on the screen per second. I've found that 30 FPS is the sweet spot for almost all social media content. It delivers that buttery-smooth motion we're used to seeing, but without creating a massive, slow-to-upload file.
File Format: When in doubt, go with MP4. It's the universal language of online video, offering a great balance between high quality and manageable file size. It just works everywhere.
Honestly, if you just get these three settings right, you'll avoid 90% of the headaches people run into when their uploads look pixelated or laggy.
How to Win on TikTok
TikTok is built for speed and repetition. When animating photos for this platform, your entire mindset should be about creating a perfect, satisfying loop. The goal is to make something people will watch two or three times before they even realize they're doing it.
One of the easiest ways to do this is to jump on a trending sound. Don't just slap it on your video; sync your animation to the beat. If you're animating a product, make it pop or pulse with the music. This makes your content feel native to the platform, which the algorithm loves.
On TikTok, the first three seconds are everything. Your animation needs an immediate hook—a surprising facial expression, a quick zoom, or a dramatic reveal—to stop the scroll.
Keep your videos short and sweet, ideally between 7 and 15 seconds. That's the perfect length for a high-quality loop and helps rack up the rewatch time that TikTok values so highly.
Best Practices for Instagram Reels
Instagram Reels often feels a bit more polished than TikTok. The audience there tends to appreciate a slightly more aesthetic, almost cinematic, vibe. So, when you're animating photos for Reels, focus on creating a visually beautiful experience.
Start with a high-quality image. Then, consider adding subtle motion overlays like light leaks or a soft film grain effect. This can take a simple parallax animation of a landscape photo and make it feel like something much bigger and more professional.
A few strategies I've seen work really well for Reels:
- Craft a Strong Visual Hook: Just like TikTok, the first moment is crucial. Use a quick pan, a dramatic zoom in on a detail, or an unexpected character movement.
- Tell a Micro-Story: You can still tell a story in a few seconds. Animate a historical photo to share one quick, mind-blowing fact, or use a parallax effect on a vacation photo to make the viewer feel like they're there.
- Use Text That Pops: Add clean, bold text overlays to get your point across, even with the sound off.
Optimizing for YouTube and Shorts
YouTube gives you two very different playgrounds. For standard, long-form videos, animated photos are an incredible asset for faceless channels. I've seen creators animate a single character—like a historical figure—and have them narrate an entire 10-minute video, using simple zooms and pans to keep things from feeling static.
For YouTube Shorts, you're back in the vertical video world. The rules are pretty much the same as Reels and TikTok: a 9:16 aspect ratio and a runtime under 60 seconds. The key here is clarity. Since Shorts are often sandwiched between longer, more detailed videos, make sure your animation gets straight to the point.
A Quick Export Cheat Sheet
To keep things simple, I put together this little cheat sheet. Bookmark it, screenshot it, or just remember it. This is your go-to checklist for exporting.
Social Media Export Settings Cheat Sheet
This table provides a quick-reference guide to the best video export settings for the most popular vertical video platforms.
| Platform | Aspect Ratio | Resolution | Recommended Format |
|---|---|---|---|
| TikTok | 9:16 | 1080x1920 | MP4 |
| Instagram Reels | 9:16 | 1080x1920 | MP4 |
| YouTube Shorts | 9:16 | 1080x1920 | MP4 |
Taking a few moments to double-check these settings before you export makes a world of difference. It ensures all the creative work you put into your animation gets the high-quality showcase it deserves.
Common Questions About Animating Still Photos
Jumping into any new creative skill means you're going to have questions. When you first start animating photos, you might wonder if you're picking the right images or worry that your final video will look a bit… off. It’s totally normal.
Let's walk through some of the most common questions I hear from creators who are just getting their feet wet. Getting these basics down will help you build confidence and make sure the cool idea in your head actually translates to the screen.
What Kind of Photos Work Best for AI Animation?
This is probably the most important question, because your starting image determines everything. For any kind of AI-driven animation, especially face and lip-sync stuff, the rules are pretty simple.
You need a high-quality photo where your subject is clear and, ideally, facing the camera. The AI has to lock onto key features like the eyes, nose, and mouth to create movement that looks believable. If it can't see them clearly, things get weird fast.
Try to steer clear of photos with:
- Heavy Shadows: If half the face is covered in a deep shadow, the AI will struggle to map expressions correctly.
- Obstructed Features: Hair in the eyes, a hand over the mouth—anything that covers the face is a surefire way to get a glitchy, unnatural result.
- Extreme Angles: A pure profile shot or a photo from a super high or low angle just isn't going to work well. The software is designed for more direct views of the face.
A tool like Aicut is powerful, but it’s not magic. Giving it a clean, well-lit, front-facing portrait is the best way to get a professional-looking animation every time. The same thinking applies to full-body animations—make sure the person or character is fully in the frame and easy to see.
Can I Animate a Photo Without Expensive Software?
Absolutely. In fact, this is why photo animation has blown up recently. The days of needing a beastly computer running Adobe After Effects are over, at least for this kind of work.
Modern AI tools have made this accessible to everyone. Platforms like Aicut are built to be used right in your web browser, with simple interfaces that don't require you to learn about keyframes or complex timelines.
The real game-changer isn't just that it's easier; it's the speed. A task that would have taken a motion designer hours can now be done in minutes. This is huge for solo creators and small teams who need to pump out great content consistently.
These tools are often packed with ready-to-go templates and prompts, making it an incredibly fast and cheap way to create videos that will actually grab attention on social media.
How Do I Make My Animations Look Natural and Not Robotic?
The key to making an animation feel natural is almost always subtlety. When you're first starting out, it’s so tempting to crank all the settings up to 100, but that’s what leads to those jerky, robotic movements we all want to avoid.
Instead, think gentle and controlled. If you're using a parallax effect (the 2.5D look), a slow, steady zoom feels way more cinematic than a fast, jarring one. For AI characters, play around with different templates. Look for the ones with nuanced expressions instead of wild, over-the-top gestures.
Another pro tip is to layer effects. Adding something simple like a soft light overlay or some floating dust particles can draw the eye and make the whole scene feel more alive. It distracts from any tiny imperfections in the main animation. Always try to match the animation's energy to the photo's mood. A quiet, historic portrait needs slow, thoughtful motion. A bright, flashy product shot can handle something much more energetic.
How Long Should My Animated Video Be for Social Media?
There’s no magic number here—it all comes down to the platform you're posting on. But there are definitely some proven guidelines that will help your videos perform better.
For TikTok and Instagram Reels, the sweet spot is usually 7-15 seconds. That’s the perfect length to create a satisfying loop, which encourages people to watch it over and over. Both algorithms love that.
On YouTube Shorts, you can go up to 60 seconds, but I find the 15-30 second range is where you'll get the best engagement. For a standard, long-form YouTube video, you can make an animated photo clip as long as you need to cover your narration. Just make sure to keep it visually interesting by adding a slow zoom, pan, or a cut every 5-10 seconds so it doesn’t feel static.
Ready to turn your best photos into scroll-stopping videos? With Aicut, you can access viral templates, powerful AI tools, and a simple workflow to start creating content that gets noticed. Start animating your photos for free today.