
You've probably been there. You have a strong thumbnail idea, a funny meme format, or a UGC-style ad draft, but one face is wrong, one expression is flat, or the person you need wasn't in the shot you want to use. That's usually where photoshop face changing stops being a gimmick and starts becoming a practical editing skill.
For creators, this work sits in the middle of art, speed, and damage control. You want a believable result fast enough for TikTok and Instagram, but not so rushed that the edit falls apart around the eyes, jawline, or skin tone. The good news is that the workflow is learnable. The better news is that you don't need to do everything manually anymore.
More Than Just a Meme A Timeless Technique
A lot of creators treat face swaps like a modern internet trick. They're not. They're just the latest version of an old image-making habit.
Long before Photoshop, photographers were already changing faces and bodies to fit the look they wanted. In the 19th century, commercial studios routinely slimmed waists, smoothed skin, and refined facial details directly on negatives. Historians estimate that the majority of commercial photography from that period, potentially 70-90%, was retouched (historical photography discussion). That matters because it frames face editing correctly. You're not using some weird new cheat. You're using newer tools for an old visual goal.
That doesn't make every edit good. It just means the craft has history.
Why creators keep coming back to it
The modern version is more practical than romantic. You need a cleaner reaction shot for a short-form skit. You want to swap a creator's expression for a stronger hook frame. You need to fix one bad take instead of rebuilding the whole asset.
Practical rule: If the edit helps the image communicate faster, viewers usually accept it. If the edit calls attention to itself, it fails.
That's why photoshop face changing shows up everywhere from joke posts to polished ad creatives. Sometimes it's a full face replacement. More often it's a targeted fix. Better mouth position. Better eye direction. Cleaner skin texture. A jawline that matches the scene better.
The old goal and the new workflow
What's changed is speed. Victorian studios had pencils, brushes, and chemical methods. You have masks, Liquify, Neural Filters, and one-click tools. The intent is familiar. The turnaround isn't.
If you make faceless or character-driven social content, it also helps to study adjacent workflows like GIF face swap editing for short-form content. The same creative logic applies. Match the energy of the source, keep the composite believable, and don't waste an hour polishing details nobody will notice on a phone screen.
The best creators know where realism matters and where “good enough” is enough.
Preparing Your Images for a Flawless Swap
Most bad face swaps don't fail in Photoshop. They fail before the files even get opened.
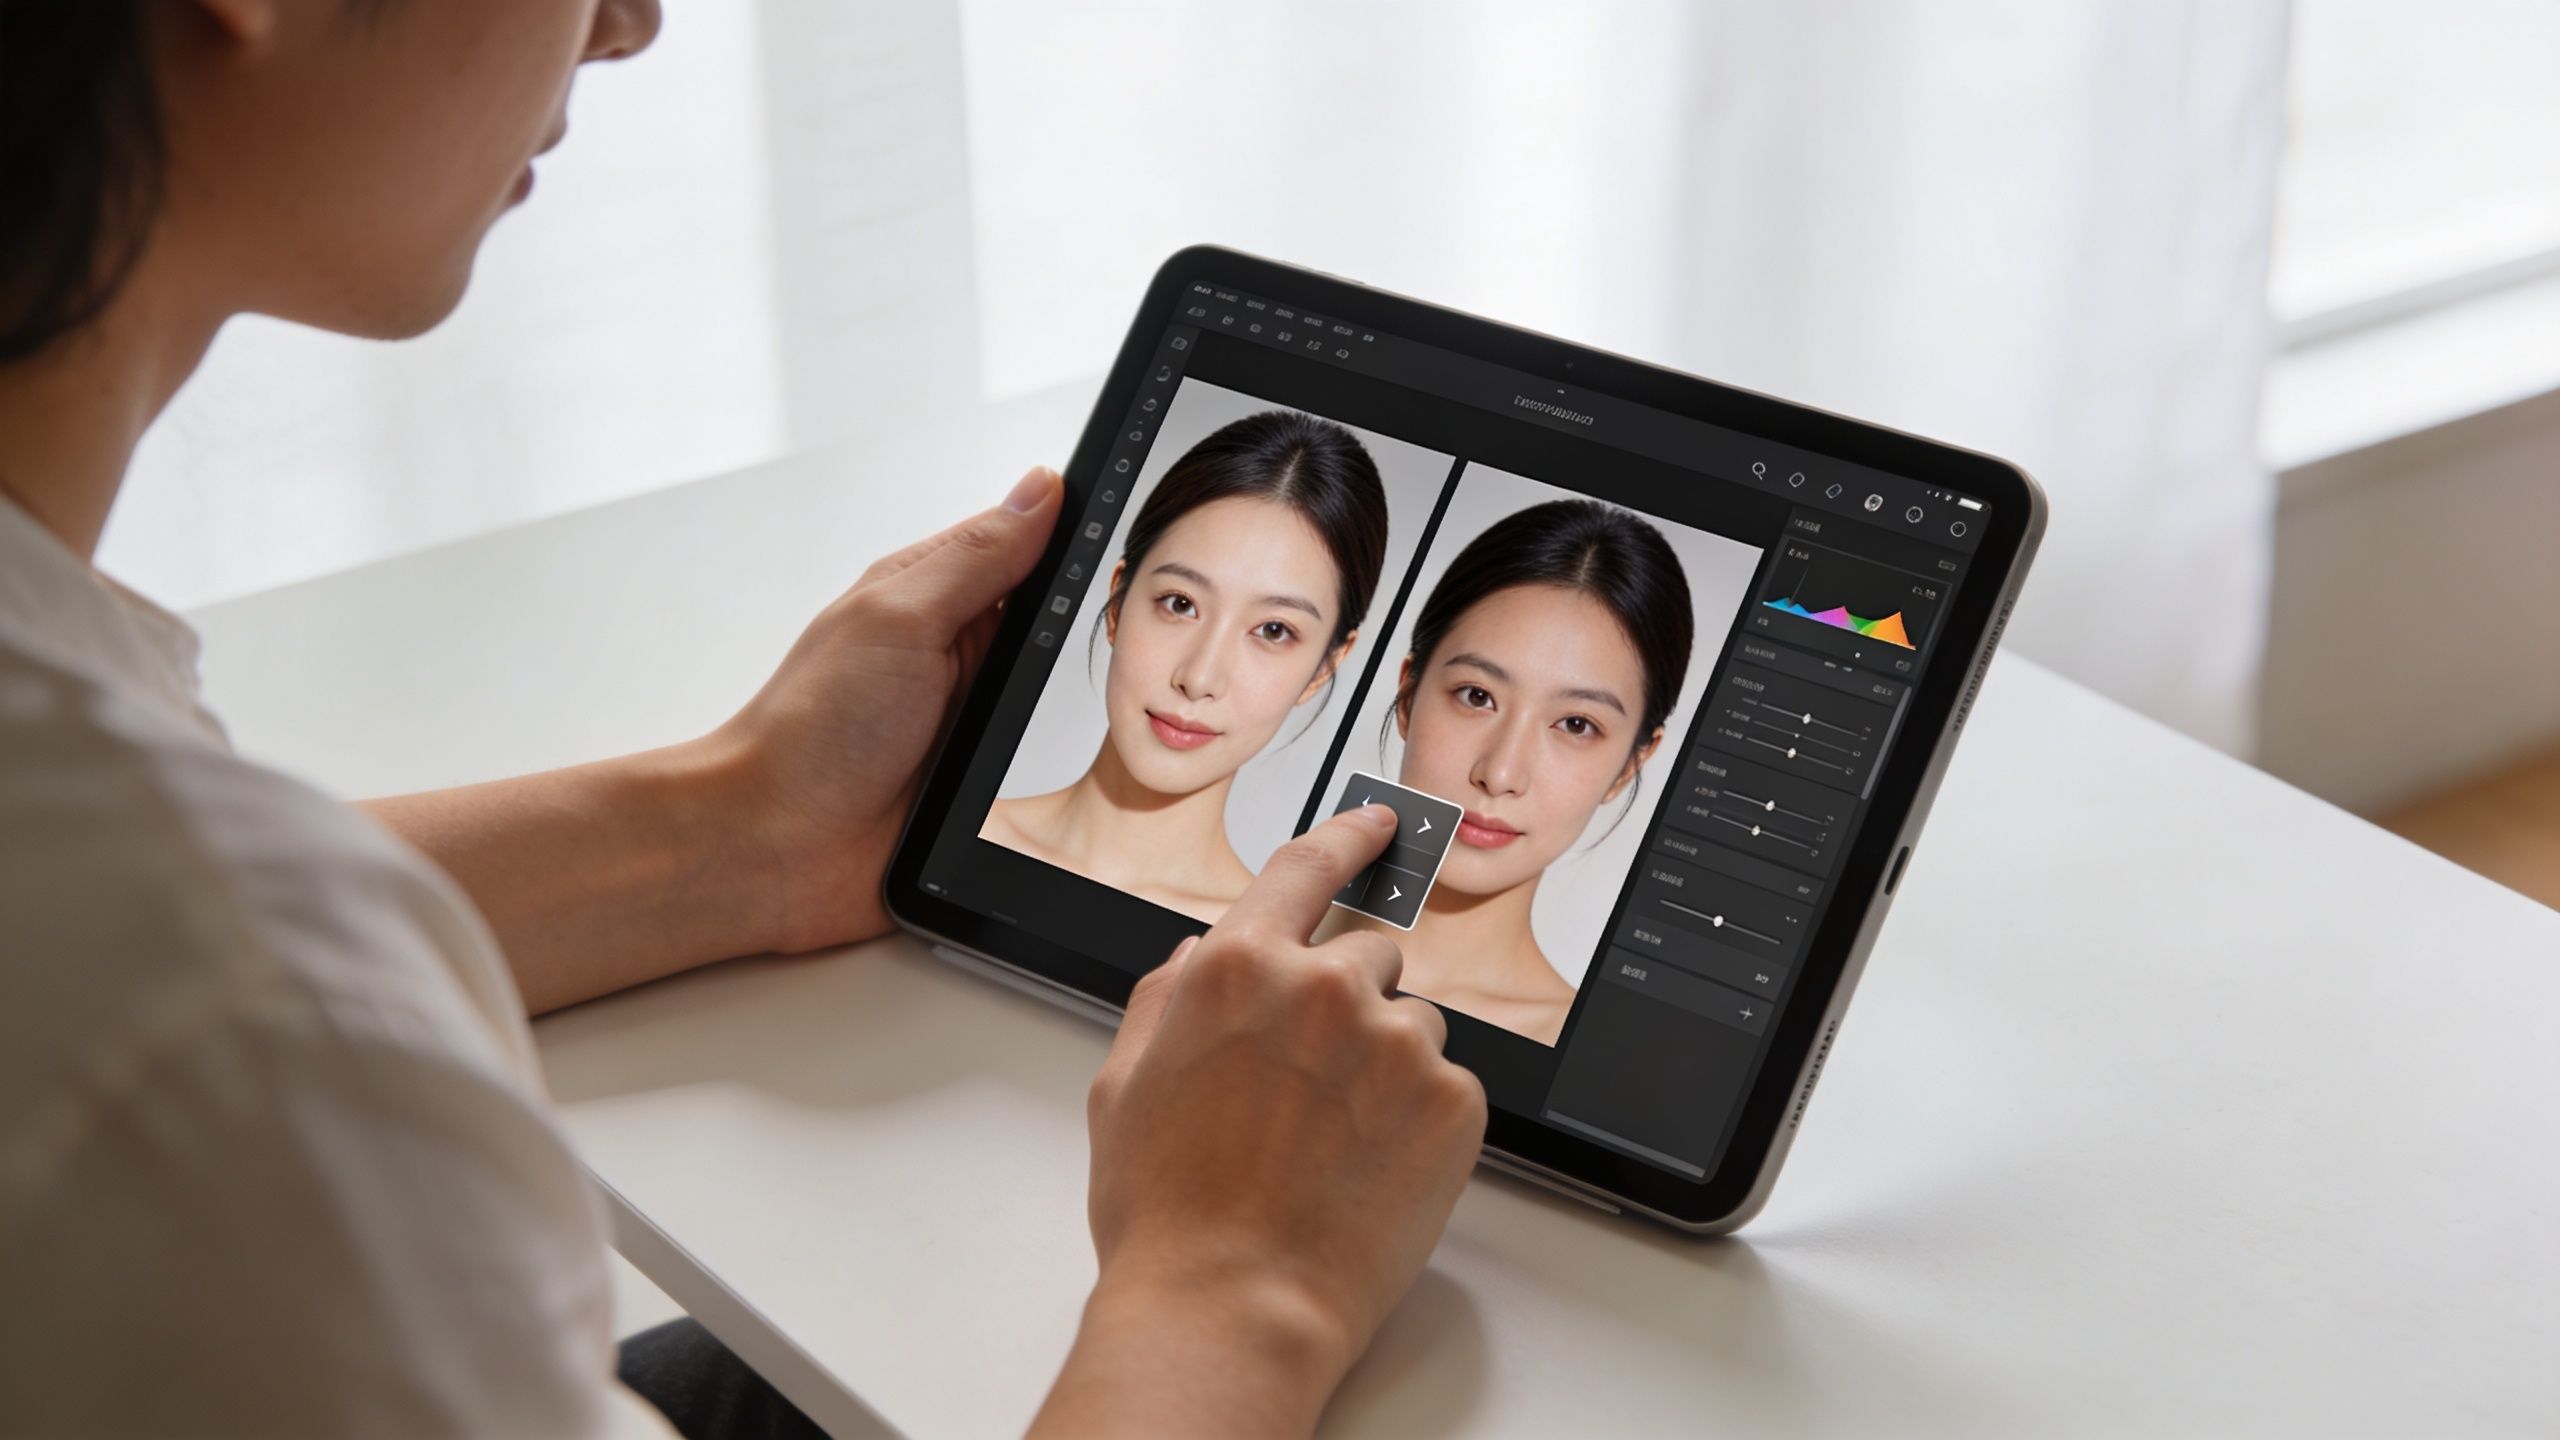
If the source face and target body don't belong together in terms of light, angle, and image quality, you'll spend your time hiding problems instead of editing well. Preparation is what makes the rest of the workflow feel easy.
Match light first
Lighting is the first filter I use when deciding whether a swap is worth attempting.
A face lit from the left won't sit naturally on a body lit from the right. Hard shadow under the nose from one image won't blend into soft window light from the other. You can rescue minor differences with Curves and color grading later, but you can't fake believable structure when the base lighting disagrees.
A quick check:
- Good match: Both faces have shadow on the same side, similar highlight strength, and similar contrast.
- Bad match: One photo is flash-lit and crisp, the other is soft and flat.
- Usually salvageable: Slight warmth or coolness differences.
- Usually a waste of time: Opposite light direction.
Angle beats almost everything
Creators often obsess over skin tone but ignore head position. That's backwards. Angle mismatch is what makes a swap look fake fast.
Use this checklist before you start:
| Check | Works well | Usually breaks |
|---|---|---|
| Head tilt | Similar tilt and neck posture | One upright, one leaning hard |
| Camera height | Both eye-level or both slightly above/below | One shot from below, one from above |
| Expression | Similar mouth openness and eyelid shape | Big smile onto closed-mouth pose |
| Lens feel | Similar portrait crop and distortion | Tight phone selfie onto distant telephoto shot |
If the eyes align but the jaw perspective doesn't, viewers still notice.
Don't pick the “best face.” Pick the face that already fits the body.
Resolution and cleanup
Low-res source images are another common trap. If you scale a small face up, it turns mushy. Then people try to sharpen it, which usually makes the fake edges more obvious.
A simple rule is to use a source face that's at least as detailed as the target. If it's softer, blurry, or compressed, find a better source. If it's close but not quite there, an AI image upscaling workflow for social assets can help before you start compositing.
Also clean your files before the swap. Crop distractions, correct obvious white balance issues, and decide early whether the final image is supposed to look polished, gritty, or casual. That style choice affects every edit you make after placement.
The Manual Face Swap Workflow in Photoshop
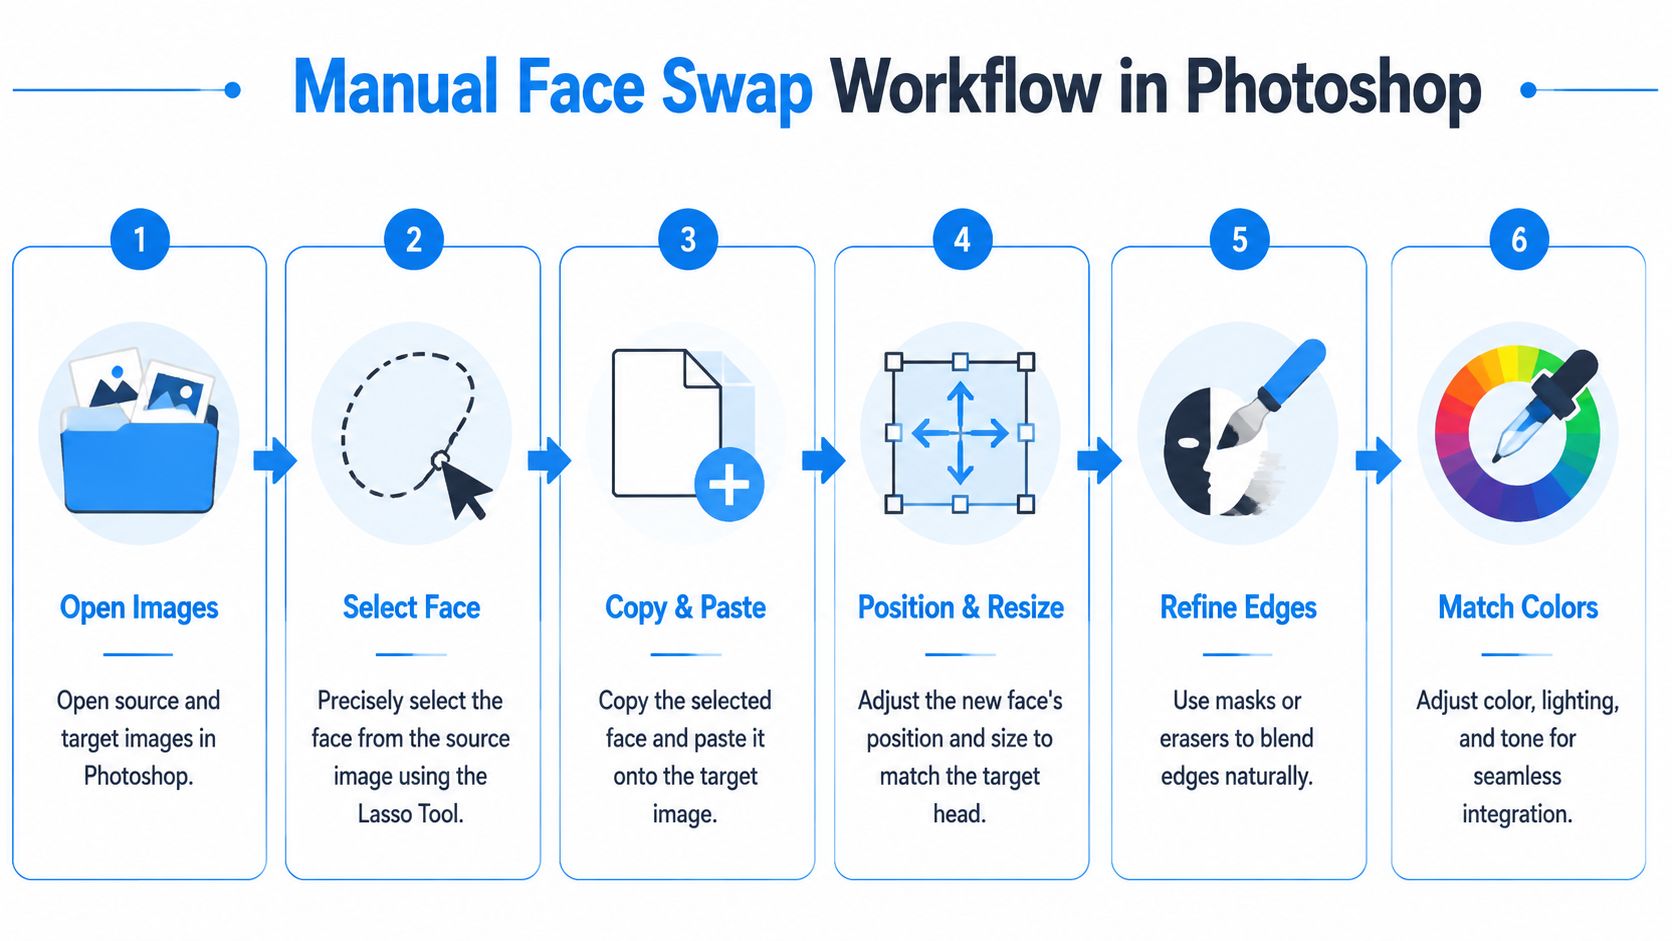
Manual swaps still matter because they give you control. AI can get you close, but when you need precision around the eyes, mouth corners, hairline, and skin overlap, the classic Photoshop method is still the one I trust most.
Phase one selection and placement
Open both images. In the source file, make a loose but intentional selection around the face area you need. I usually include the eyes, nose, mouth, cheek structure, and a little extra skin around the edges. If the hairline matters, include it. If it doesn't, leave it out and avoid extra cleanup.
The Lasso Tool is fine for quick social edits. The Pen Tool is better when the edge needs to be cleaner. For rough creator work, speed matters, so I don't overbuild this step.
Then:
- Copy the selected face and paste it into the target image as a new layer.
- Convert it to a Smart Object right away. This is not optional if you want flexibility.
- Lower opacity so you can see both faces at once.
- Use Free Transform to line up the eyes first, then the mouth.
If the eyes are off, the entire edit feels wrong. I don't care if the chin looks close. Start with the eyes.
Phase two masking instead of erasing
A lot of beginners erase pixels directly. That works until you need those pixels back.
Use a layer mask. Add the mask, grab a soft black brush, and hide the parts of the pasted face that don't belong. Work slowly around the cheeks, temples, and forehead. You're not trying to reveal the whole source face. You're trying to blend only the parts that improve the target.
The cleanest swaps usually use less of the source face than beginners expect.
That's especially true when the target already has useful contour and lighting. Sometimes you only need the central features and a bit of surrounding skin. The outer face can often stay mostly native to the target image.
Phase three shape and edge control
Once the mask is roughly working, zoom out. Many editors make a mistake at this stage. They stay zoomed in at 300% and polish eyelashes while the entire head shape still looks wrong at normal size.
Use this pass to check:
- Eye spacing: Does the source face sit naturally on the skull underneath?
- Mouth position: Does it match the jaw and expression?
- Edge softness: Are the blended areas too sharp or too blurry?
- Skin overlap: Did you leave visible seams near the nose, cheeks, or brow?
Then refine with Transform, Warp, or subtle Liquify adjustments. Keep them small. If you start stretching features aggressively, texture and geometry fall apart.
What's worth the time and what isn't
For social content, some steps matter more than others.
| Worth your time | Usually overkill |
|---|---|
| Aligning pupils and eyelids | Perfecting pores for phone viewing |
| Fixing mouth corners | Hyper-detailed ear cleanup if cropped out |
| Matching major skin brightness | Chasing tiny color shifts no one will notice |
| Smoothing mask transitions | Rebuilding the whole hairline unless it's prominent |
The manual workflow is slower than AI, but it teaches the logic behind every believable swap. Once you understand that logic, even automated tools become easier to control.
Refining and Blending for Realistic Results
Placement gets the face onto the image. Refinement is what makes it belong there.
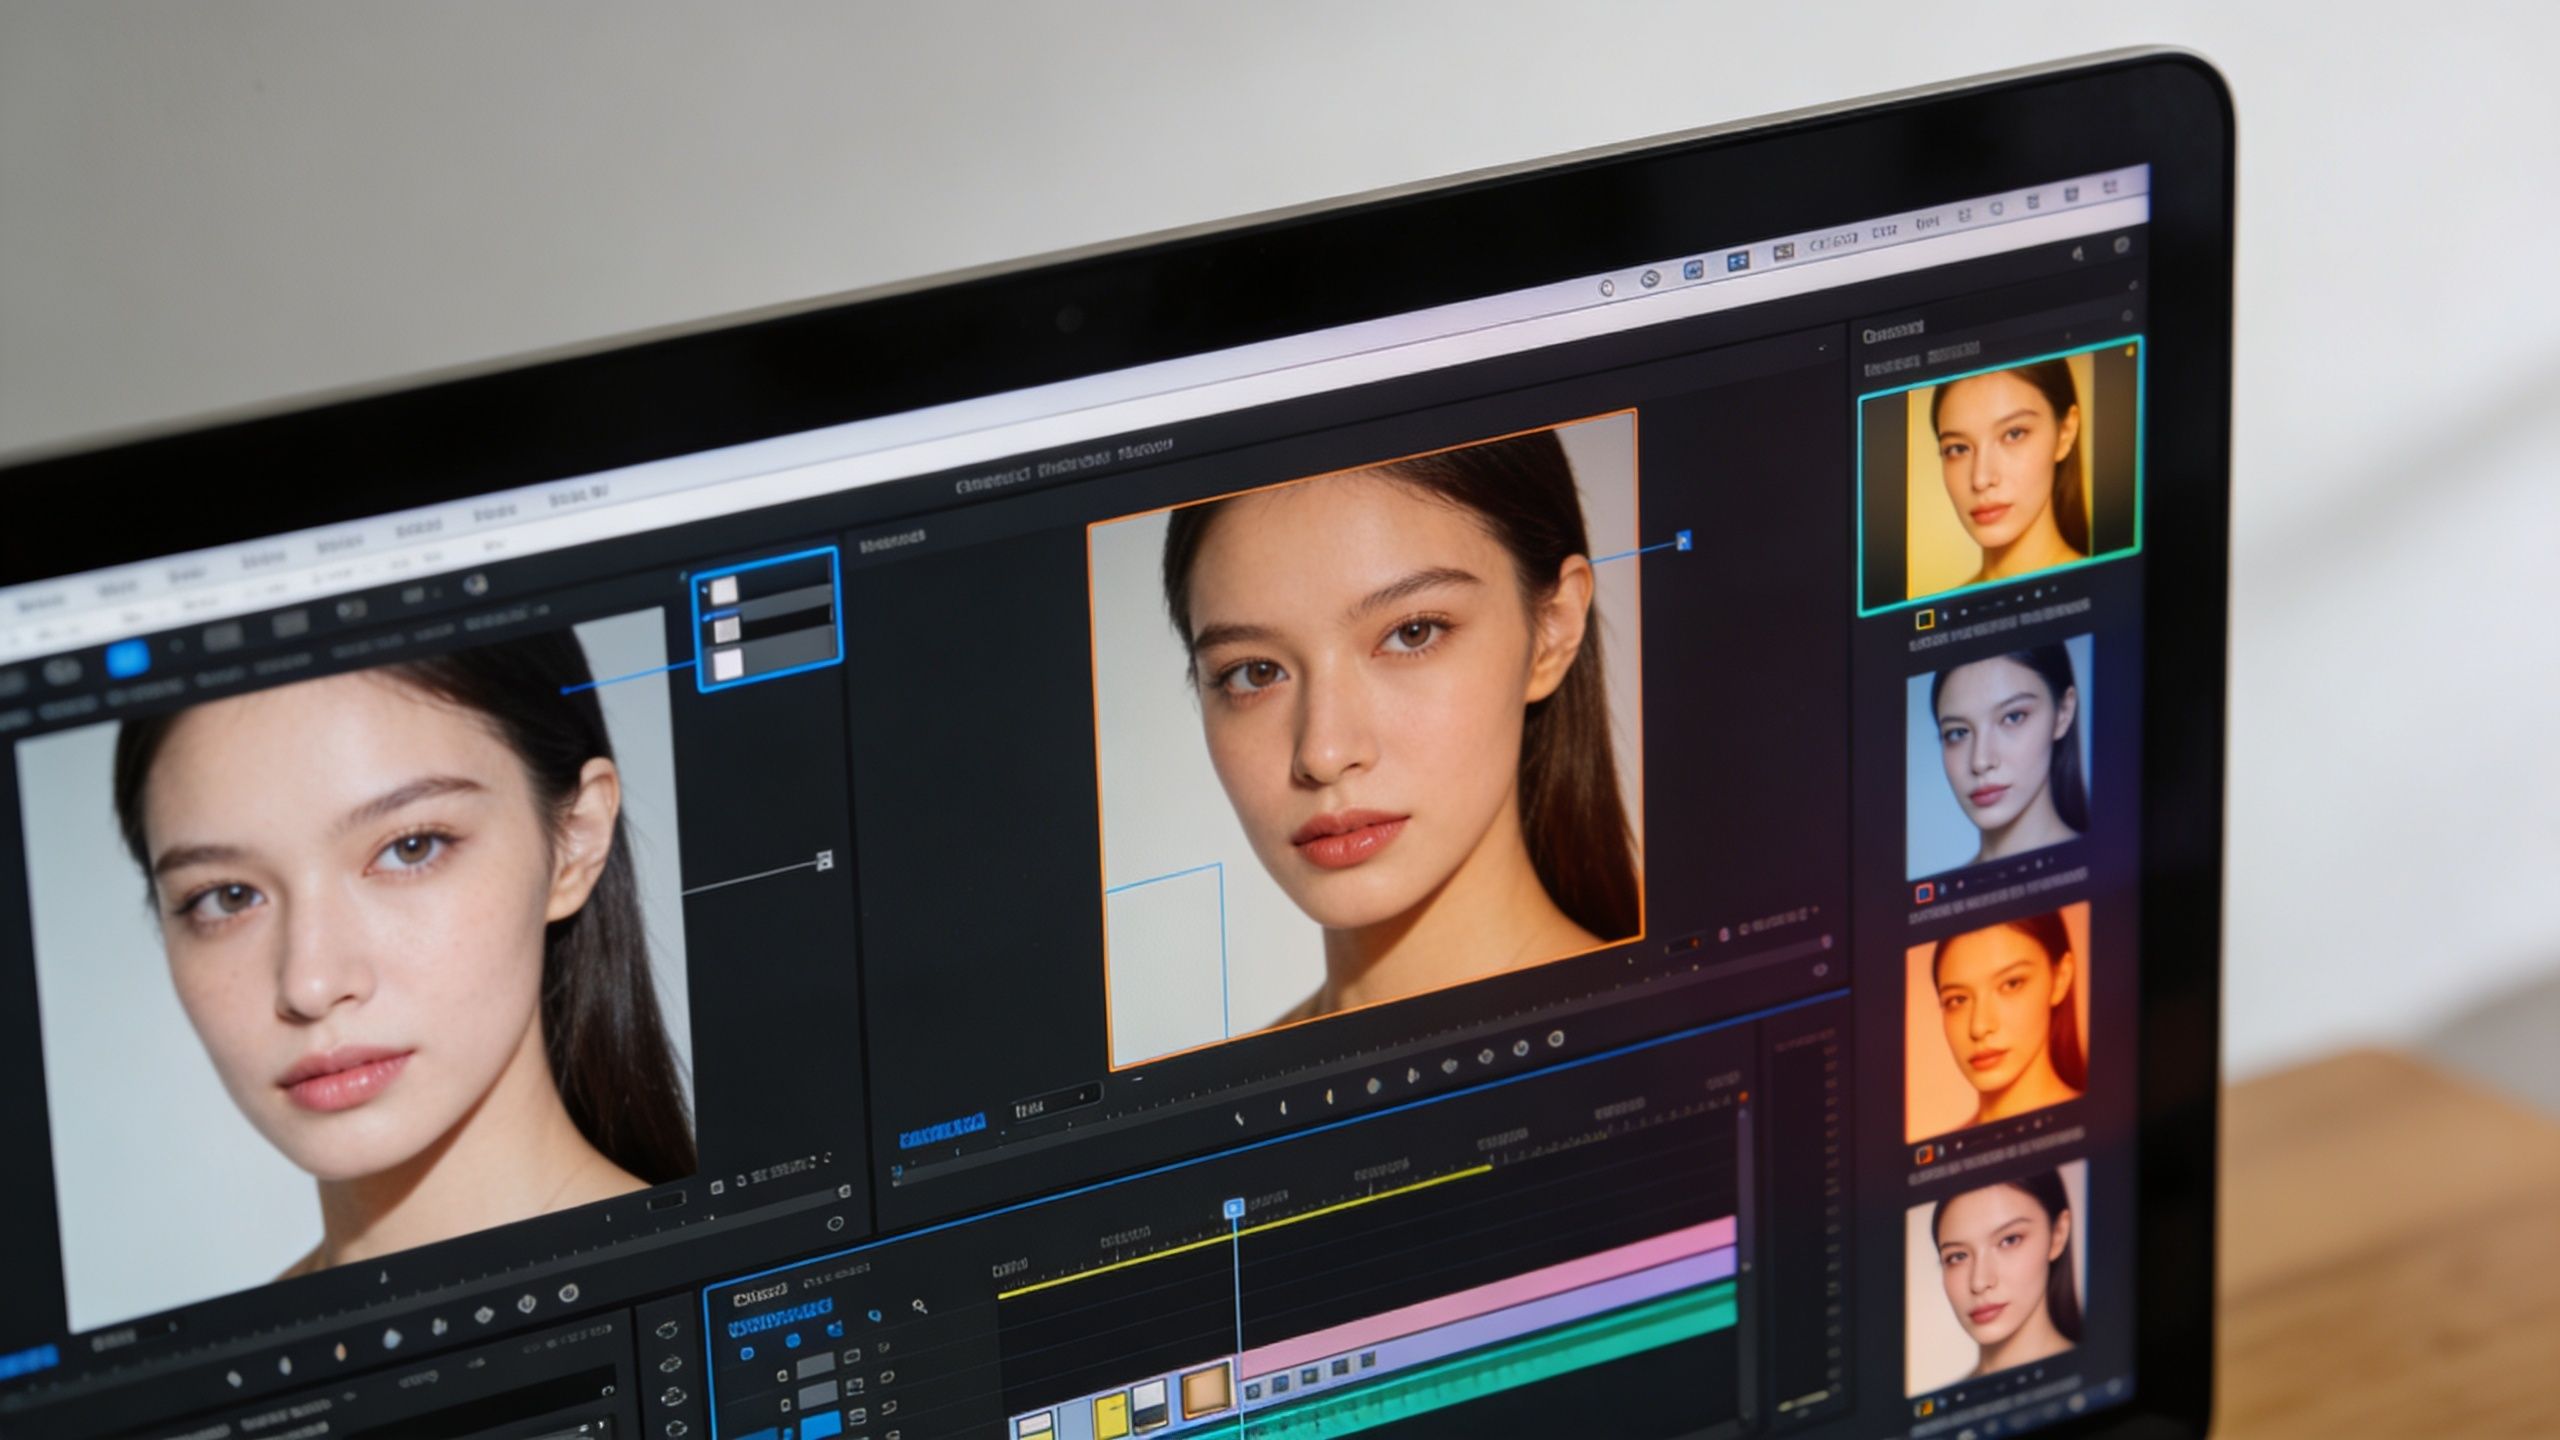
Most edits that look fake have the same problem. The face is technically aligned, but the color, texture, and facial structure don't match the body underneath. You should stop thinking like someone pasting a layer and start thinking like a retoucher.
Match tone before detail
Start broad. Use Curves, Levels, or Hue/Saturation as clipped adjustment layers on the face layer. Clipping matters because you only want to change the pasted face, not the whole composition.
Focus on three things first:
- Brightness match: The forehead, cheeks, and nose bridge should sit in the same exposure range as the target.
- Color temperature: If the body is warm and the face is cool, the swap will read fake instantly.
- Contrast level: Portraits with different contrast profiles fight each other.
I usually make these adjustments while zoomed out. If it looks right from normal viewing distance, you're in good shape.
Use Liquify with restraint
Liquify and Warp are useful, but they're also where people ruin edits. Tiny nudges can help the cheeks follow the head shape better or make the mouth sit naturally over the jaw. Bigger moves create stretched skin and weird anatomy.
The smartest use of Liquify in photoshop face changing is corrective, not a complete overhaul. You're not redesigning the person. You're making the pasted face obey the perspective and structure of the destination image.
If you can clearly see the effect of Liquify, you probably pushed it too far.
For creators making thumbnails or fast ad variants, that single rule saves a lot of bad edits.
Frequency separation when you need a pro finish
At the high end, skin blending often uses frequency separation. That means separating texture from color and tone so you can smooth uneven transitions without destroying pores and natural detail. It's one of the few advanced retouching techniques that is worth learning if you edit faces regularly.
According to PRO EDU's retouching breakdown, over-processing with uniform smoothing can reduce perceived realism by 35-40%, while lower brush opacity in the 15-30% range helps keep results authentic. That matches what I see in practice. Heavy smoothing makes skin look plastic fast.
A solid refinement stack often looks like this:
- Clip Curves to the face layer for exposure and contrast.
- Adjust Hue/Saturation or Color Balance for skin tone fit.
- Use a soft mask cleanup pass around cheeks, temples, and chin.
- Apply subtle Liquify or Warp only where structure is off.
- Use frequency separation selectively if skin transitions still look pasted.
- Clean small distractions like stray hairs or rough brow edges with Clone Stamp or Healing tools.
If you want to watch a visual retouching workflow before building your own version, this walkthrough is a useful reference point:
Good enough for social versus polished enough for close viewing
Not every edit needs magazine-level retouching. A TikTok thumbnail, meme frame, or fast ad mockup can survive with minor imperfections if the eyes, skin tone, and expression feel coherent. But for close crops, paid ads, or repeat brand use, viewers notice seams faster.
That's the trade-off. The more often the image will be reused, the more refinement pays off.
AI Shortcuts with Neural Filters and Face-Aware Tools
Manual work gives you control. AI gives you speed. Most creators need both.
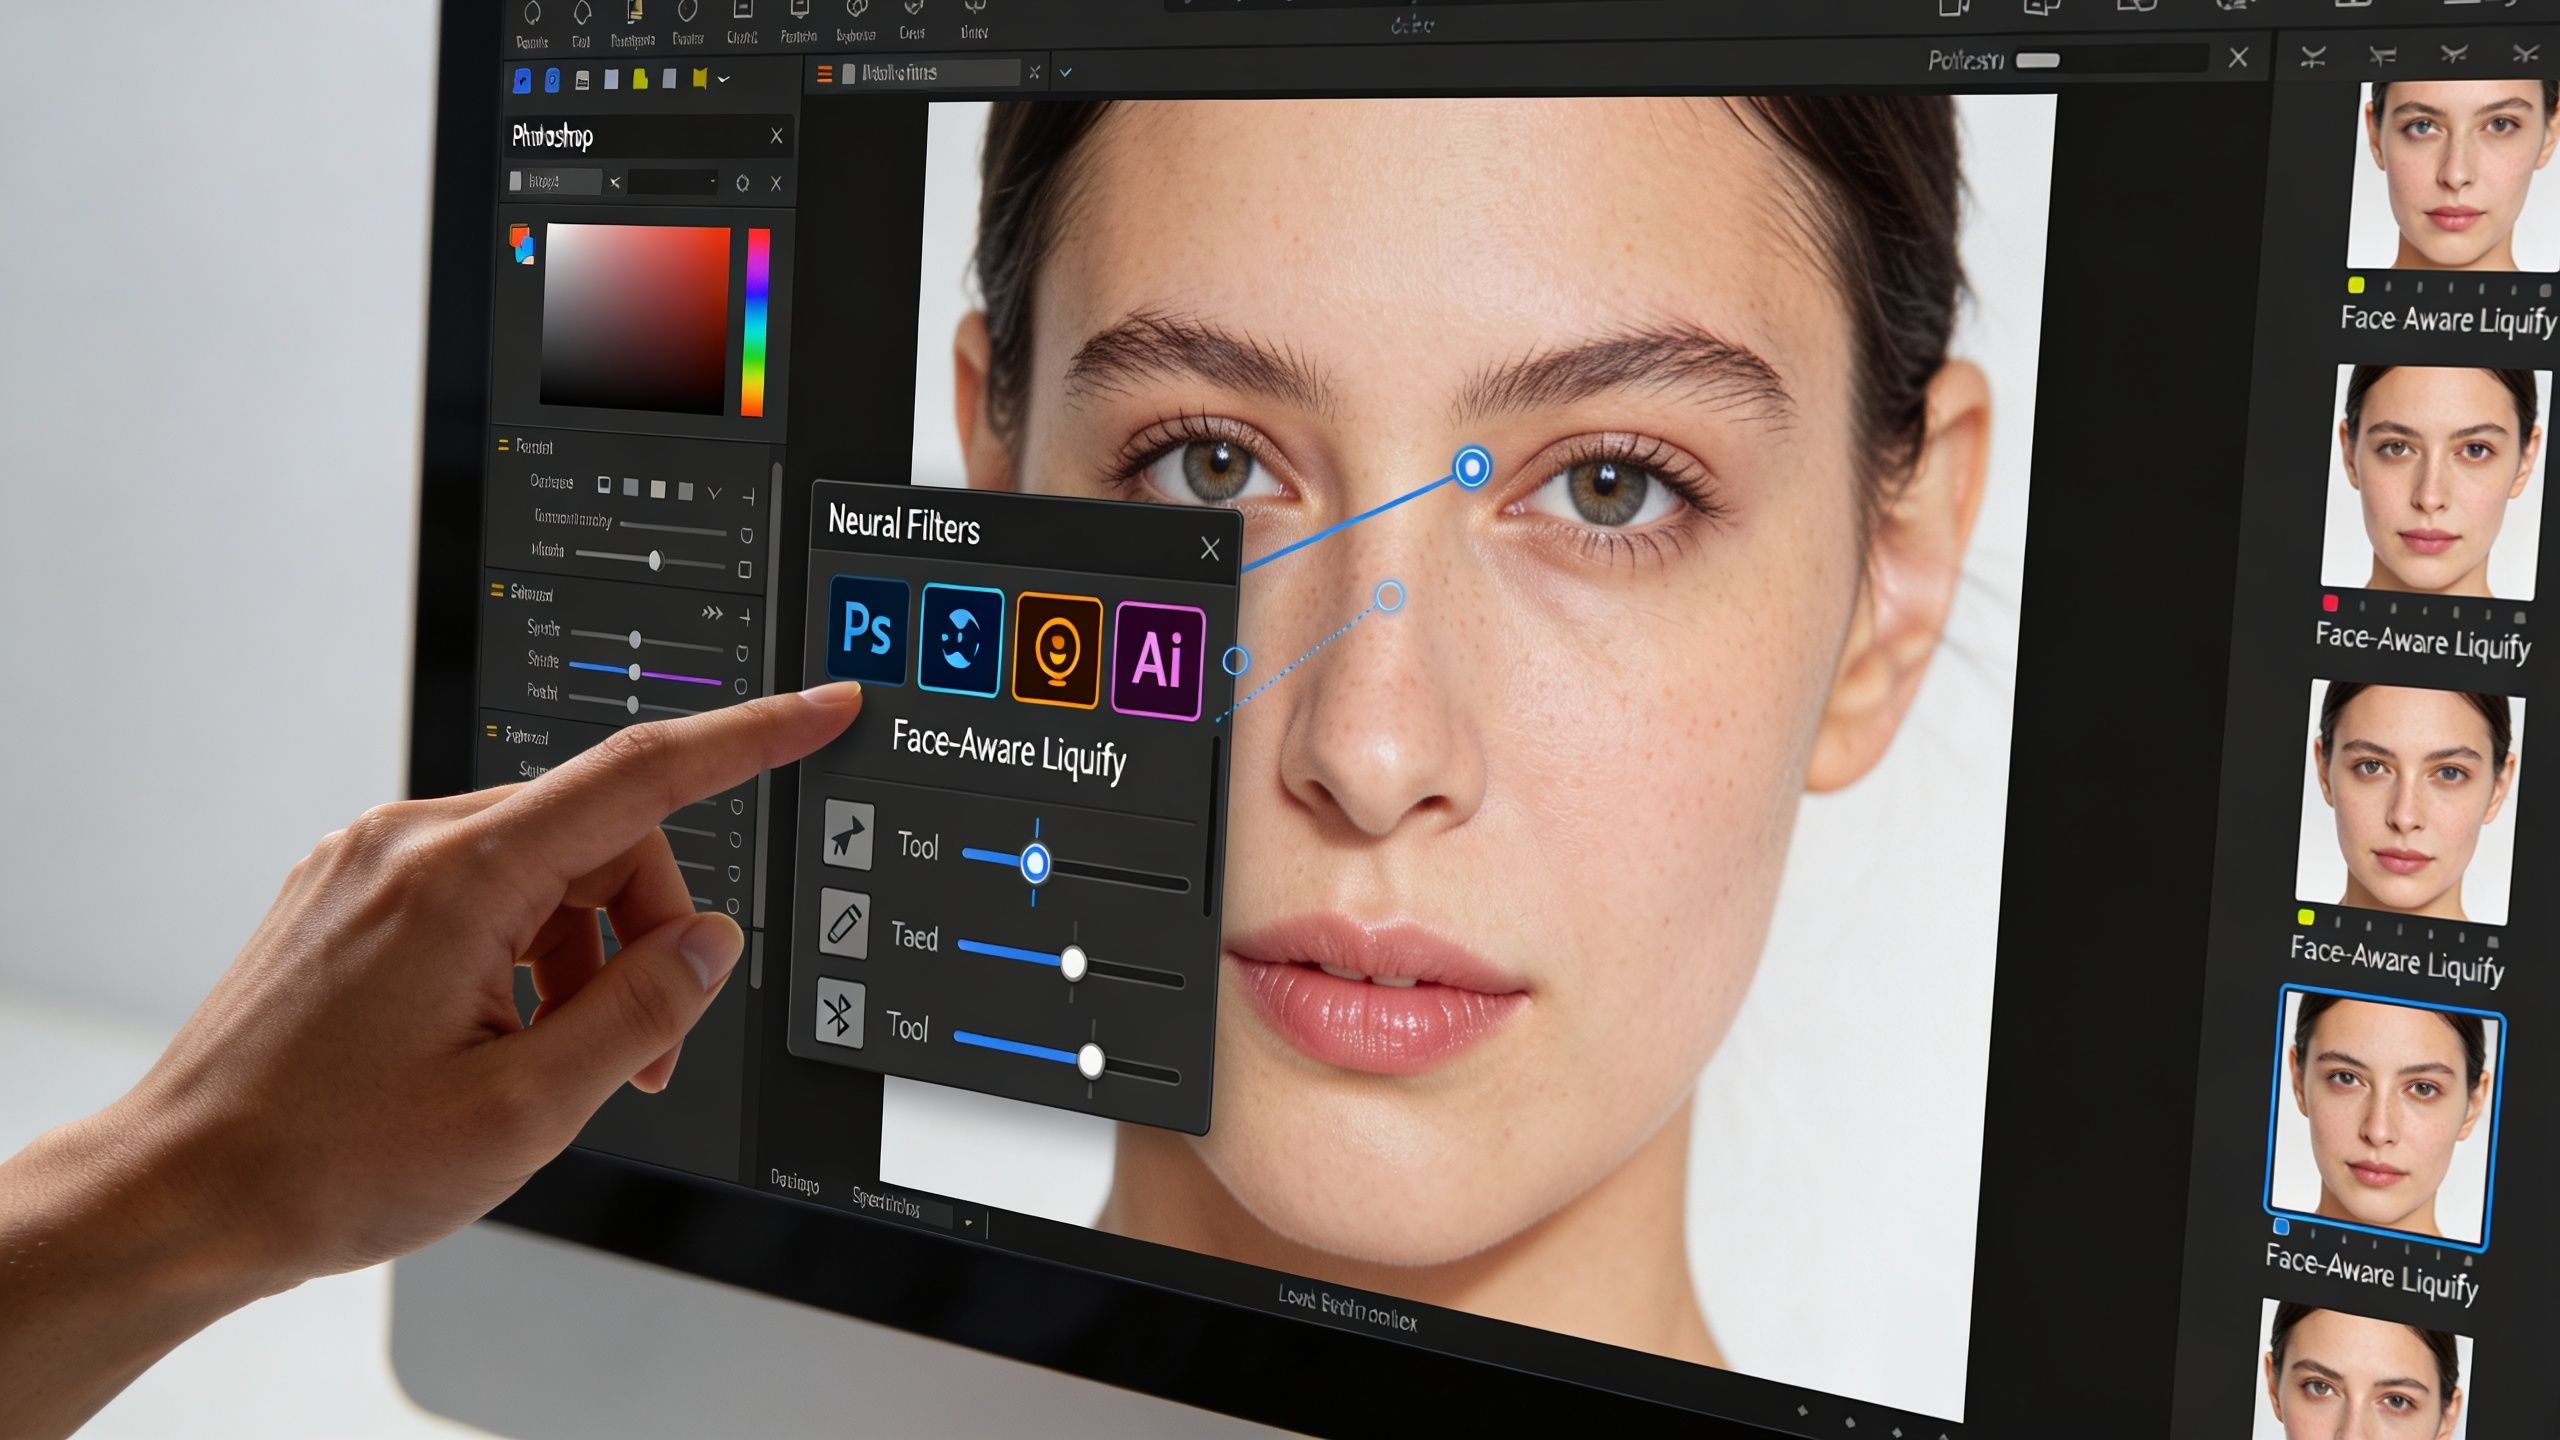
Photoshop's Face-Aware Liquify is the fast tool for minor expression and feature adjustments. It detects facial landmarks and lets you adjust eyes, nose, mouth, and jaw with sliders. I use it for cleanup and subtle fixes, not full replacements. It's strong when the underlying face is already close and just needs better proportions or expression balance.
When each AI tool makes sense
Here's the simplest way to choose:
| Tool | Best for | Weak point |
|---|---|---|
| Face-Aware Liquify | Small feature adjustments | Can look distorted if pushed |
| Neural Filters | Expression, gaze, age, head-direction changes | Less reliable on poor source images |
| Manual mask workflow | Full control and believable composites | Slower |
Neural Filters are useful when you need more than a nudge. Smart Portrait-style adjustments can shift expression and direction without rebuilding everything by hand. They're a time saver when you're turning one static portrait into several content variants.
A broader trend matters here too. Modern face-swapping tools have cut production time from hours to seconds, and tools like Higgsfield's Face Swap are used as examples of identity-consistent results that preserve lighting and grain (AI face swap benchmark overview). That's why creators now expect fast turnaround as normal.
What works in real creator workflows
AI works best when you treat it like an assistant, not a magician.
Use it when:
- The source image is clean: Front-facing, well-lit portraits give better results.
- You need variants fast: Multiple hooks, ad angles, or character tests.
- The final output is mobile-first: Slight imperfections matter less on fast-scrolling platforms.
Skip it when:
- The face is turned hard in profile
- Hair overlaps complex edges
- Lighting mismatch is severe
For creators building short-form content pipelines, AI image editing for fast social production matters more than perfect retouch theory. Tools outside Photoshop can also fit that workflow. For example, Aicut includes AI-based character and background swapping inside a short-form video creation flow, which is useful when the edit is part of a larger faceless content pipeline rather than a single static image job.
Ethics Exporting and Publishing Your Creation
This is the part too many tutorials skip. You can make a technically strong face swap and still create a publishing problem.
If you're changing a face for a joke between friends with permission, the risk is low. If you're using someone's likeness in an ad, a testimonial-style video, or a misleading context, the risk changes fast. According to a 2025 Creator Economy Report summary, 28% of creators faced demonetization over manipulated deepfake-like edits, 15% reported lawsuits over unauthorized face swaps in UGC ads, and newer laws introduced penalties up to $10,000 for deceptive use. That's not edge-case stuff. That's creator workflow reality.
The rules worth following every time
Use a simple standard before you publish:
- Get permission: If the person is identifiable and the content is commercial, consent should come first.
- Avoid deceptive framing: Don't place someone in a situation they didn't agree to appear in.
- Disclose when needed: If the edit changes identity or meaning, disclosure helps protect both trust and monetization.
- Keep layered files: If a platform flags the asset, you want proof of how it was made.
A clean export doesn't protect a careless concept.
Export for platform reality
For Instagram, TikTok, and similar platforms, I usually optimize for visual clarity over perfection. Export a sharp version that survives compression, check it on a phone, and make sure the seams around the eyes, mouth, and hairline still hold up after upload. Social platforms punish muddy detail and overcompressed skin gradients.
More important than the export preset is the intent behind the piece. If the image is clearly altered but honest in context, you're in safer territory. If the image is designed to trick viewers about identity or endorsement, Photoshop skill won't save you from the consequences.
If you want to turn face edits into finished short-form content instead of stopping at the image stage, Aicut is one option for building faceless videos, swapping characters or backgrounds, adding voiceovers, and publishing faster across YouTube, TikTok, and Instagram.