Think of AI video upscaling as your personal post-production wizard. It takes those grainy, low-res clips you thought were unusable and turns them into sharp, professional-looking footage right from your browser. For creators and brands, this is the secret to making high-impact content without dropping a ton of cash on new camera gear.
Why AI Video Upscaling Is a Creator's Secret Weapon
Let's be real—in a world where visual quality is everything, fuzzy footage just doesn't cut it. Platforms like YouTube and Instagram are built to showcase high-resolution content, and that’s what your audience expects. Those old clips from your first smartphone or that compressed video a customer sent you? They usually fall flat and fail to grab anyone's attention.
This is where AI upscaling comes in, but it's not just stretching out the pixels. Instead, it intelligently rebuilds your video from the ground up.
AI models are trained on millions of images and videos, so they learn what things should look like—textures, objects, and tiny details. When you upscale a video, the AI cleverly fills in the missing information, adding a level of clarity and sharpness that simply wasn't there in the original file. It’s a process called generative enhancement, and it completely changes the game.
Practical Benefits for Modern Content Creators
The real-world uses are incredibly handy. Think about taking those old 720p family videos and seeing them in brilliant 4K for the first time. For an e-commerce brand, it means you can take a customer's video review and transform it into a polished, persuasive ad creative. Faceless YouTube channels can breathe new life into older stock footage, bringing it up to modern standards and keeping their channel looking consistently professional.
The real power of AI video upscaling is how it makes high quality accessible to everyone. It levels the playing field, letting solo creators and small businesses rescue their existing footage and compete with big-budget studios.
This demand for better video isn't just a trend; it's a massive market shift. The global AI video upscaling software market was valued at US$175 million in 2024 and is expected to skyrocket to US$1,423 million by 2031, according to Valuates Reports. That’s a clear sign of how many creators and businesses are jumping on board.
AI's influence is growing far beyond just video production, too. You can find powerful AI tools in various digital fields that help with everything from marketing to SEO.
For any creator, marketer, or filmmaker, getting a handle on the use cases for AI upscaling is the first step toward unlocking its massive potential.
Picking the Right AI Model for Your Footage
Finding the right AI model for your video isn't a one-size-fits-all deal. It’s more like picking the right tool for a specific job. The world of video upscale AI is packed with different approaches, from GAN-based models great at inventing photorealistic details to Super-Resolution models that just sharpen what's already there.
For instance, if you're trying to add some realistic texture to a smooth, AI-generated character, a GAN model is probably your best bet. But if you’re just cleaning up a slightly blurry product shot, a Super-Resolution model is the way to go because it preserves the original details without making things up. What you choose completely changes the final vibe of your video.
Upscaling Magnification and Denoising
The first dials you’ll usually fiddle with are the upscaling factor—typically 2x or 4x—and denoising.
Going for a 2x upscale is a safe move for turning a 1080p clip into a crisp 4K version. It keeps things looking natural. A 4x upscale, on the other hand, is more ambitious. It can transform a 720p video into something that looks amazing in 4K, but it pushes the AI harder and can sometimes introduce weird artifacts if your source footage is already a mess.
Denoising is another one where a little goes a long way. Got some grainy footage from an old camcorder? A medium denoise setting can clean it up beautifully. But if you get too aggressive with it on a clean digital video, you can strip away all the natural film grain and texture, making people look waxy and weird.
This flowchart is a good starting point for figuring out if an AI upscaler is even what you need for a project.
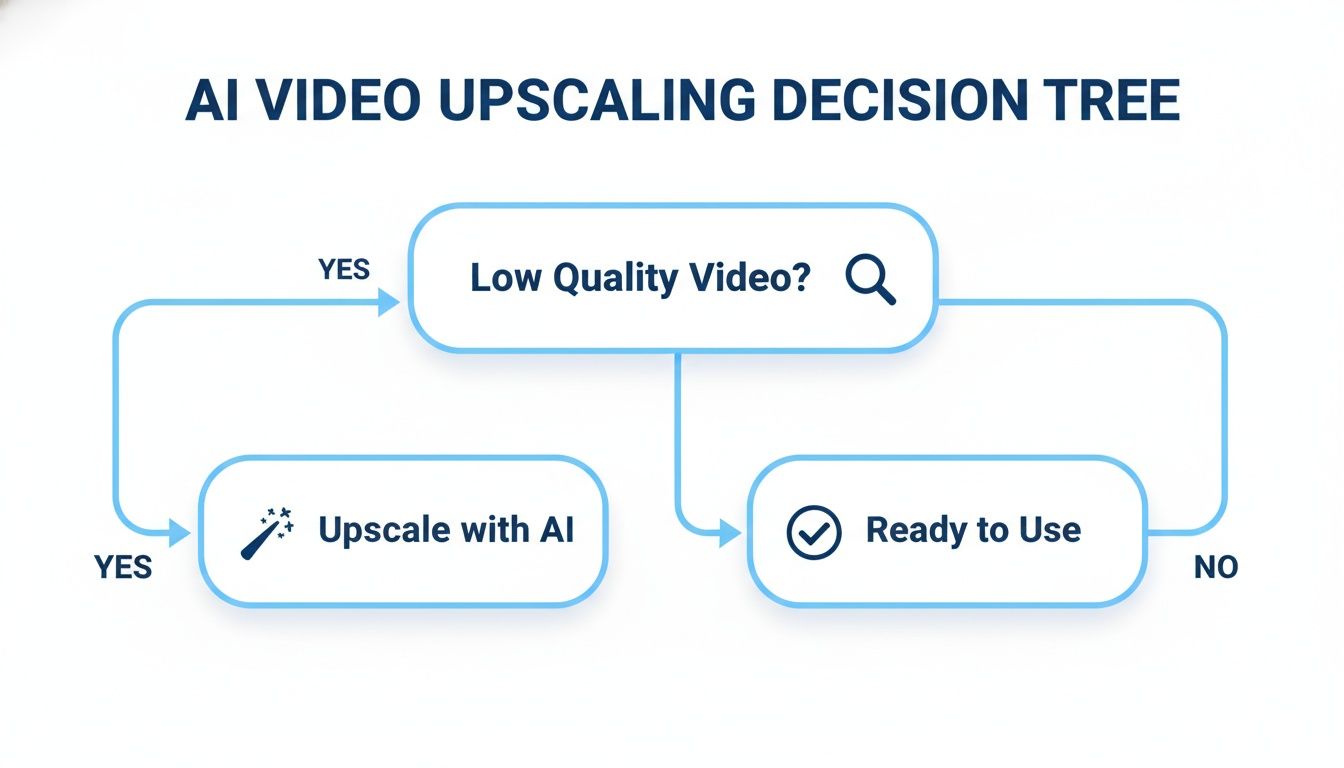
As you can see, the main reason to reach for this tech is when you’re stuck with footage that just doesn’t hold up on today's screens.
Real-World Scenarios and AI Choices
Always let your content's end goal steer your decisions. Here are a couple of common situations I see all the time:
E-commerce Product Videos: You’ve got a solid 1080p product shot, but it just looks a little… soft. A simple 2x upscale using a Super-Resolution model is perfect here. You’re aiming for subtle enhancement—just sharpening the edges and making things clearer without changing how the product looks.
Restoring Old Family Footage: That precious 480p camcorder footage looks awful on a big screen. This is where you need to get a bit more aggressive. A 4x upscale with a GAN-based model can intelligently fill in the missing details, and some careful denoising will clean up the visual static.
The real magic is in adding detail and clarity without making the video look over-processed. A great upscale should feel invisible; people should just think they're watching a higher-quality video, not noticing the AI's work.
The market for these tools is exploding. Big names like DVDFab, HitPaw, and Movavi are at the forefront of an industry that pulled in around $2 billion in revenue in 2023. This tech is a huge deal for creators. Many Aicut users, for example, are upscaling clips from generative models like Sora 2 or Kling to produce professional-looking content for their social channels.
To get a better handle on all the options out there, take a look at our detailed guide on the best video upscaling software. It'll help you find the perfect fit for your workflow.
Nailing Your AI Upscaling Workflow
Jumping into video upscale AI isn't just about finding an "enhance" button and crossing your fingers. If you want those truly sharp, professional-looking results, you need a process. A little prep work upfront makes all the difference.
Think of it like a professional painter prepping a wall. They don't just slap on a new coat of paint; they clean, sand, and prime the surface first. The same logic applies here—giving the AI the best possible source material to work with is the secret to a great result. If you skip these steps, you'll just end up magnifying the flaws that were already there.
Getting Your Footage Ready for AI
Before you even think about uploading your clip, a few small tweaks can give you a massive boost in quality. Your goal is simple: give the AI a clean, uncluttered video to analyze.
First things first, trim the fat. Cut your clip down to only the essential footage you plan to use. There's absolutely no point in wasting processing power—and time—on parts of the video that will end up on the cutting room floor. For longer videos, this is a non-negotiable step that can save you hours.
Next, do a quick pass on any major color or exposure problems. If your footage is way too dark or the colors are completely washed out, a quick, basic correction helps the AI see the details, edges, and textures it needs to rebuild. You don't need a final, perfect color grade here, just a solid, balanced starting point.
Running Batch Jobs with Aicut
Once your clips are prepped and ready, it's time for the magic to happen. If you’re a creator juggling multiple clips—maybe for a YouTube compilation or a batch of social media ads—processing them one by one is a huge time sink. This is where batch processing becomes your best friend.
Tools like Aicut are designed specifically for this kind of efficient workflow. Instead of feeding videos into the AI one at a time, you can just queue them all up and let the system do the grunt work.
- Upload Your Clips: Drag and drop all the video files you've already trimmed and corrected.
- Pick a Consistent Model: To keep your project looking cohesive, apply the same enhancement model and settings (like 4x upscale with medium denoising) to every clip in the batch.
- Launch the Job: Kick off the process and let it run in the background. Now you're free to get on with other things, like scripting your next video or planning out your content calendar.
This turns what could be a painfully tedious task into a simple, automated step. While the AI works, you can keep being productive.
The secret to an effective upscaling workflow isn't just the tech itself; it's how you organize the process to save time. A repeatable system for prepping, batching, and organizing your files is what really separates the amateurs from the pros.
Keeping Your Files in Order
When the upscaling is done, you’re going to have multiple versions of every video. Without a good organization system, your project folder will quickly turn into a digital junk drawer. A simple but consistent naming convention is the perfect solution.
I've found a straightforward file-naming structure works best. Just include the original name, the upscale factor, and maybe the AI model you used.
- Original:
product_shot_01.mp4 - Upscaled:
product_shot_01_4x_Astra.mp4 - Final Edit:
product_shot_01_final_color_grade.mp4
This kind of clear labeling means you can see exactly what each file is at a glance, no more opening five different clips to find the right one. It makes grabbing the right asset for your final edit a quick, painless process, completing a seamless workflow from raw footage to a polished, high-resolution final video.
How to Spot and Fix Common AI Artifacts
Even the best video upscale AI can get a little overzealous. In its effort to invent detail that isn't there, it sometimes creates visual glitches, or what we call artifacts. Learning to catch these little imperfections is what separates a decent upscale from a truly professional one. Think of this as your quality control.
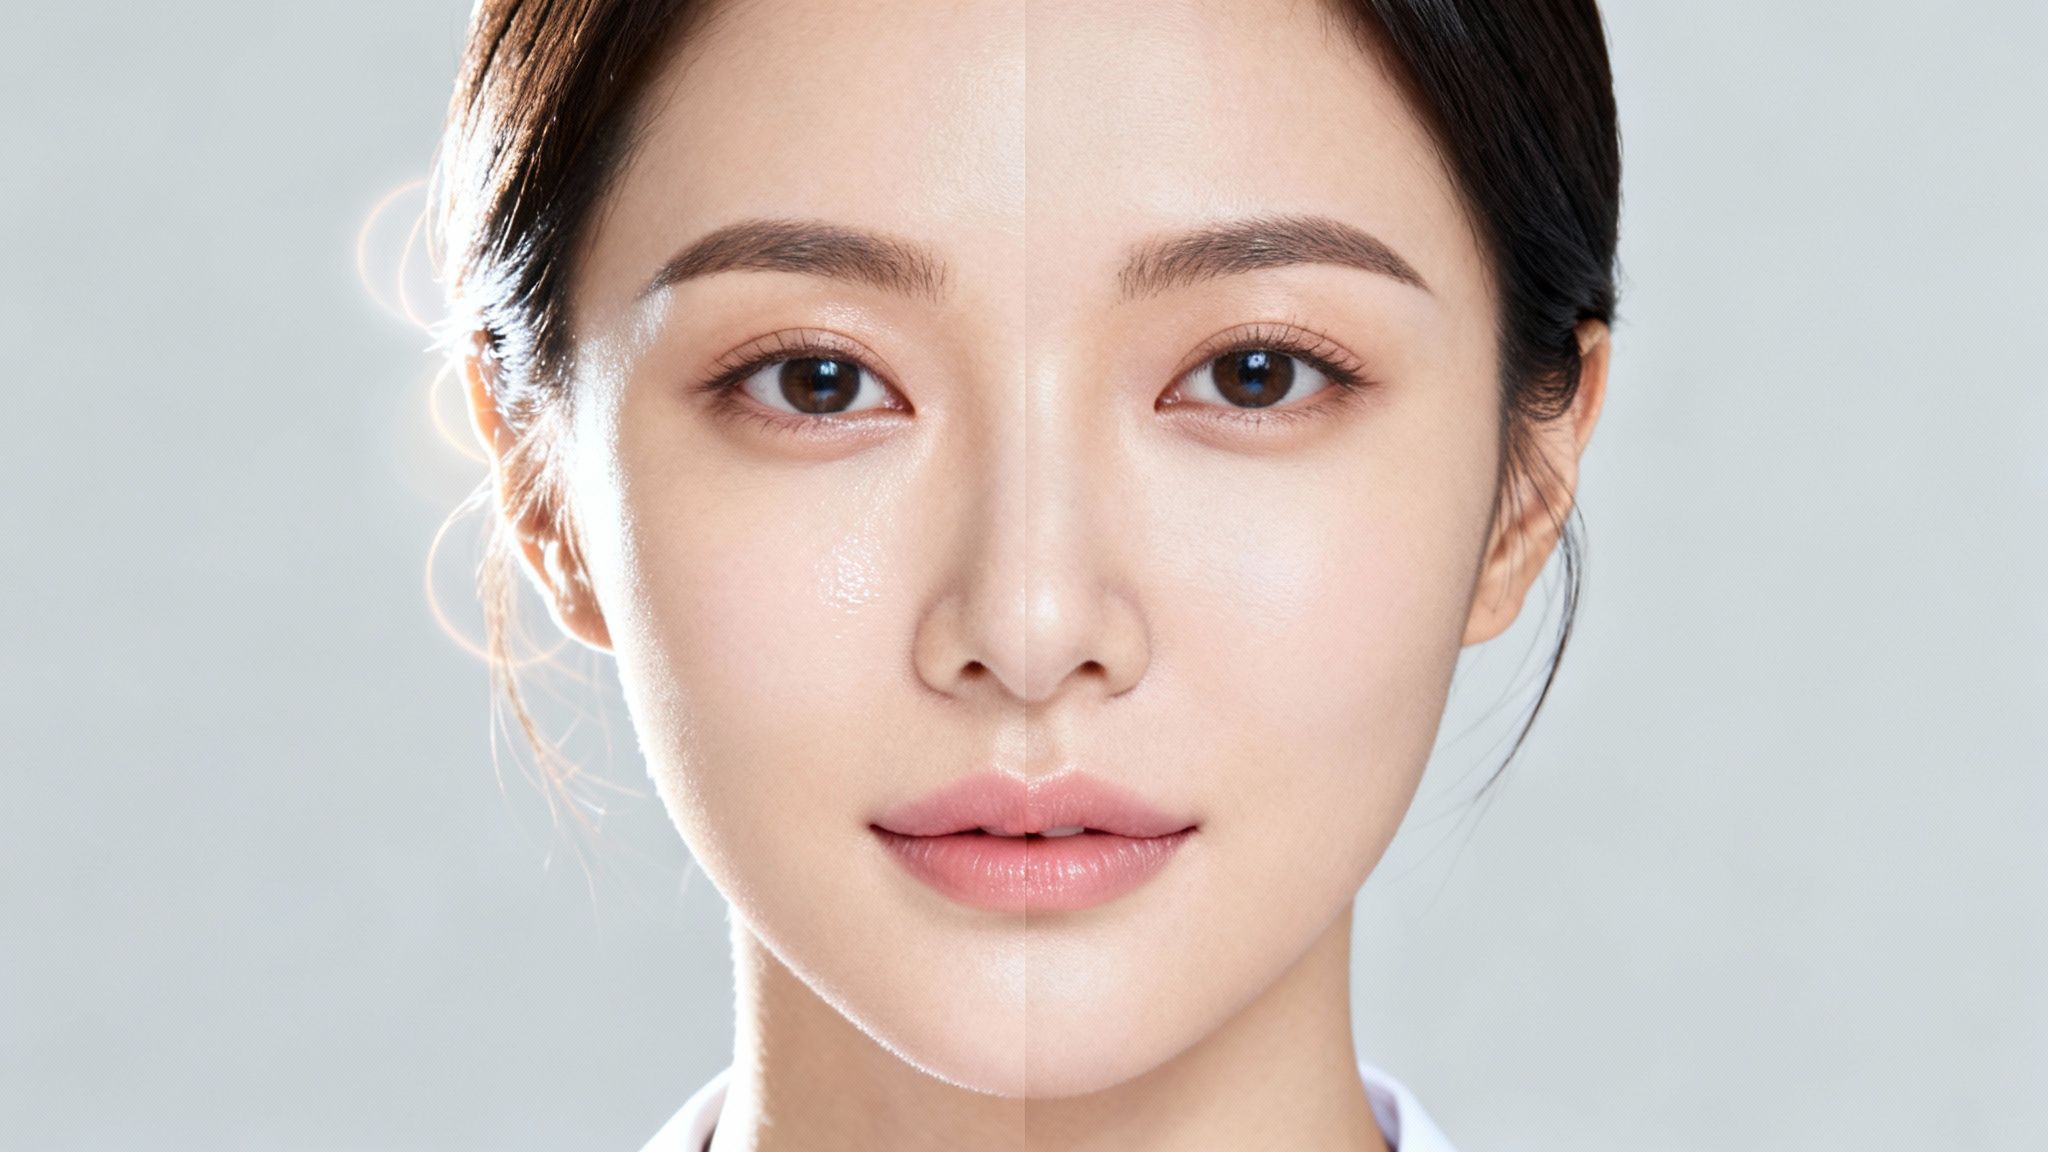
You're basically hunting for anything that looks weird or out of place. One of the most common giveaways is "waxy skin"—when the AI over-smoothes a person's face, making them look like a department store mannequin. This usually happens when the denoising setting is cranked up too high, causing the AI to scrub away natural skin texture it mistakes for noise.
Identifying and Correcting Key Issues
You’ll also see artifacts pop up in detailed, repeating patterns. Think brick walls, the weave on a jacket, or a field of grass. The AI can get confused by these textures and produce strange, wavy lines or a blurry, "mushy" look where you expect crisp detail. Keep an eye out for flickering halos around moving objects, too.
So, you've spotted an artifact. Now what? Your fix will depend entirely on the problem.
For Waxy Skin or Lost Texture: The easiest first step is to simply re-run the process with a lower denoising value. If that doesn't quite do it, here’s a pro tip: jump into your video editor and apply a very light film grain overlay. This adds back a bit of fine texture, making the whole thing feel more natural and less sterile.
For Distorted Patterns or Halos: This is a classic sign of the AI model trying too hard. The solution is often to switch to a different AI model or just dial back the sharpening. A less aggressive pass can do wonders for preserving the integrity of those complex patterns without inventing detail that isn't there.
The point of fixing artifacts isn't to achieve mathematical perfection. It's to make sure the final video feels immersive. You want your audience lost in the story, not staring at a wobbly background or a strangely smooth face.
Refining Your Results with a Second Pass
For really stubborn footage, one pass through the AI might not cut it. I've found that running a second, much gentler upscale on the already-enhanced video can work wonders. This approach helps clean up any remaining softness without bringing back those harsh artifacts you just got rid of. Yes, it’s an extra step, but it’s often the key to getting that polished, high-end result.
This final QC check is non-negotiable if you're serious about your video quality. To explore this topic further, we have a complete guide on using an AI video quality enhancer that dives into even more advanced techniques. By training your eye to spot these common problems, you can take your AI-enhanced videos from just technically good to genuinely impressive.
Automating Your Upscaling for High-Volume Content
Upgrading a single video clip is useful, but the real magic of video upscale AI happens when you start thinking bigger. If you're managing multiple channels or running large-scale ad campaigns, building an automated workflow is a game-changer. This is how you turn a tedious, manual task into a hands-off system that just works.
Think about an e-commerce brand that collects video reviews from customers. An automated system could grab those user-generated clips, bump them up to a clean 4K, and reformat them for different ad platforms—all without anyone lifting a finger. Suddenly, every piece of social proof looks sharp and professional.
Or consider faceless YouTube channels that churn out daily compilations. Automation can pull the source clips, run them through an AI upscaler, and have them ready for the editor. This can easily save hundreds of hours, turning a daily grind into a smooth, streamlined operation.
Aicut for High-Efficiency Workflows
This is where tools like Aicut come in. They’re built to make this kind of automation not just possible, but practical. By plugging AI upscaling into a bigger content creation engine, you can chain together multiple steps into a single, seamless flow.
It’s about more than just making pixels sharper. With Aicut, for example, you can pair automated upscaling with other smart tools.
- Viral Niche Templates: Upscale your footage and then immediately drop it into a trending video template, complete with captions and effects. Your content now looks and feels like the top-performing videos on TikTok or Instagram.
- Auto-Posting Schedules: Once a batch of videos is upscaled and ready, you can set them to post automatically across your social media accounts. This keeps your content pipeline full, even when you’re not at your computer.
- Generative AI Integration: Take your newly upscaled footage and mix it with clips created by generative models like Sora 2 or Veo 3.1. This lets you create truly unique, hybrid videos that nobody else has.
Scaling Content Production Smartly
This kind of automation lets creators pump out more content without letting the quality slip. For Aicut's 500k+ users, this means things like low-res Reddit narrations or grainy POV selfies can become viral hits as part of an integrated system. This shift toward scalable production is a huge reason the AI video market is valued at $3.1 billion in the US for 2024 and growing fast. You can read more about the AI video market's exponential growth and see how it's changing content creation.
The goal of automation isn't just to save time—it's to create a reliable system that empowers you to focus on strategy and creativity while the AI handles the repetitive, technical tasks.
By building an automated upscaling workflow, you’re not just saving time—you're building a content machine. It’s a strategic move that helps you stay competitive by consistently delivering the high-resolution video that both algorithms and audiences love, driving real growth for your channel or brand.
Common Questions About AI Video Upscaling
As you start exploring video upscale AI, you'll probably run into the same questions I did. Getting these sorted out early on helps you understand what the tech can realistically do and where its limits are. It's all about setting the right expectations.
Can It Really Turn a Blurry Video Into 4K?
This is the big one, right? The short answer is yes, but there's a huge "but." The quality of your original file is everything. Simple resizing just stretches the existing pixels, which is why old videos look so blocky on modern screens. AI is different—it intelligently guesses what the missing details should look like and draws them in.
So, if you start with a decent 720p or 1080p clip, the AI can work wonders and push it to something that looks convincingly like native 4K.
But if your source video is a pixelated mess, heavily compressed, or full of digital noise, the AI has almost nothing to build upon. Think of it less like a magician and more like a skilled art restorer. The better the canvas you give it, the more impressive the final painting will be.
How Long Does This Actually Take?
The next practical question is always about time. AI upscaling isn't instant. How long it takes really boils down to a few things: the video's length, how much you're upscaling it (e.g., 1080p to 4K), the specific AI model you choose, and of course, your computer's horsepower. A single one-minute clip going to 4K could be done in a few minutes or take over an hour.
This is where cloud-based tools like Aicut have a serious edge. They run the process on powerful servers, which is not only much faster but also means your own computer isn't bogged down for hours. You can just upload your files, kick off the job, and get back to other work.
You're always balancing time, quality, and final resolution. A 4x upscale on a feature-length film is a serious commitment, but for that hero shot in your ad? The visual pop is often well worth the wait.
Will Upscaled Video Files Be Massive?
Oh, absolutely. And you need to be ready for it. When you jump from 1080p to 4K, you're quadrupling the number of pixels in every single frame. That data has to go somewhere, and it results in a much, much larger file.
This has real-world consequences for your workflow, from storage costs to the time it takes to upload to YouTube. A little planning goes a long way.
- Check Your Storage: Before you batch-process a whole folder of videos, make sure you've got enough free space on your drive. Trust me on this one.
- Export Smart: When you're done, export using a modern codec like H.265 (HEVC). It does a fantastic job of keeping file sizes reasonable without trashing the quality, especially compared to the older H.264 standard.
Thinking about file management before you hit "render" will save you a ton of frustration later. It ensures your gorgeous new videos are actually practical to store and share.
Ready to transform your footage with a simple, automated workflow? Aicut provides the tools you need to upscale, edit, and distribute high-quality video content effortlessly. Start creating for free and see the difference today.