
Trying to remove text from a picture can seem daunting, but it’s usually straightforward once you know which tool to grab. If you need it done fast, an AI inpainting tool is your best bet. For professional results where quality is everything, you’ll want Adobe Photoshop. And if you're on a budget, a free tool like GIMP will get you there with a little more effort.
Choosing Your Best Method to Remove Text from a Picture
I’ve spent countless hours cleaning up images—for everything from marketing campaigns to personal projects. In my experience, the right approach always comes down to balancing three things: how fast you need it, the quality you're after, and what you’re willing to spend.
This decision tree gives you a quick visual guide to picking the right path from the get-go.
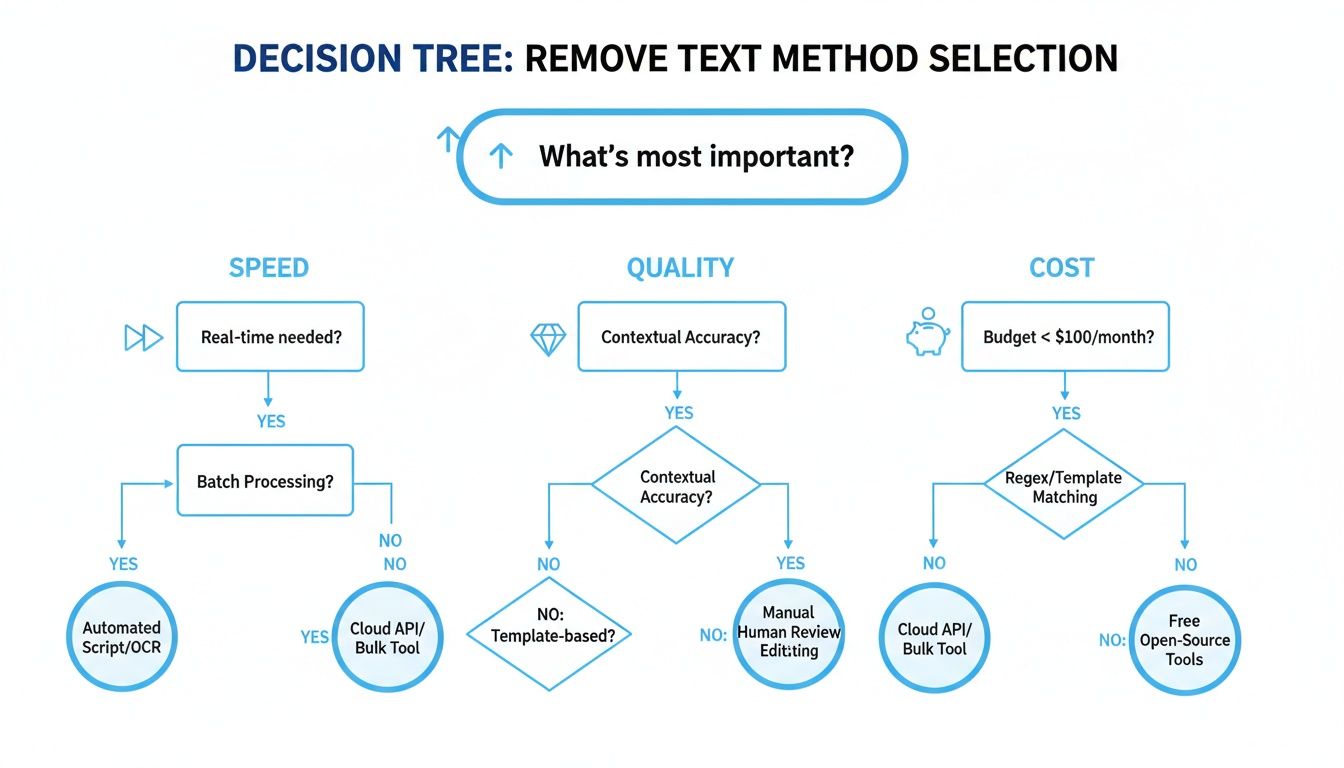
As you can see, it points you toward AI tools if speed is your main concern. If you’re a stickler for quality, however, you'll need the control that only manual software can offer.
A Quick Look Back
The urge to tweak photos is hardly a modern phenomenon. People have been manipulating images for over 160 years, with photographers experimenting with retouching techniques way back in the 1860s. It’s a fascinating corner of history.
What used to require physical airbrushes and complex darkroom skills can now be done with a few clicks. The AI tools we have today are just the next evolution, using complex algorithms to rebuild the pixels behind the text you want gone. It's a long way from the early days of image manipulation.
The Real Takeaway: The "best" tool is the one that fits your specific project. A quick social media graphic with text over a solid color might only need a simple online editor. But if you have text layered over a busy, detailed background, you’ll absolutely need the precision of a tool like Photoshop.
Method Comparison for Text Removal
To make the choice even clearer, here’s a quick breakdown of the main methods. This table compares the most common options to help you decide at a glance.
| Method | Best For | Speed | Quality | Cost |
|---|---|---|---|---|
| AI Inpainting Tools | Quick fixes, simple backgrounds, social media | Highest | Good–Great | Free–Low |
| Photoshop | Professional work, complex images, total control | Medium | Excellent | Subscription |
| GIMP & Plugins | Budget-conscious users who need powerful tools | Medium | Great | Free |
| Mobile Apps | On-the-go edits on your phone or tablet | High | Varies | Free–Low |
| Online Editors | One-off tasks without installing software | High | Good–Great | Free–Low |
Each of these tools has a time and a place. The key is understanding their strengths so you can pick the right one for the job without wasting time. AI is great for speed, but nothing beats manual control for tricky images.
Using AI Inpainting for Instant Text Removal
When you need to get text off an image right now, nothing beats the speed of AI inpainting. If you're dealing with high-volume content, you don't have time for the manual, pixel-by-pixel work of traditional software.
Think about it. You've got a fantastic user-generated video for a new campaign, but there's a social media handle slapped right in the middle. Or you find the perfect stock photo, only to see "sample text" plastered across the best part. In these moments, AI tools are your best friend. You just upload the image, paint over the text you want gone, and the AI rebuilds the background in seconds.
Here's how it works in practice:
- First, you get your image into the AI tool.
- Next, you'll use a brush to simply "paint" over the text you want to erase.
- Then, you hit the remove button and let the algorithm do its thing.
What's happening behind the scenes is pretty incredible. Older tools would just clone nearby pixels, which often left blurry, repetitive smudges. Modern AI is different. It's been trained on millions of images, so it actually understands the context of the scene and intelligently reconstructs what should have been behind the text. That’s why over 500,000+ creators now use these tools to get clean, professional-looking images without the hassle.
If you’re curious about how this all works, you can explore the magic of image reconstruction in more detail.
Real-World Scenarios and Pro Tips
This is where the quality of an AI tool really shines. Removing a logo from a solid blue background is one thing. But what about text that's sitting on a complex surface, like a brick wall, a field of grass, or a patterned shirt? A good AI can rebuild those textures with incredible accuracy, making the edit virtually invisible.
Pro Tip: I've found it's always best to make your selection a little bit bigger than the text itself. This gives the AI more of the surrounding area to work with, which helps it generate a much more seamless and natural-looking fill.
The same core technology that erases text is also used for other powerful edits. A great example is the AI Ghost Mannequin effect you see in e-commerce, where the mannequin is removed from a clothing photo to give it a hollow, 3D look. It's all about intelligently identifying and replacing unwanted parts of an image.
For anyone creating content, this is a massive time-saver. You can quickly adapt visuals for different platforms or clean up distracting text to keep your audience focused on what matters. To see how these tools are changing the game, check out our guide on https://www.aicut.pro/blog/ai-image-editing. You'll get high-quality results without the steep learning curve of traditional editing suites.
When you need text gone without a trace, nothing gives you the fine-grained control of Adobe Photoshop. While a lot of new AI tools are great for a quick fix, Photoshop is what the pros use when the job has to be perfect, especially on images with complex backgrounds.

For years, my process has relied on a couple of core features. I start with the heavy lifter, Content-Aware Fill, for the bulk of the removal. Then, for the finishing touches that make the edit truly disappear, I switch to the Healing Brush and Clone Stamp tools.
The Power of Content-Aware Fill
The magic of Content-Aware Fill is its ability to analyze the pixels around your selection and intelligently generate a patch to fill the space. It’s a lifesaver on backgrounds with natural, non-repeating textures like sand, water, or cloudy skies.
First, you need to select the text you want to erase. I almost always reach for the Lasso Tool for this. Don't waste time trying to make a perfect, tight selection; giving Photoshop a little bit of breathing room around the text actually helps it blend things more naturally.
With your selection made, head to Edit > Content-Aware Fill. This opens a new workspace where you can see a live preview of the result. Photoshop shows you which parts of the image it's sampling from with a green overlay. If the tool is grabbing pixels from a weird spot—say, a bit of a person's shirt when you're trying to patch a brick wall—you can simply paint over that part of the overlay to tell Photoshop to ignore it. This is the key to avoiding smudgy, mismatched fills.
When I first started out, I’d get so frustrated when the fill looked like a blurry mess. The moment it all clicked was when I learned to control that source area myself. Now, I always tweak it to make sure Photoshop is only pulling from clean, relevant textures.
Refining with the Healing Brush and Clone Stamp
Content-Aware Fill will get you about 80% of the way there. The last 20% is all about manual cleanup, and this is what separates a decent edit from a professional one. It’s here that you’ll smooth out any subtle artifacts or texture mismatches.
Before you start, do yourself a huge favor: create a new, blank layer to work on. This is non-destructive editing, and it means you can paint and clone all you want without ever damaging your original image. Just remember to check "Sample All Layers" in the tool's options bar at the top of the screen.
Healing Brush Tool: This is my go-to for blending. It cleverly borrows the texture from a source point but automatically matches the lighting and color of where you're painting. The result is a seamless patch that feels completely natural.
Clone Stamp Tool: This tool is more direct—it copies pixels exactly as they are. It’s perfect for rebuilding things with sharp edges or distinct patterns that the Healing Brush might otherwise soften.
My secret for a natural finish is to use a soft-edged brush and dial the opacity way down to 20-30%. I build up the correction in gentle layers instead of trying to fix everything in one heavy pass. It takes a little more patience, but this careful approach is how you make text vanish completely, even from the trickiest of surfaces.
Free and Open Source Text Removal Tools
Think you need a pricey subscription to remove text from a picture and get clean, professional results? Think again. There’s a whole world of free, open-source software that can deliver incredible quality, especially if you’re open to a little hands-on editing.
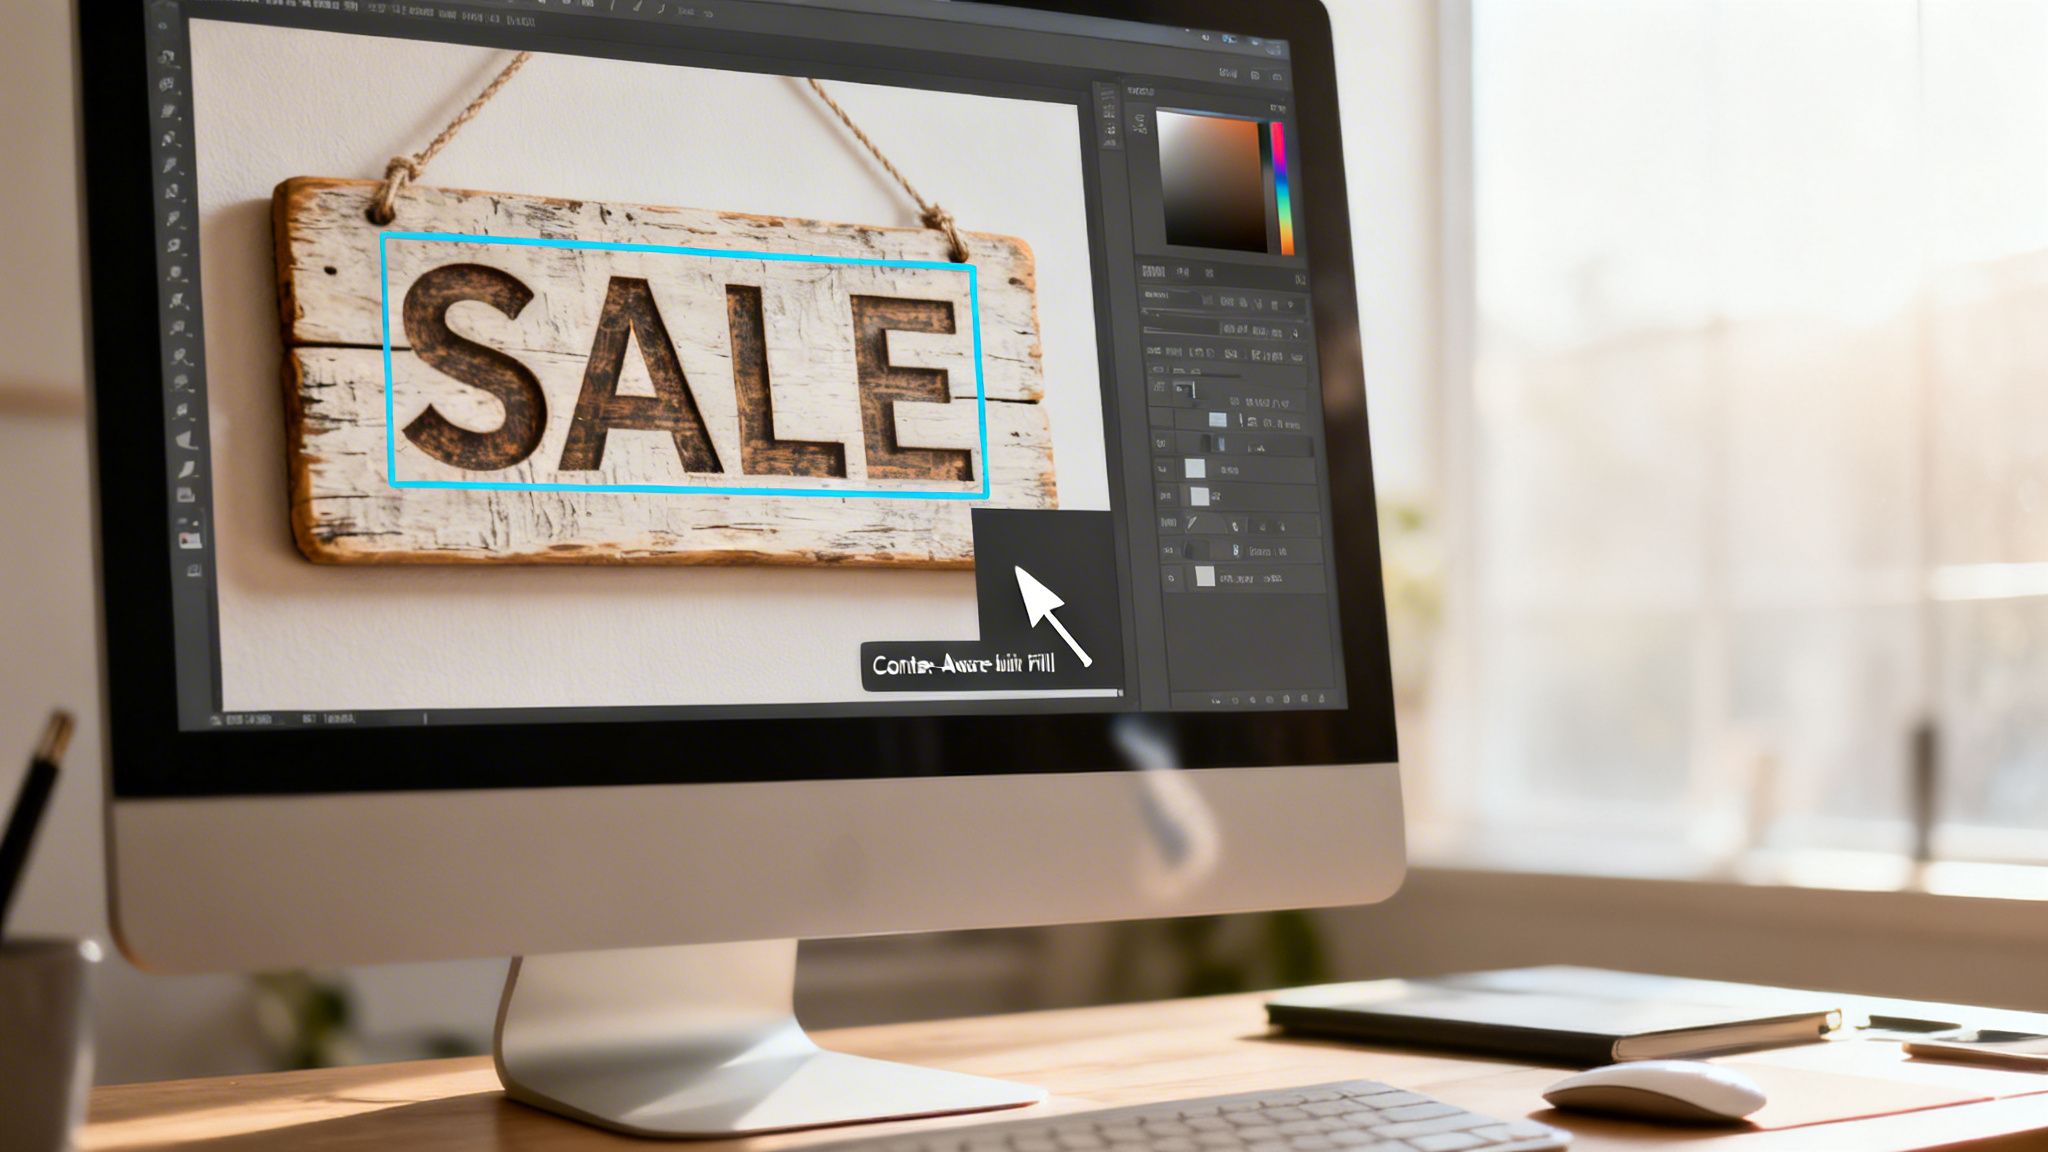
When it comes to powerful free tools, GIMP (the GNU Image Manipulation Program) is the undisputed champion. It's essentially the open-source answer to Photoshop and is packed with features that are perfect for this kind of work. Add the right plugin, and GIMP can go toe-to-toe with its paid counterparts for text removal.
Get Photoshop-Like Results With a GIMP Plugin
The key to making GIMP work its magic here is a feature that acts just like Photoshop’s famous Content-Aware Fill. It analyzes the pixels surrounding your selection and intelligently paints over the text with a brand-new, matching texture. It’s a game-changer for complex backgrounds like wood grain, grass, or fabric.
This functionality comes from a free plugin called Resynthesizer. You can find the latest version for your operating system with a quick search for "GIMP Resynthesizer plugin."
Once it’s installed, the process is straightforward:
- Grab the Free Select Tool (the one that looks like a lasso) and draw a loose selection around the text you want to remove.
- Head up to the menu and click Filters > Enhance > Heal Selection...
- A small dialog box will pop up. Just leave the default settings and hit OK.
GIMP takes it from there, generating a new texture to fill in the blank space. I'm often surprised at just how clean the results are on the first try.
My Pro Tip: I always make my selection slightly larger than the text itself. Just like with AI tools, giving the algorithm a little extra background to sample from helps it create a much more convincing and seamless fill.
Manual Touch-Ups for a Perfect Finish
Even the best automated tools can sometimes leave behind little smudges or blurry spots. That’s when you roll up your sleeves and use GIMP's manual tools—the Clone Tool and Heal Tool—to get things just right.
The Clone Tool is your best friend for rebuilding sharp lines or repeating patterns because it copies pixels exactly from one spot to another. The Heal Tool is a bit different; it copies the texture but blends the color and brightness, which makes it perfect for smoothing out skin, skies, and other soft gradients.
For a deeper dive into modern editing, our guide on the best AI image editing tools is a great next step.
A Word on Free Online Editors
You've probably seen them: countless free online editors that promise instant text removal. For a quick and simple job, like taking a watermark off an image with a solid blue sky, they can be genuinely useful.
Just be aware of the trade-offs. Many of these sites limit your image size or resolution, and you’re uploading your pictures to a third-party server, which might be a concern for sensitive photos. They're convenient for one-off, low-stakes edits, but for anything important, a desktop app like GIMP gives you far more power and control without costing a dime.
How to Fix Common Text Removal Problems
So, you’ve tried the one-click fix, and… it didn't quite work. It happens to all of us. Even with the incredible tools available today, sometimes you're left with a result that's just not clean enough to use.
This is where a little hands-on technique separates a messy edit from a truly invisible one. Most of the time, the problems fall into a few common camps: you've got a weird blurry patch, the text was on a complicated background, or it was sitting on top of tricky lighting. Don't worry, there's a specific fix for each.
Fixing Blurry or Smudged Results
You see this a lot with automated tools. You remove the text, but the AI leaves a telltale smudge where it struggled to guess the texture underneath. It’s fast, but it’s not always perfect. The good news is, you can easily fix this by manually painting some of that lost detail back in.
My go-to method is using the Clone Stamp tool in Photoshop or GIMP on a brand-new layer. Here’s the trick:
- Dial the brush opacity way down to around 20-30%. You want a gentle touch.
- Find a clean, textured area right next to the smudge and Alt-click (or Option-click on a Mac) to sample it.
- Now, lightly “paint” over the blurry spot. Build the texture up gradually.
This technique lets you blend the correction seamlessly without creating those hard, obvious edges. You're basically borrowing real texture from the photo itself to cover the AI’s mistake, restoring that natural look.
Removing Text from Complex Patterns
What happens when the text is sprawled across a plaid shirt, a floral couch, or a detailed wood grain? This is the ultimate test for any text removal tool, and honestly, automated solutions almost always fail here. They just can't reconstruct intricate, repeating patterns.
For these jobs, you have to roll up your sleeves and go manual. The Clone Stamp tool is your best friend once again. The key is to find a clean, repeating part of the pattern you can copy from. Zoom in close, and meticulously align the pattern as you paint over the text bit by bit. It's slow, patient work, but it's the only way to make it look like the text was never there.
I once had to remove a brand logo from a photo of a patterned armchair. I probably spent 20 minutes just cloning tiny sections of the fabric pattern over the letters, constantly changing my source point to keep it from looking repetitive. It was tedious, but the final image was flawless.
Handling Text Over Gradients and Lighting
Another common headache is text that sits on a smooth gradient, like a sunset sky or a studio backdrop. A simple content-aware fill will often leave a blotchy patch or a harsh line where the colors don't quite blend.
The best way I've found to tackle this is to create the gradient yourself. Add a new layer and use the Gradient Tool to draw a new gradient that matches the color and direction of the original background. Then, apply a layer mask to this new gradient layer. Using a soft, black brush, you can then paint away everything except the part covering the old text. This lets you blend your new, perfect gradient right into the original photo for a seamless fix.
On a related note, if you’re starting with a low-resolution image, your edits will often look pixelated no matter how careful you are. In these cases, your best bet might be to improve the image quality first. You can learn more about how to use an AI image upscaler to sharpen things up before you even start removing text.
Common Questions About Removing Text From Images
Even with the best tools at your fingertips, you'll probably run into a few questions along the way. I get asked about this stuff all the time. Let's walk through some of the most common hurdles, from tricky legal issues to dealing with a nightmare background.

Is It Legal to Remove Text from a Picture?
This is a big one, and it all boils down to copyright. If the image is yours, or if you have a license that allows for modifications (like many stock photos), you're usually on safe ground. The trouble starts when you remove a watermark or logo from a photo you don't own, as that can easily land you in legal hot water.
When you’re thinking about altering an image, it’s crucial to understand the rights associated with it. Here’s a quick guide to help you gauge the risk.
Legal and Ethical Use of Text Removal
| Usage Type | General Guideline | Risk Level |
|---|---|---|
| Personal Use (Non-Public) | Editing a photo for a personal project that no one else will see. | Low |
| Licensed Stock Photos | Removing "sample text" from a photo you've legally licensed. | Low |
| Commercial Use of Others' Photos | Removing a logo or watermark from an image you don't own for your business. | High |
| Public Domain Images | Editing images that are not protected by copyright. | Low |
The takeaway here is simple: always check the image rights before you edit anything for public or commercial purposes. When in doubt, assume you don't have permission.
What Is the Absolute Fastest Way?
Need it done yesterday? An AI inpainting tool is your answer. These browser-based platforms are built for speed. Just upload your image, paint over the text you want gone, and the algorithm fills in the background in seconds. The whole thing often takes less than a minute.
This approach is perfect for whipping up social media posts, creating quick mockups, or any time when getting it done fast matters more than pixel-perfect precision.
Can I Do This Without Photoshop?
You absolutely can. You don't need a pricey Adobe Photoshop subscription to get fantastic results.
For a powerful, free desktop program, my go-to recommendation is always GIMP. With the right plugin, its "Heal Selection" feature works wonders, and the built-in Clone and Heal tools are surprisingly close to what Photoshop offers. There are also tons of free online editors out there, which are fine for simple text on a clean background, but they often limit your image size or final quality.
How Do I Handle Very Complex Backgrounds?
This is where the real skill comes in. Trying to remove text from a busy background—think a patterned shirt, a dense forest, or a textured brick wall—is where automated tools tend to fail. They just can't make sense of the chaos.
For these tough jobs, you need to roll up your sleeves and do it manually in a program like Photoshop or GIMP.
The idea of manipulating images to hide or remove information isn't new; it has roots in steganography, a field first documented way back in 1499. While steganography focuses on hiding secret messages, the core principle of altering an image's data is a direct ancestor to modern text removal. Today’s AI has advanced these concepts over 527 years to reconstruct pixels with incredible realism. You can learn more about the long history of concealed writing on Wikipedia.
Your best friend for these edits will be the Clone Stamp tool. It demands patience because you're meticulously sampling clean areas of the image and painting them over the text, piece by piece. It's slow work, but that manual control is the only way to perfectly reconstruct intricate patterns for a seamless finish.
Ready to stop spending hours on tedious editing and start producing stunning content in minutes? Aicut gives you the AI tools to generate viral videos, clean up images, and automate your social media channels. Join over 500,000 creators and try Aicut today!