
Video effects are what separate good content from great content. They're the secret sauce that can make a simple video feel polished, dynamic, and professional. We're talking about everything from smooth transitions and color grading to complex visual tricks that stop viewers mid-scroll.
The Old Way of Editing: Why Manual Effects Are a Grind
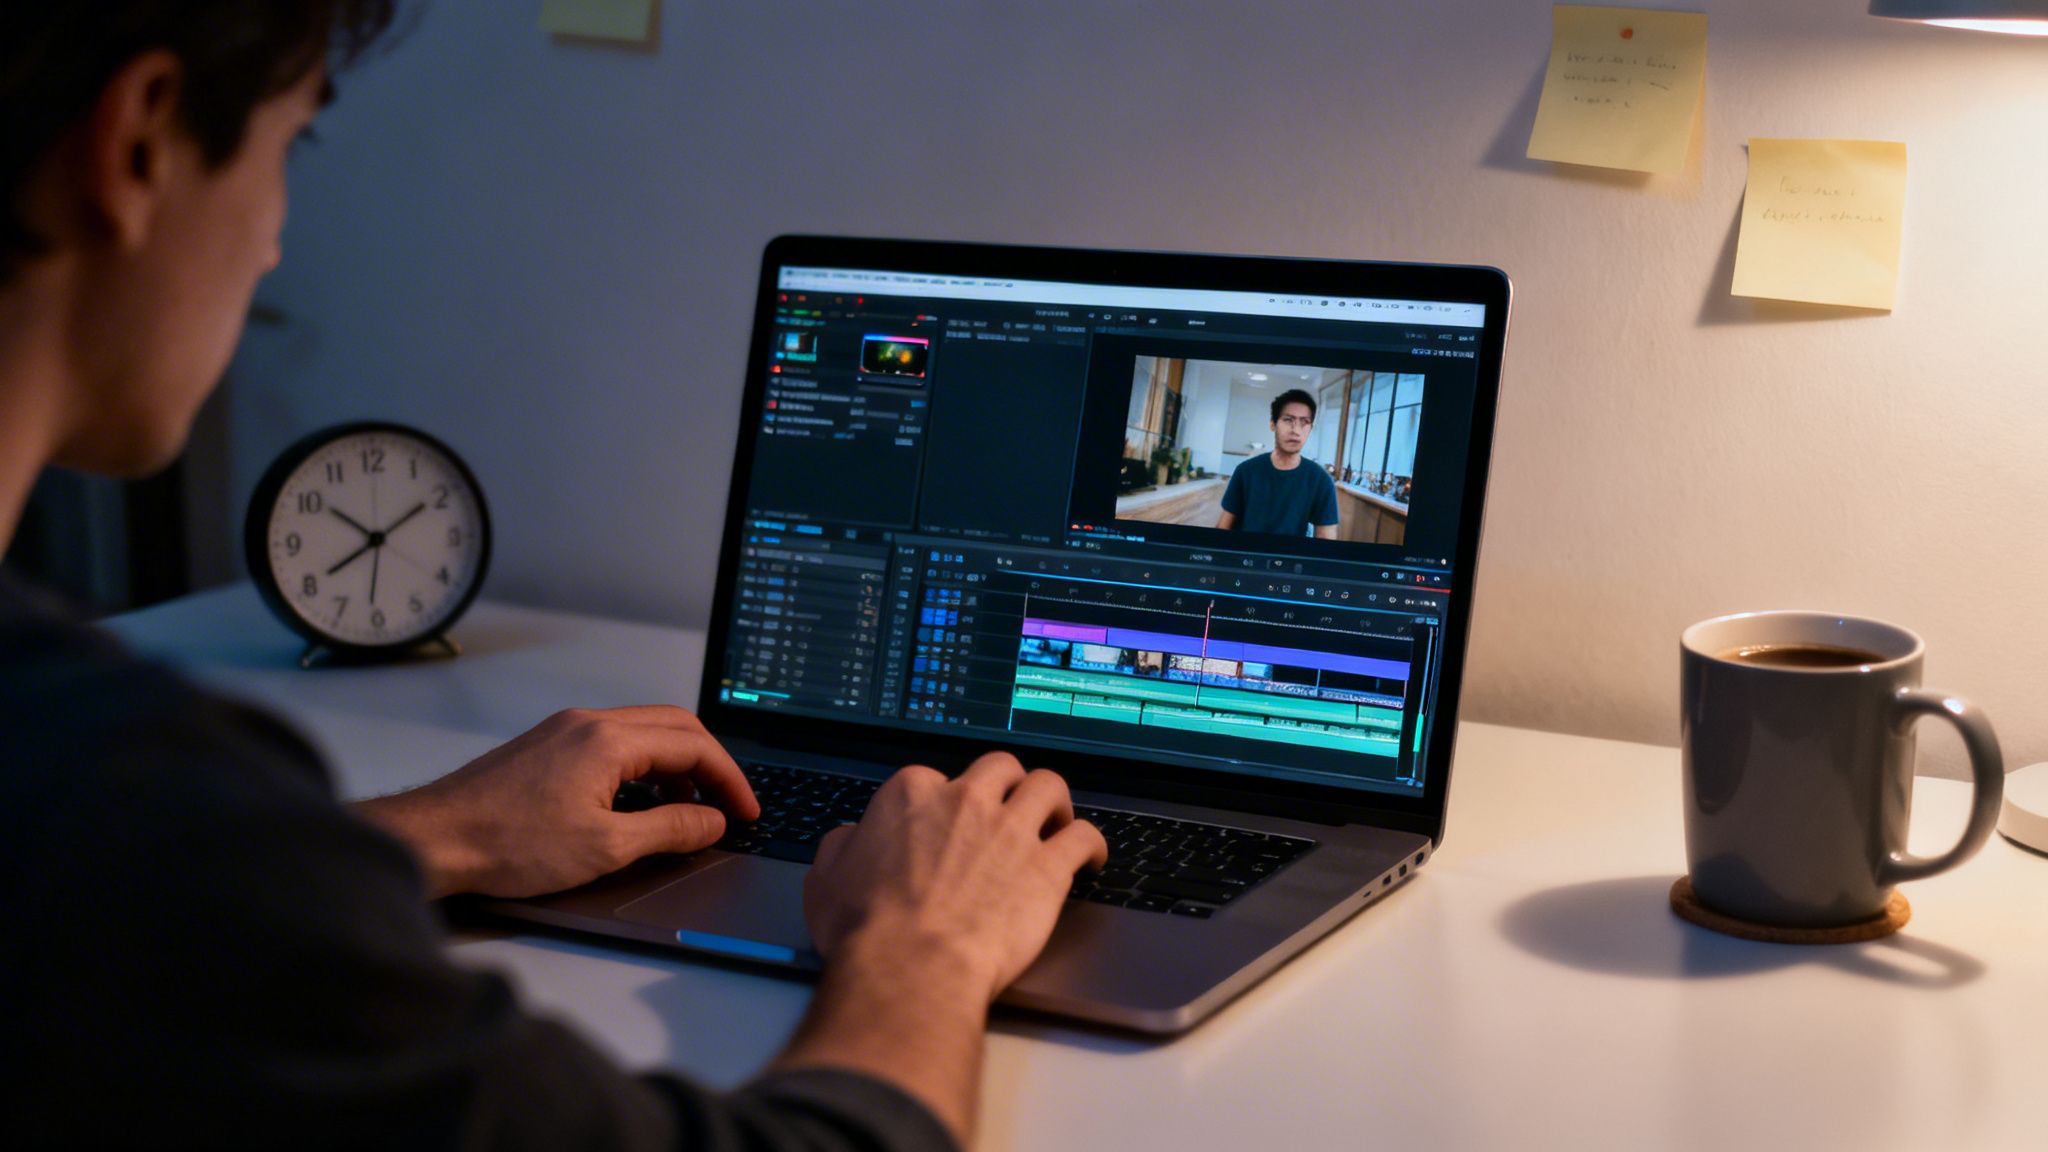
For years, if you wanted to create professional-grade video effects, you had to dive into the deep end with software like Adobe Premiere Pro or After Effects. These tools are incredibly powerful, giving you frame-by-frame control to build stunning visuals from scratch. But all that control comes with a huge trade-off: your time.
The traditional workflow demands a serious understanding of technical skills like keyframing, masking, and compositing. Mastering these can take months, if not years. If you're a solo creator or a small brand, spending hours just to perfect that one slick zoom-and-shake effect for a ten-second clip simply isn't practical.
This problem gets even bigger when you factor in the relentless pace of social media. To stay relevant on YouTube, TikTok, and Instagram, you need to be posting fresh, engaging content consistently. A traditional editing workflow, where one video can take a week to perfect, quickly becomes a bottleneck that kills your momentum.
The Creator Economy Demands Faster Tools
The entire video editing software market is booming because of this pressure. It was valued at $3.09 billion in 2023 and is expected to hit $5.13 billion by 2032. This isn't just a random number; it's proof that creators are desperately searching for faster, more efficient ways to produce high-quality videos. You can dig into more of this data in the full video editing software market report.
This trend points to a fundamental shift. The old way of editing is no longer just slow—it's a competitive disadvantage in a world that rewards speed and consistency.
For today’s creators, the biggest roadblock isn't a shortage of great ideas; it's a shortage of time. Manual video effects editing, for all its power, is often the single thing holding you back from a consistent content schedule.
Where Traditional Methods Fall Short
Let's take a closer look at the key differences between the old-school approach and what's possible with AI. This table breaks down the main factors you'll face as a creator.
Traditional vs AI-Powered Video Effects Editing
| Factor | Traditional Editing (Premiere Pro, Final Cut) | AI Editing (e.g., Aicut) |
|---|---|---|
| Time Investment | Hours or days per video; steep learning curve. | Minutes or hours; minimal learning curve. |
| Skill Requirement | High; requires technical expertise in keyframing, masking, etc. | Low; AI handles the complex tasks. |
| Cost | High subscription fees plus expensive third-party plugins. | Affordable subscriptions, often with all-in-one features. |
| Consistency | Difficult to replicate effects perfectly across many videos. | Easy to apply consistent styles and templates with one click. |
| Output Speed | Slow; not built for daily content creation. | Fast; designed for high-volume social media output. |
As you can see, the contrast is stark. The AI approach directly tackles the biggest pain points that have frustrated creators for years.
The hurdles of manual editing go beyond just the time you spend on the timeline. Think about what else holds you back:
- A High Financial Barrier: Professional software subscriptions aren't cheap. Once you start adding specialized plugins for unique effects, your costs can quickly get out of hand.
- The Skill Gap: Getting effects like realistic motion blur or seamless object removal to look right requires real technical skill. Without it, the final product often looks clumsy and unprofessional.
- Inconsistent Branding: Manually recreating a specific look or effect across dozens of videos is a huge challenge. This makes it tough to build the cohesive visual identity you need to stand out.
This isn't to say traditional tools are bad—they’re just built for a different era of content creation. The game has changed. Today, speed and consistency are just as important as creative precision. This is exactly where AI-powered platforms like Aicut come in, offering a new workflow for creators who need to do more, faster, without compromising on quality.
Translating Your Creative Vision Into AI Prompts
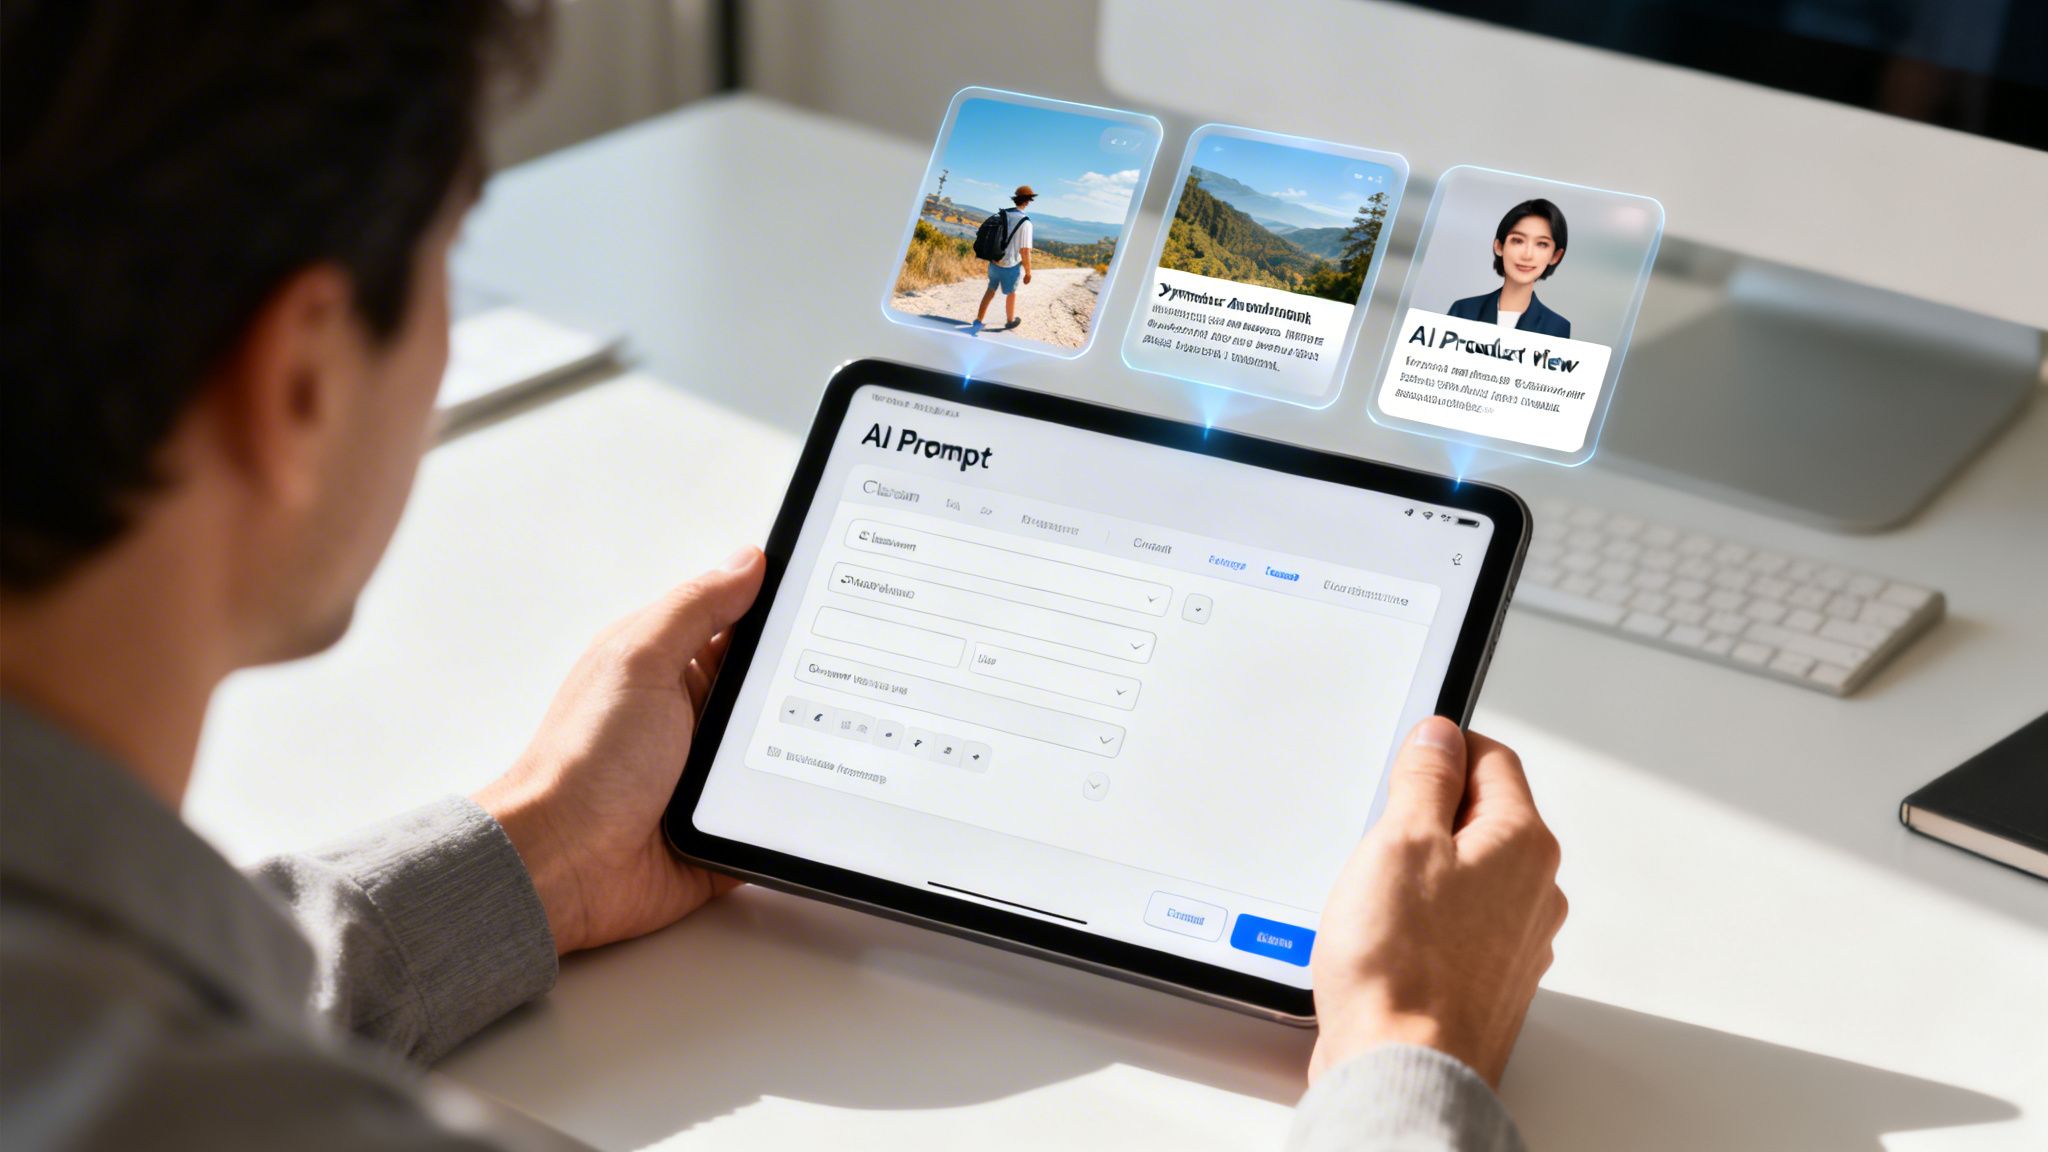
When you make the jump from traditional editing to using AI, your entire workflow changes. You're no longer just clicking buttons and arranging layers; your main job is to become a great communicator. The magic of your video effects now comes down to how well you can describe your creative ideas to an AI model.
This is what people call prompt engineering, but I think of it as being more of an art form. You have to act like a director guiding a super-talented artist who takes everything you say literally. The trick is giving the AI enough direction to get what you want, without boxing it in so much that it can't add its own creative flair. Learning effective AI prompting is the single most important skill for this new way of creating.
Crafting Prompts for Effects That Go Viral
Vague prompts will always give you bland, forgettable results. If you want to make content that actually stops the scroll on TikTok or YouTube, your prompts need to be dialed in and inspired by what’s currently trending.
Let’s walk through a real-world example. Say you're editing a travel vlog. A prompt like "a person walking on a beach" is a total snoozefest. We can do much better.
Example Prompt for a POV Travel Shot:
POV shot, walking through a bustling Moroccan souk at golden hour, vibrant spices in woven baskets, steam rising from food stalls, cinematic, photorealistic, 4K.
See the difference? This prompt works because it’s packed with specific instructions:
- Point of View (POV): This instantly makes the shot feel immersive, like the viewer is right there.
- Specific Setting: A "Moroccan souk" paints a much clearer picture than just "market."
- Sensory Details: Adding things like "vibrant spices" and "steam rising" brings the scene to life.
- Technical Specs: Calling for a "cinematic, photorealistic, 4K" look sets a clear quality standard.
This is the level of detail you need to aim for. It’s how you get the AI to produce that high-end, atmospheric footage that people love to watch.
Turning Static Photos Into Living Stories
Another fantastic use for AI is breathing life into still images. This is a game-changer for "faceless" YouTube channels or for making historical photos feel more immediate and real. You’re not just making a picture move; you’re giving it a story.
Imagine you have an old portrait of an inventor. Instead of just adding a simple zoom, you can feed an AI tool like Aicut a prompt like this:
Example Prompt for Photo Animation:
Animate this portrait of an old-world inventor. Make him subtly raise his eyebrows and give a knowing smirk, as if he's just had a breakthrough. The lighting should be dim, like candlelight, with a slight flicker.
This prompt is powerful because it includes an emotion ("knowing smirk"), a piece of a story ("as if he's just had a breakthrough"), and a specific atmosphere ("candlelight, slight flicker"). The AI uses these cues to create an animation with personality, making the content far more engaging. If you want to get into the nuts and bolts of how this works, our guide on https://www.aicut.pro/blog/what-is-prompt-engineering explains how AI interprets these instructions.
The best prompts don't just describe what a scene looks like; they describe what it feels like. By including emotional cues, motivations, and atmosphere, you guide the AI to create content with depth and narrative impact.
Using Templates as a Creative Springboard
Staring at a blank prompt box can be tough. That’s where AI prompt libraries and templates are incredibly useful. Many platforms, including Aicut, offer pre-made templates for popular video styles, like "Reddit story narrations" or "AI-generated UGC reviews."
Don't think of these templates as strict rules. They're more like a professional starting point—a launchpad for your own ideas. You can grab a template and tweak it to perfectly match your brand or the story you’re telling.
- UGC Product Review: You could start with a generic review template, then customize the prompt to mention your specific product, its key features, and even your brand colors for the background.
- Text Message Story: Take a base template for a text conversation and inject your own unique dialogue, then alter the prompt to change the background to fit the story's mood.
This method gives you the best of both worlds: the speed of automation and the personal touch of your own creativity. You get to skip the boring setup and spend your energy on the details that will make your videos stand out.
Building an Automated Video Effects Workflow
Okay, so you've got the hang of writing good prompts. But making one cool clip is one thing; creating a system that churns out amazing videos consistently is a whole different ballgame. This is the secret sauce top creators and brands use to dominate platforms like YouTube and TikTok without completely burning out.
Think of it this way: an automated workflow shifts your job from a pixel-pushing editor to a creative director. Your real work happens upfront, where you make the key creative decisions. Once you set the system up, it practically runs itself. It’s the difference between grinding out a single video each week and having a dozen ready to go while you focus on bigger things.
Starting with a Viral Niche Template
Don't ever start from a blank canvas. The fastest way forward is to grab a template built around a proven, viral video format. Inside a tool like Aicut, you’ll find these for all the popular niches—think "faceless history," "AI fashion," or those "Reddit story" videos you see everywhere.
These templates are so much more than just a pretty design. They come with a built-in recipe for success:
- Pacing and Timing: The template already has the rhythm figured out, which is everything for keeping eyeballs glued to the screen on short-form video.
- Effect Styles: It comes loaded with pre-selected text animations, transitions, and other effects that are known to work well in that specific niche.
- Visual Cohesion: The whole look is already dialed in, giving your videos a consistent, professional feel that helps people recognize your content instantly.
Picking a 'faceless history' template, for example, immediately gives you a solid foundation to build on. You already know you'll need a narrator's voice, some historical footage, and a few slick animations. All you have to do is drop in your specific script and images.
The big idea with automation is to stop reinventing the wheel for every single video. By using a template for a hot niche, you’re tapping into a format that already has a hungry audience, which drastically cuts down your production time.
Generating Core Clips and Layering Effects
Once you've got your template locked in, it's time to create the visuals. This is where AI models like Sora or Kling—especially when integrated into a platform like Aicut—really start to shine. Using the prompt formulas we've already covered, you can generate the exact clips you need.
Let’s say you're making a video about the Roman Empire for that faceless history channel. You might fire off a few prompts to get your main shots:
- Establishing Shot:
cinematic aerial shot of the Roman Colosseum at sunset, photorealistic, 4K, golden hour lighting - Character Shot:
close-up on a stoic Roman centurion's face, weathered and determined, looking into the distance - Action Shot:
dramatic shot of a Roman legion marching in formation, dusty ground, sun glinting off their armor
Once you have these clips, they become the skeleton of your video. The automated workflow takes over from there, layering on the template’s effects. Maybe it adds a smooth cross-dissolve between the shots and an elegant text overlay with key dates and names.
This kind of AI integration is a massive shift. The market for generative AI in video is projected to climb from $2.68 billion in 2026 to $3.41 billion by 2030. This boom is happening because automated tools have been shown to slash editing time by up to 70%—a game-changer for any creator trying to make a living. You can dig into more of the numbers in this video editing software analysis.
Polishing Your Video with Automated Enhancements
The last part of the workflow is all about the polish—those final touches that take a video from good to great. Here, you can use specific AI tools to add that extra flair.
- Photo Animation: Got a static image of Julius Caesar? Use an animation tool to make him give a subtle nod or change his expression. It's a simple way to bring a still frame to life.
- Image Upscaling: If you’re working with some older, low-res images, an AI upscaler can sharpen them to a clean 4K quality, making sure your final video looks crisp on any device.
- Seamless Transitions: Your template will have some basic transitions, but you can always ask the AI for something custom, like "a camera flying through a crack in a statue to reveal the next scene."
These tools all work together to form a powerful production line. For anyone serious about making this work, we’ve put together a deeper guide on how to automate your AI video creation from start to finish. This entire process turns what used to take hours—or even days—of painstaking work into a job that takes just a few minutes. By creating content in batches like this, you can build a massive library of videos, ready to be scheduled and posted. You’ll have a content pipeline that truly works for you, not the other way around.
Automating Your Content Distribution Strategy
So you’ve poured your energy into creating amazing videos packed with slick, professional effects. That’s a massive win, but it’s really only finishing the first half of the race. If your masterpiece never finds an audience, did you even make it? This is exactly why a smart distribution strategy is your secret weapon.
By automating this final piece of the puzzle, you complete the entire content creation loop. You can stop spending your days manually uploading and publishing every single video. Instead, integrated tools can schedule and post everything for you, turning your daily grind into a smooth, hands-off system.
Just think about it: you finish a batch of 10 videos and, in a few clicks, schedule them to go live on YouTube, TikTok, and Instagram over the next two weeks. This keeps your posting schedule rock-solid—something the algorithms absolutely love—without you having to be chained to your desk. That consistency is one of the biggest drivers of channel growth.
Tailoring Effects for Each Platform
A one-size-fits-all approach just doesn't cut it with social media. Every platform has its own vibe, its own audience, and its own rules of engagement. Your video effects editing choices have to match, and this is another area where automation can be a huge help.
What crushes it on one platform might completely flop on another.
- TikTok and Instagram Reels: Vertical video is the law of the land here. All your effects, text, and animations have to be designed for that 9:16 aspect ratio. You need fast, punchy effects that grab attention in the first three seconds.
- YouTube: While Shorts also use the vertical format, traditional long-form videos give you much more creative freedom. You can get away with more subtle color grading, longer transitions, and detailed animations that would just get lost on a faster-paced app.
When mapping out your automated content plan, platforms like YouTube are obviously a cornerstone for building a big audience. An integrated system lets you create different versions of your video—say, one vertical and one horizontal—and schedule them to the right platforms without any extra work.
This diagram breaks down the AI video workflow. You can see how it moves from picking a template, to generating the clips, and finally to adding that last layer of polish.
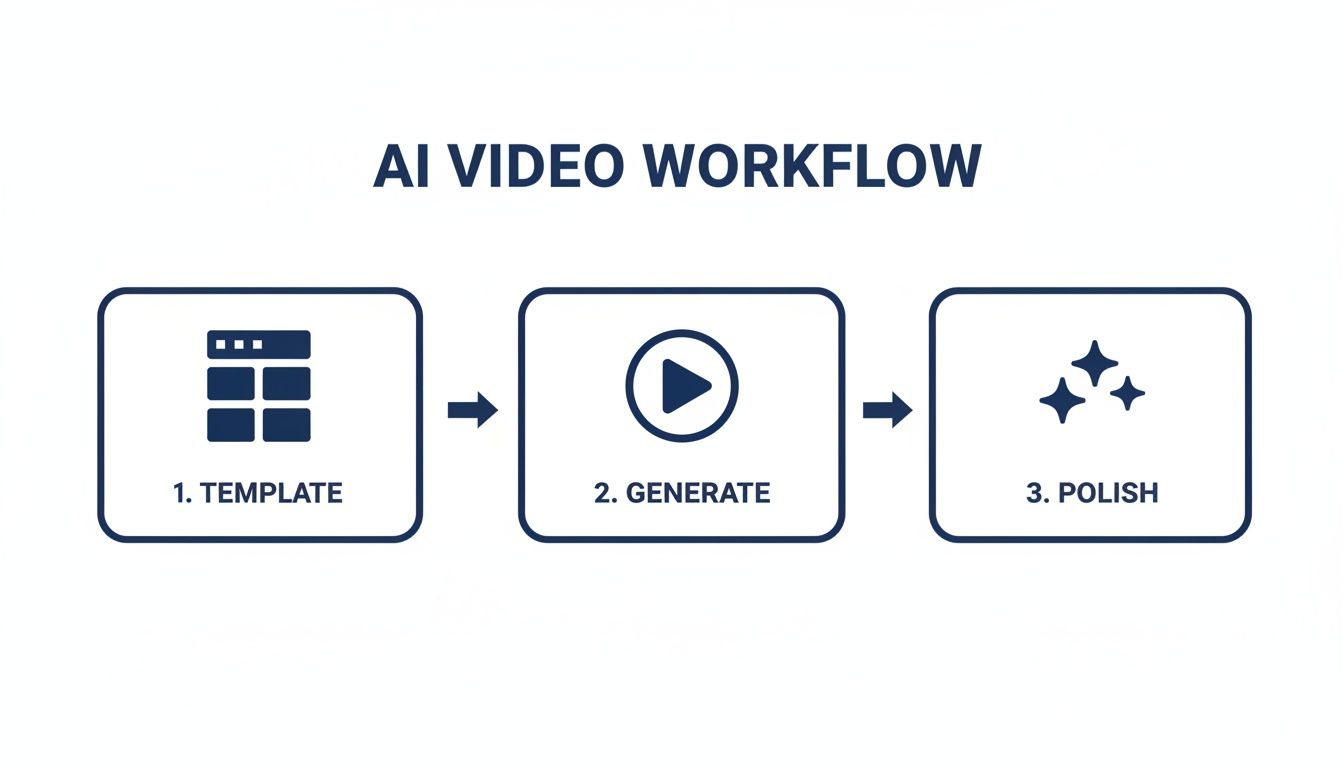
Seeing the flow from template to final video really shows how automation makes the whole process simpler, with distribution being the natural last step.
Creating a Seamless Production Ecosystem
The real endgame here is to build an ecosystem where your content flows effortlessly from an idea all the way to your audience's screens. When your AI editing tool, like Aicut, also takes care of scheduling and posting, you get rid of all the friction and save a ton of time.
This unified setup means you can manage everything from one place. Generate a video, apply the right effects for each platform, and schedule it to post without ever downloading or re-uploading a single file. For a closer look at setting this up, check out our guide on how to automate social media posts.
An automated distribution strategy isn't just a time-saver. It's about building a reliable system that guarantees your content gets out there consistently, maximizing your reach and keeping your viewers coming back for more.
It doesn’t just stop at organic posting, either. Some platforms let you run automated ad campaigns right from your content dashboard. You can spot a video that's performing well, throw a small budget behind it, and push it to a targeted audience to get even more eyeballs on it.
This creates a powerful feedback loop where you identify what works and instantly double down on it, driving more views, subscribers, and customers. This is the kind of complete workflow that separates hobby creators from those who successfully scale their channels into real brands.
Troubleshooting Common AI Editing Problems
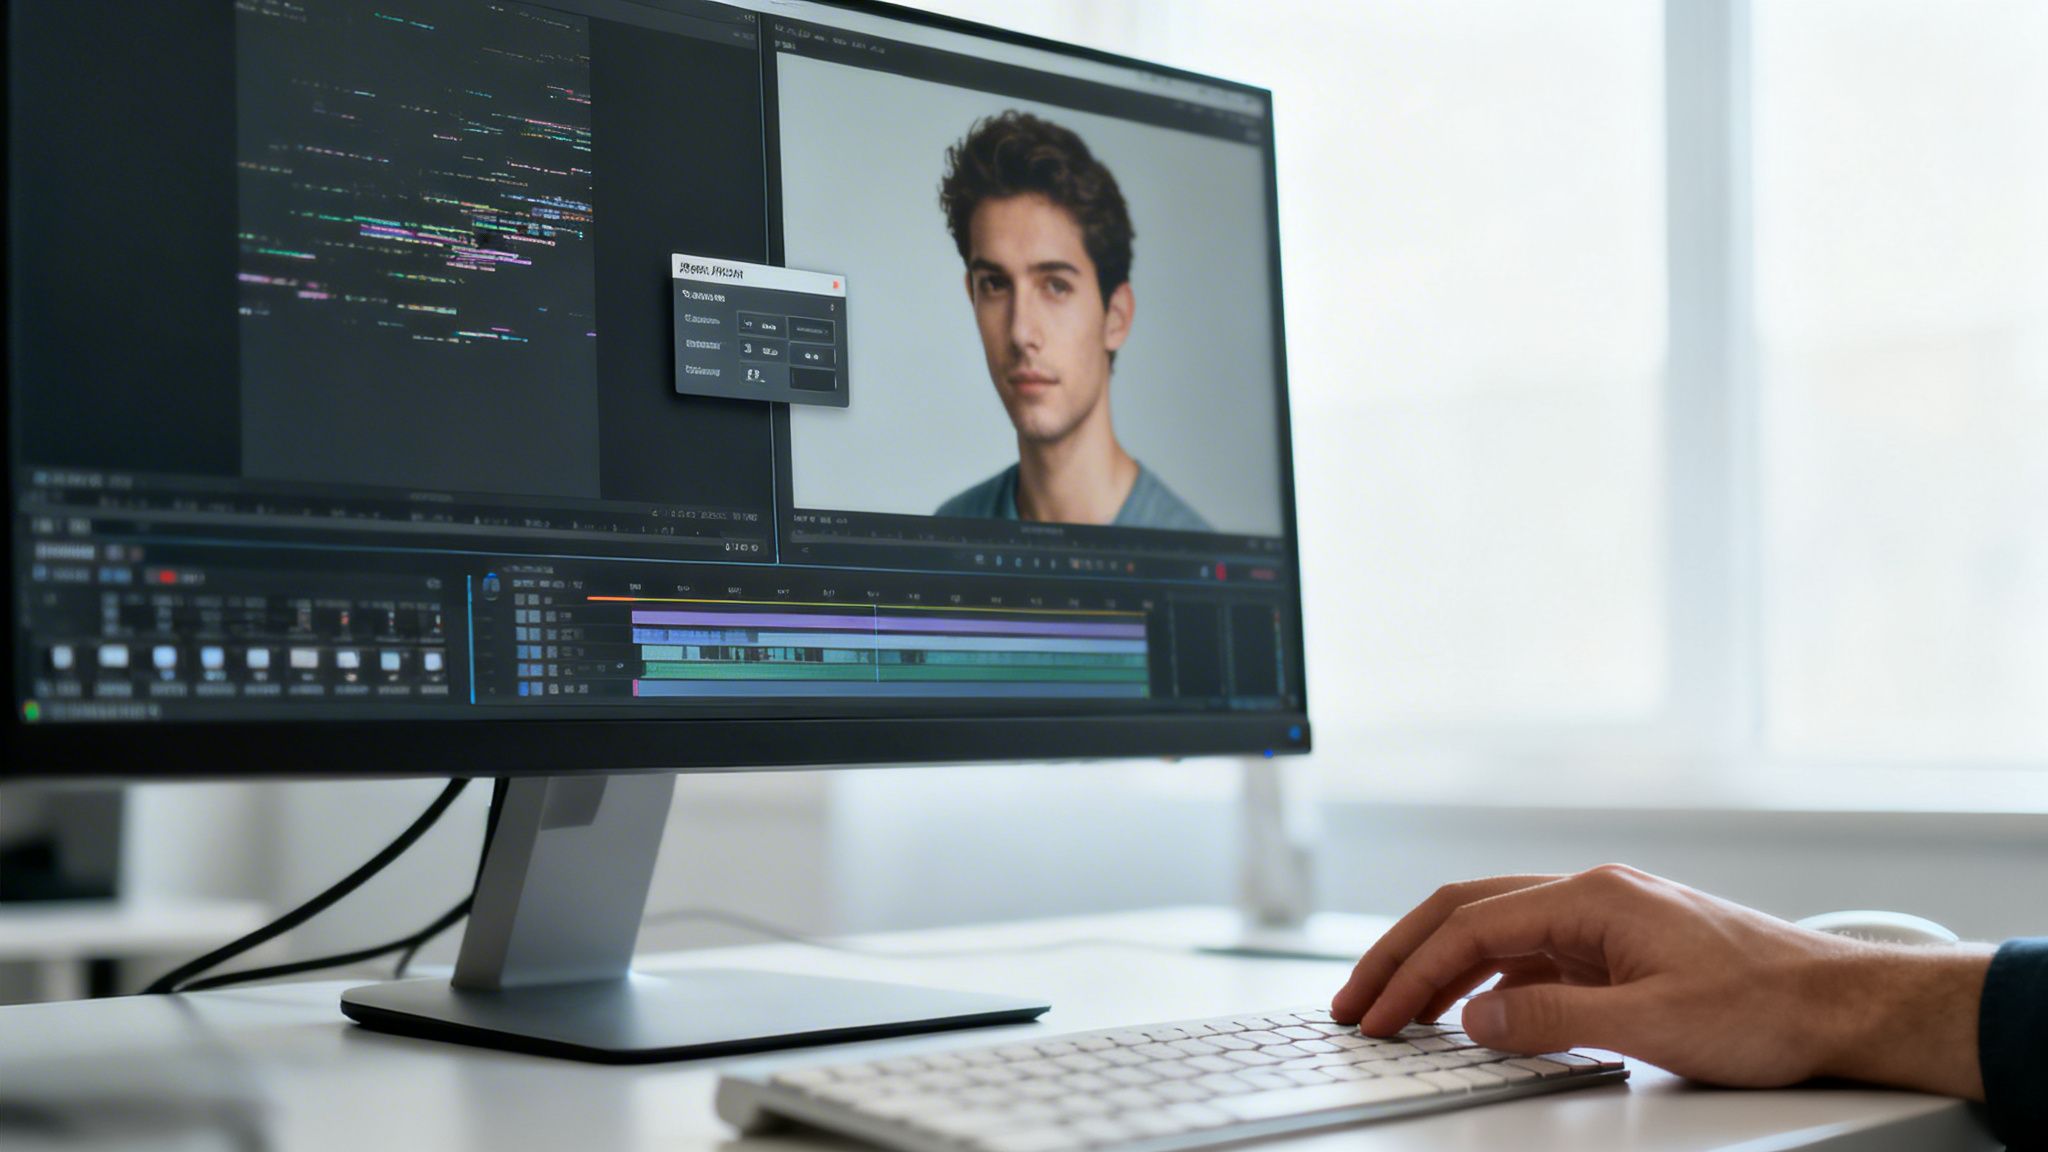
Let's be real—even the slickest AI tools aren't magic. You're going to run into issues. The AI might completely miss the point of your prompt, your main character's face might suddenly change between shots, or you'll spot weird visual glitches. This is totally normal, and knowing how to fix these little problems is what really separates the pros from the beginners.
Don't get frustrated. Think of yourself as the director and the AI as a very talented (but sometimes confused) actor. Your job is to give clear direction and make corrections when needed. Getting good at AI video effects editing is all about learning how to troubleshoot these common hiccups without breaking a sweat.
The good news? Most of these issues are surprisingly easy to fix. You don't need to be a coding genius; you just need to know what to tweak.
Handling Inconsistent Characters and Objects
One of the biggest headaches I see creators face is keeping characters consistent. You generate a perfect shot of your subject, but in the next clip, their hair is suddenly a different color or their jacket has changed. That kind of mistake instantly pulls your audience out of the experience.
The trick is to be hyper-specific with your prompts. "A man in a suit" just won't cut it.
- Get Detailed: Instead, try something like:
A man in his 40s with short, salt-and-pepper hair, wearing a navy blue single-breasted suit and a white shirt with no tie. - Use Reference Images: This is a game-changer. Most modern tools like Aicut have a "character lock" or "style reference" feature. You upload an image of your character, and the AI uses it as a blueprint for every new clip. Consistency problem solved.
This gives the AI a crystal-clear picture of what you want, dramatically cutting down on those jarring inconsistencies.
Your first successful generation is gold. Nail that first clip with a detailed prompt, then use that exact image as a reference to lock in the character's look for the entire video.
Another pro-level technique is using negative prompts. If the AI keeps giving your character a hat, you can just tell it not to. Adding a simple command like (--no hat, glasses) to your prompt steers the AI away from those unwanted details.
Fixing Visual Glitches and Artifacts
Every now and then, an AI-generated clip will have some weirdness—a hand with six fingers, a background that seems to flicker, or just a texture that feels… off. These artifacts are a dead giveaway that the video is AI-generated and can make your content look amateurish.
When this happens, you have two choices: regenerate the clip or try to fix it.
When to Regenerate
If the glitch is a major one, like a warped face or a bizarre-looking main object, just regenerate it. Seriously. Tweaking your prompt with a few extra words like highly detailed, photorealistic and running it again is almost always faster than trying to perform digital surgery on a fundamentally flawed clip.
When to Fix For minor issues, like a tiny flicker in the corner or a slightly misshapen object in the background, a fix might be better. Some tools let you mask a specific area of the video and regenerate only that part. This targeted approach to video effects editing is way more efficient than starting from scratch.
When Effects Don't Match Your Prompt
Ever ask for a "dramatic, slow-motion zoom" and get a jerky, fast cut instead? It happens. This is usually a sign that your prompt was too vague and the AI had to guess what you meant.
Go back to your prompt and be more of a director. Instead of a simple "dramatic zoom," paint a picture for the AI:
A smooth, slow zoom-in on the character's face, starting from a medium shot and ending on a tight close-up of their eyes. The movement should feel tense and suspenseful.
This refined prompt spells out the starting point, the end point, the speed, and even the feeling you want to create. When you're this direct, you leave less room for error and get a professional video effects editing result that actually matches your vision. You're not just asking for an effect; you're directing the shot.
Jumping into AI for video effects can feel a little strange at first. It’s a completely new way of thinking about editing, so it's totally normal to have a few questions before you dive in.
Let's clear the air on some of the biggest concerns creators have. These aren't generic answers; this is the stuff you need to know based on what actually works in the real world.
Can AI Really Create Effects That Look Professional?
Yes, but you have to shift your thinking. Instead of building an effect, you're now directing the final look.
For example, in After Effects, you might spend ages keyframing a “zoom and shake” effect. With an AI tool, your job is to describe the final scene. You’d simply prompt it to: create a dramatic, shaky POV shot moving quickly towards a subject.
The AI doesn't just slap a filter on top; it generates the entire clip with that effect built-in from the ground up. You do trade some of that granular, frame-by-frame control, but what you get in return is incredible speed. Modern AI models can generate realistic motion, lighting, and textures that would take a seasoned pro hours to build by hand.
It's a mindset shift. You stop asking, "How do I build this effect?" and start asking, "What's the final result I want to see?" You become the director, not the technician.
Is AI-Generated Video Content Even Monetizable?
This is a big one, and the answer is a firm yes. Platforms like YouTube have been clear: as long as your content follows their community guidelines and gives your audience real value, you can monetize it.
In fact, AI tools like Aicut are built to help you get there faster. They often include features specifically for creators looking to earn money:
- Watermark-Free Exports: Professional plans let you export clean videos, which is a must-have for a polished, monetizable channel.
- Monetizable Niche Templates: You’ll find templates for proven formats, like "faceless" educational channels, that already fit within monetization rules.
- Consistent Output: AI is your secret weapon for maintaining a steady posting schedule, which the algorithm loves. More high-quality content, posted regularly, is a key factor in getting monetized.
Honestly, using AI can seriously speed up your journey to monetization simply because you can produce so much more quality content than you ever could on your own.
How Do I Keep My Style or Characters Consistent?
Keeping a character or style the same across multiple clips is a classic AI challenge, but it's completely solvable once you know the tricks. You just have to be smart about how you guide the AI.
First off, get specific with your prompts. Don't just say "a woman." Describe her. Is she wearing a red jacket? Does she have curly brown hair? What's the lighting like? The more detail you feed the AI, the better it will stick to that vision.
Next, look for features built to solve this problem. Most good AI video platforms now have a "character lock" or "style reference" option. This is a game-changer. You can upload a picture of your character from the first clip you made, and the AI will use it as a visual guide for every other clip you generate. It's the most reliable method out there.
Finally, using pre-made style templates within the platform is the easiest way to lock in a cohesive look for your entire brand. This is how you build a recognizable channel that people remember when they're scrolling through their feed.
Ready to stop spending hours on manual editing and start creating viral-style videos in minutes? Aicut gives you the templates, AI models, and automation tools to build your content empire. Join over 500,000 creators and start building your automated video workflow with Aicut today!